I usually just buy the drug store decorating kits and call it crafty, but this year I went on the hunt for a few unique and clever ways to make our eggs more creative.
This first one I’m sharing is perfect for your tween and teen girlies who probably have hoards of half-used nail polish bottles hanging around. But I’m going to see if I can get my guys to give it a go as well.
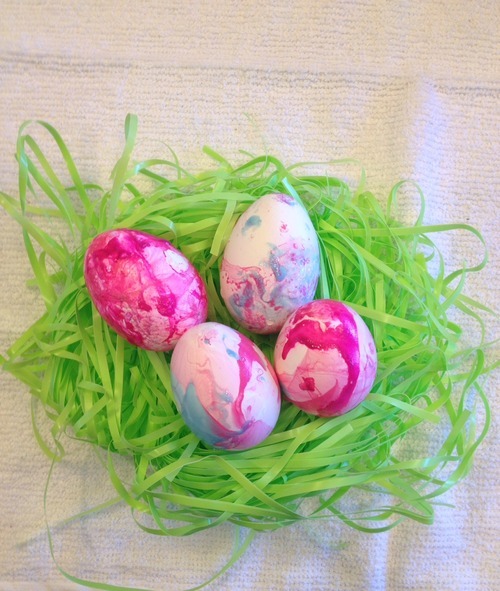
Here’s how to create these festive & funky marbleized eggs in 5 simple steps.
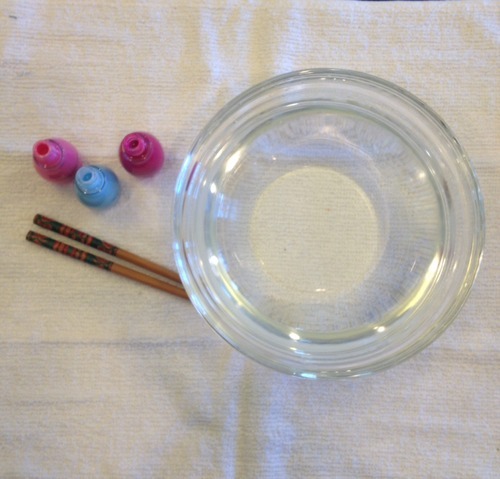
STEP 1. Gather your goods. You’ll need:
* a medium sized bowl filled with water
* an assortment of colorful nail polishes
* a stick for stirring…I used a chop stick
* disposable plastic gloves
STEP 2.
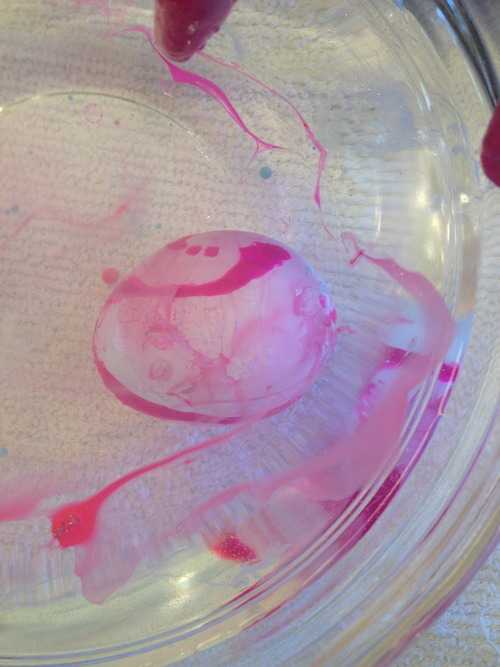
Lightly pour different colors of nail polish into the water, one at at time, and stir gently. Try to stir the water where the nail polish IS NOT. If you rake the stick through the color, the polish will adhere to the stick. Not good. You just want to move the water around a bit so the colors can mingle.
STEP 3
Gently submerge your egg. Only marbleize one egg at a time.
STEP 4
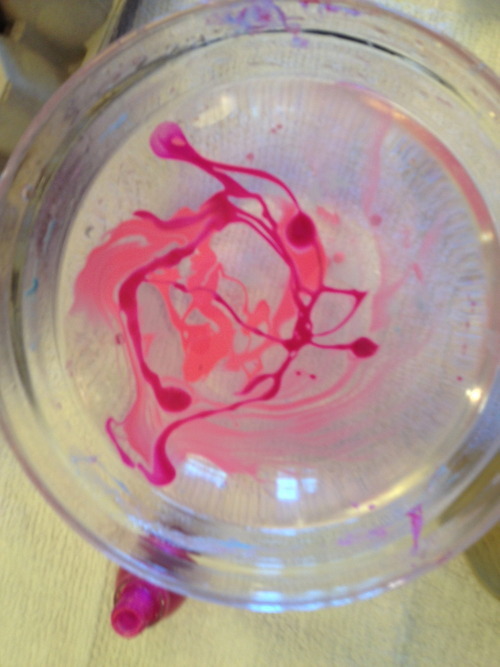
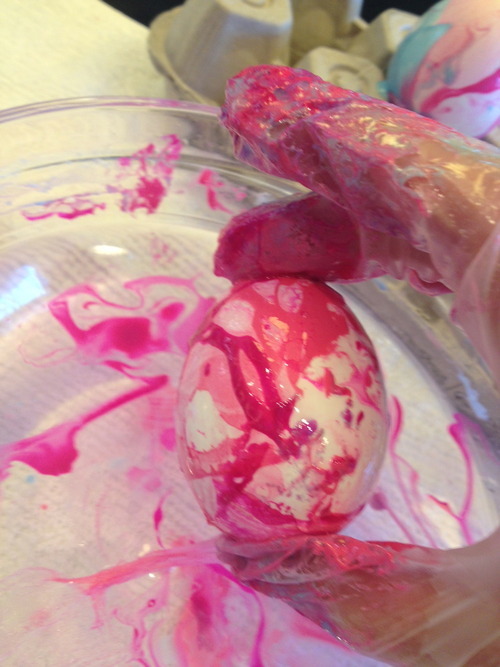
Holding your egg by the ends, slowly pull your egg from the water. After each egg is pulled, you can run the stick through the water and it will pick up all the color. This makes it easy to start fresh each time.
STEP 5
Fully dry your eggs on an over-turned egg carton…eggs fit perfectly upright in between the egg compartments. Did you know that? Once dry, transfer them into an Easter basket, or just plop them into some festive Easter grass.
That’s it!
NOTE: The best way to get nail polish off of a glass bowl is by pouring some nail polish remover into it, letting it “soak”, and then using a scouring pad to remove. Probably best to use a plastic disposable container… live and learn.

No comments :
Post a Comment