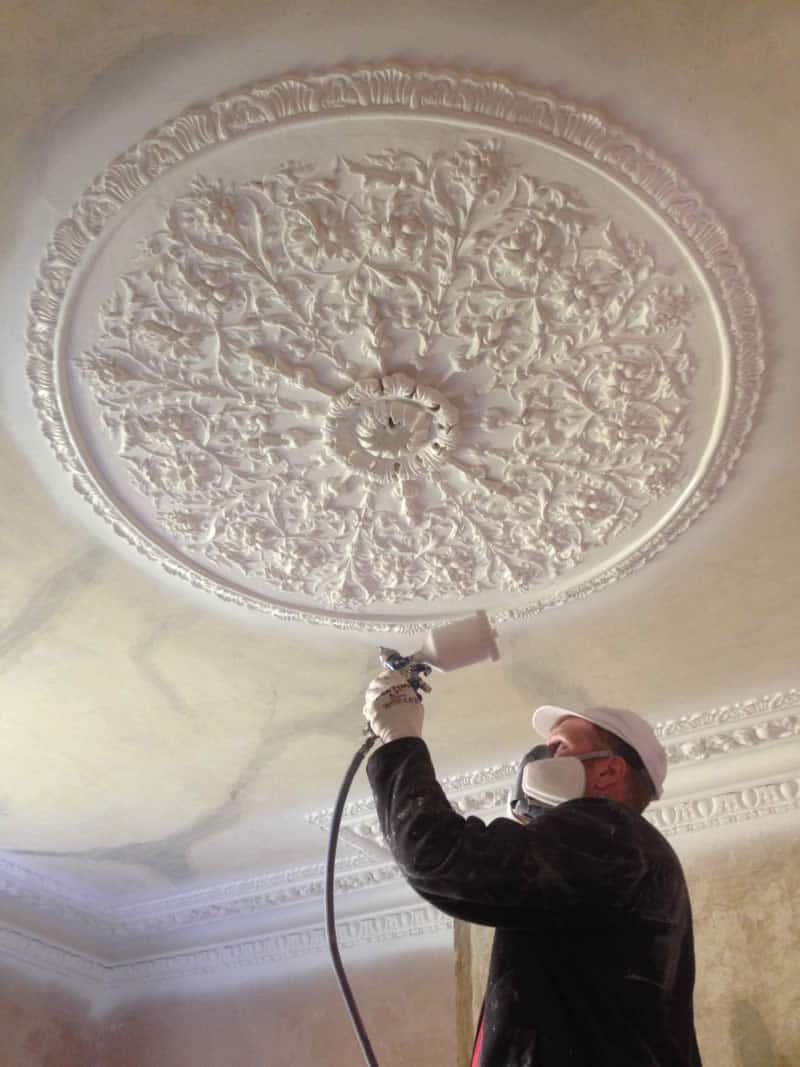
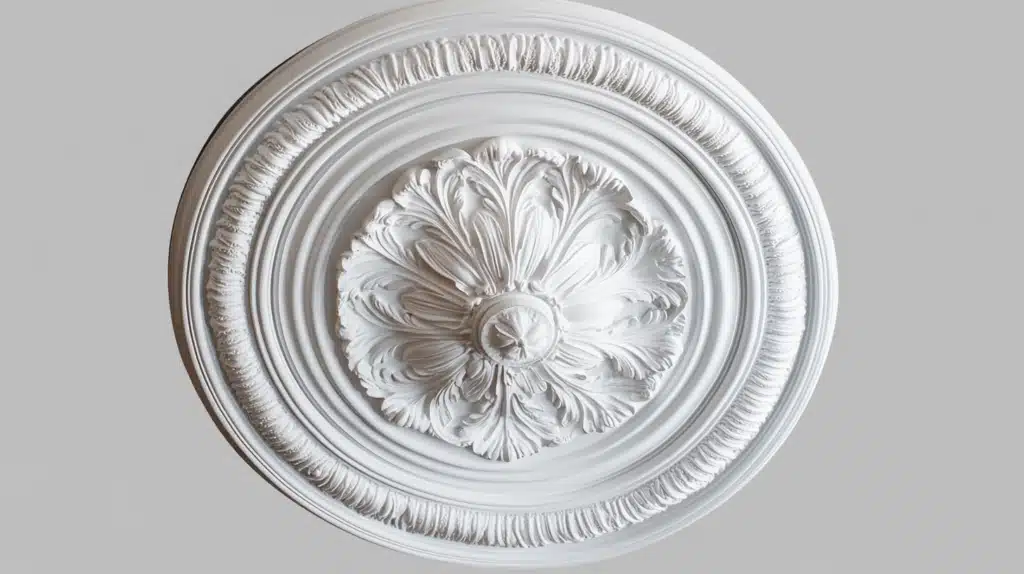
Plaster ceiling roses add a touch of elegance and charm to any room, but over time, they can collect dust and grime, losing their original beauty. Cleaning them properly is essential to restore their intricate details and keep them looking fresh.
With the right tools and techniques, you can maintain the integrity of these delicate features without causing damage. This blog will guide you through the process of cleaning your Plaster Ceiling Rose.
1. Gather Necessary Cleaning Materials

Before you begin cleaning, gather all the materials you need. You will need a step ladder to safely reach the ceiling, a soft brush, a microfiber cloth, a small bowl, warm water, mild dish soap, and a sponge.
Make sure the cleaning solution is gentle, as harsh chemicals can damage the plaster. It’s important to use soft tools to avoid scratching or harming the ceiling rose’s delicate surface. Having everything ready will make the cleaning process easier and safer.
2. Dusting the Ceiling Rose
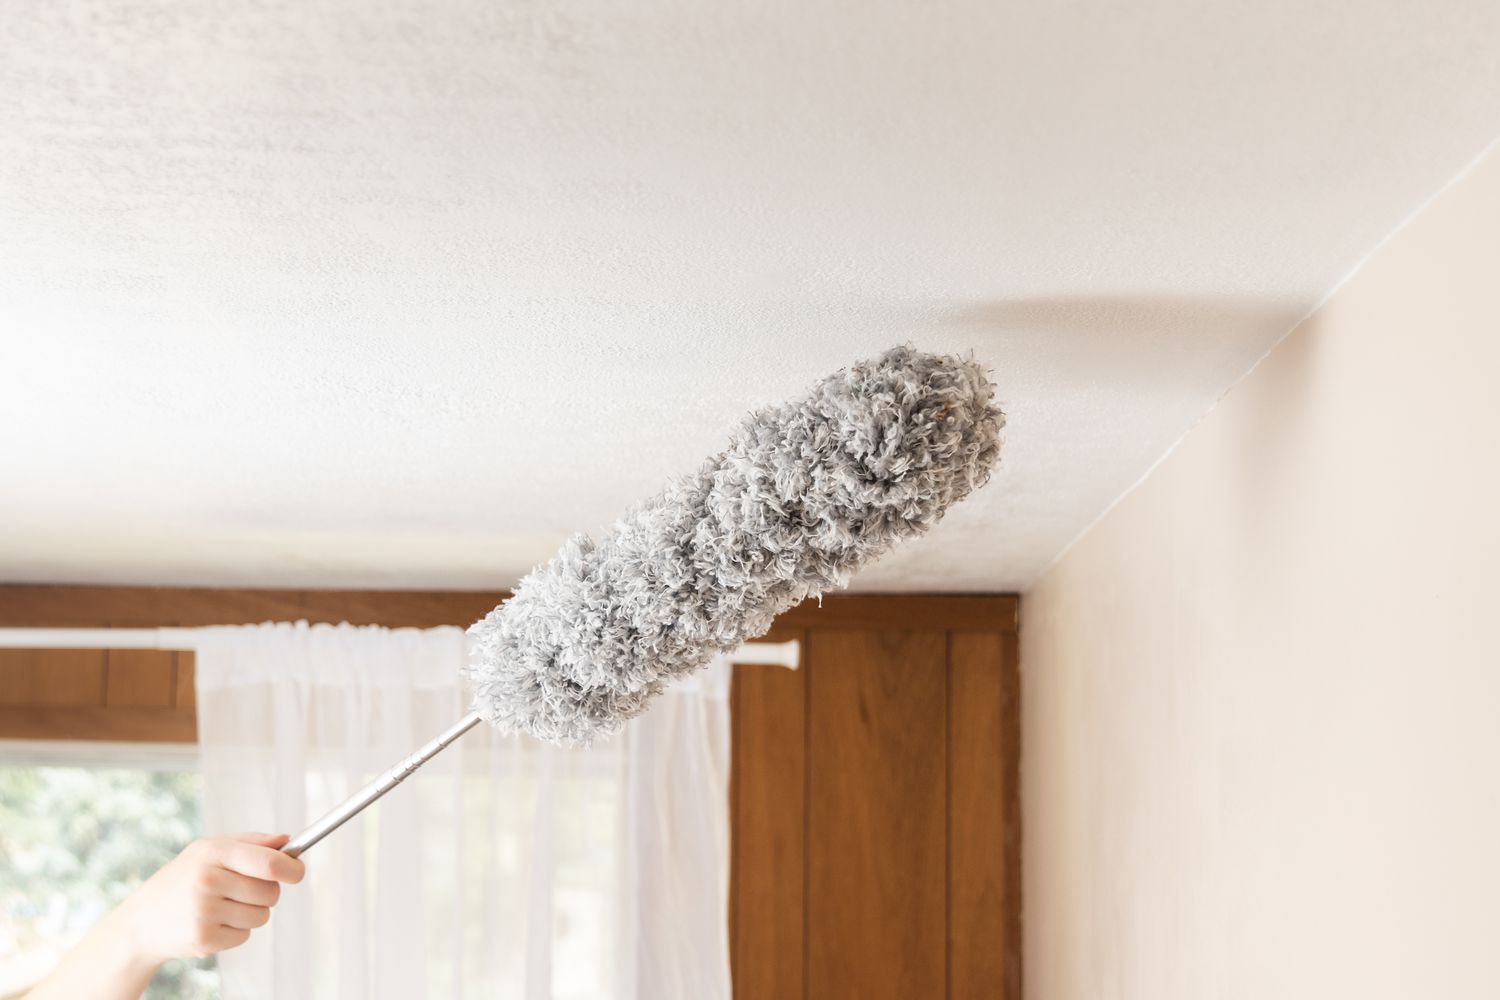
Start by removing any dust or loose dirt from the ceiling rose. Use a soft brush, such as a paintbrush or a duster, to gently sweep the surface. Work from top to bottom, being careful not to push dust into the details.
Dusting regularly will help prevent dirt from building up. It’s important to be gentle to avoid damaging the delicate edges and intricate design of the ceiling rose. Regular dusting can keep your ceiling looking fresh without requiring deep cleaning often.
3. Preparing a Cleaning Solution
Next, prepare a cleaning solution. Add a few drops of gentle dish soap to a small bowl of warm water and fill the bowl with warm water. Stir the mixture to create a gentle solution.
Avoid using harsh cleaners or chemicals, as they can damage the plaster or cause discoloration. The cleaning solution should be mild enough to clean without causing harm to the surface.
It’s important to test the solution on a small, hidden part of the ceiling rose to make sure it won’t damage the paint or plaster.
4. Cleaning the Plaster Rose

Once your cleaning solution is ready, dip a soft sponge into the mixture. Wring out any excess water, as you don’t want the sponge to be too wet.
Gently wipe the plaster ceiling rose, starting from the center and working your way out. Be extra careful with the details and edges, as these areas are more fragile. If there are any stubborn stains, you can gently rub them with the sponge, but avoid scrubbing too hard to protect the plaster.
5. Drying and Polishing
After cleaning, it’s important to dry the plaster ceiling rose properly. Use a dry, clean microfiber cloth to gently wipe the surface and remove any remaining moisture.
Avoid leaving any water on the plaster, as this could cause it to soften or get damaged. Once dry, you can polish the surface with a soft, dry cloth to restore its shine. Polishing will help highlight the beautiful details of the ceiling rose and make it look refreshed.
Maintain the Plaster Ceiling Rose’s Appearance
A little care goes a long way in preserving its elegance and charm. For those harder-to-reach spots or more detailed restoration needs, consider enlisting professional help to maintain its perfect condition. Keep your ceiling rose looking its best for years to come!


