Want to learn how to draw butterfly images that look real? Many budding artists find drawing wings and body shapes hard. They try different ways but often get stuck with flat, basic outlines.
But what if there was a way to make butterfly drawing simpler? With the right methods, anyone can create beautiful butterfly art that seems to fly off the page.
This blog walks readers through tested butterfly drawing methods that work well for beginners and skilled artists. The tips here will help them draw wings with the right curves, add life-like details, and use colors that pop.
By the end of this post, readers will know how to draw butterfly designs that look good enough to frame and display.
Tips for Drawing Realistic Butterflies
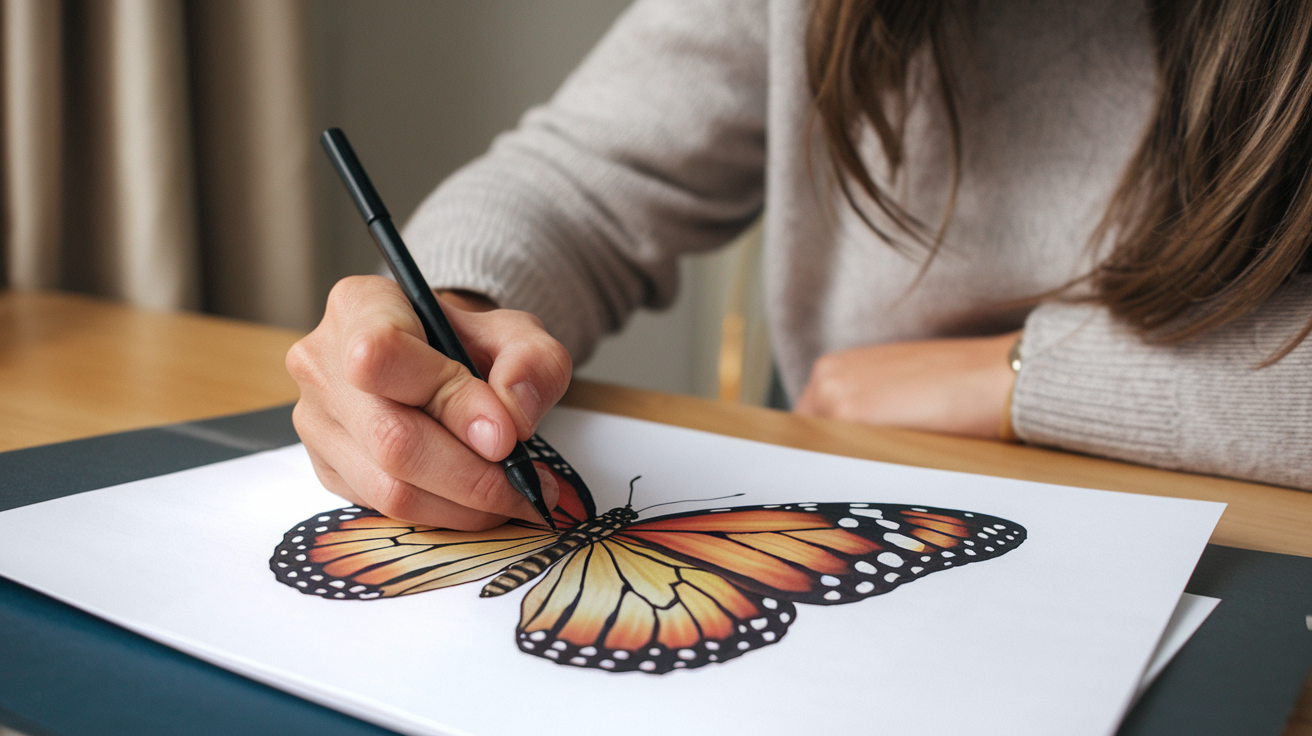
Drawing butterflies takes practice. Artists who want to create lifelike butterflies need to study both the form and colors of these insects.
Looking at photos or real butterflies helps people notice small details they might miss. With time and the right tips, anyone can improve their butterfly drawings.
1. Start with basic shapes: Artists should begin with simple ovals and lines to outline the butterfly’s body and wings. This creates a foundation for the drawing before adding details. The body can be formed with an oval for the thorax and a longer, thinner oval for the abdomen.
2. Pay attention to symmetry: Both wings on each side should match in size and pattern. One trick is to fold paper in half, draw one side, then trace through to the other side. This helps create a balanced butterfly with matching wings.
3. Study wing patterns: Real butterflies have unique markings and patterns. Looking at reference photos helps artists add true-to-life details to their drawings. They should note how the patterns flow across the wings rather than just adding random spots.
4. Focus on texture: Butterfly wings have tiny scales that catch light in different ways. Adding small dots or lines can help show this texture. Artists can use light, gentle strokes to create this effect without making the drawing look heavy.
5. Use light colors first: When adding color, starting with light shades and building up to darker ones works best. This approach helps create depth and makes the colors look more natural. Light touches of colored pencils or watercolors work well for butterfly wings.
Simple Steps on How To Draw Butterfly
Drawing a monarch butterfly is a beautiful way to explore nature and creativity at the same time. This step-by-step section helps young artists and beginners alike bring a butterfly to life with ease and joy.
Each instruction is designed to encourage practice, patience, and a touch of imagination. The process is all about having fun, not perfection, so every butterfly will be wonderfully unique.
With just a few simple tools, anyone can create their very own fluttering masterpiece.
Step 1: Begin with the Butterfly’s Body
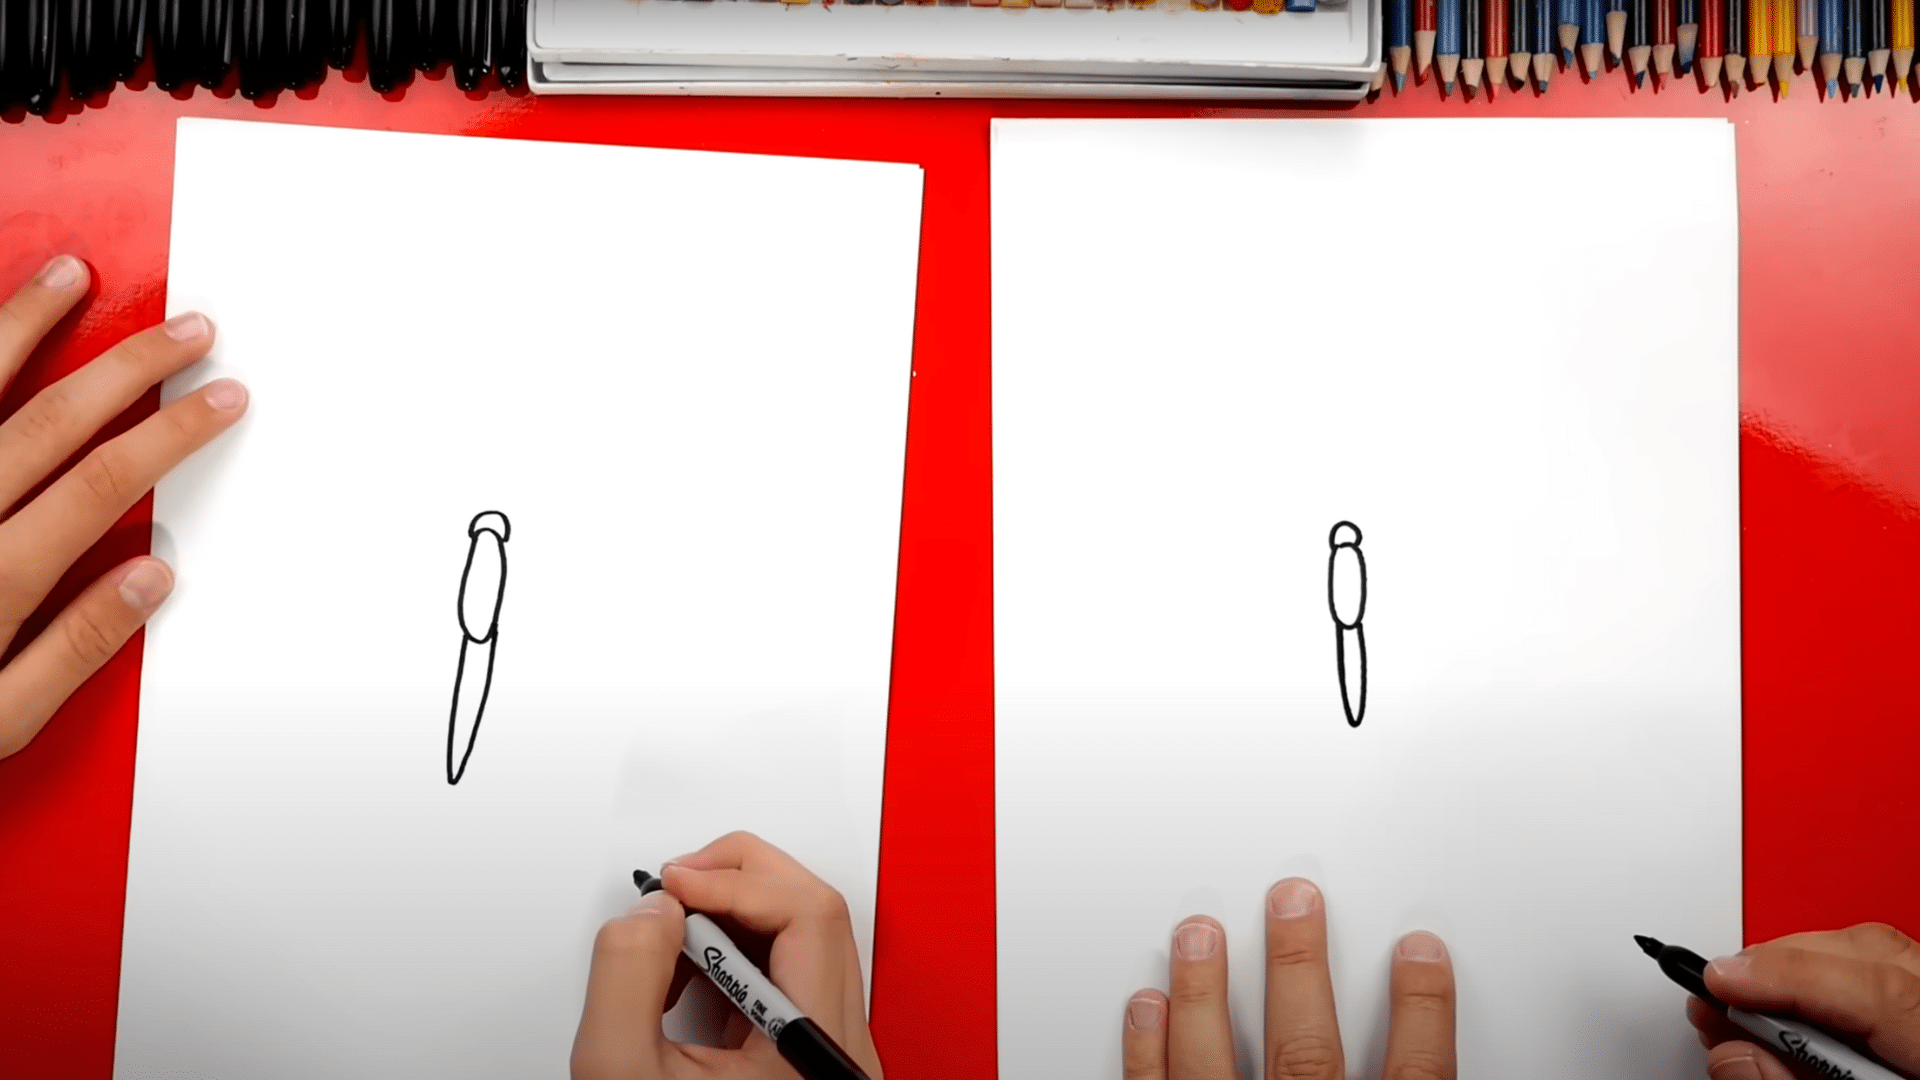
Start by drawing the thorax, which is the midsection of the butterfly. Sketch an oval shape right in the center of the paper. Just above that, add the head by drawing an upside-down “U” shape.
Below the thorax, draw the abdomen using a longer “U” shape that extends downward. These three parts together form the butterfly’s full body.
Step 2: Shape the Forewings
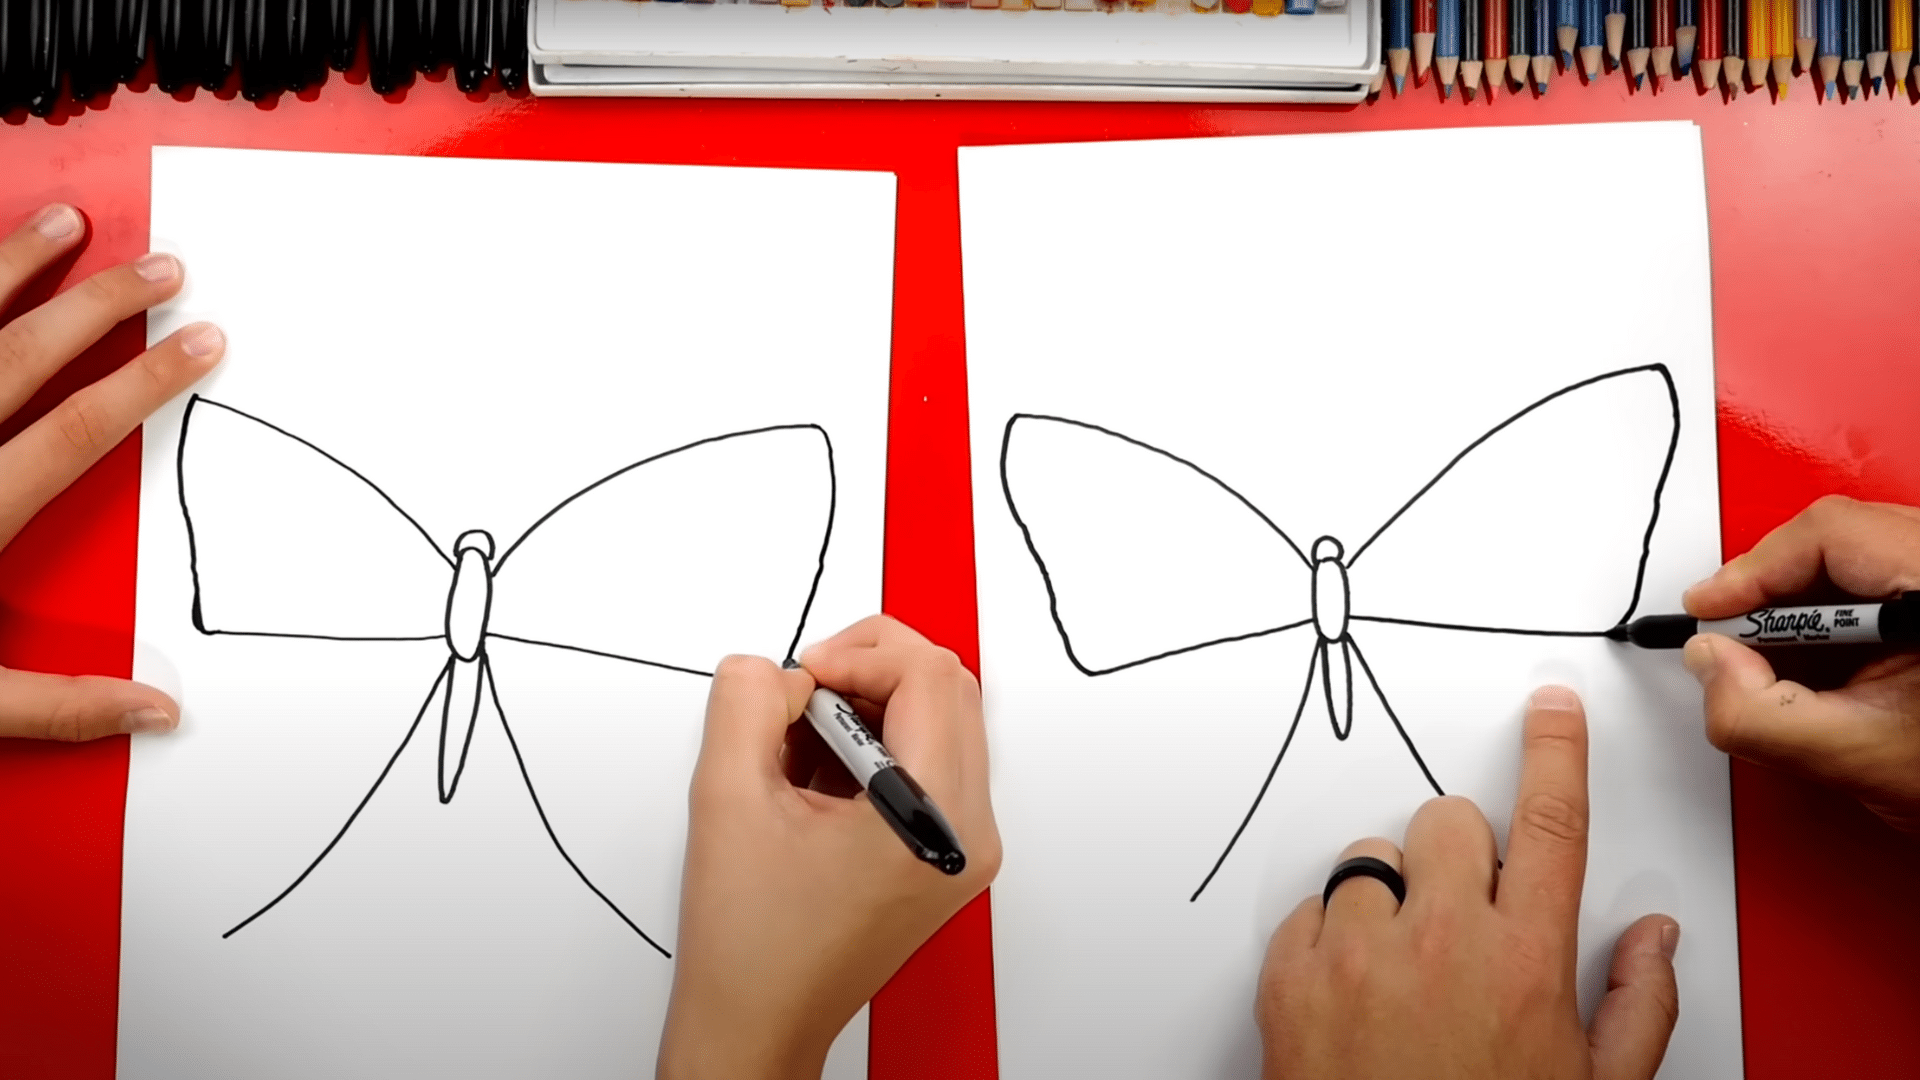
From the upper left side of the thorax, draw a large, curved line that stretches outward and slightly upward, almost reaching the edge of the paper. Repeat the same shape symmetrically on the right side.
These form the forewings, which are the top pair of wings. Aim for balance, but remember it’s perfectly fine if they are not exactly identical.
Step 3: Add the Hindwings
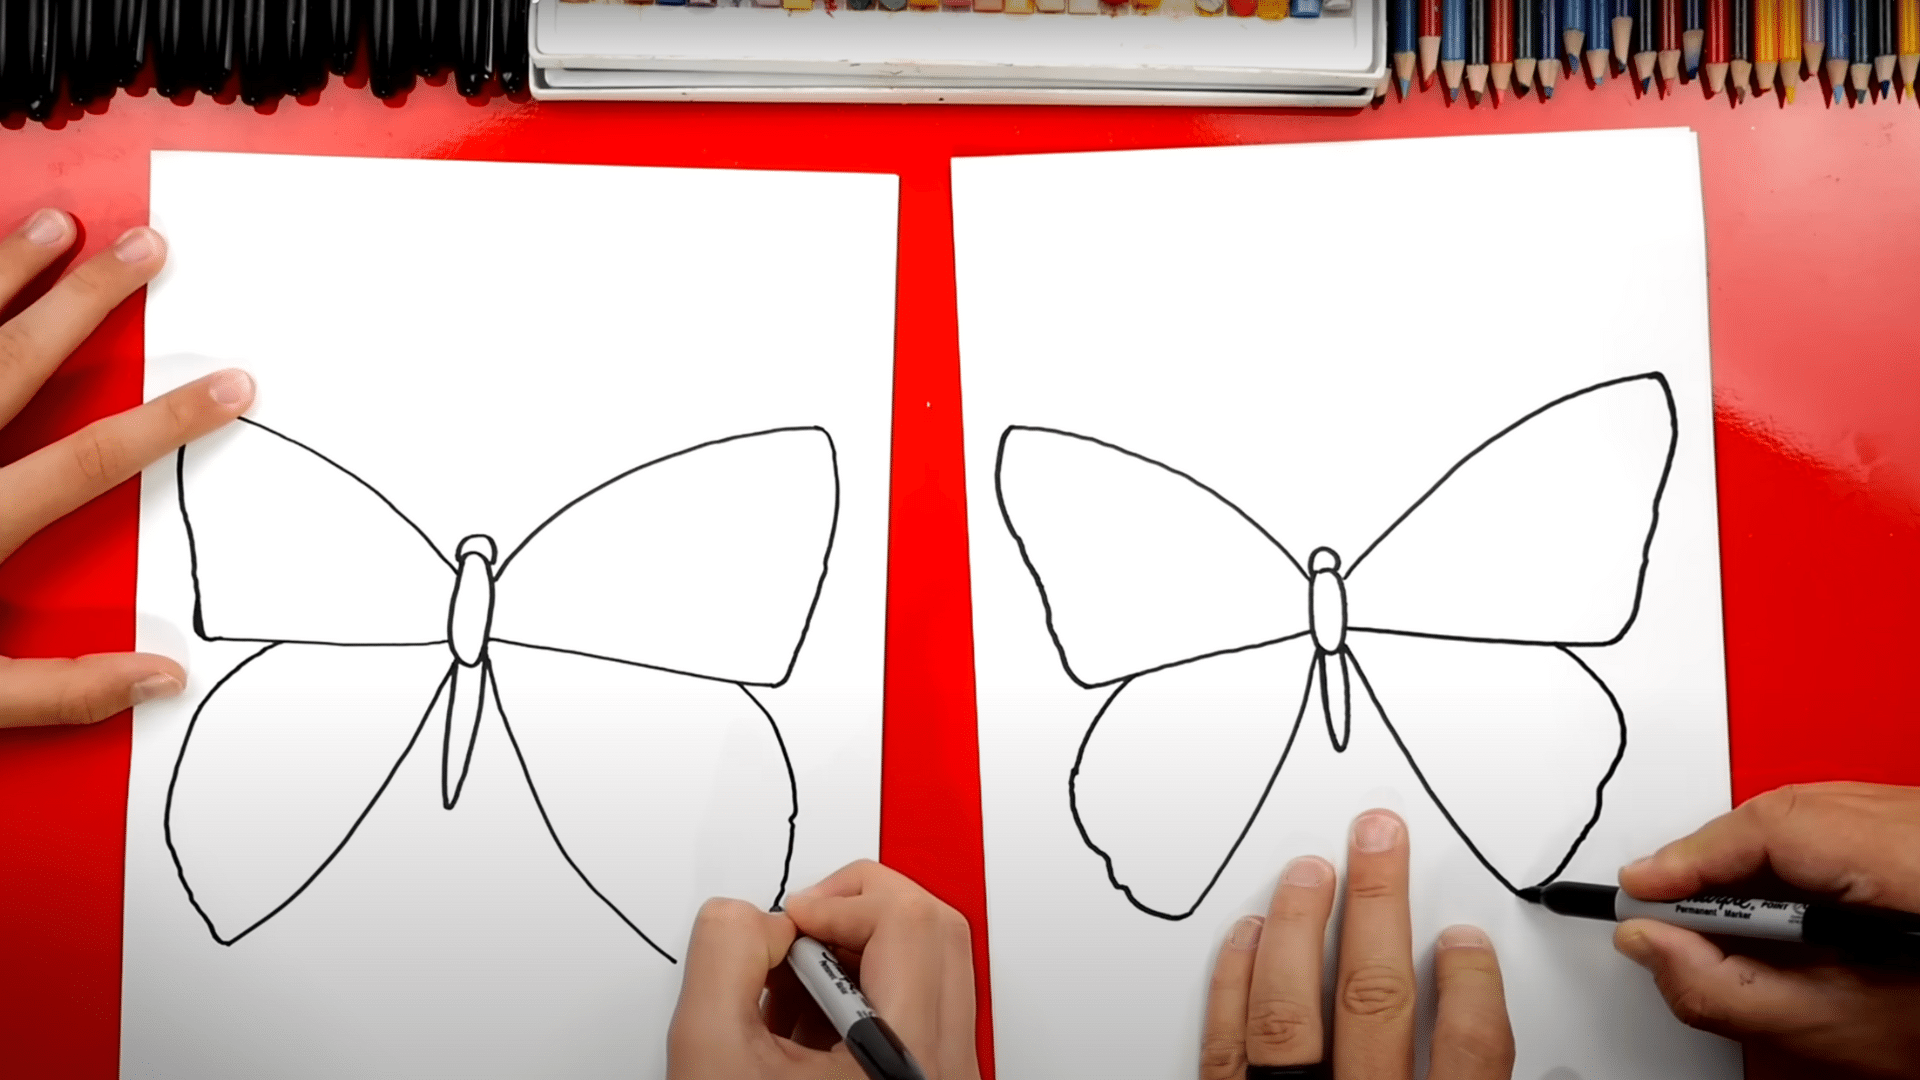
Next, draw two diagonal lines from the base of each forewing that angle downward and outward. Then shape the hindwings by drawing a large, flowing curve starting from the end of the diagonal line.
Let the curve wrap around gently with a few soft bumps, and connect it back to the body. Repeat this step on both sides.
Step 4: Draw the Antennae
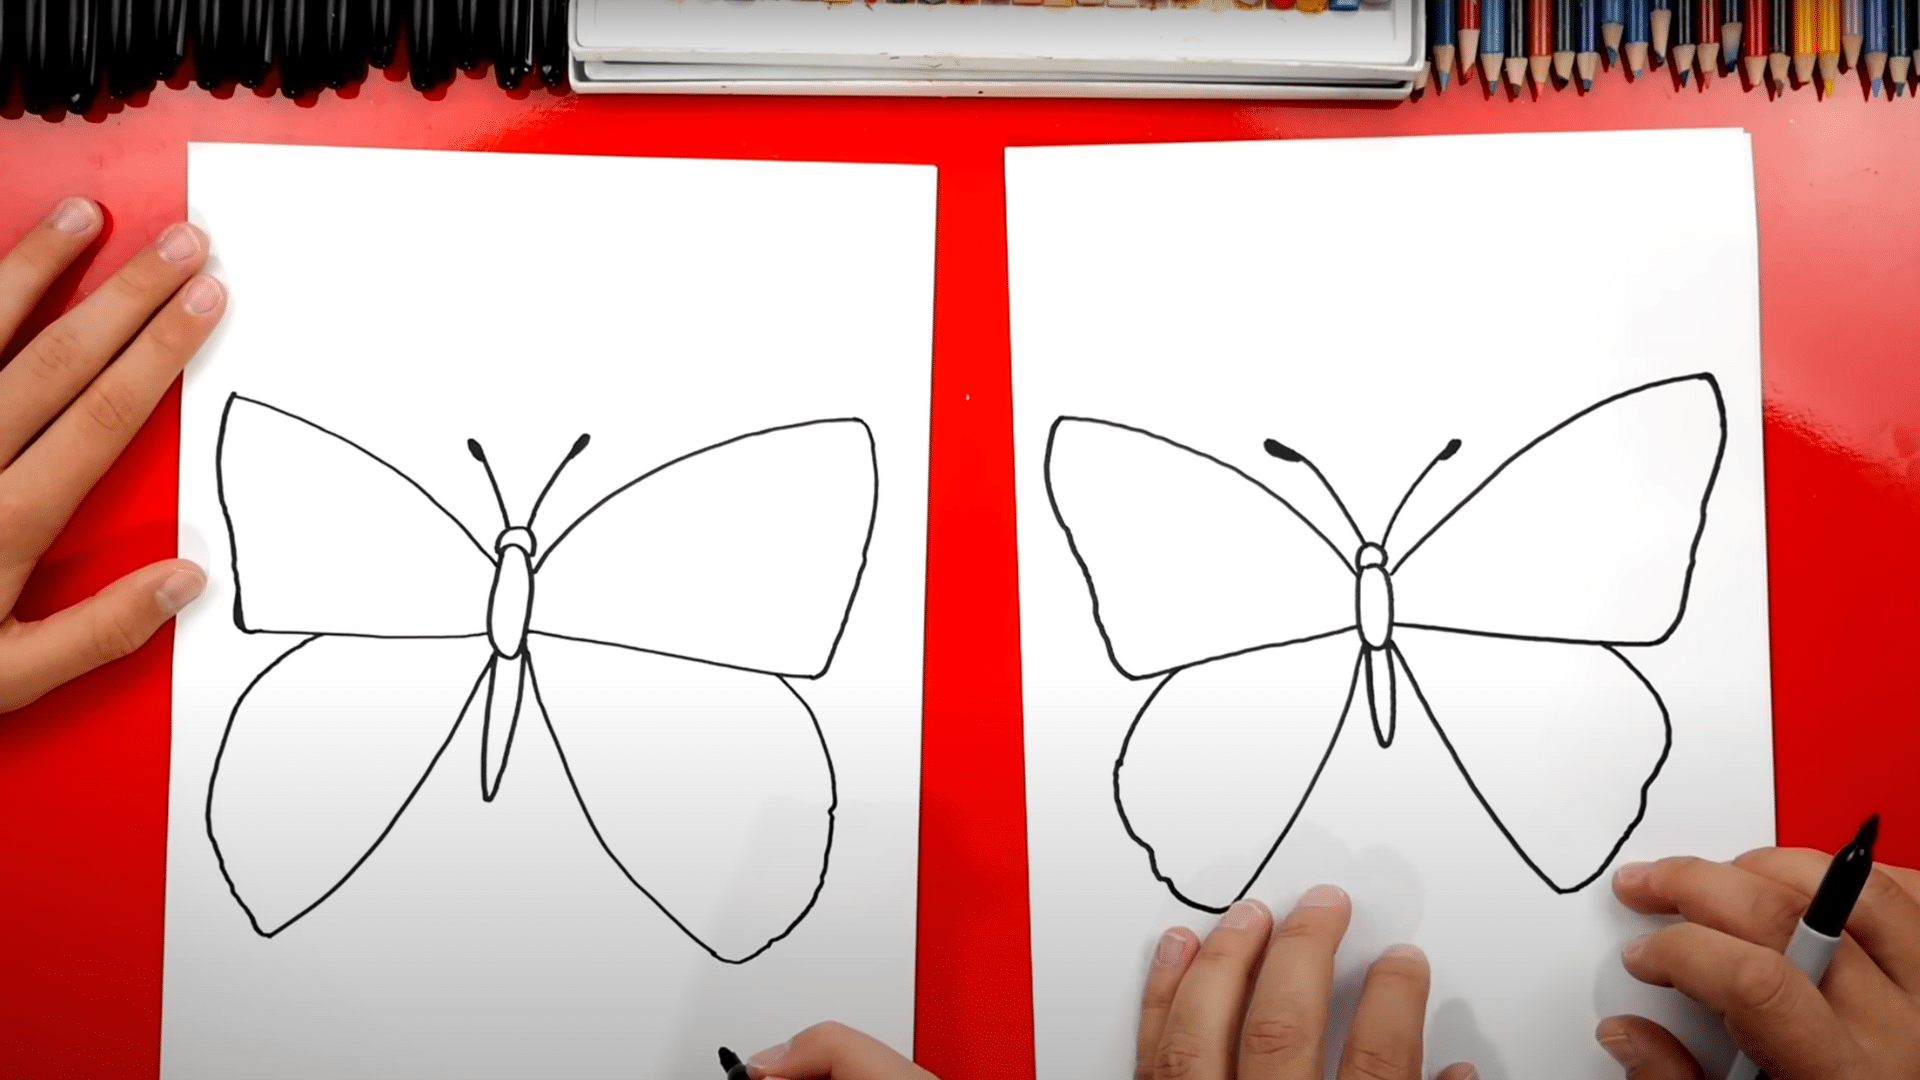
At the top of the butterfly’s head, draw two thin, curved lines reaching upward. These are the antennae. Add a small rounded tip, known as a club, at the end of each one to give them a more realistic look.
Make sure each antenna curves outward gently to give the butterfly a balanced appearance. If you like, you can make the clubs slightly thicker for a more cartoon-like style.
Step 5: Outline the Wing Details
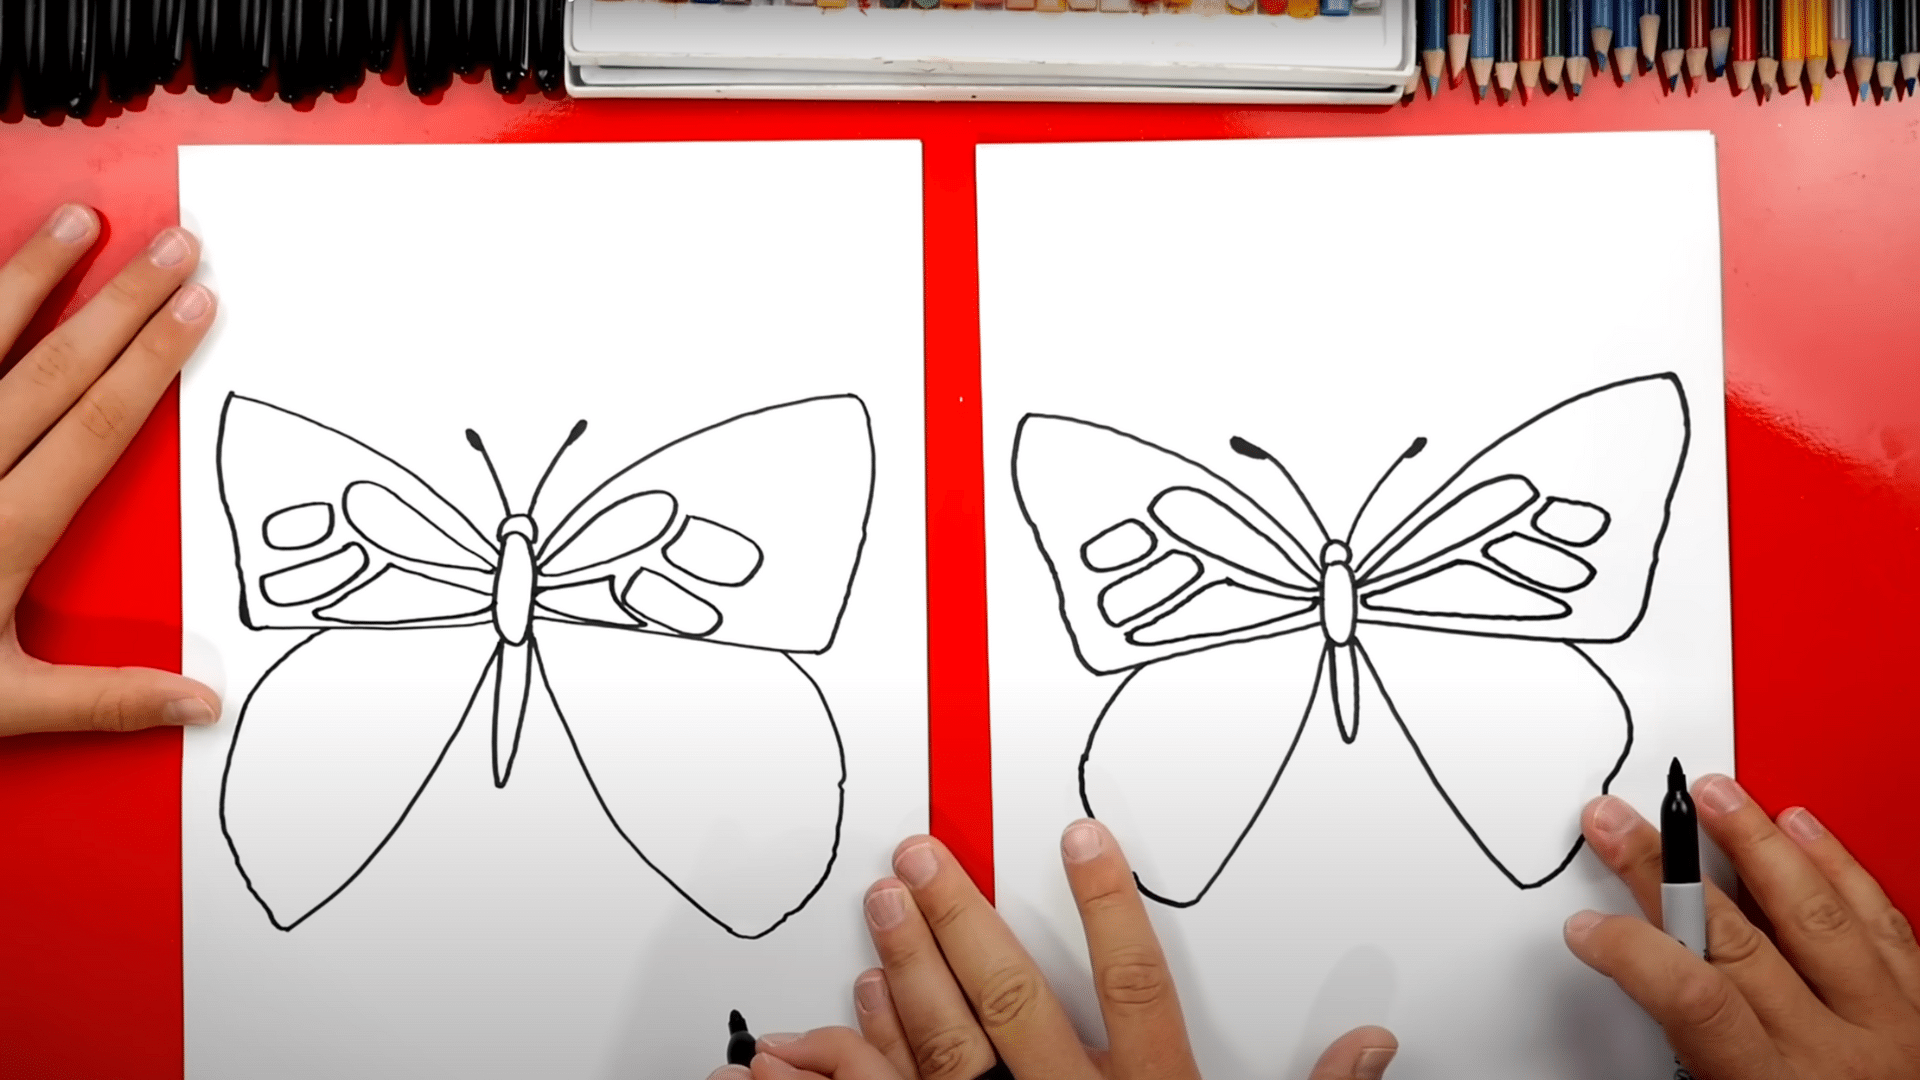
Begin decorating the wings by sketching a few curved shapes near the outer edges of each forewing. Start with teardrop or oval shapes near the top, and gradually add slightly longer ones below.
Be sure to mirror the designs on both wings to maintain symmetry. These outlines will later be filled in with color to create the monarch’s signature pattern.
Step 6: Add Spots and Raindrop Shapes
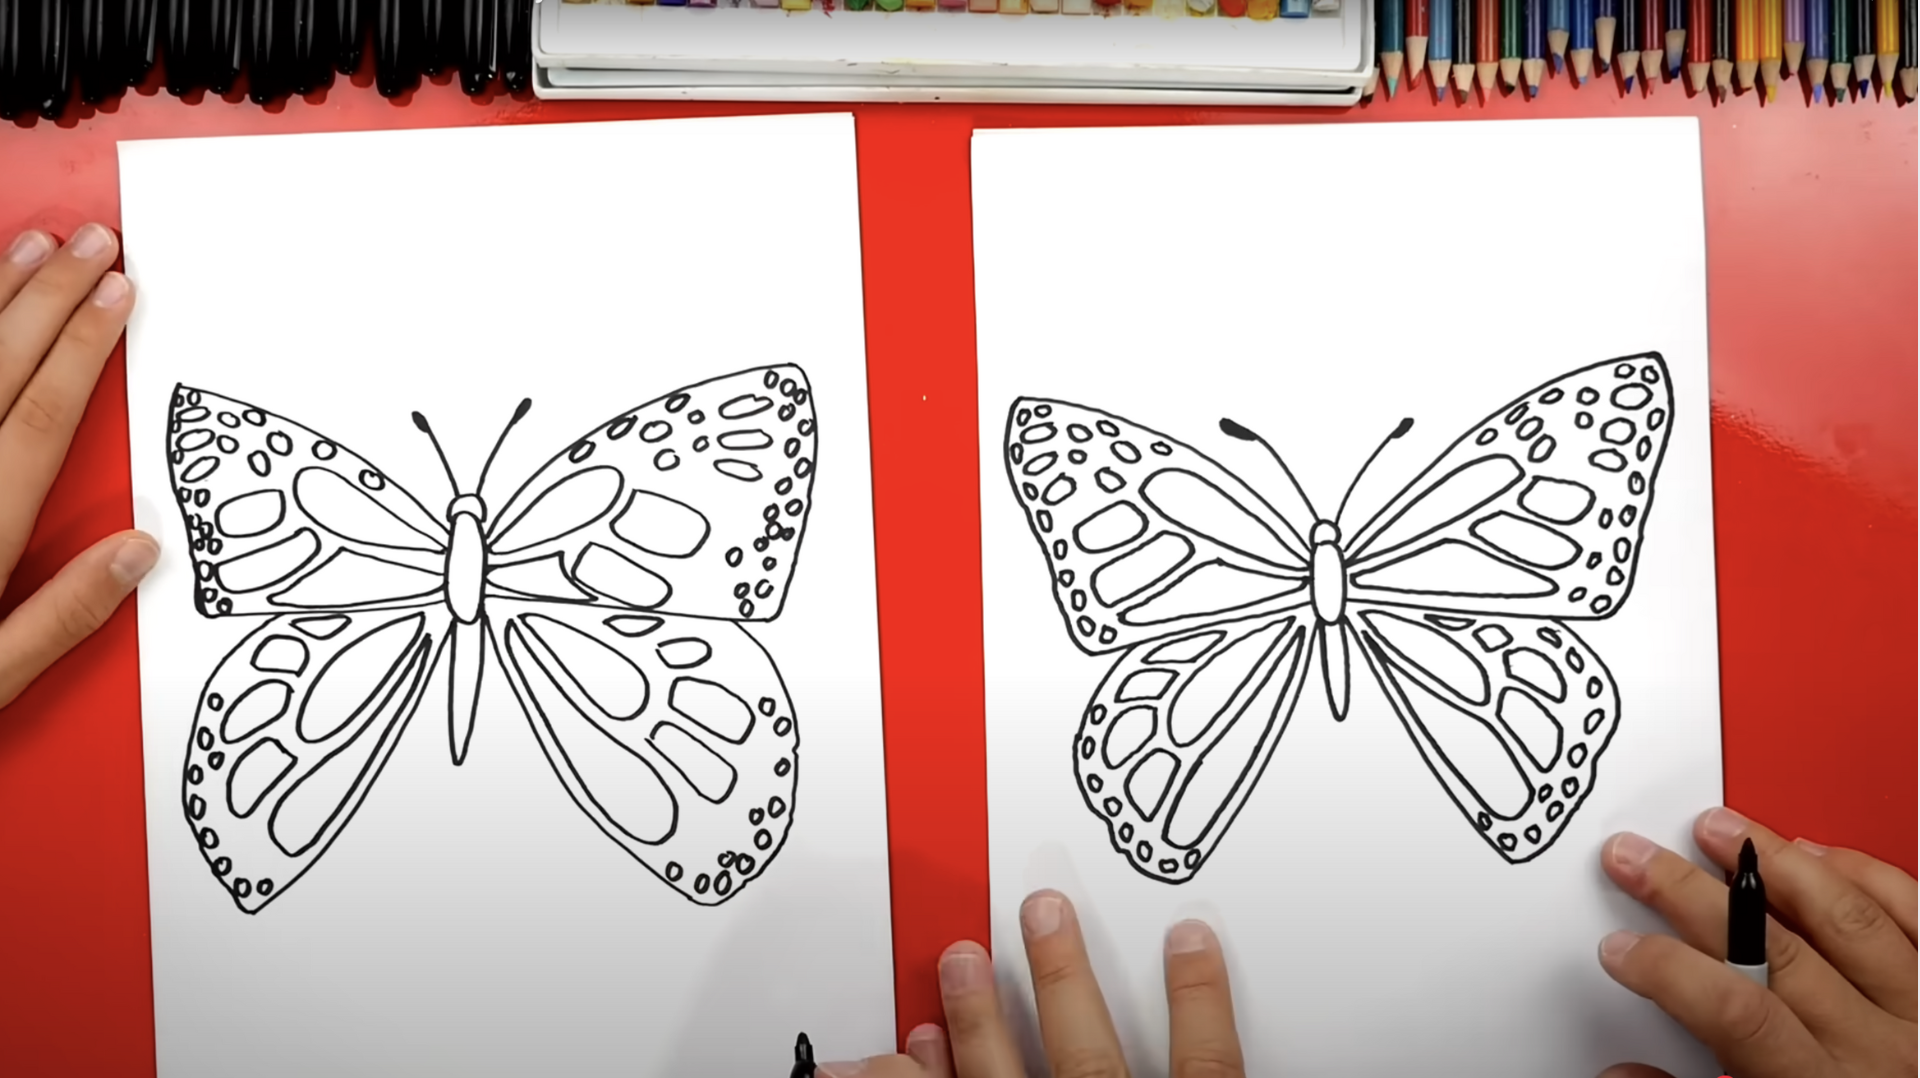
Now it’s time to give your butterfly its signature wing pattern. Start by adding a large raindrop shape near the center of each hindwing. Below it, draw a long, curved shape that follows the edge of the wing. Then, place small ovals in rows next to these main shapes.
- Repeat the same pattern on both wings for symmetry
- Use varying oval sizes for a natural look
- Make sure the shapes follow the curves of the wings
Step 7: Final Touches and Coloring
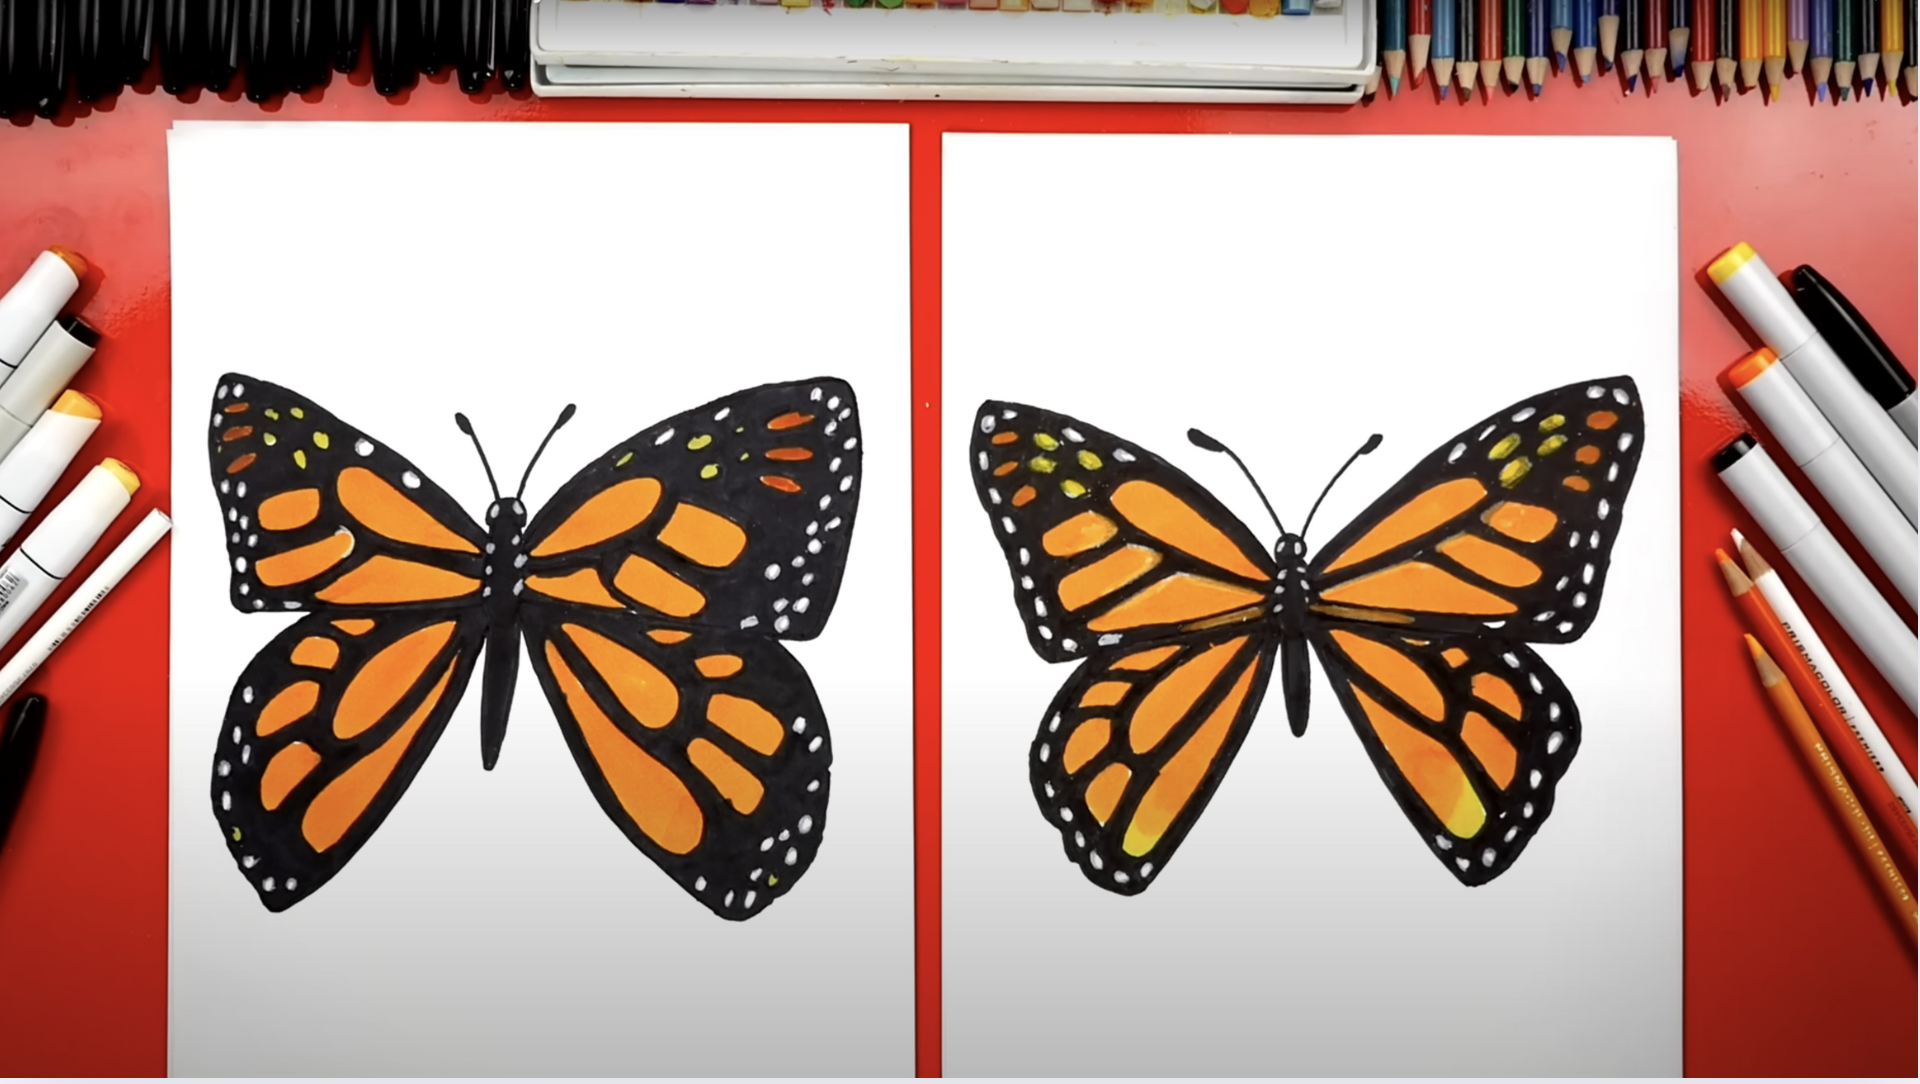
Now comes the most exciting part, bringing your butterfly to life with color. Begin by adding tiny white ovals and circles along the outer edges of each wing.
These mimic the delicate white spots seen on real monarchs. There’s no need for perfect symmetry; let your creativity guide you.
Once the details are complete, it’s time to color:
- Use bright orange for the inner wing sections
- Fill in the wing outlines and body using deep black
- Leave the small oval spots white to create contrast
- Add shading or blending if you’re using colored pencils for extra depth
- Make the antennae bold with a hint of shine if you’d like
How to Make Butterfly Drawing Look Realistic
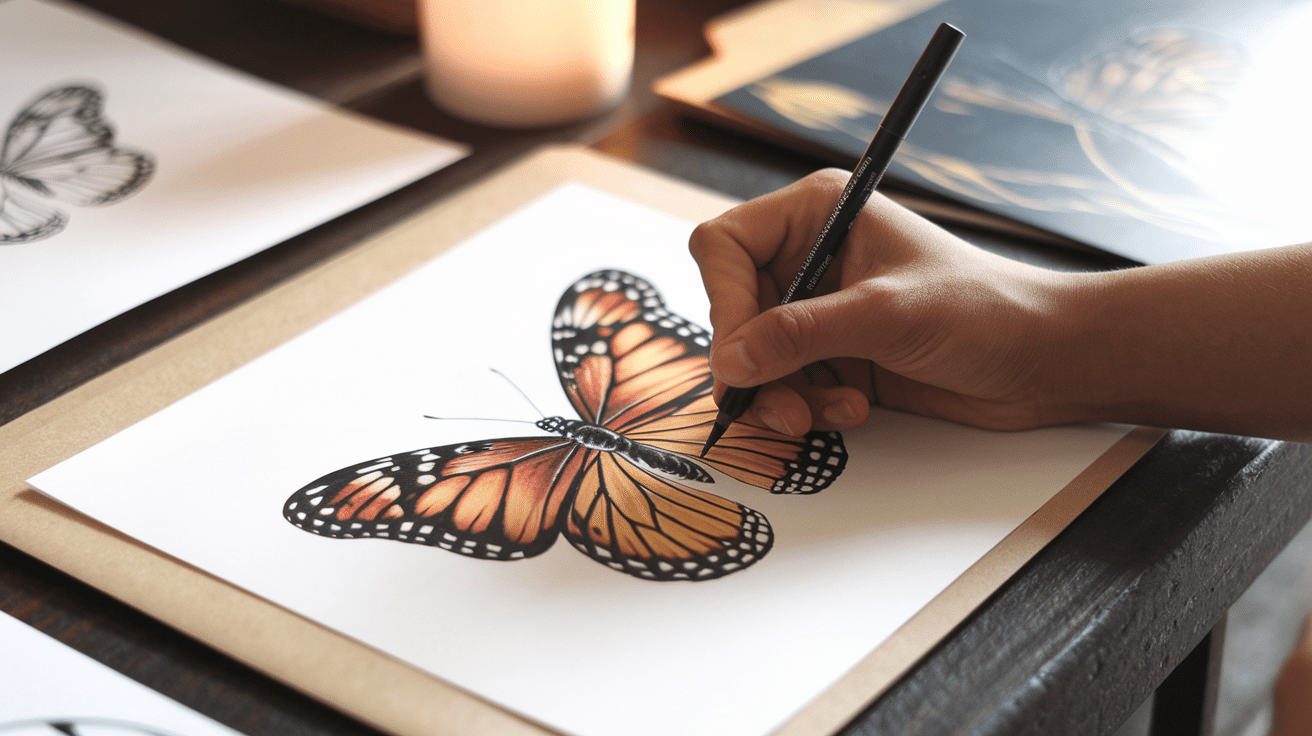
Creating true-to-life butterfly drawings takes skill and focus. Artists often look for ways to add more life to their work. With the right methods, they can make flat drawings pop off the page. These tips help artists create butterflies that look like they might fly away at any moment.
- Add proper shading: Light and shadow give butterfly drawings depth. Artists should pick where light comes from and shade the opposite side. The body should be darker than the wings in most cases. This makes the butterfly look solid and three-dimensional.
- Include tiny details: Real butterflies have small features like tiny hairs on their bodies and thin veins in their wings. Adding these small details helps make drawings look more true to life. A fine-tipped pen or sharp pencil works well for these elements.
- Show natural poses: Butterflies rarely sit with wings perfectly flat. They often hold wings at slight angles or fold them. Drawing butterflies in natural poses makes them look more alive. Looking at photos of real butterflies helps with this.
- Create thin, clear lines: Butterfly parts like antennae and legs are very thin. Using light pressure and sharp tools helps create these fine lines. Bold, thick lines can make butterflies look cartoon-like instead of realistic.
- Work on wing transparency: Butterfly wings have a slight see-through quality. Artists can show this by making colors lighter in some spots or leaving tiny gaps in the color. This gives the feeling of thin, delicate wings.
Summing Up
Drawing butterflies becomes easier with practice and the right methods. This blog has covered key steps that help artists create more lifelike butterfly drawings.
The basic shapes form a good starting point, while details like wing patterns and textures add life to the art.
Creating realistic butterflies is about more than just copying what they look like. It involves understanding light, form, and natural poses. These elements work together to turn simple outlines into beautiful art.
Anyone who follows these techniques on how to draw butterfly art will see their skills grow over time.
The most important thing is to keep practicing. With each new butterfly drawing, artists will notice their work becoming more natural and detailed.


