
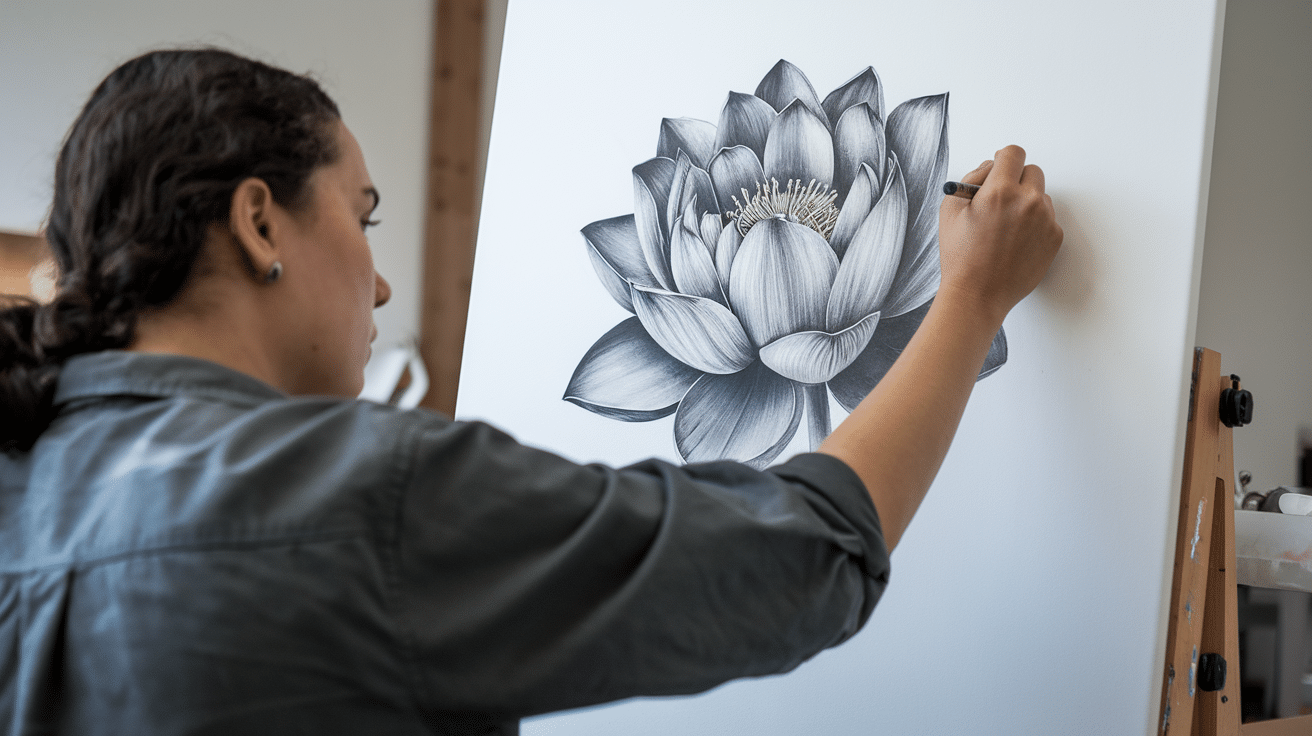
Many artists stare at a blank page when trying to draw flowers. Drawing a lotus can seem hard at first glance, but it doesn’t have to be. The lotus flower has a special place in art because of its beauty and meaning across cultures.
Learning how to draw lotus flowers is easier than most people think. This skill requires just a few basic steps that anyone can follow. The process breaks down into simple shapes that come together to form a splendid result.
This blog offers clear instructions for creating beautiful lotus drawings without fancy tools or years of practice. Readers will be able to sketch their own lovely lotus in minutes after reading this tutorial.
Time to grab a pencil and paper to start creating a gorgeous lotus flower today
Tips for Drawing Lotus Like a Pro
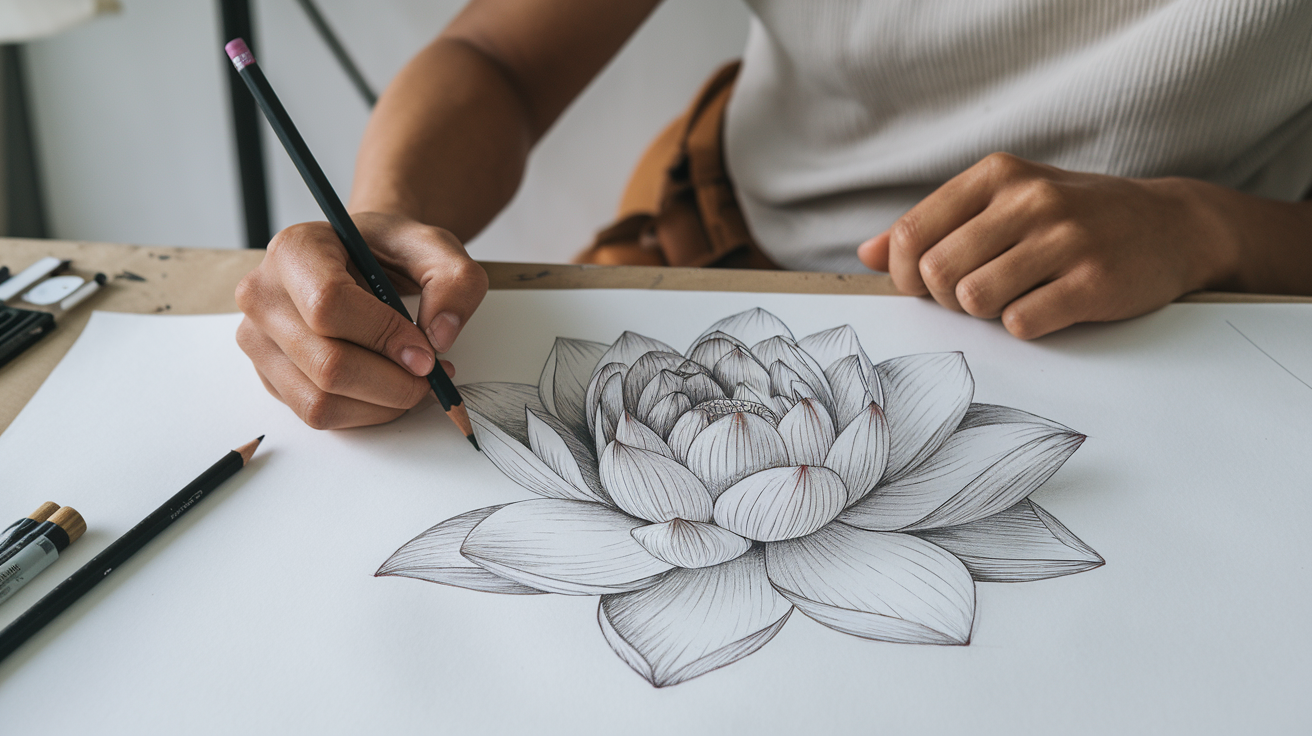
Drawing a lotus flower might seem tricky for beginners. Anyone can learn how to draw lotus flowers with some practice and patience.
The following tips will help artists create better lotus drawings without much hassle. These simple techniques make the process easier and the results more pleasing to the eye.
1. Basic shapes: The lotus flower starts with simple circles. Artists should first draw a small circle in the center for the seed pod. They can then add oval shapes around this circle for the first layer of petals. Each new layer of petals builds outward from the center with slightly larger ovals.
2. Proper proportions: The size relationship between petals matters when drawing a lotus. The inner petals should be smaller than the outer ones. Artists should make each new layer about 25 percent larger than the previous one. This gradual increase creates the natural opening look of a lotus flower.
3. Layering technique: Lotus petals grow in layers that overlap each other. Artists should draw the back petals first and then work forward. They need to show how petals hide behind others by leaving small gaps in lines. This overlapping creates depth and makes the lotus look real.
4. Light shading: Adding subtle shadows brings the lotus drawing to life. Artists should decide where light comes from and shade the opposite side of the petals. They can use light pencil strokes that follow the curve of each petal. Keeping shading light around the edges of petals creates a soft, natural look.
5. Water elements: For a complete scene, artists often draw lotus flowers sitting on water. They can add small curved lines below the flower to suggest ripples. Adding a few lily pads nearby creates context. Simple straight lines can represent stems going down into the water.
How to Draw a Lotus in Some Simple and Easy Steps
The lotus flower holds a rich meaning for many, symbolizing purity, strength, and calm rising above the water. Learning to draw a lotus can be both relaxing and rewarding when broken into gentle, clear steps.
Each curve adds beauty and balance to the final bloom. This section walks through each phase with care, making it easy for anyone to follow along and create their own elegant lotus flower.
Step 1: Start with the Center Petal
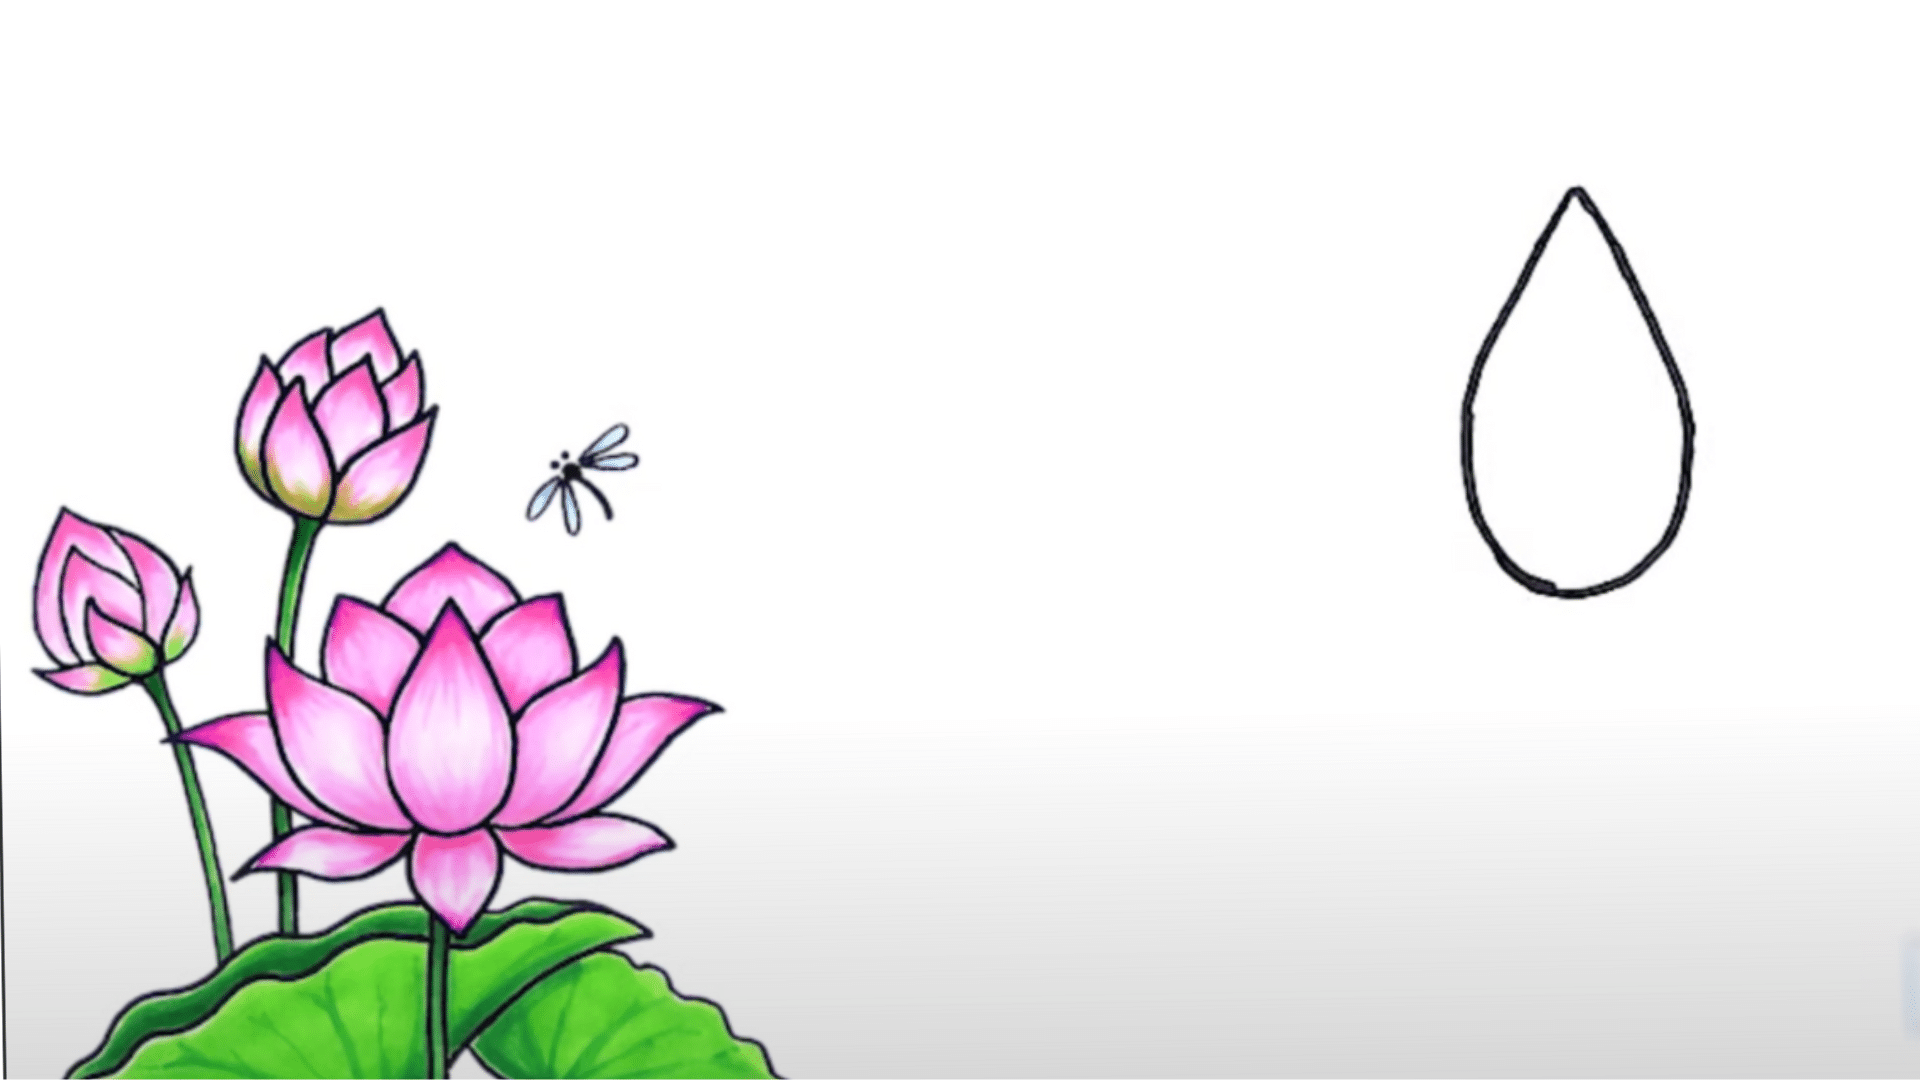
The drawing begins with a single petal in the center of the page. A small guiding dot helps place the tip, and two soft curved lines form a teardrop shape.
The lines meet at the bottom with a gentle, rounded point. This center petal sets the base for the rest of the flower.
Step 2: Add the Side Petals
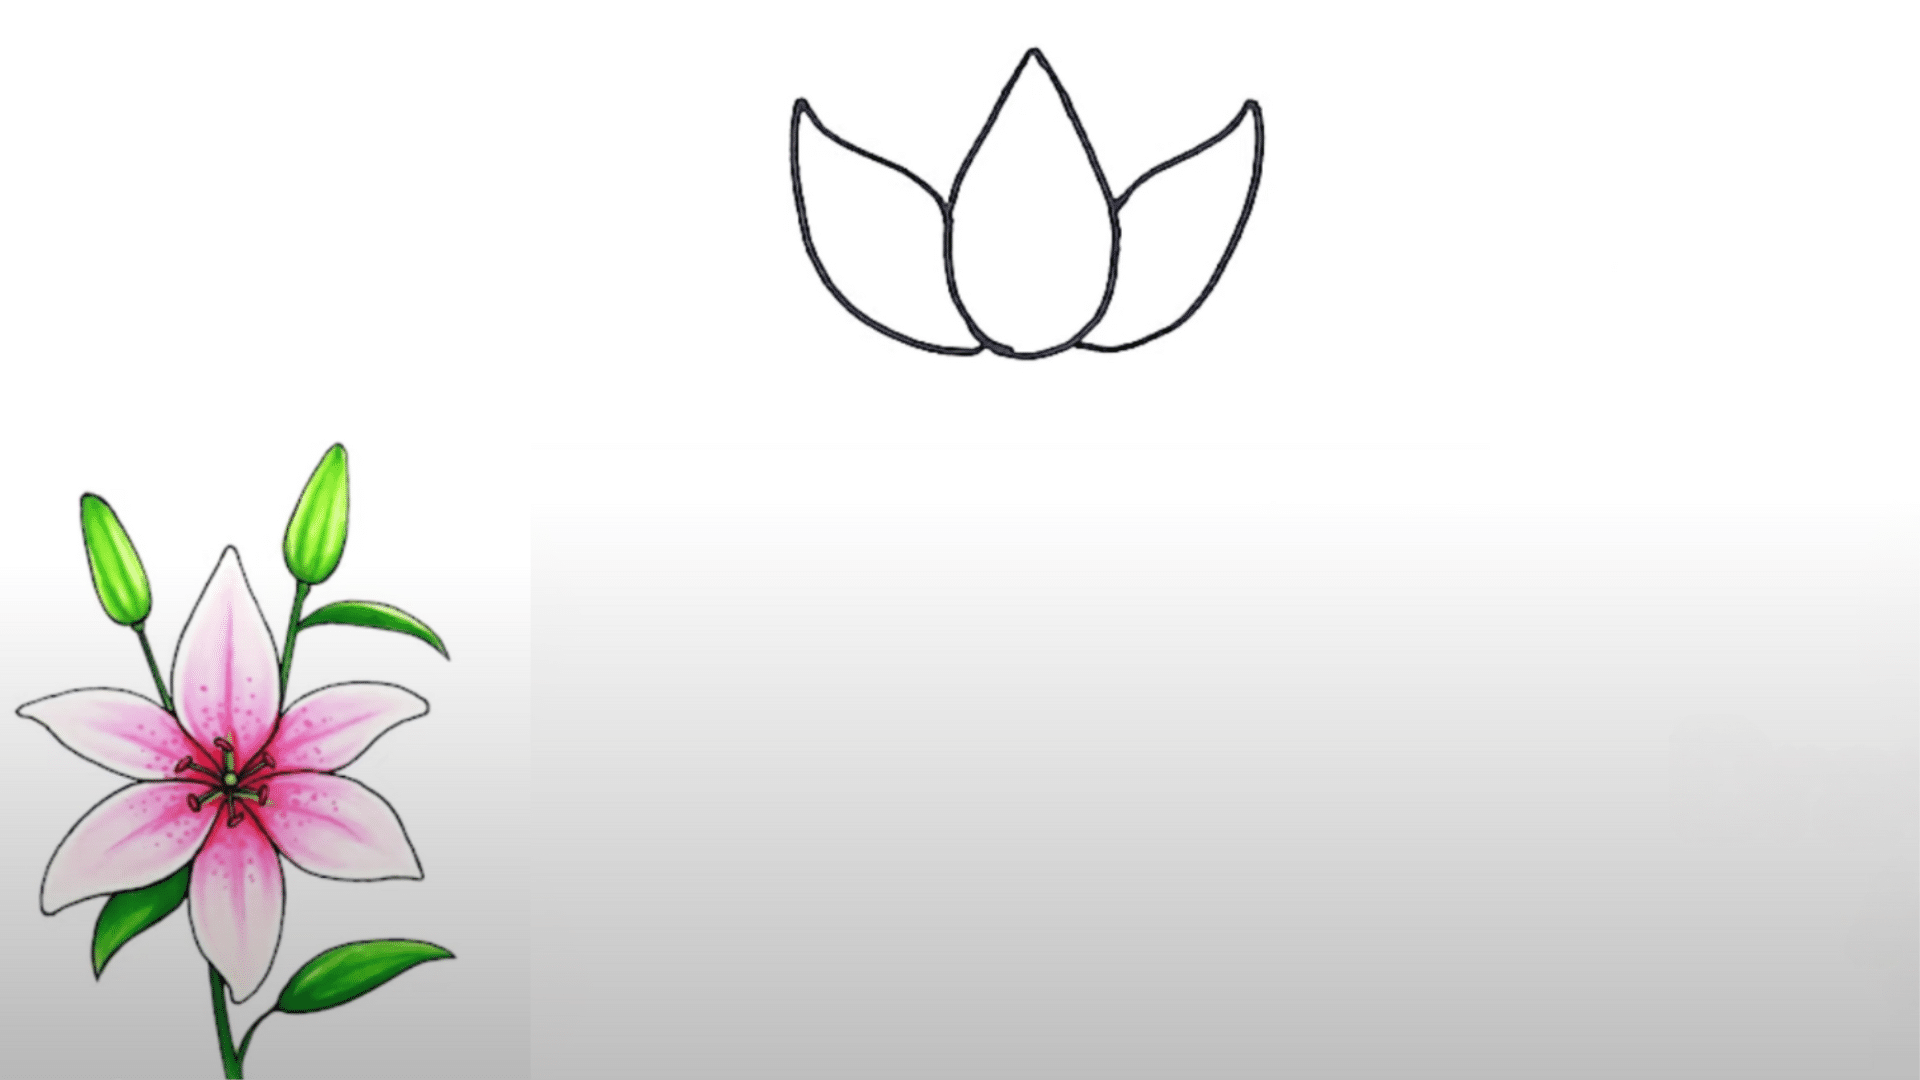
From each side of the center petal, wide petals extend outward and curve back toward the base. These outer petals should mirror one another in shape and size for balance.
Their flow suggests an open, welcoming lotus in full bloom. Soft curves help keep the design graceful.
Step 3: Draw the Inner Petals

Smaller petals are added between the existing ones to build volume. One petal is placed at the top, slightly above the center.
These background petals peek out just enough to add depth. They gently overlap the front petals to create a layered look.
Step 4: Build the Outer Petal Layer
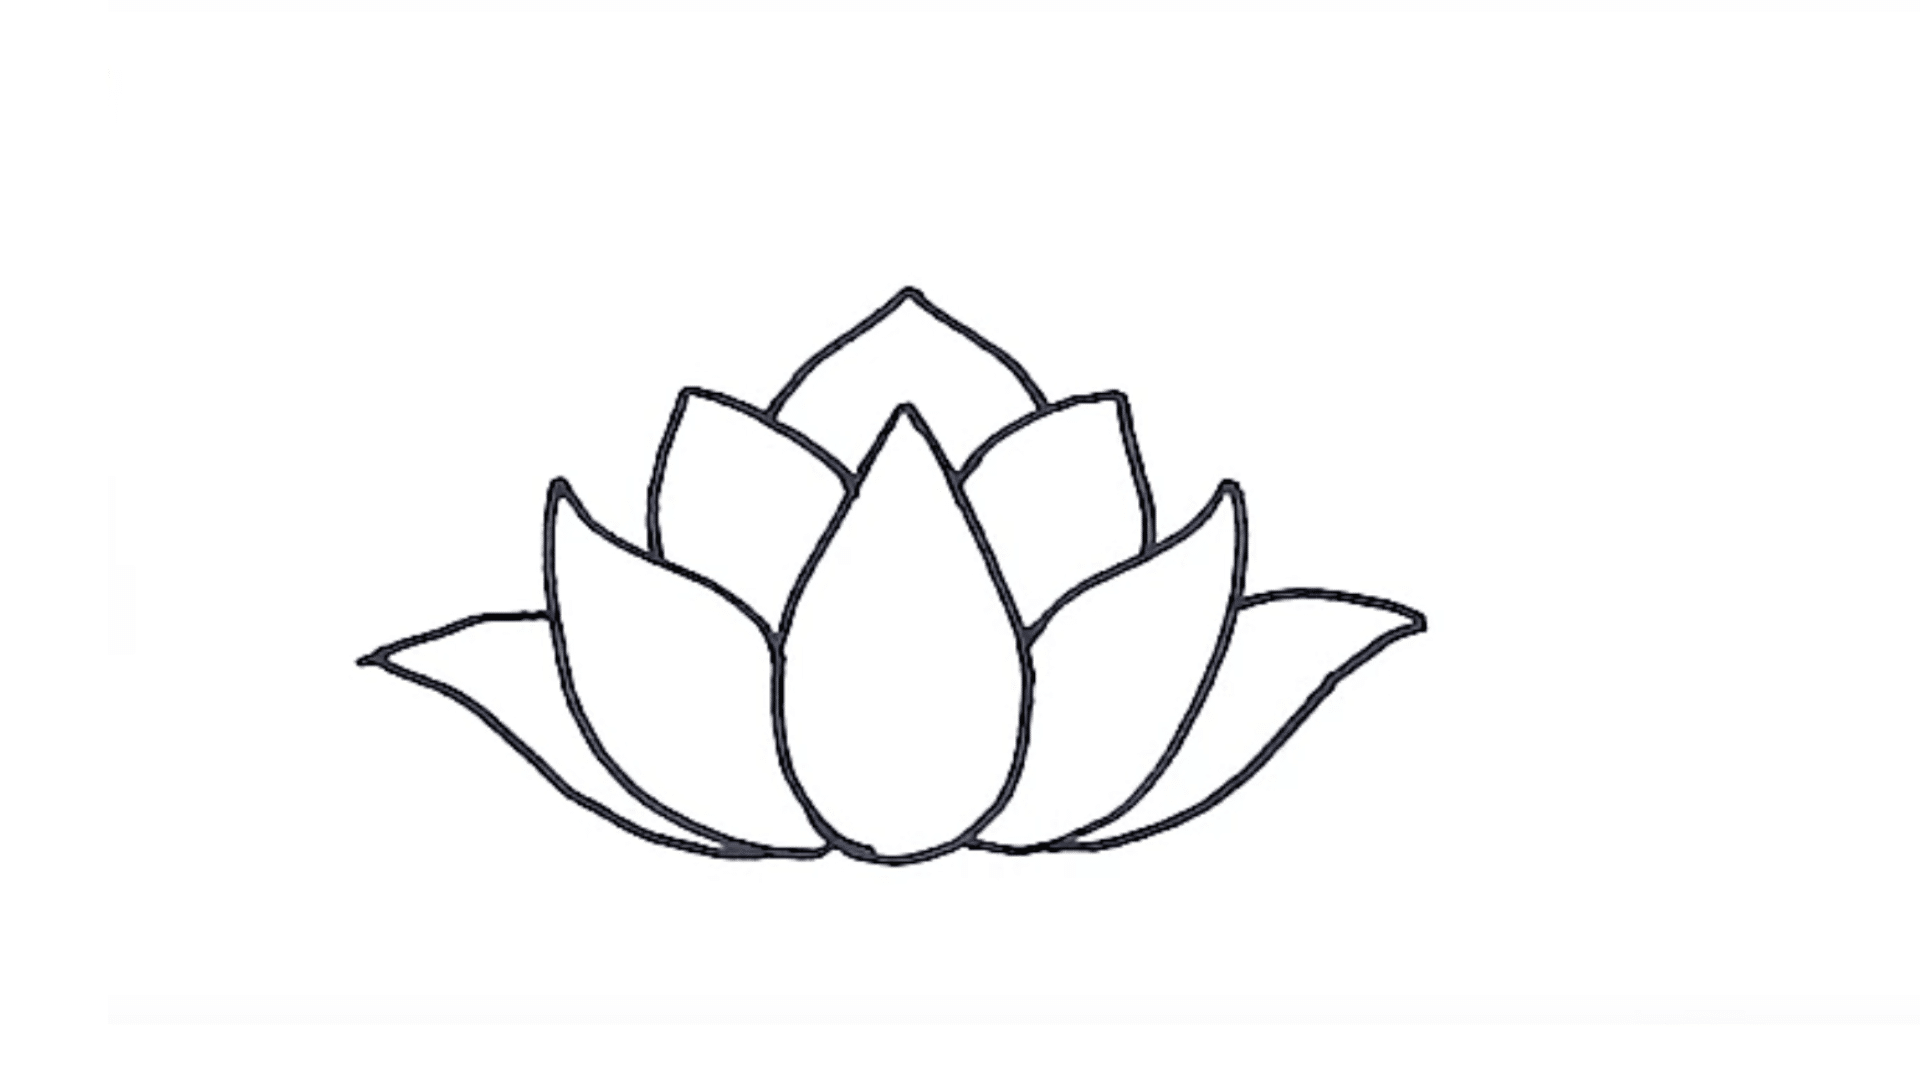
To give the lotus a full, natural appearance, another layer of petals is drawn behind the first. These petals should appear slightly larger and extend outward more than the front ones.
- Begin each petal from the base, curving it outward and then tapering it gently back.
- Maintain a soft, symmetrical look for visual balance.
- Ensure all petals appear evenly spaced.
Step 5: Add the Bottom Petals
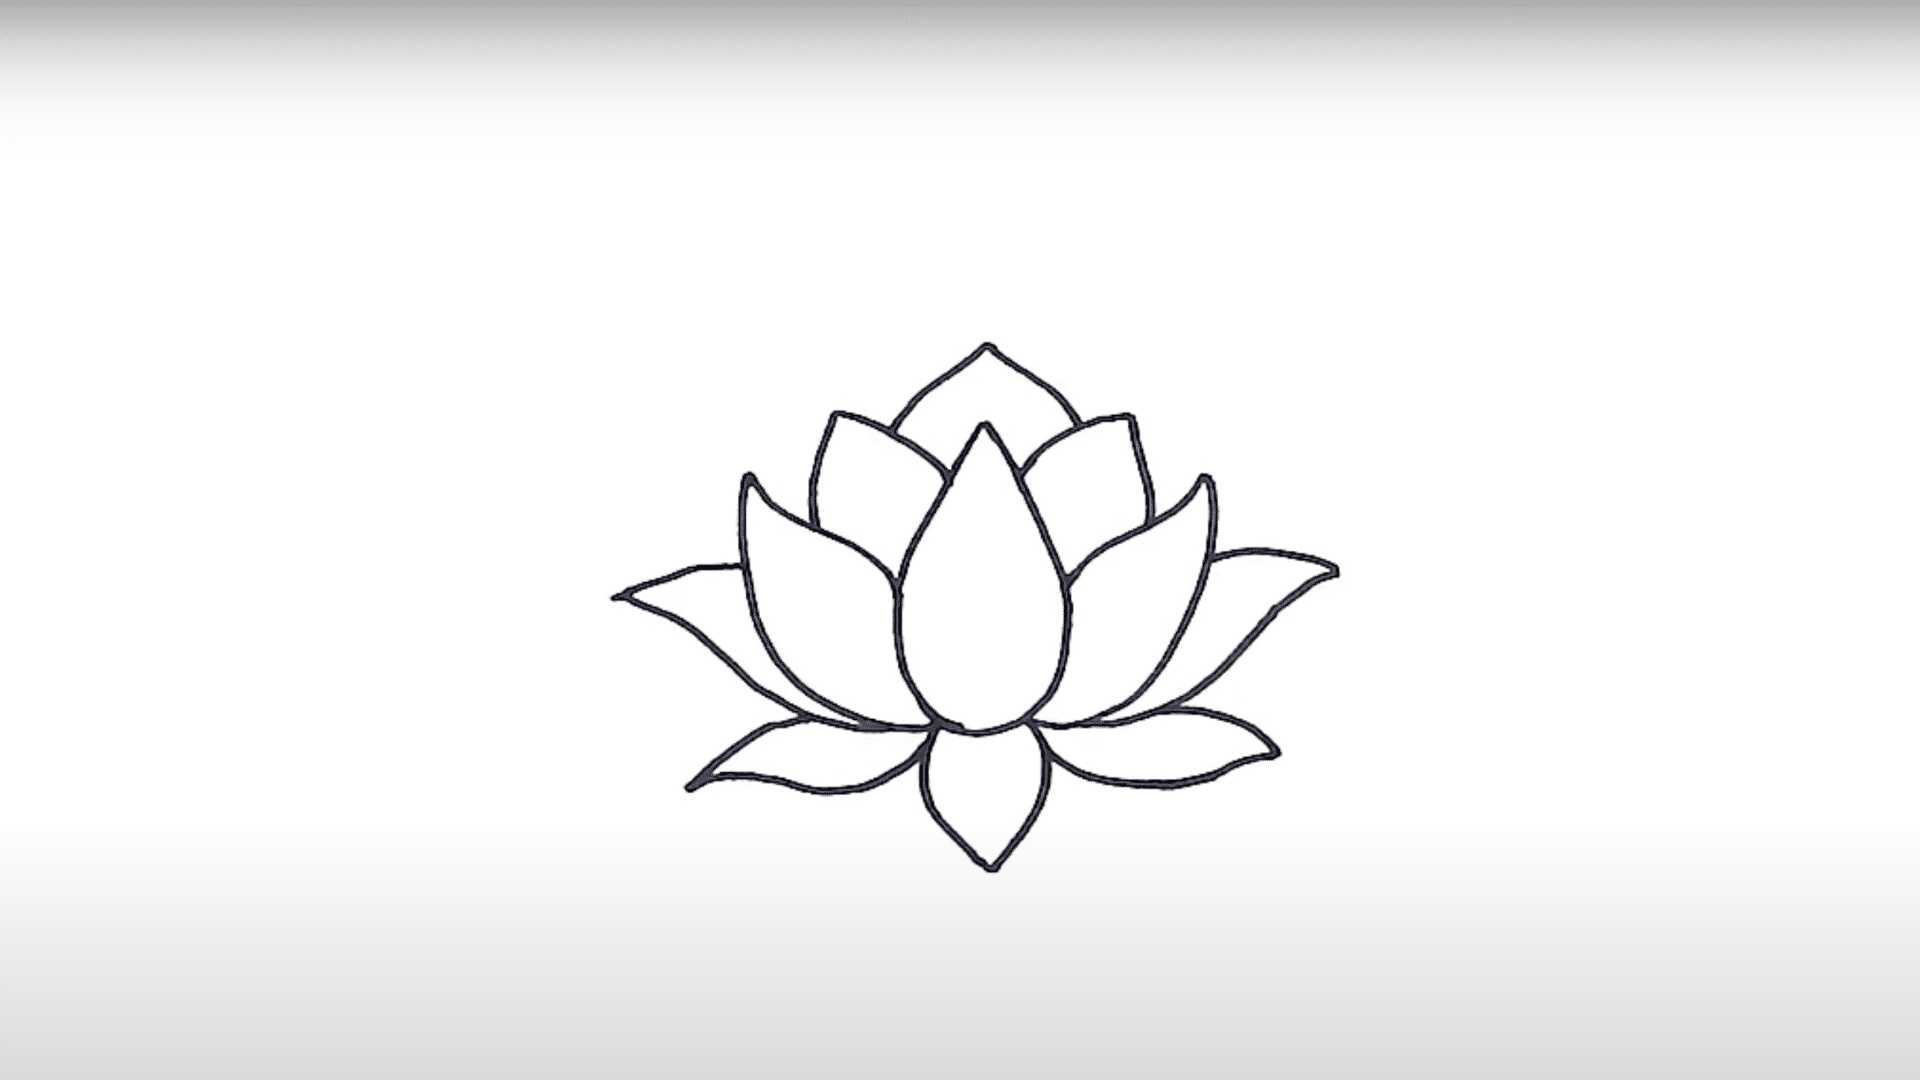
Three smaller petals are drawn beneath the flower to round out the shape. The middle one appears directly below, while the other two angle slightly outward.
These petals give the lotus a more grounded and complete appearance. Their rounded forms should nestle gently under the top layers.
Step 6: Create the Stem and Large Leaves
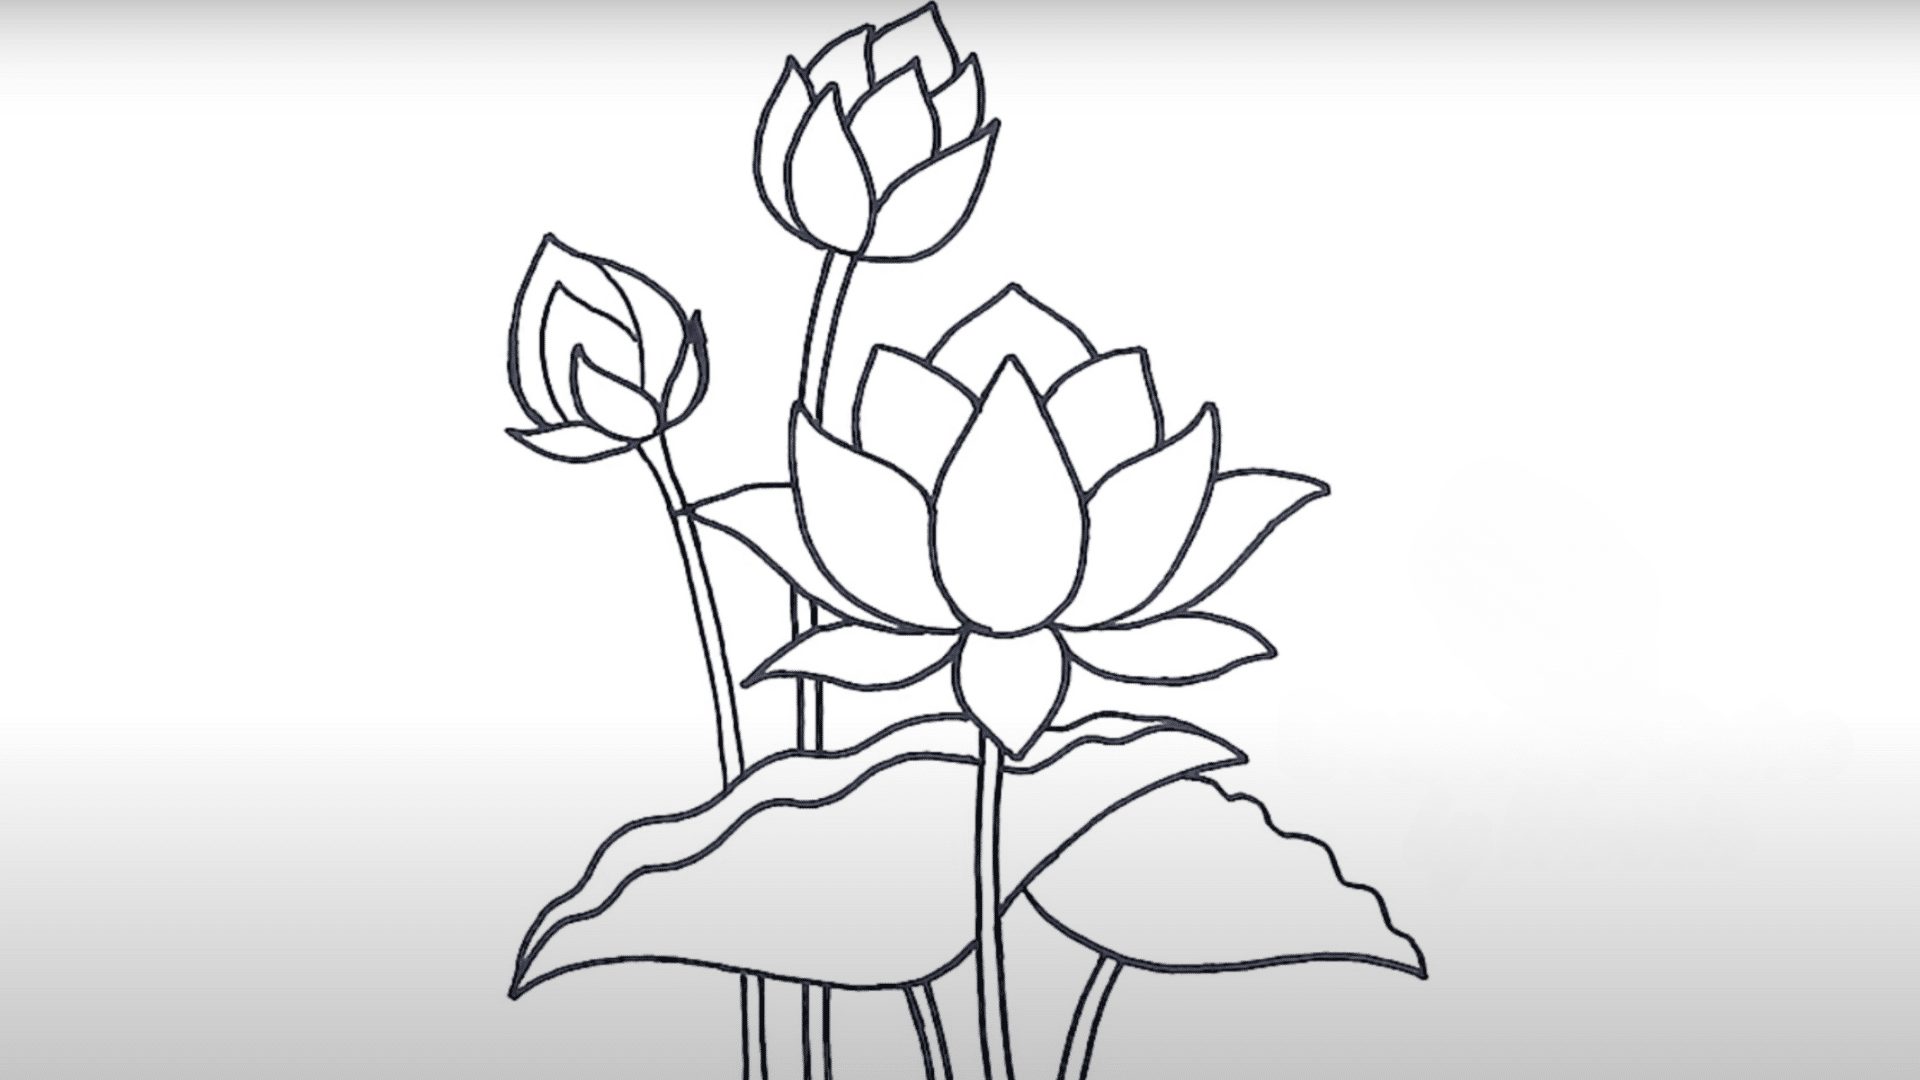
After shaping the flower, it’s time to give it structure and a sense of place. A stem helps anchor the lotus, while large leaves add depth and natural charm.
- Draw a gentle, curved stem extending downward from the base of the flower.
- Sketch a large leaf behind the bloom with soft, wavy edges and a broad, flowing shape.
- Add a second leaf to the opposite side for balance and a fuller look.
Step 7: Complete with Details and Extra Elements

The final step brings charm and life to the drawing. These small additions help evolve the lotus from a simple sketch into a peaceful scene. By including natural elements, the composition feels more connected and complete.
- Add a closed lotus bud beside the main flower to show different blooming stages. Keep it smaller and more vertical in shape.
- Sketch a gentle dragonfly nearby, using an oval for the body and delicate wings that curve out gracefully.
- Draw a soft horizontal waterline beneath the lotus to suggest a calm pond surface and visually ground the flower.
- Light ripples or a few floating lines can be added to enhance the water effect.
Common Mistakes to Avoid when Drawing a Lotus
Many artists face challenges when they try to draw lotus flowers for the first time. They often make similar errors that affect how their final artwork looks.
Most of these mistakes can be fixed with some guidance and practice. Artists who know about these common errors will find it easier to create better lotus drawings.
- Uneven petals: Many people draw lotus petals that vary too much in size and shape. Each row of petals should be fairly uniform with slight natural variations. Artists should use light guide circles to help make petals in the same layer similar in size. Taking time to sketch the basic shape before adding details leads to more balanced results.
- Poor center focus: The center of a lotus needs careful attention but many artists rush this part. The seed pod should have clear details with small dots or circles to show seeds. Artists should make the center slightly darker than the petals through careful shading. This contrast helps the whole flower look more real and balanced.
- Flat appearance: Lotus flowers have depth but beginners often draw them looking flat. Artists forget to show how petals curve and bend in different directions. They can fix this by adding simple curve lines within each petal. Small shadows where petals overlap also help create a three dimensional look.
- Too many petals: Some artists add too many layers of petals to their lotus drawings. A real lotus usually has three to four main layers of petals. Counting petals in reference photos before starting helps avoid this problem. Fewer well well-drawn petals look better than many poorly drawn ones.
- Rigid lines: Lotus petals have soft edges, but many people draw them with hard, stiff lines. The outline of each petal should vary in pressure to show the delicate nature of the flower. Artists should practice making lines that get lighter at the tips of petals. This small change makes the lotus look more natural and less like a cartoon.
Wrapping It Up
Learning how to draw lotus flowers takes practice but brings great satisfaction.
The step-by-step approach makes this beautiful flower accessible to artists at any skill level. By focusing on proper petal placement, careful shading, and attention to the center details, anyone can create impressive lotus artwork.
The lotus holds special meaning in many cultures as a symbol of purity and rebirth. Creating this flower on paper connects artists to this rich tradition.
When artists avoid common mistakes and follow the tips outlined in this guide, their lotus drawings improve quickly.
Drawing the lotus builds skills that transfer to other floral illustrations. The techniques for capturing curves, overlapping elements, and creating depth work for many subjects.
With these new skills, artists can continue their creative growth beyond the lotus.