Many artists struggle with finding an art medium that offers both bright colors and a forgiving learning curve.
Pastel drawing presents this perfect balance, but beginners often feel overwhelmed by technique questions and material choices. The good news? Anyone can learn it with the right guidance and practice.
This blog will walk readers through everything they need to know about pastel drawing – from selecting quality materials to mastering basic techniques.
We’ll learn how different surfaces affect results and simple methods for creating striking artwork. By the end, readers will have the knowledge to start their own drawing practice with confidence.
Pastel Drawing for Beginners – Easy Tips to Get Started
If you’re new to the colorful world of pastel drawing, you’re in for a fun and expressive experience. Soft pastels are perfect for beginners because they blend easily, don’t require brushes, and offer bright results.
Below are some easy tips that will help you build confidence and skill as you start your drawing experience.
- Choose the Right Pastels – Start with soft or chalk pastels, which are beginner-friendly and ideal for blending.
- Use the Right Paper – Go for textured or sanded paper to help grip the pastel pigment better.
- Keep It Simple – Begin with basic shapes or simple landscapes to get a feel for the medium.
- Work Light to Dark – Apply light colors first, then layer darker tones to add depth.
- Blend with Fingers or Tools – Use your fingers, cotton swabs, or blending stumps for smooth transitions.
- Fix Your Artwork – Use a fixative spray lightly to preserve your drawing without smudging it.
- Practice Layering – Learn how to layer colors to create richness without overworking the paper.
- Keep Hands Clean – Use a scrap paper under your hand to avoid smudging your drawing.
These tips will help you enjoy the process and improve your skills with every sketch.
How to Draw with Pastels – A Step-By-Step Guide
If you’ve ever wanted to create soft, colorful artwork with ease, pastels are a great place to start. They’re fun, beginner-friendly, and don’t need a lot of fancy tools.
This simple step-by-step guide will show you how to draw with pastels and help you enjoy every part of the process.
1. Choose the Right Paper and Prepare Your Workspace
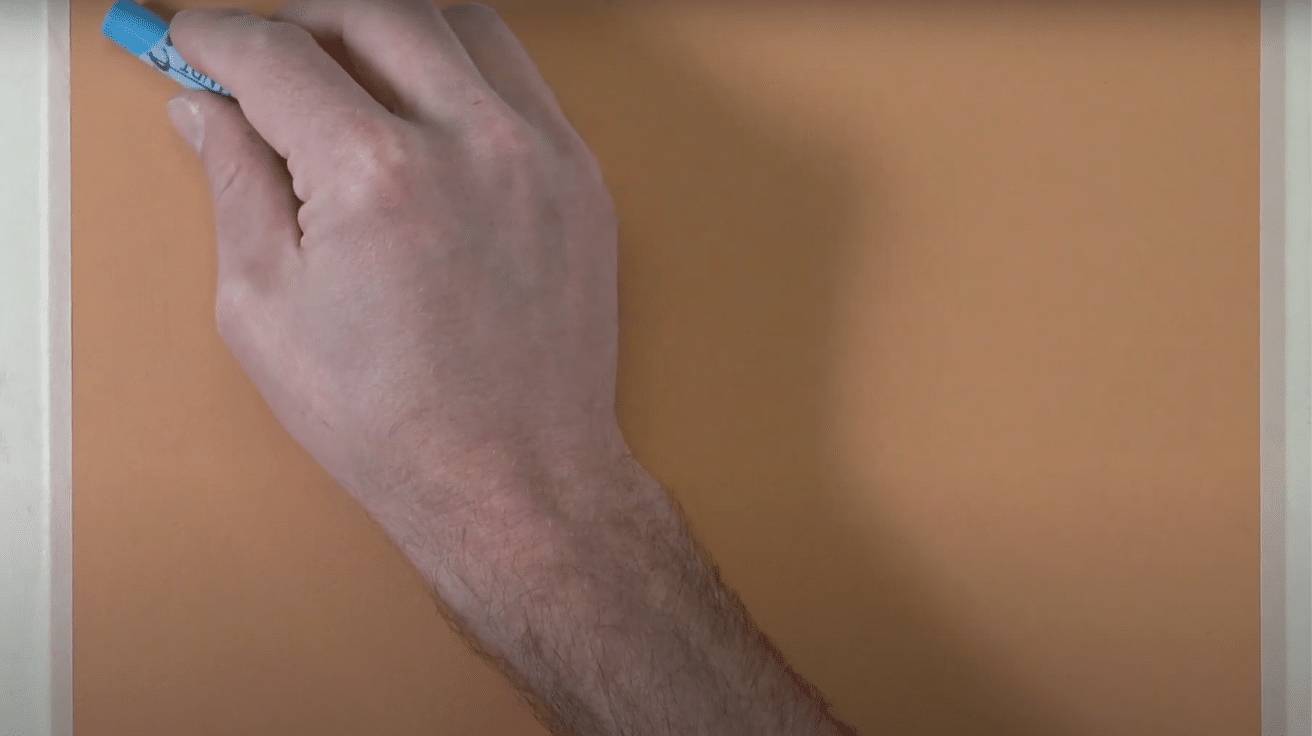
For a successful drawing, begin with the right surface. Choose a pastel paper like orange-toned Tansen batons, using its textured side for a stronger grip.
Set up your space with good lighting, and keep your tools within reach. A clean, welcoming environment can make your drawing session feel both calming and productive.
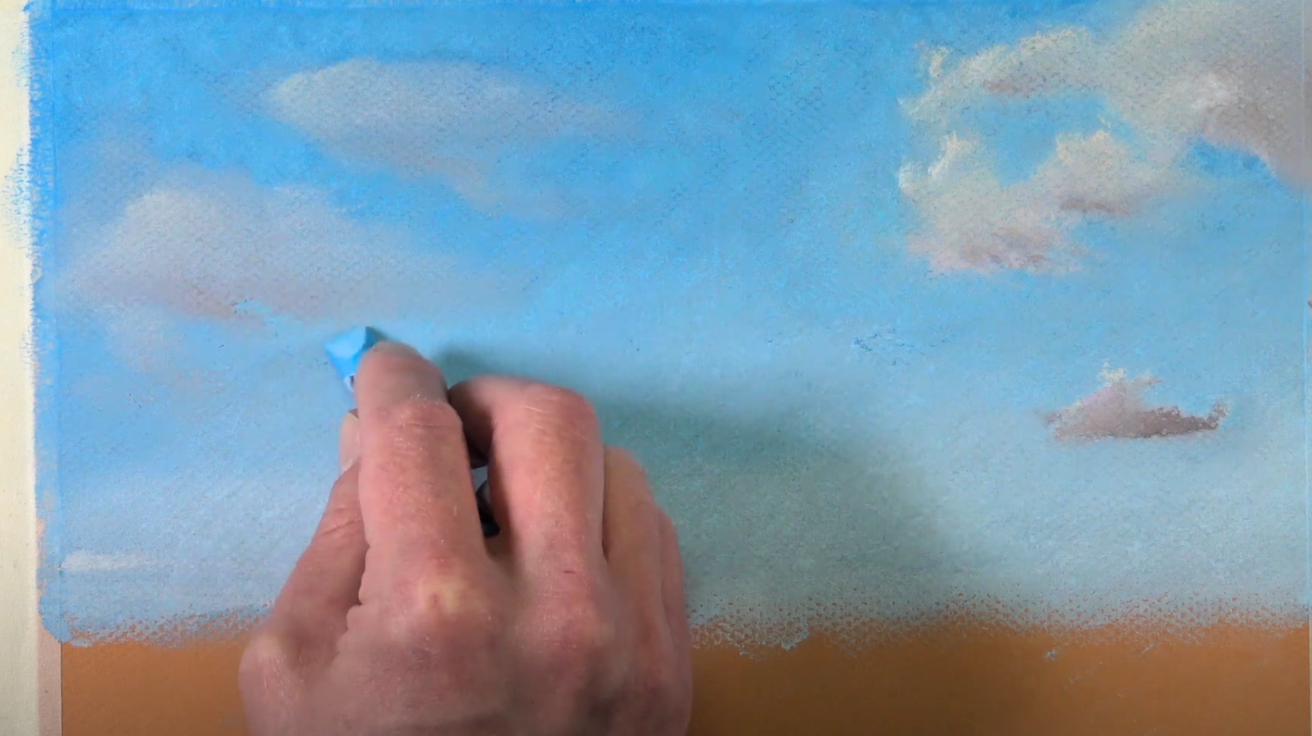
2. Build the Sky Using Layered Blues
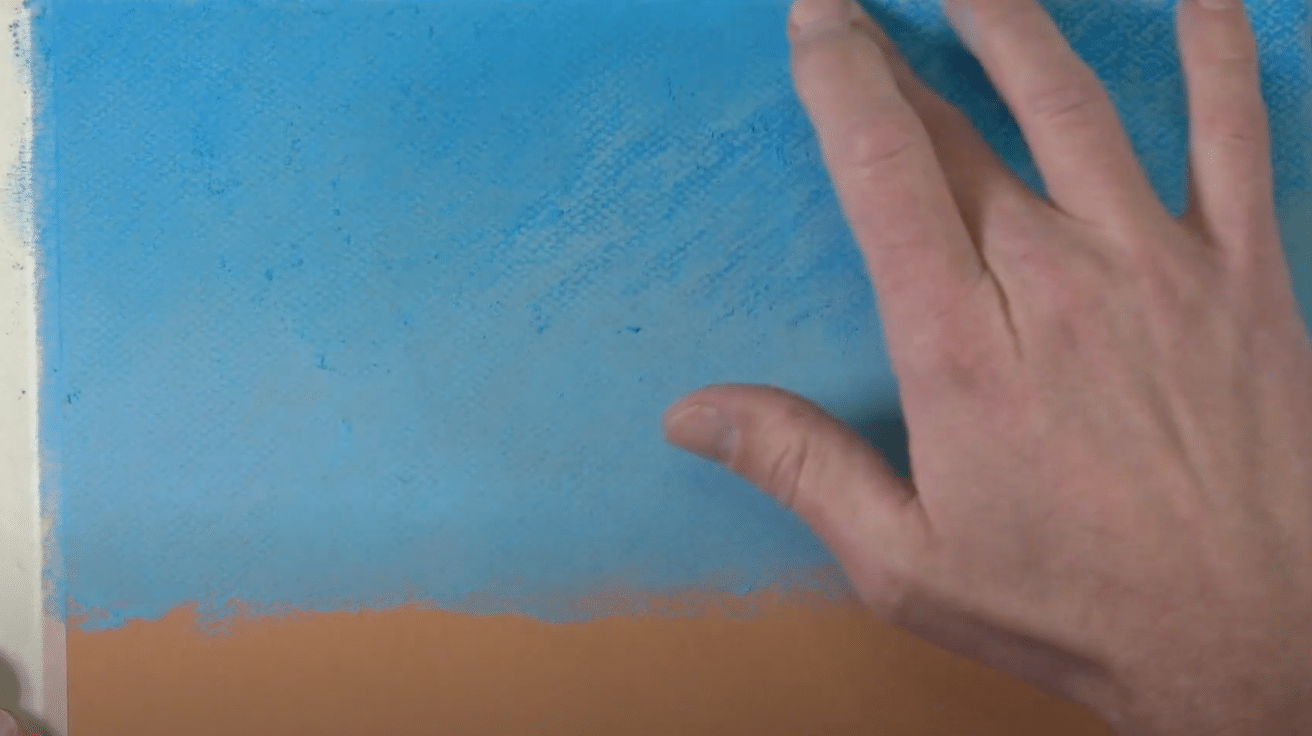
To start your pastel drawing, focus on creating a serene, believable sky:
- Begin by applying a light blue pastel across the upper section of your surface, extending just below the horizon.
- Use your fingers to gently blend the color downward, softening any harsh transitions.
- Introduce a slightly darker blue at the top to form a smooth gradient.
This simple layering builds a natural, airy feel an essential foundation in drawing for any landscape backdrop.
3. Add Warmth to the Horizon
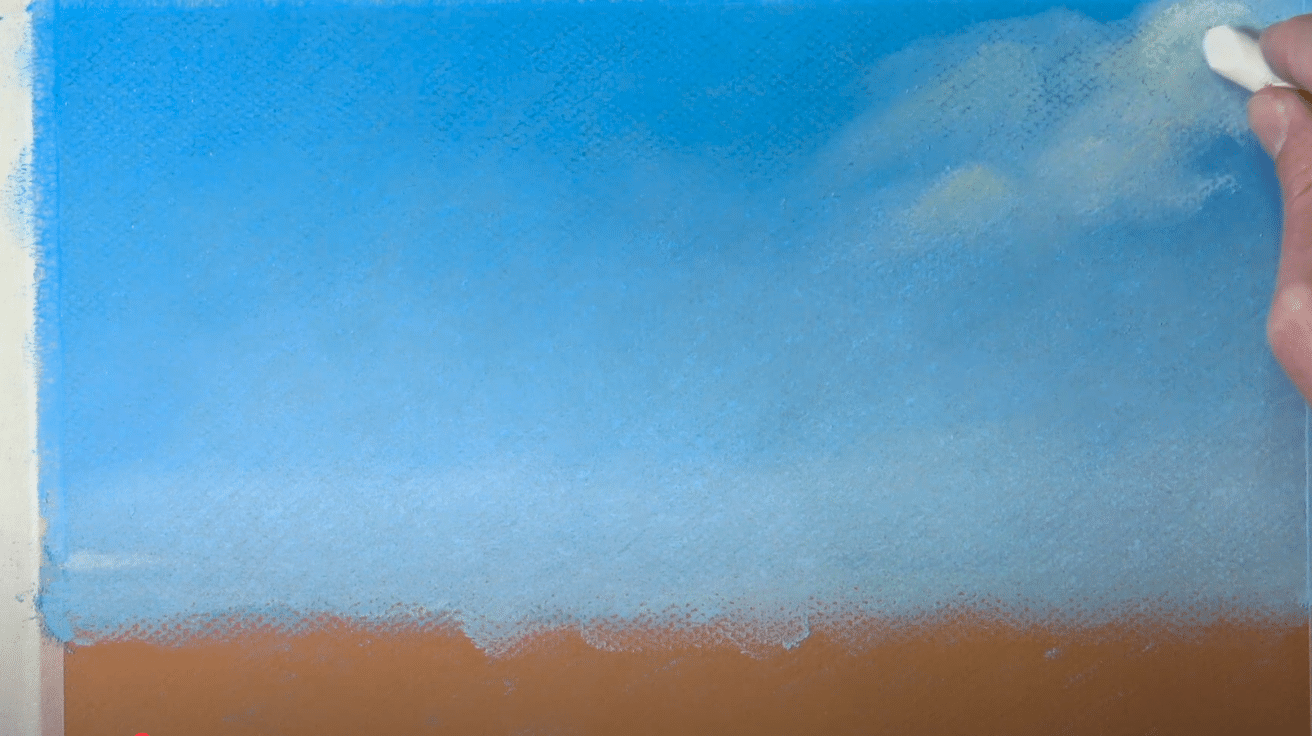
To bring life and subtle contrast to your sky, gently introduce a pale yellow pastel near the horizon line. Though it may resemble white at first glance, this soft yellow hue infuses a quiet warmth that balances the coolness of the blues above.
In drawing, these small shifts in temperature and tone create a more believable, dimensional sky. Adding this warmth gives the horizon a sun-kissed glow, making the entire scene feel more alive and emotionally resonant.
4. Shape the Clouds with Soft Touches
Creating clouds in your drawing adds mood and depth to the sky.
- Start with a pale pink or light gray pastel to outline the basic cloud forms.
- Use gentle finger blending to soften edges, making the clouds appear fluffy and organic.
- Add light yellow to the cloud tops to reflect sunlight.
- Use middle-tone purples and grays in the lower parts for gentle shadows.
This careful, muted approach ensures the sky feels tranquil without overpowering your pastel drawing’s foreground.
5. Establish the Horizon and Distant Trees
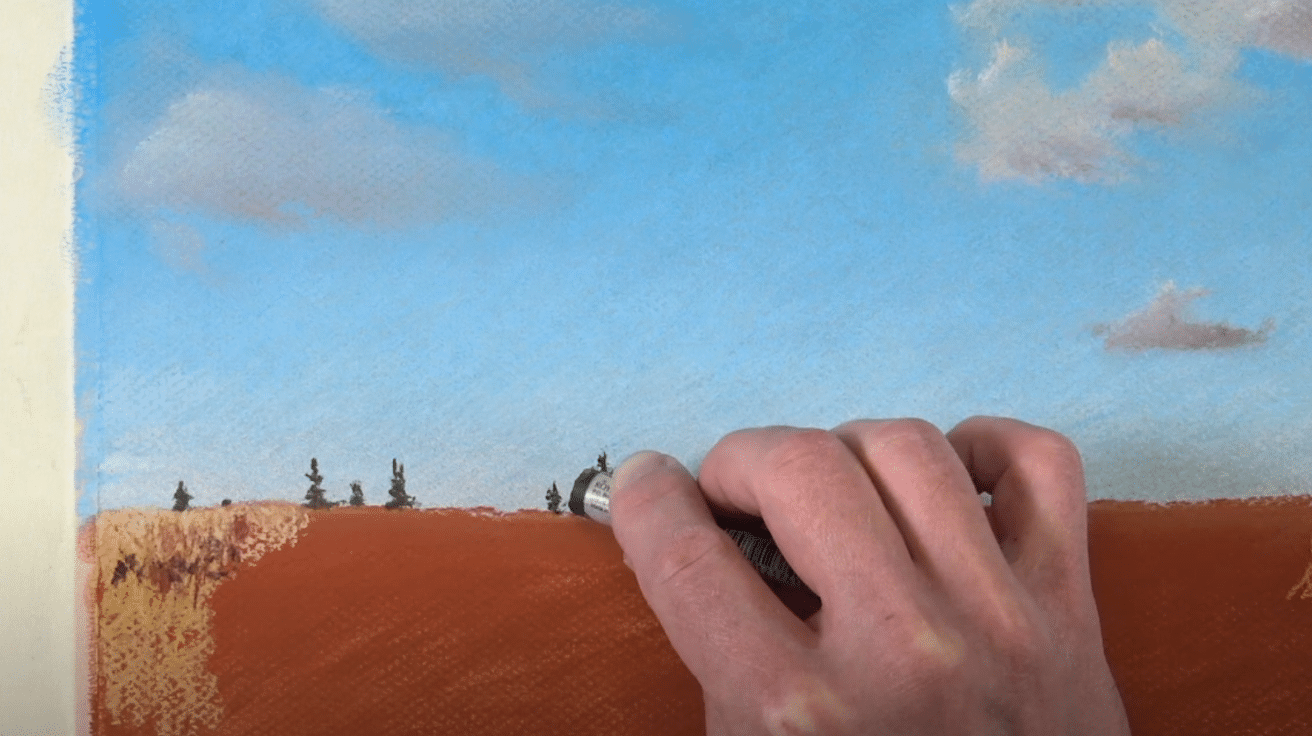
To develop space in your drawing, use dark green and browns to suggest distant trees along the horizon. Avoid over-detailing simple shapes work best at this scale.
Blend lightly to soften edges, preserving the illusion of distance. Use burnt sienna to block in the base for the middle and foreground with your fingers.
6. Improve the Foreground with Earthy Tones
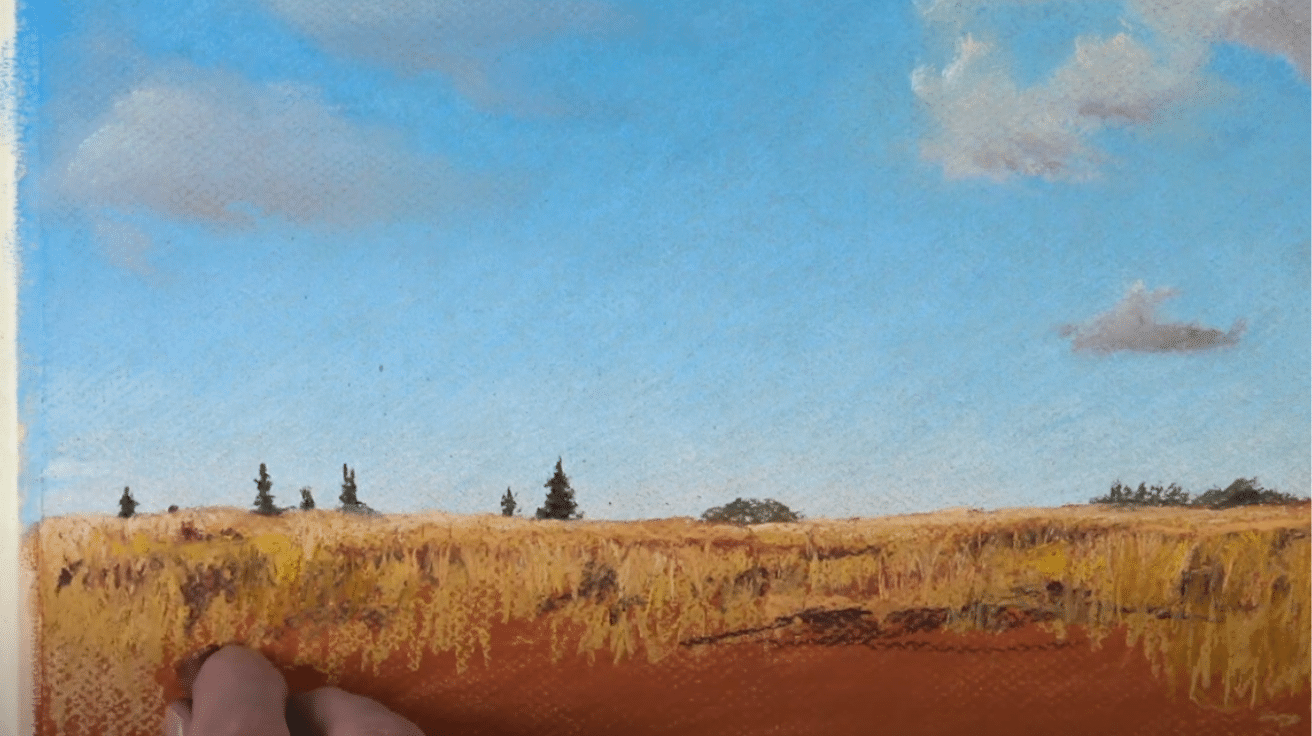
The foreground in a drawing is where texture and richness truly shine. Begin by layering yellow ochres, burnt sienna, and deep browns using vertical strokes to mimic the direction of natural grass.
Unlike the sky, this area benefits from boldness, which avoids over-blending and allows colors to interact freely. This expressive technique helps create movement and rhythm in the landscape.
By embracing the earthy tones, your drawing will gain depth, warmth, and a grounded feeling that will draw viewers into the scene.
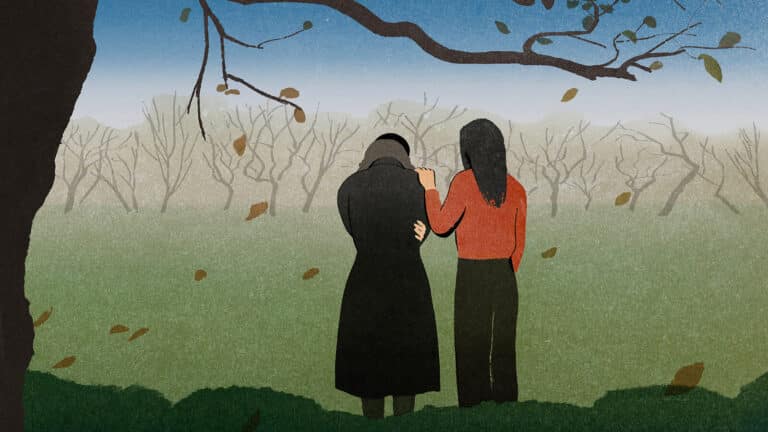
7. Create Trees with Organic Structure
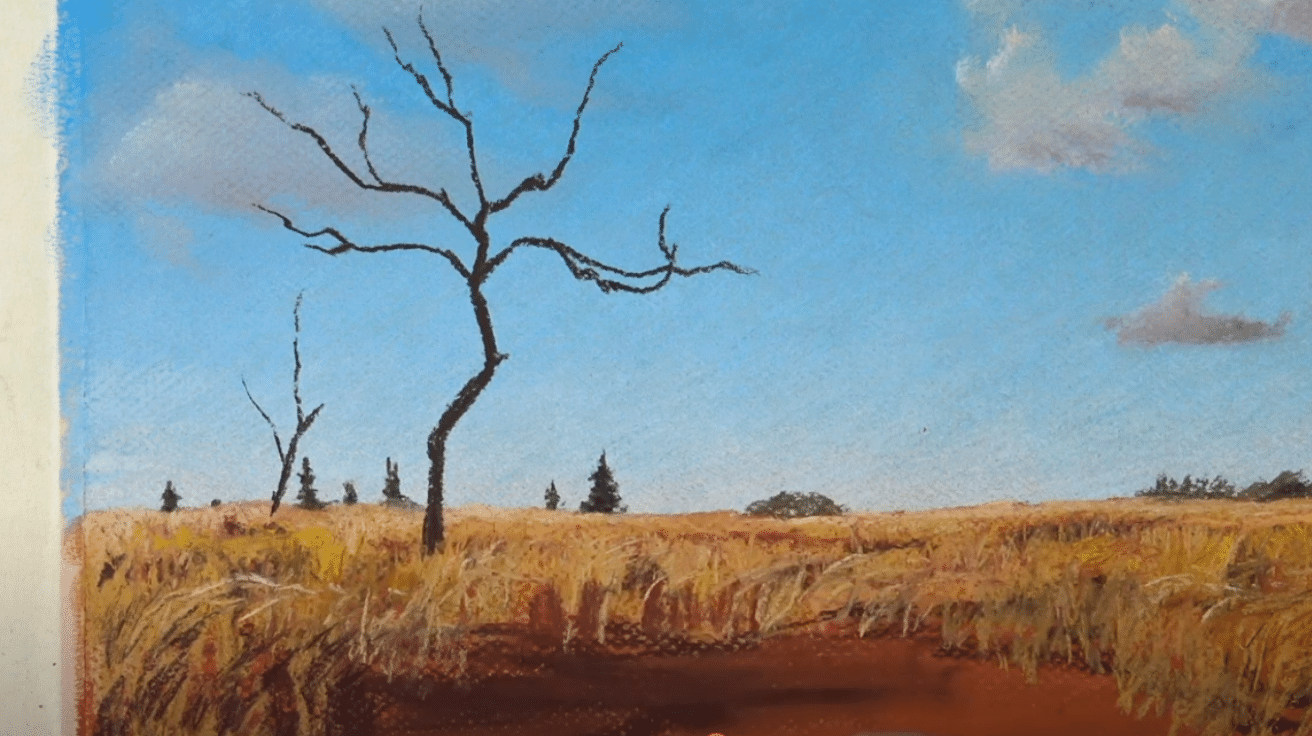
In pastel drawing, trees offer a great chance to add character and dimension:
- Use a dark brown pastel stick to sketch the main trunks and thicker branches.
- Let your strokes grow upward and outward, echoing how real trees expand.
- Avoid rigid lines; trees should feel fluid and natural.
- Highlight the sunlit areas with soft gray or pale yellow pastels.
This thoughtful layering brings structure and warmth, helping your trees feel alive in the context of your drawing.
8. Refine with Pastel Pencils for Detail
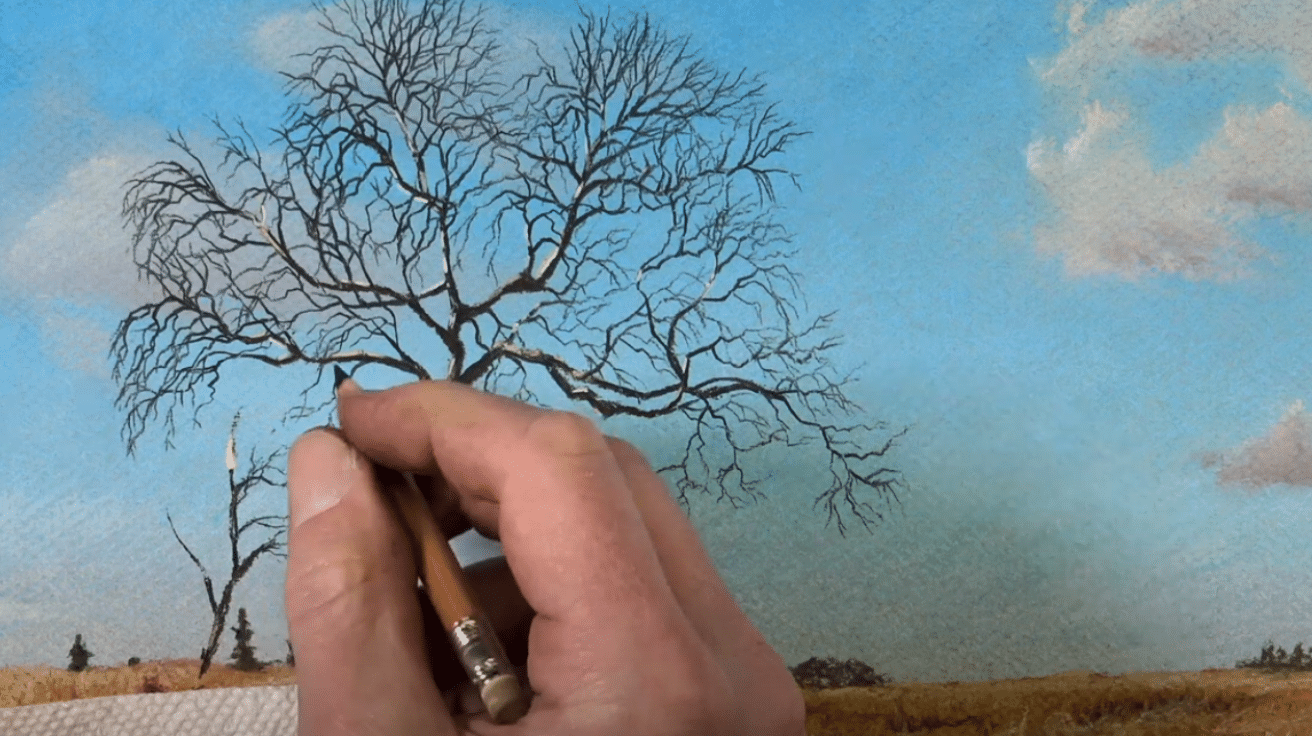
With pastel pencils, drawing becomes precise. For finer branches and distant details, sharpen your black or brown pencil and draw patiently.
Don’t aim for photographic perfection; suggest rather than replicate. Highlights on branches add realism. These finishing touches modify your drawing from a sketch into a complete visual story.
9. Final Touches – Balance, Highlights, and Contrast
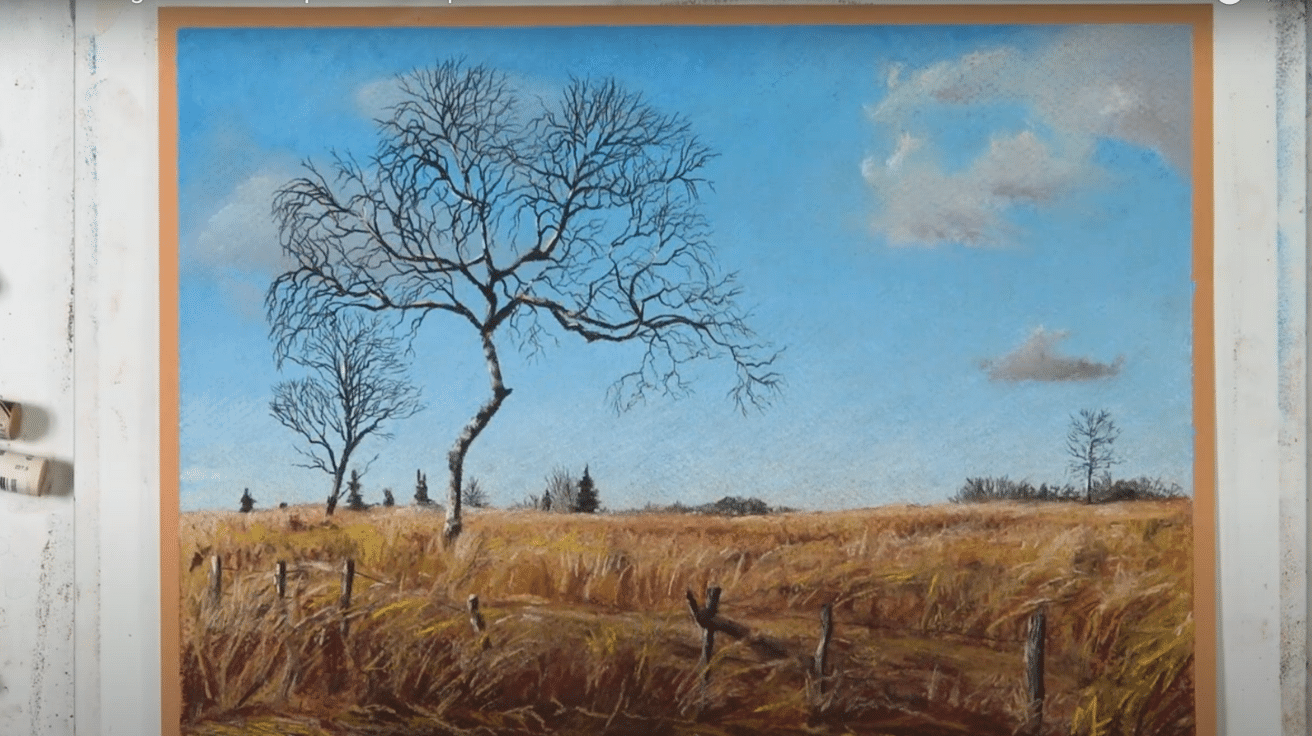
To wrap up your drawing, focus on refining the mood and polish:
- Revisit key elements like fence posts, grass tops, and deep shadows.
- Apply bright highlights sparingly with strong yellows or whites to bring light to specific areas.
- Reinforce depth using darker tones for added contrast. Remove masking tape carefully to reveal clean, crisp edges.
These final additions amplify the overall balance and help your drawing feel gorgeously finished and thoughtfully composed.
Shading Tricks to Become a Master in Pastel Drawings
Mastering shading brings your pastel work to life. These tricks will help you take your drawing skills to the next level.
Begin with Light Pressure – Start gently so you can build up tones slowly and stay in control of your shading.
Layer Colors Thoughtfully – Mix multiple shades of the same color to give your shadows more depth and a realistic feel.
Blend with Fingers or Tools – Use your fingertips, cotton swabs, or blending stumps for smooth transitions between colors.
Work from Light to Dark – Always begin with lighter tones and gradually move into darker areas for a natural gradient.
Add Texture with Cross-Hatching – Try using small strokes in different directions to build shadow with texture.
Use the Side of Your Pastel Stick – This covers larger areas softly and helps keep shading smooth.
Focus on Light Source – Observe where the light hits your subject so your drawing has believable contrast and highlights.
Don’t overwork the Paper – Too many layers can make blending harder. Know when to stop.
Creative Pastel Drawing Ideas to Spark Inspiration
Looking for fresh ideas to try with your pastels?
Even if you’re a beginner or just feeling stuck, these simple and fun drawing ideas will help you get inspired and start creating right away.
1. Sunset Over a Hill
2. A Cute Animal Portrait
3. Simple Fruit Still Life
4. A Starry Night Sky
5. Vintage Street Lamps
6. Rainy Road Scenery
7. Peaceful Lakeside View
Key Takeaways
To wrap up, pastel drawing offers a unique blend of painting and drawing that creates truly distinctive artwork. The medium’s tactile nature allows artists to feel connected to their creations in ways other mediums can’t match.
Artists can achieve a remarkable range in their work by using soft pastels for broad strokes and hard pastels for fine details.
Experimenting with various papers and surfaces brings fresh life to pastel drawing techniques. The chalk-like feel combined with rich pigments gives both beginners and experienced artists room to express themselves.
While mastering pastel drawing takes practice, the experience itself brings joy. The dusty fingers and vital smudges become badges of creative observation.
Remember that each stroke builds skill, and every mistake teaches something new about this versatile art form.