Many artists struggle when attempting to capture the light, airy quality of feathers on paper. The fine details, subtle curves, and fine textures can make learning how to draw a feather seem challenging.
But it doesn’t have to be difficult! With the right approach and techniques, anyone can create gorgeous feather illustrations that look realistic and graceful.
This blog will show readers exactly how to draw a feather with simple, easy-to-follow steps. It breaks down the process into manageable parts, from sketching the basic shape to adding the intricate details that bring the drawing to life.
By the end, artists of all skill levels will have the knowledge and confidence to create remarkable feather artwork.
Essential Drawing Tips for Absolute Beginners
If you’re just starting out, drawing a feather can feel tricky, but it doesn’t have to be. These essential tips are designed to help absolute beginners understand the basics of how to draw a feather with confidence and ease.
- Start with Light Sketches: Use a light pencil (like 2H) to lay down the basic shape. This helps you build structure without committing to dark lines too soon.
- Understand Feather Anatomy: Learn the parts shaft (rachis) and barbs to create a more realistic look. Knowing this helps you grasp how to draw a feather that actually looks natural.
- Use Reference Images: Study real feathers to see how they curve, vary in size, and have tiny imperfections. This makes a big difference when learning how to draw a feather that doesn’t look too stiff or generic.
- Practice Line Variation: Use different line load for depth lighter lines for soft edges and darker ones near the center shaft for contrast.
- Keep Your Hand Loose: Avoid stiff wrist movements. A relaxed grip allows your strokes to flow, which is especially useful when drawing the wispy edges of a feather.
- Don’t Rush the Details: Take your time adding texture and layering to create a soft, realistic finish.
Step-By-Step: How To Draw a Feather with Ease
Drawing a feather may seem fine and detailed, but with the right steps, it becomes surprisingly simple.
Below, you’ll find clear and easy-to-follow instructions for drawing a feather realistically, perfect for beginners and budding artists alike.
1. Sketch the Feather’s Outline
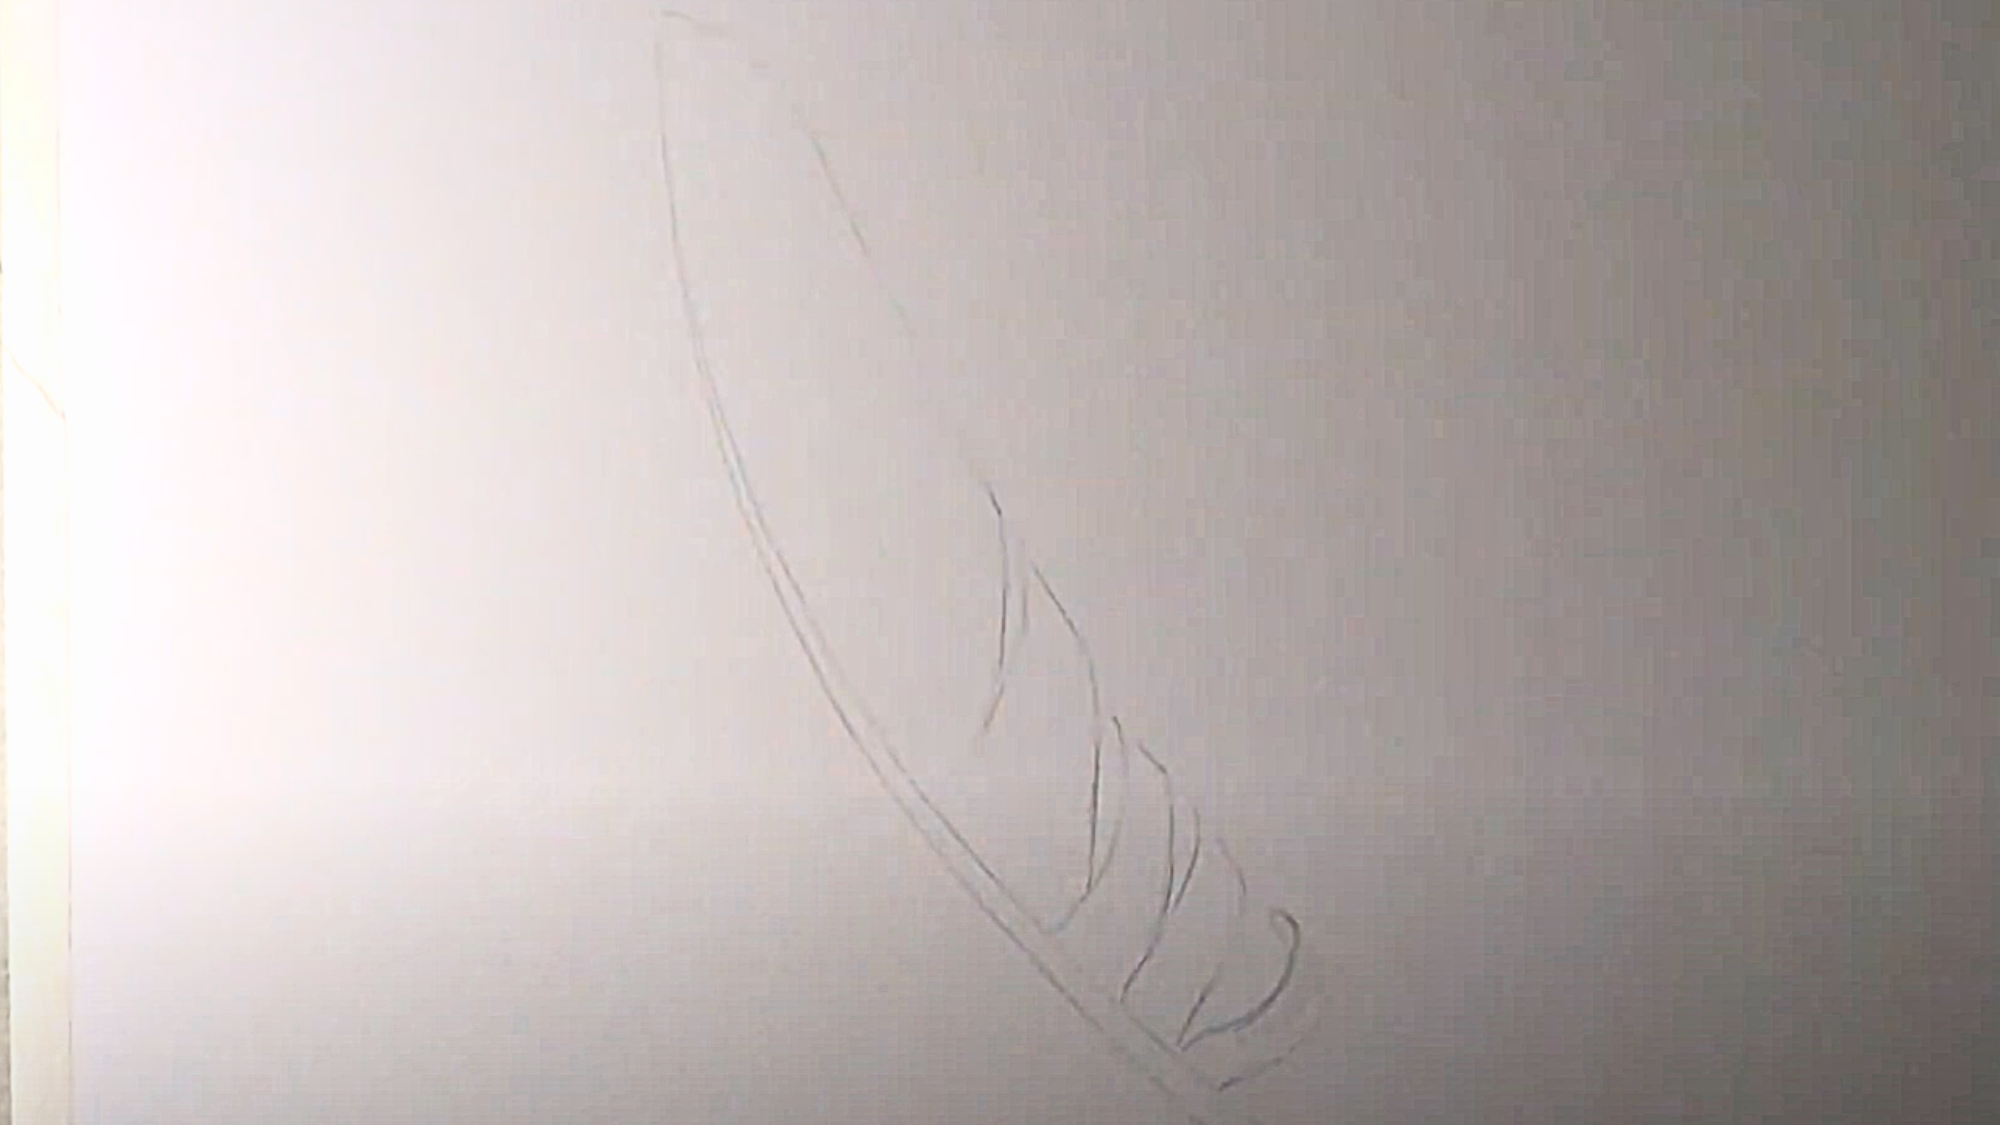
Start by lightly sketching the basic outline of the feather. If you’re exploring how to draw a feather, begin with the centerline, using a gentle curve to guide the feather’s shape.
Once the centerline is established, sketch the outer edges, ensuring that they reflect the natural shape of the feather. Don’t worry about perfection at this stage just aim for a simple structure that you can refine later.
2. Add Details to the Feather’s Edges
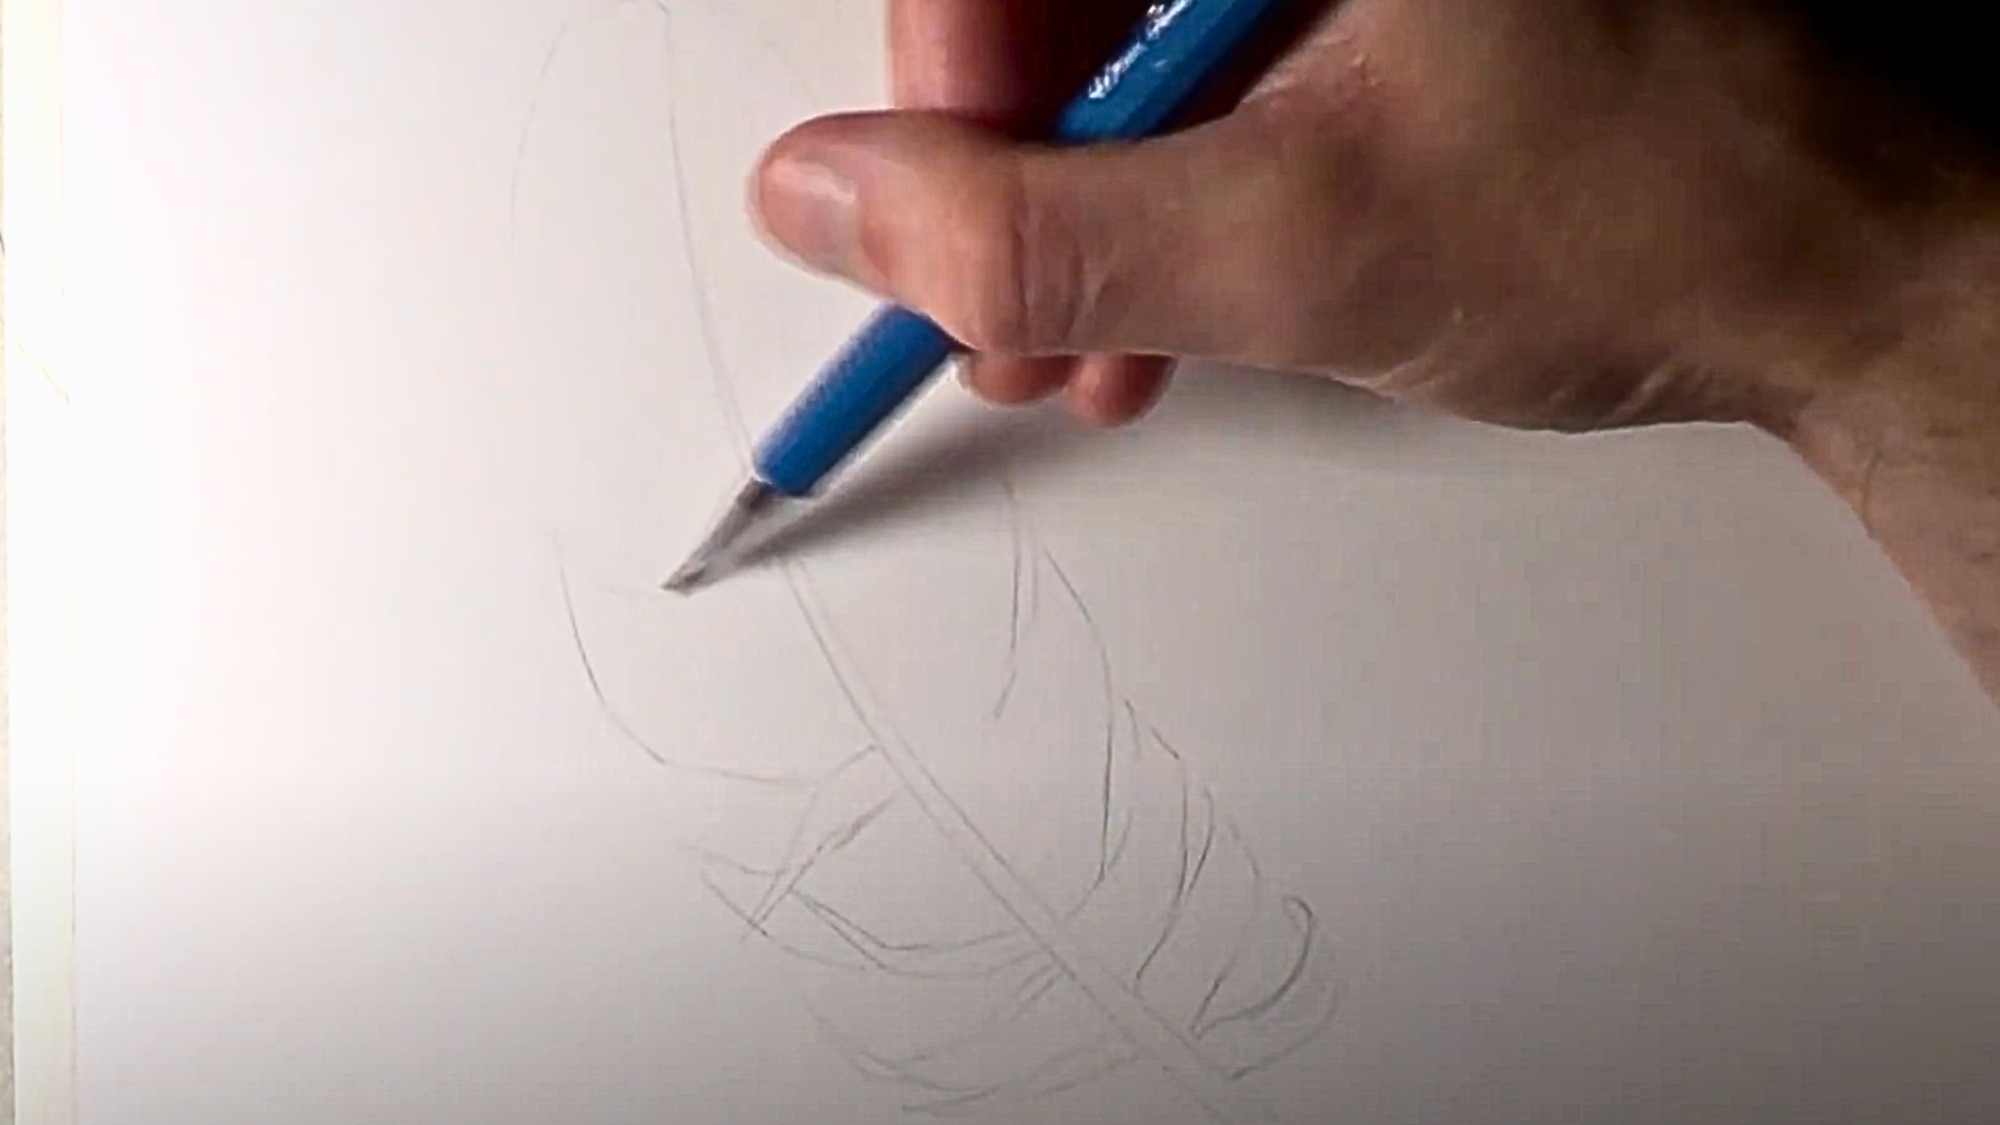
When learning how to draw a feather, it’s important to add character by introducing subtle wear and tear along the edges. Think of the feather as something that has seen the natural world a little frayed or damaged. To create this effect:
- Introduce irregular shapes in the edges.
- Let some parts overlap while others bend in various directions.
- Add small frayed tips to make it look realistic.
These imperfections will add to the dynamism of the drawing and make the feather appear more original and lifelike.
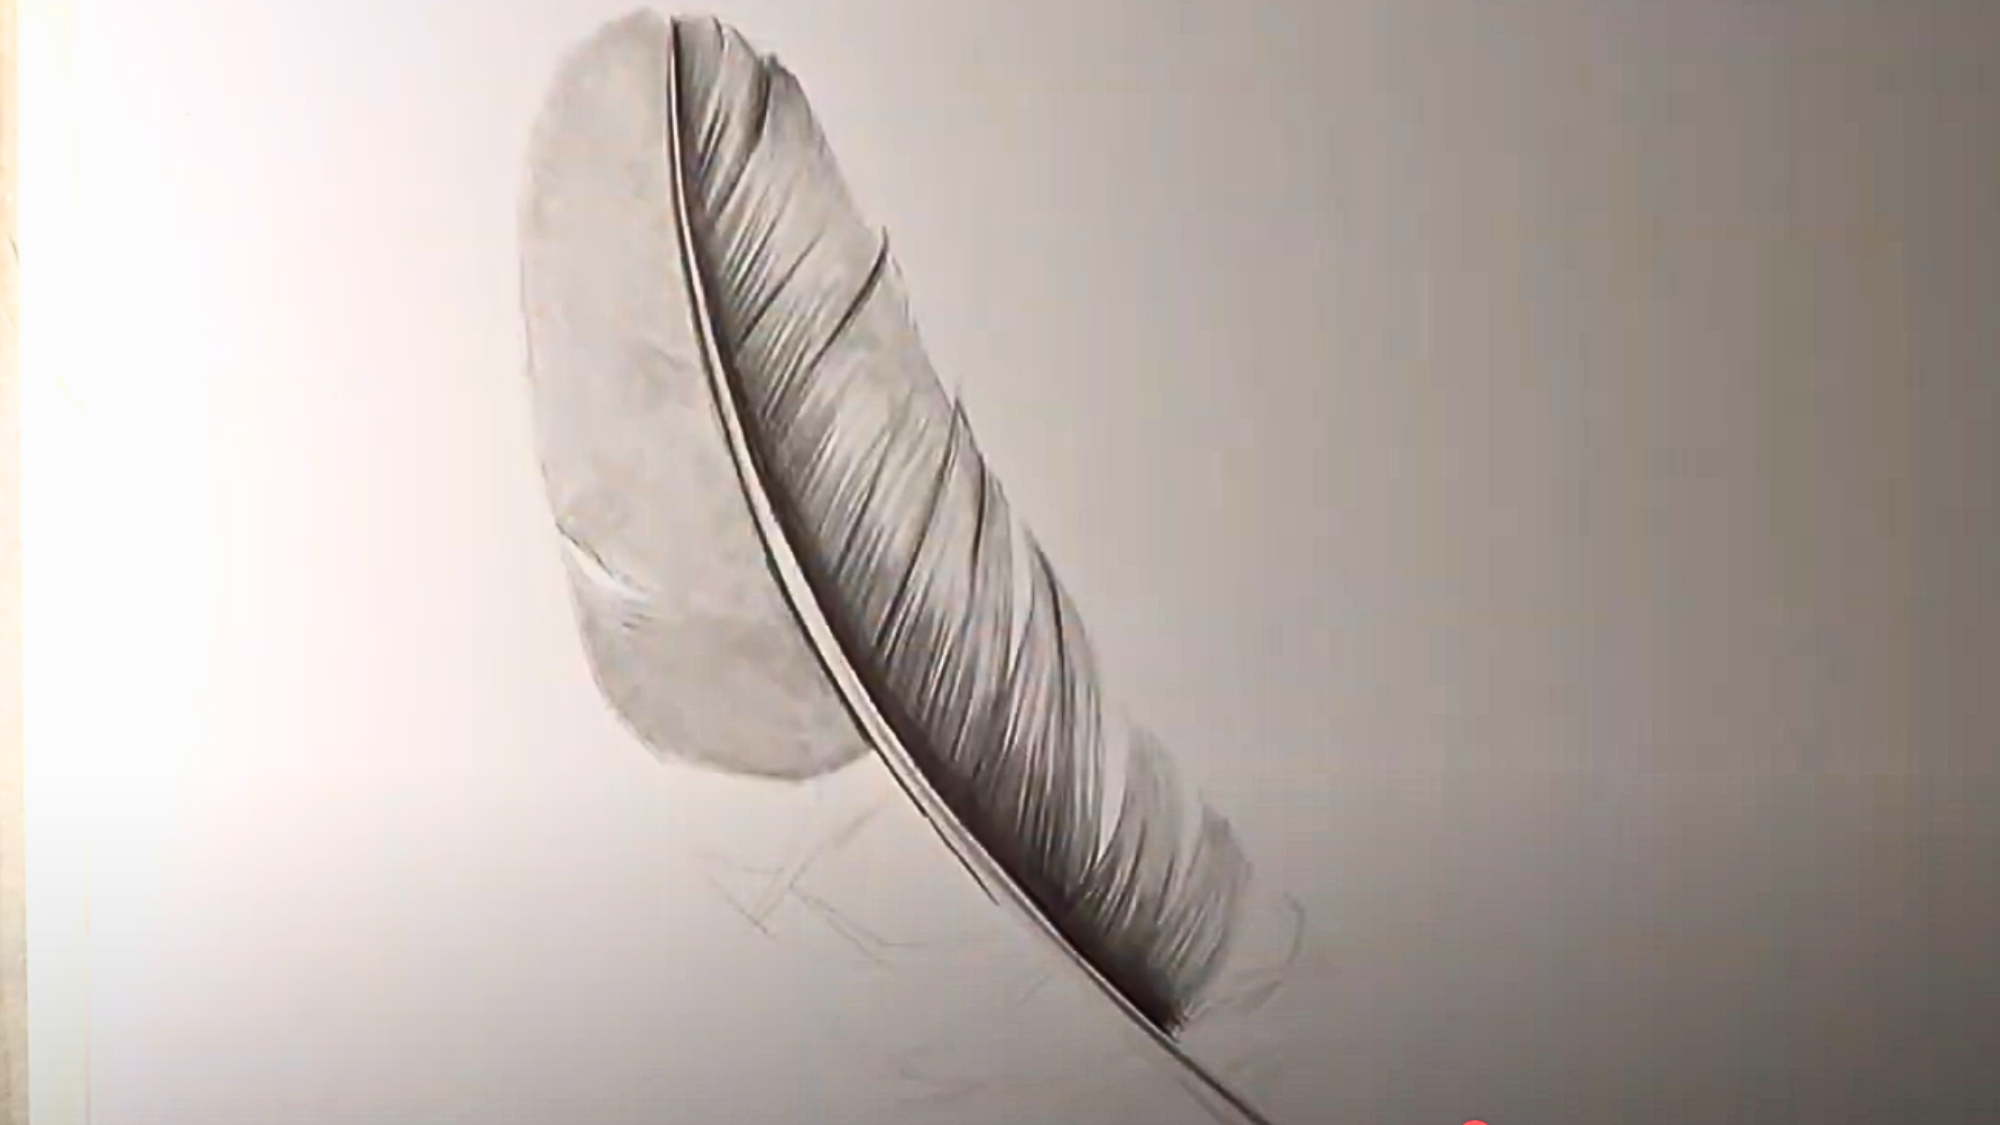
3. Begin Shading with a Light Layer
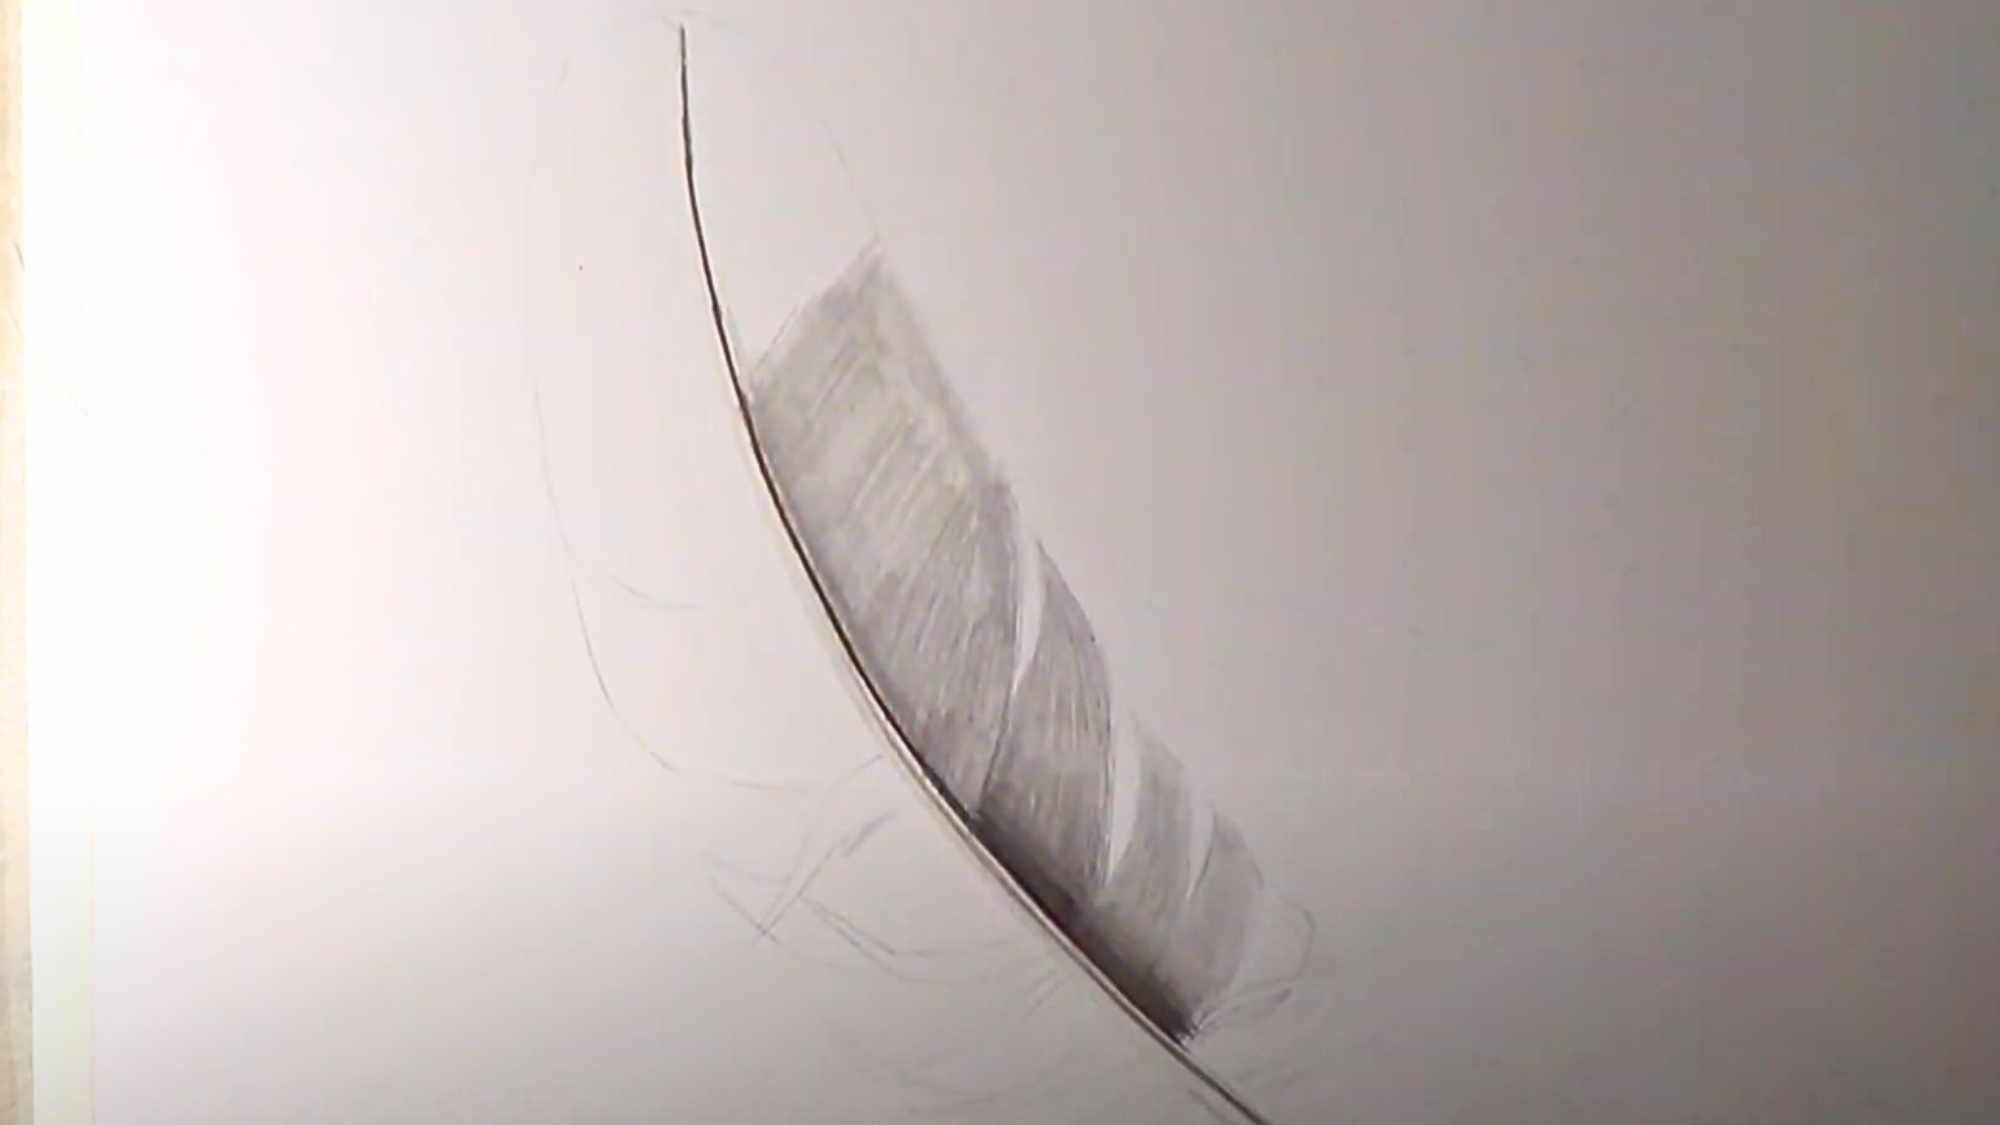
When you start learning how to draw a feather, begin by adding a soft, light layer of shading along the centerline. Use gentle, smooth strokes to avoid harsh lines.
This light shading will act as the foundation for the rest of the feather’s details, keeping the central spine visible as you work on other elements.
By starting with a subtle layer, you’ll ensure that the feather’s overall structure remains intact while gradually building up depth and dimension as you continue shading.
4. Build Up Shading with Gradual Darkening
A crucial step in learning how to draw a feather is mastering shading. After adding the initial light layer, start building up the darkness along the centerline and around the overlapping parts. Here’s how you can add depth:
- Gradually increase the darkness near the center, fading it outwards.
- Focus on the parts where the feather overlaps itself to deepen the shading.
- Contrast dark sections with lighter areas to create dimension.
This layering technique will give your feather a more three-dimensional and lifelike quality.
5. Add Texture to the Feather’s Surface
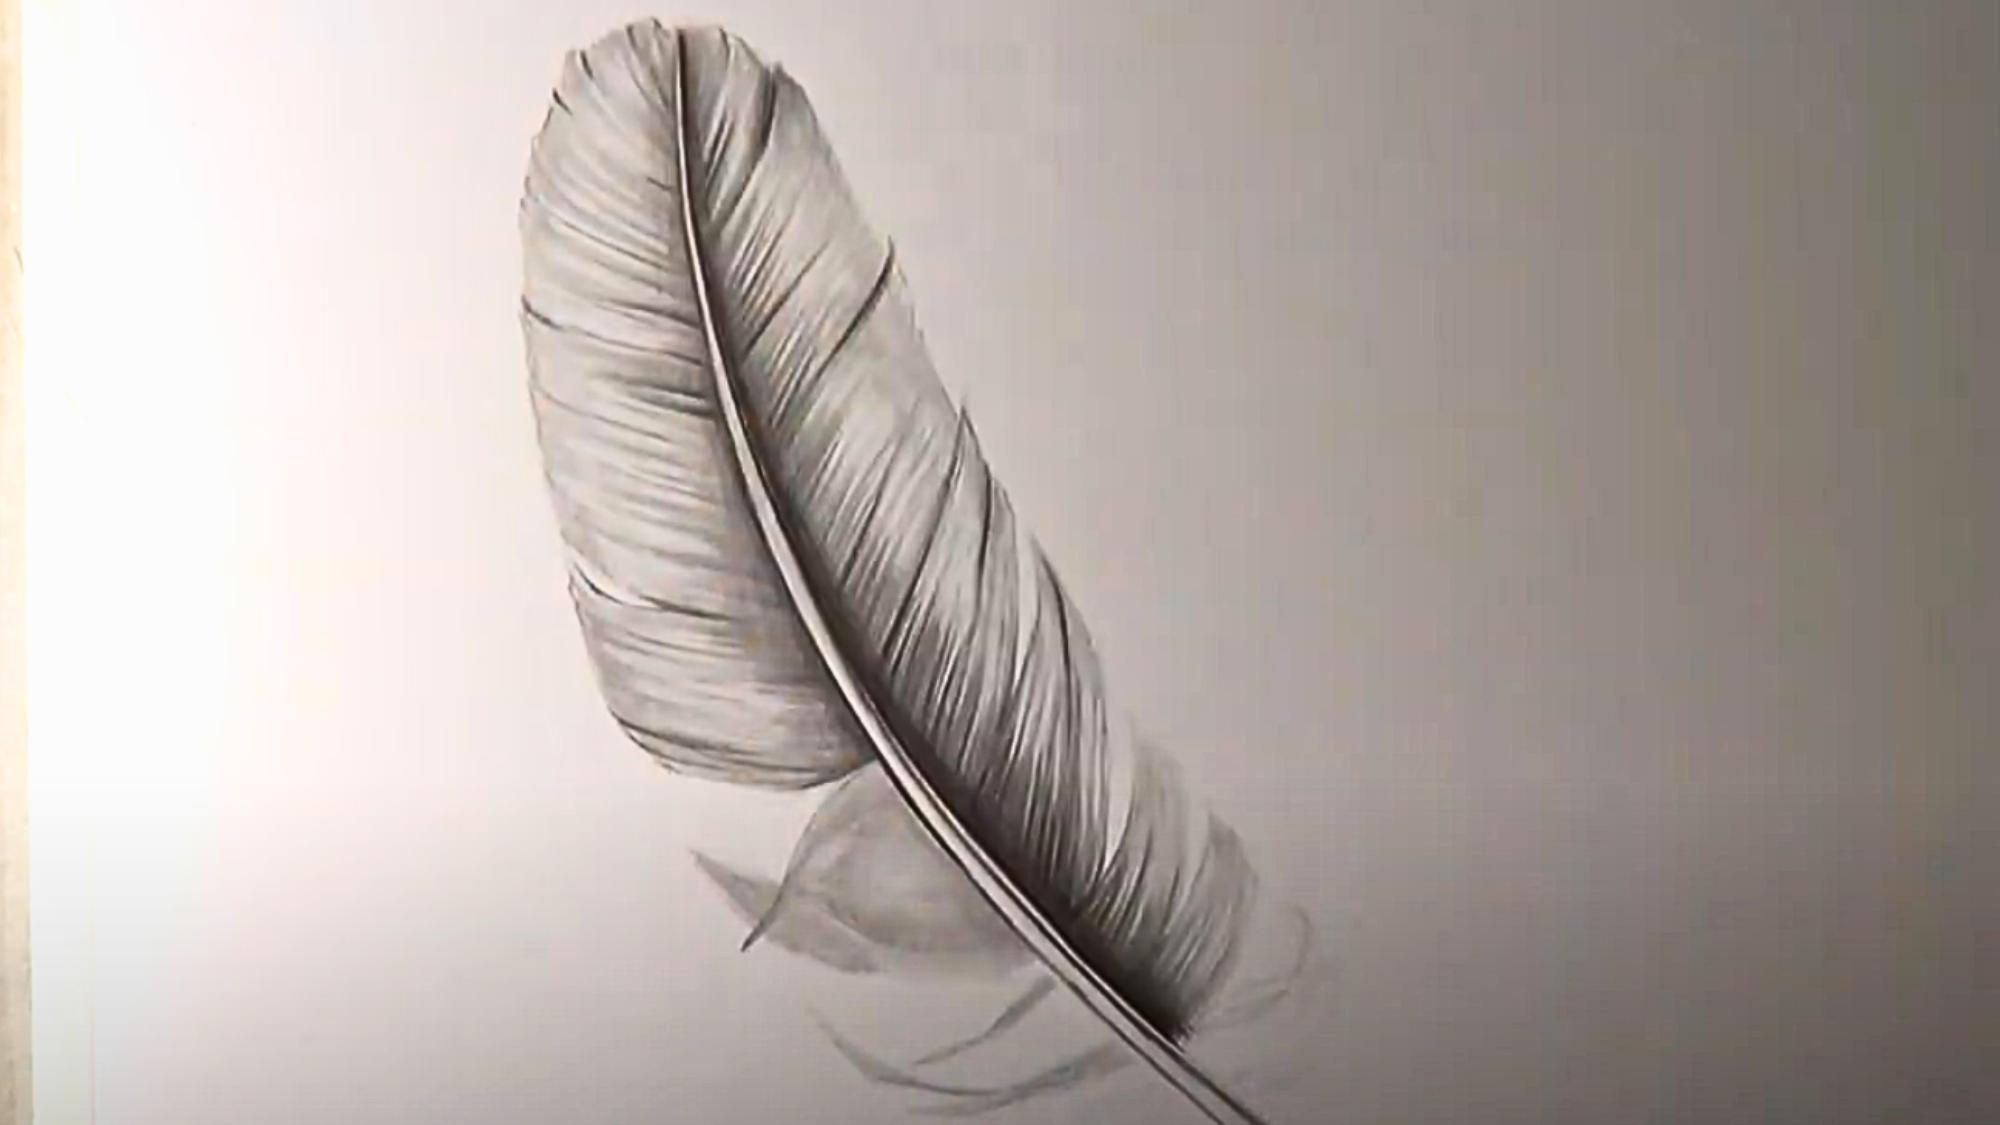
To truly bring your feather to life when learning how to draw a feather, focus on adding texture. Start by sharpening your pencil and drawing quick, fine lines extending outward from the central spine.
These parallel strokes should reflect the natural flow of the feather’s fibers. Be mindful to avoid cross-hatching, as it will disrupt the texture.
By following the direction of the feather’s structure, you will create a sense of realism and movement, making your feather appear soft and detailed.
6. Final Touches for Depth and Realism
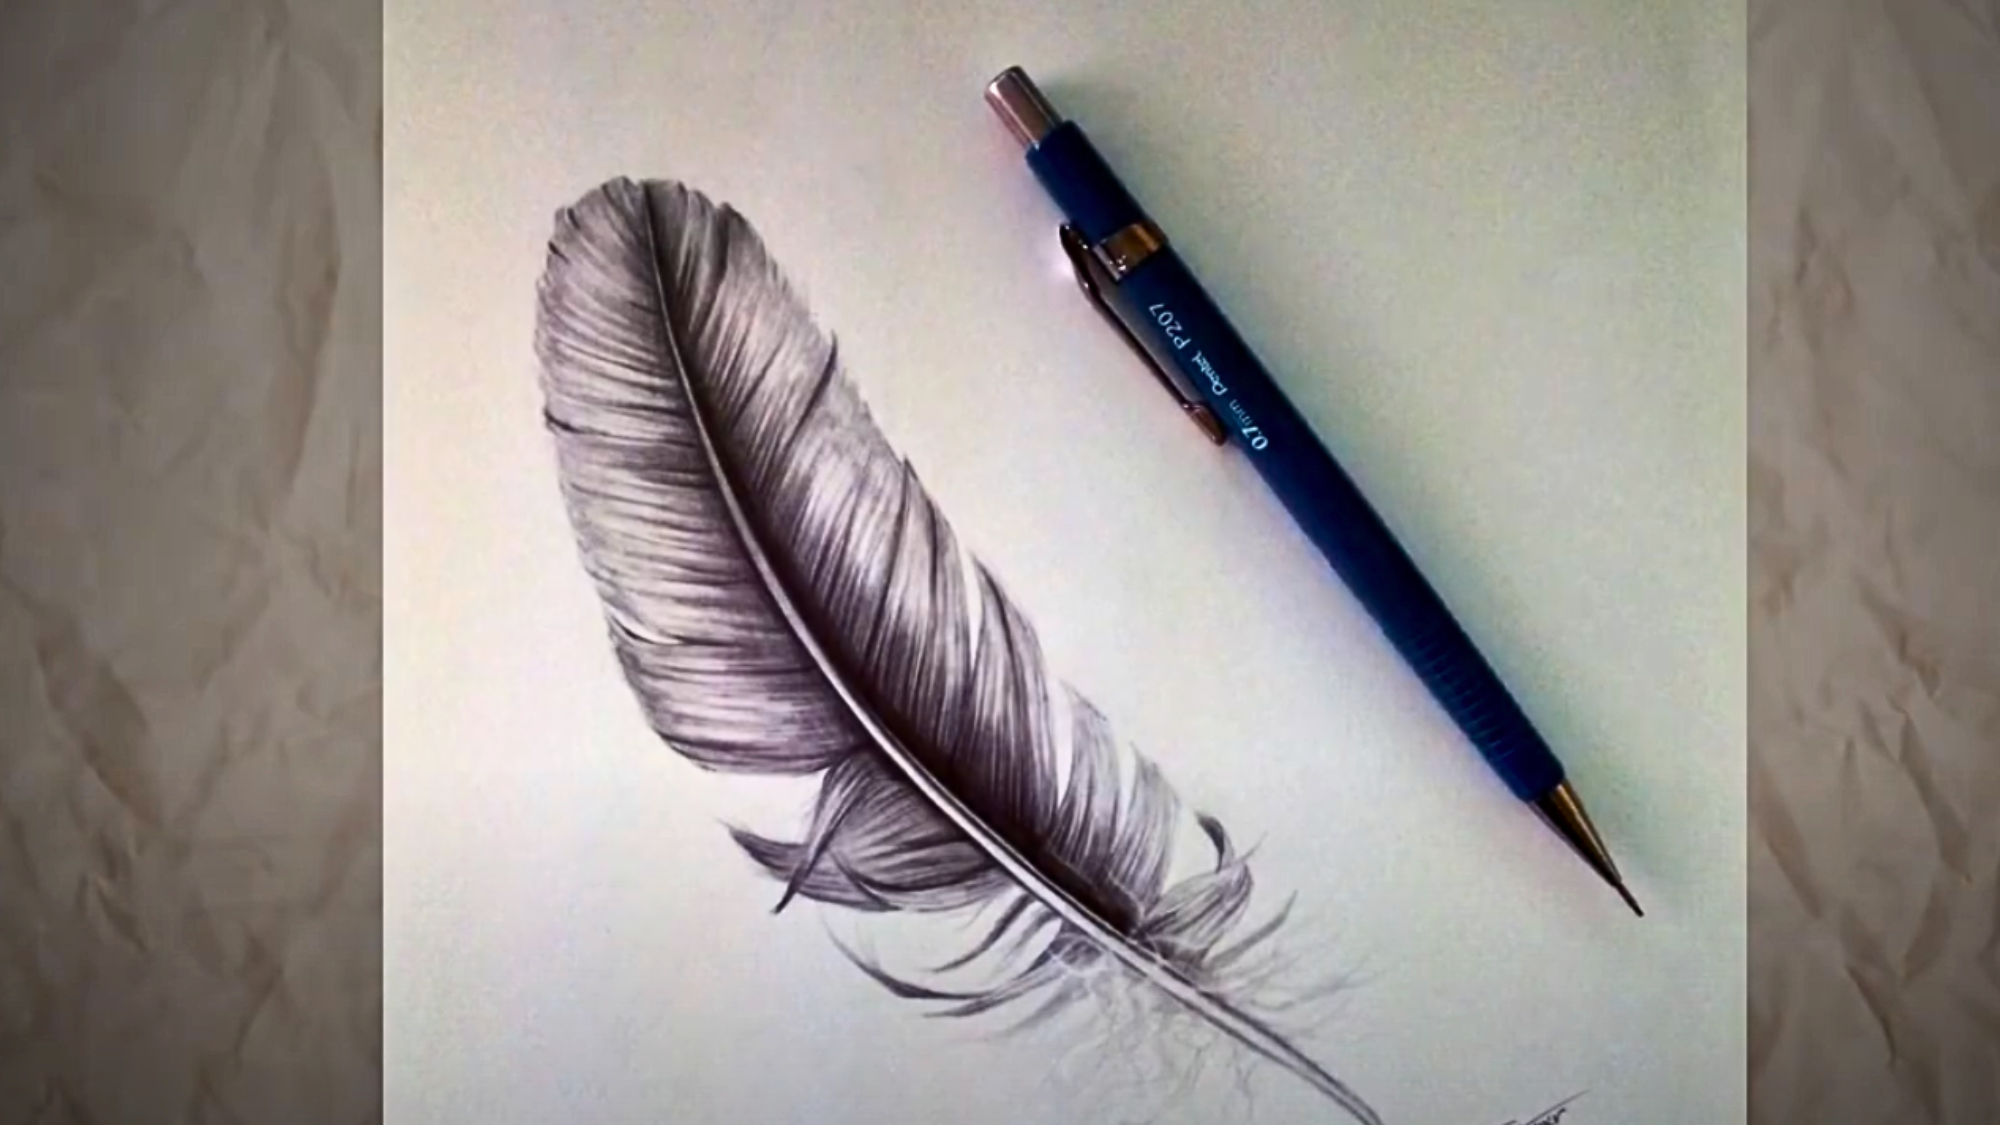
Add final details, like the fluffy base of the feather, where the fibers appear to fray. Use a blending stick to soften the texture, and apply small eraser strokes to lift certain areas and enhance the depth.
This will create a more three-dimensional feel. With these last touches, your feather will appear fine, natural, and full of character.
Feel free to adjust these steps to match your style and tools!
Inspiring Feather Drawing Ideas to Try Today
If you’re looking to explore new and creative ways to bring life to your feather drawings, here are seven unique feather drawing ideas that will inspire your next artistic project.
Even if you’re just starting or refining your craft, these ideas will enhance your understanding of how to draw a feather with different textures, patterns, and artistic expressions.
Watercolor Feather Illustration
Geometric Feather Design
Glowing Fantasy Feather
Feather with Floral Patterns Inside
Mandala Feather Fusion
Key Takeaways
Drawing feathers takes time and practice, but the results are worth the effort. As you’ve seen, the process of how to draw a feather involves understanding structure, paying attention to details, and developing patience.
Remember that every artist starts somewhere. Your first attempts might not be perfect, but each drawing builds your skills.
The techniques shared here provide a foundation that artists can build upon as they grow more comfortable with feather illustrations.
These same principles of observation, careful line work, and gradual detailing apply to many natural subjects in art. If you enjoyed this blog, you might also find interest in exploring other nature drawing tutorials.
For those looking to expand their wildlife drawing skills, our blog on pencil Horse Drawing offers similar step-by-step instructions for capturing another gorgeous element of the natural world.