Drawing orchids might seem hard at first, but it doesn’t have to be. Anyone can learn to create beautiful flower art with a few basic steps. This blog will show you how to start
You don’t need fancy tools or years of practice. All you need is paper, pencil, and a bit of patience. By following these simple techniques, you’ll soon be able to draw orchids that look real and impressive.
Plus, drawing is known to reduce stress and improve focus. So grab your supplies, and let’s get started with these easy-to-follow orchid drawing methods.
Tips to Make an Easy Orchid Drawing for Beginners
Orchids may look complex, but anyone can learn to draw them with simple steps.
These tips break down the process into manageable parts that help beginners create beautiful orchid drawings without feeling overwhelmed. With practice, drawing orchids becomes both fun and satisfying.
- Start with a simple side view of one flower rather than trying to draw the entire plant at once.
- Use basic ovals for each petal shape before adding details and curves.
- Draw the center structure (column and lip) first as a guide for placing the petals around it.
- Keep lines light and sketchy at first, then darken only when the placement looks right.
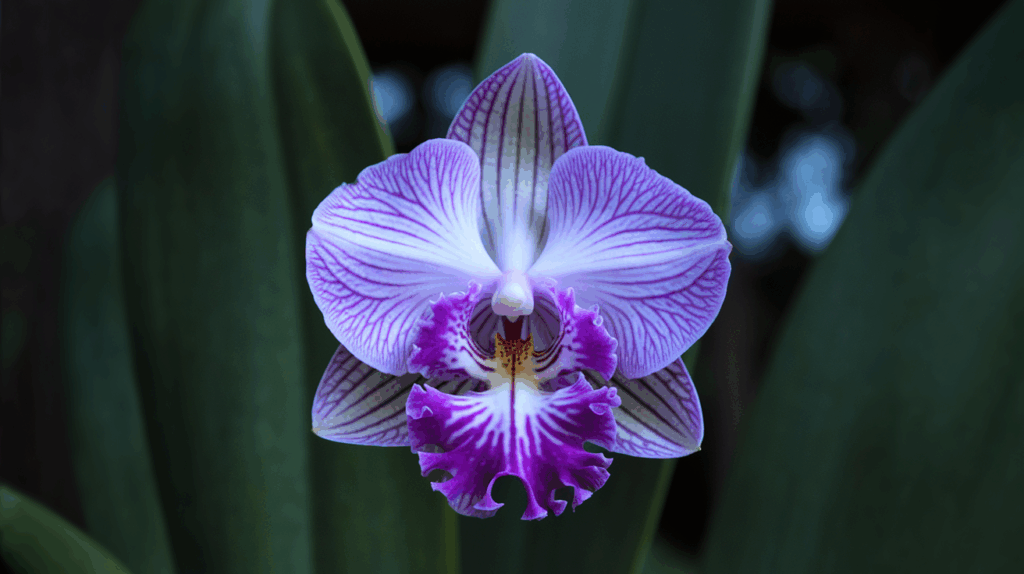
- Focus on the distinctive lip petal that makes orchids unique; it’s usually larger and more decorative than the others.
- Study real orchid photos to understand how the petals overlap and create depth in your drawing.
How to Draw Orchids: Simple Techniques for Beginners
With some basic supplies and patience, even novice artists can create beautiful orchid illustrations that highlight the distinctive character of these beloved flowers.
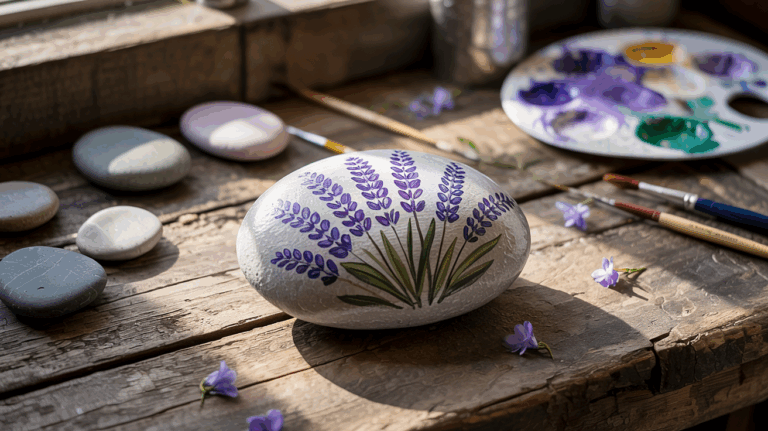
1. Gather Your Materials
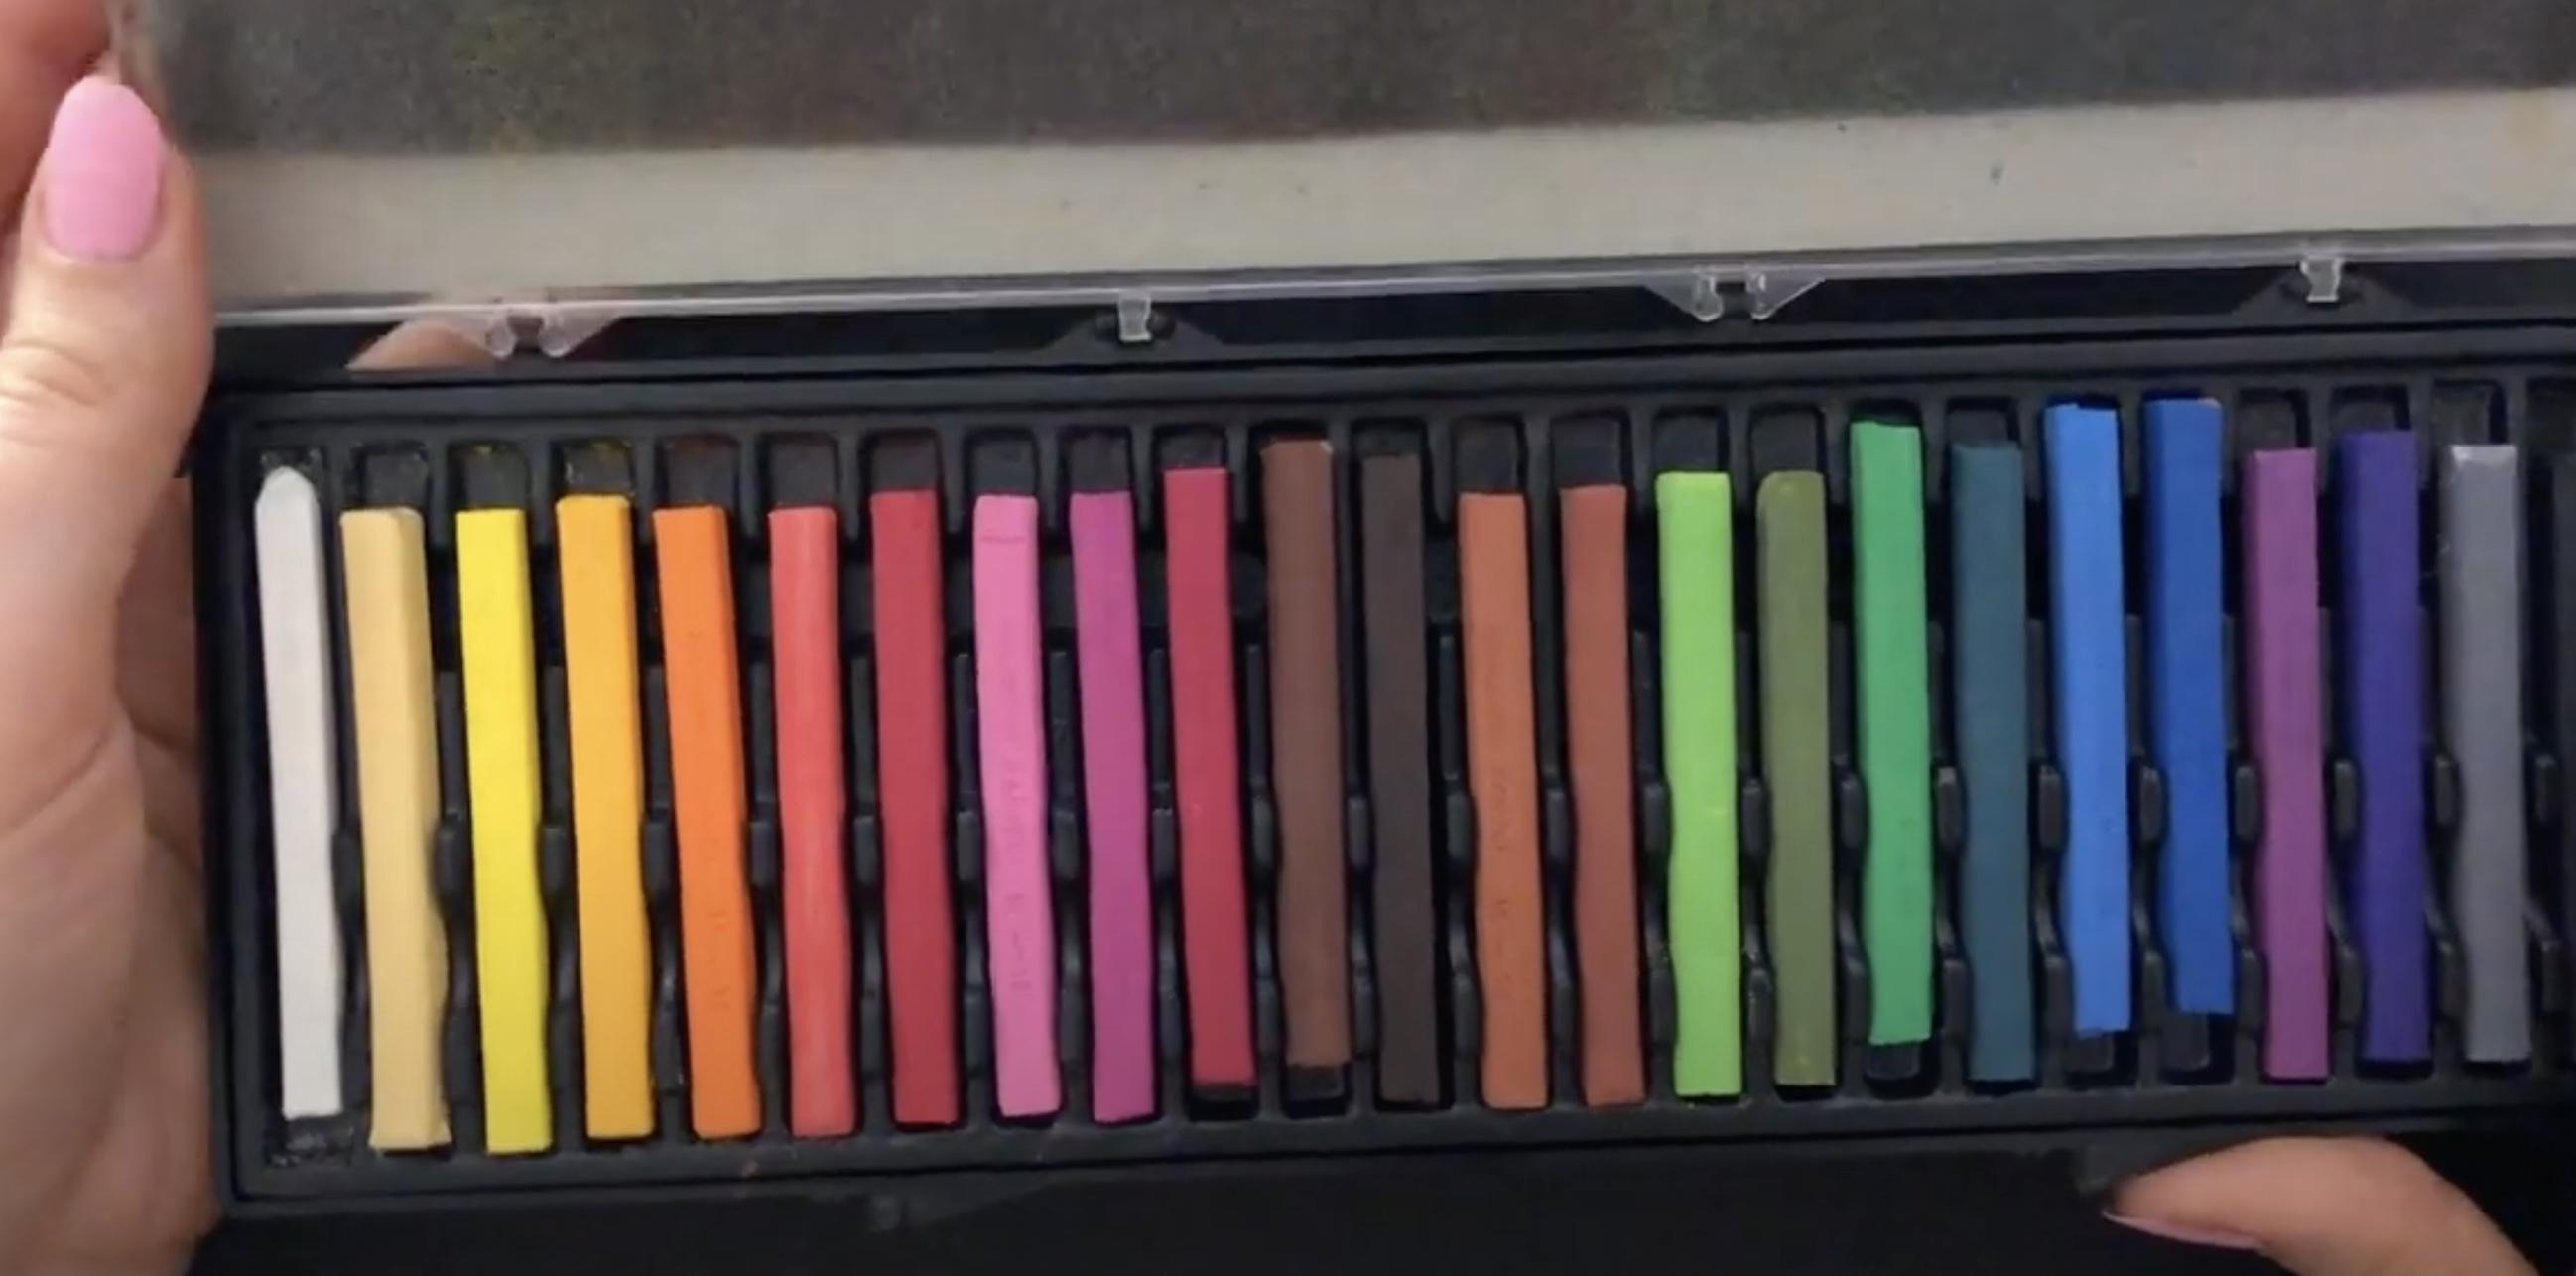
Before you begin, collect all the tools which is required for the drawing. It will be working with soft pastels on black paper to create a glowing floral effect.
2. Prepare Your Black Paper
Use a mid-weight matte black paper. It shouldn’t be glossy, too thick, or too thin. Something smooth and firm enough to hold soft pastels will do just fine.
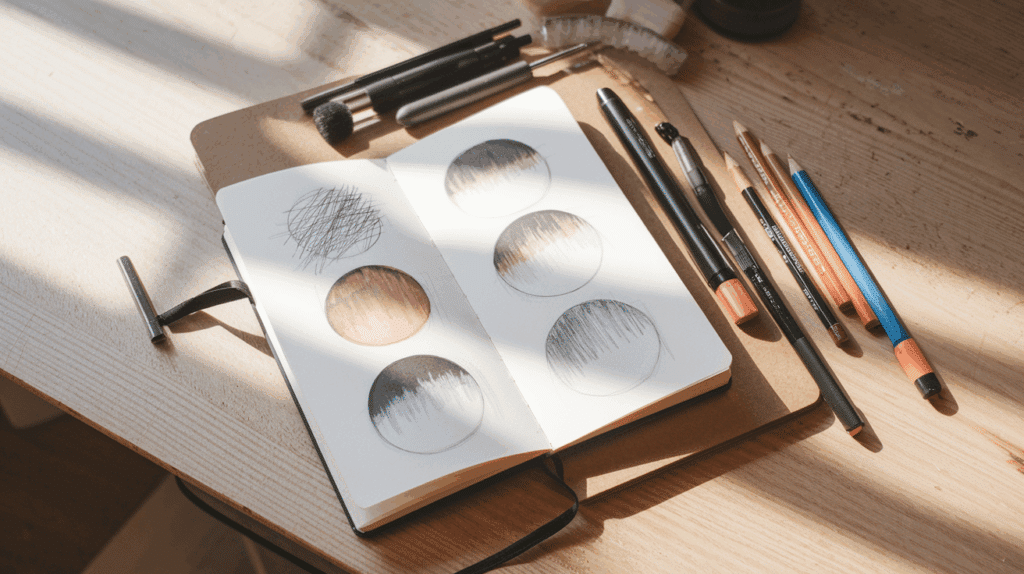
3. Sketch the Basic Composition
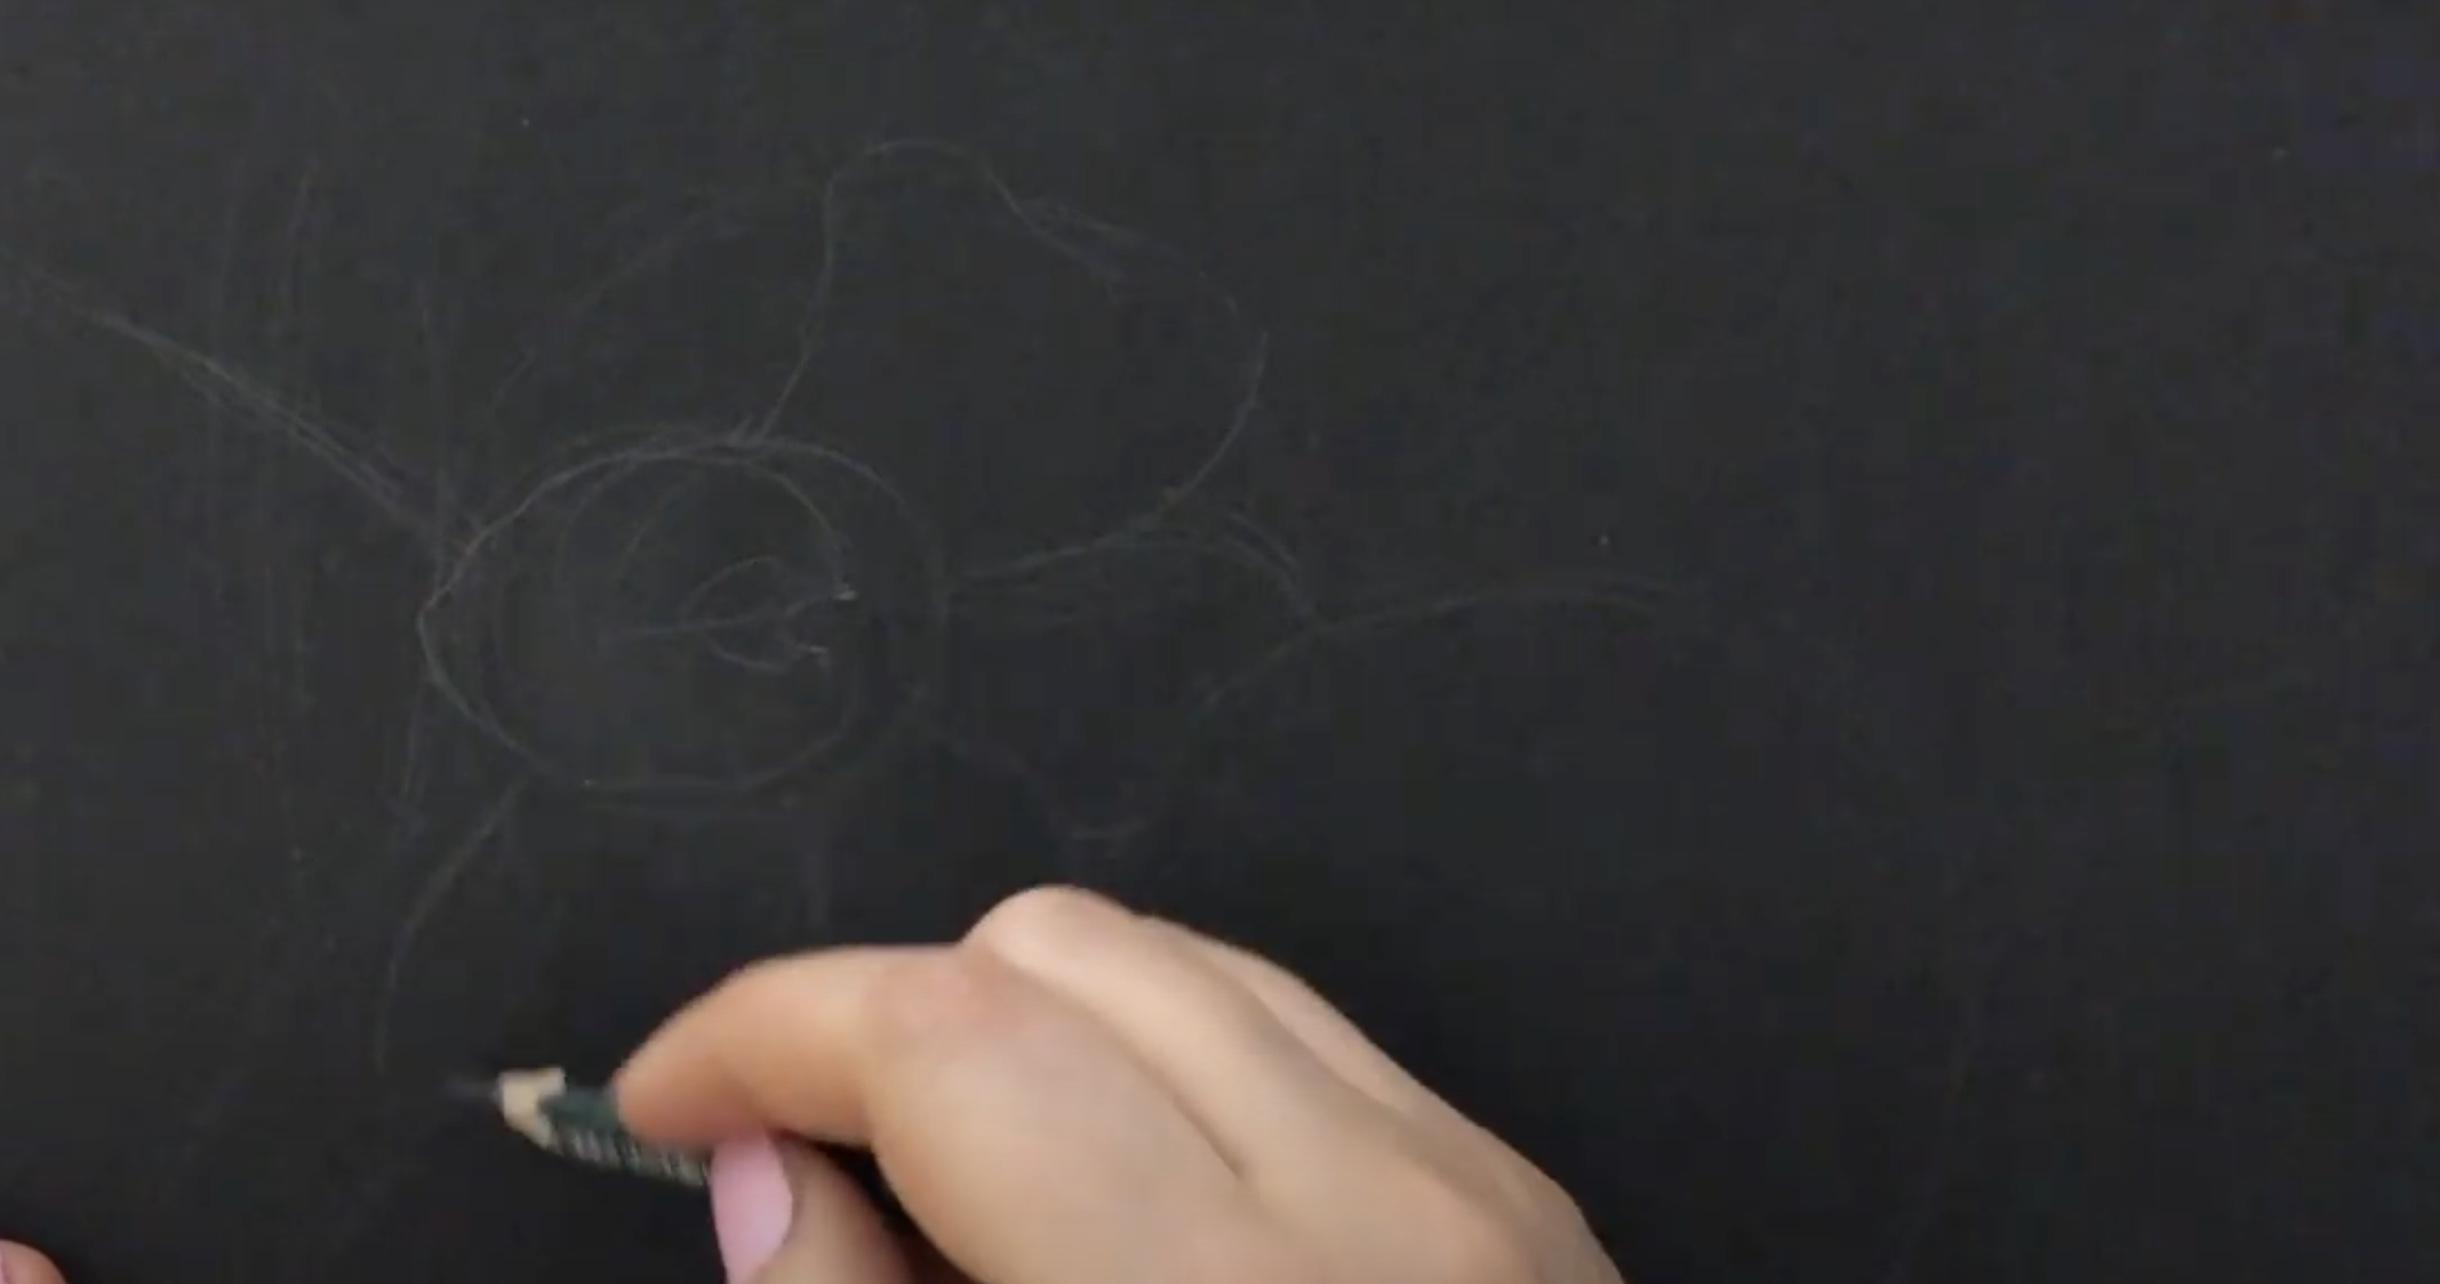
With a graphite pencil, softly mark the main branch and rough placements of flowers and leaves. Keep it light and loose; use circles or ovals to block out where things will go.
4. Position Flowers Thoughtfully
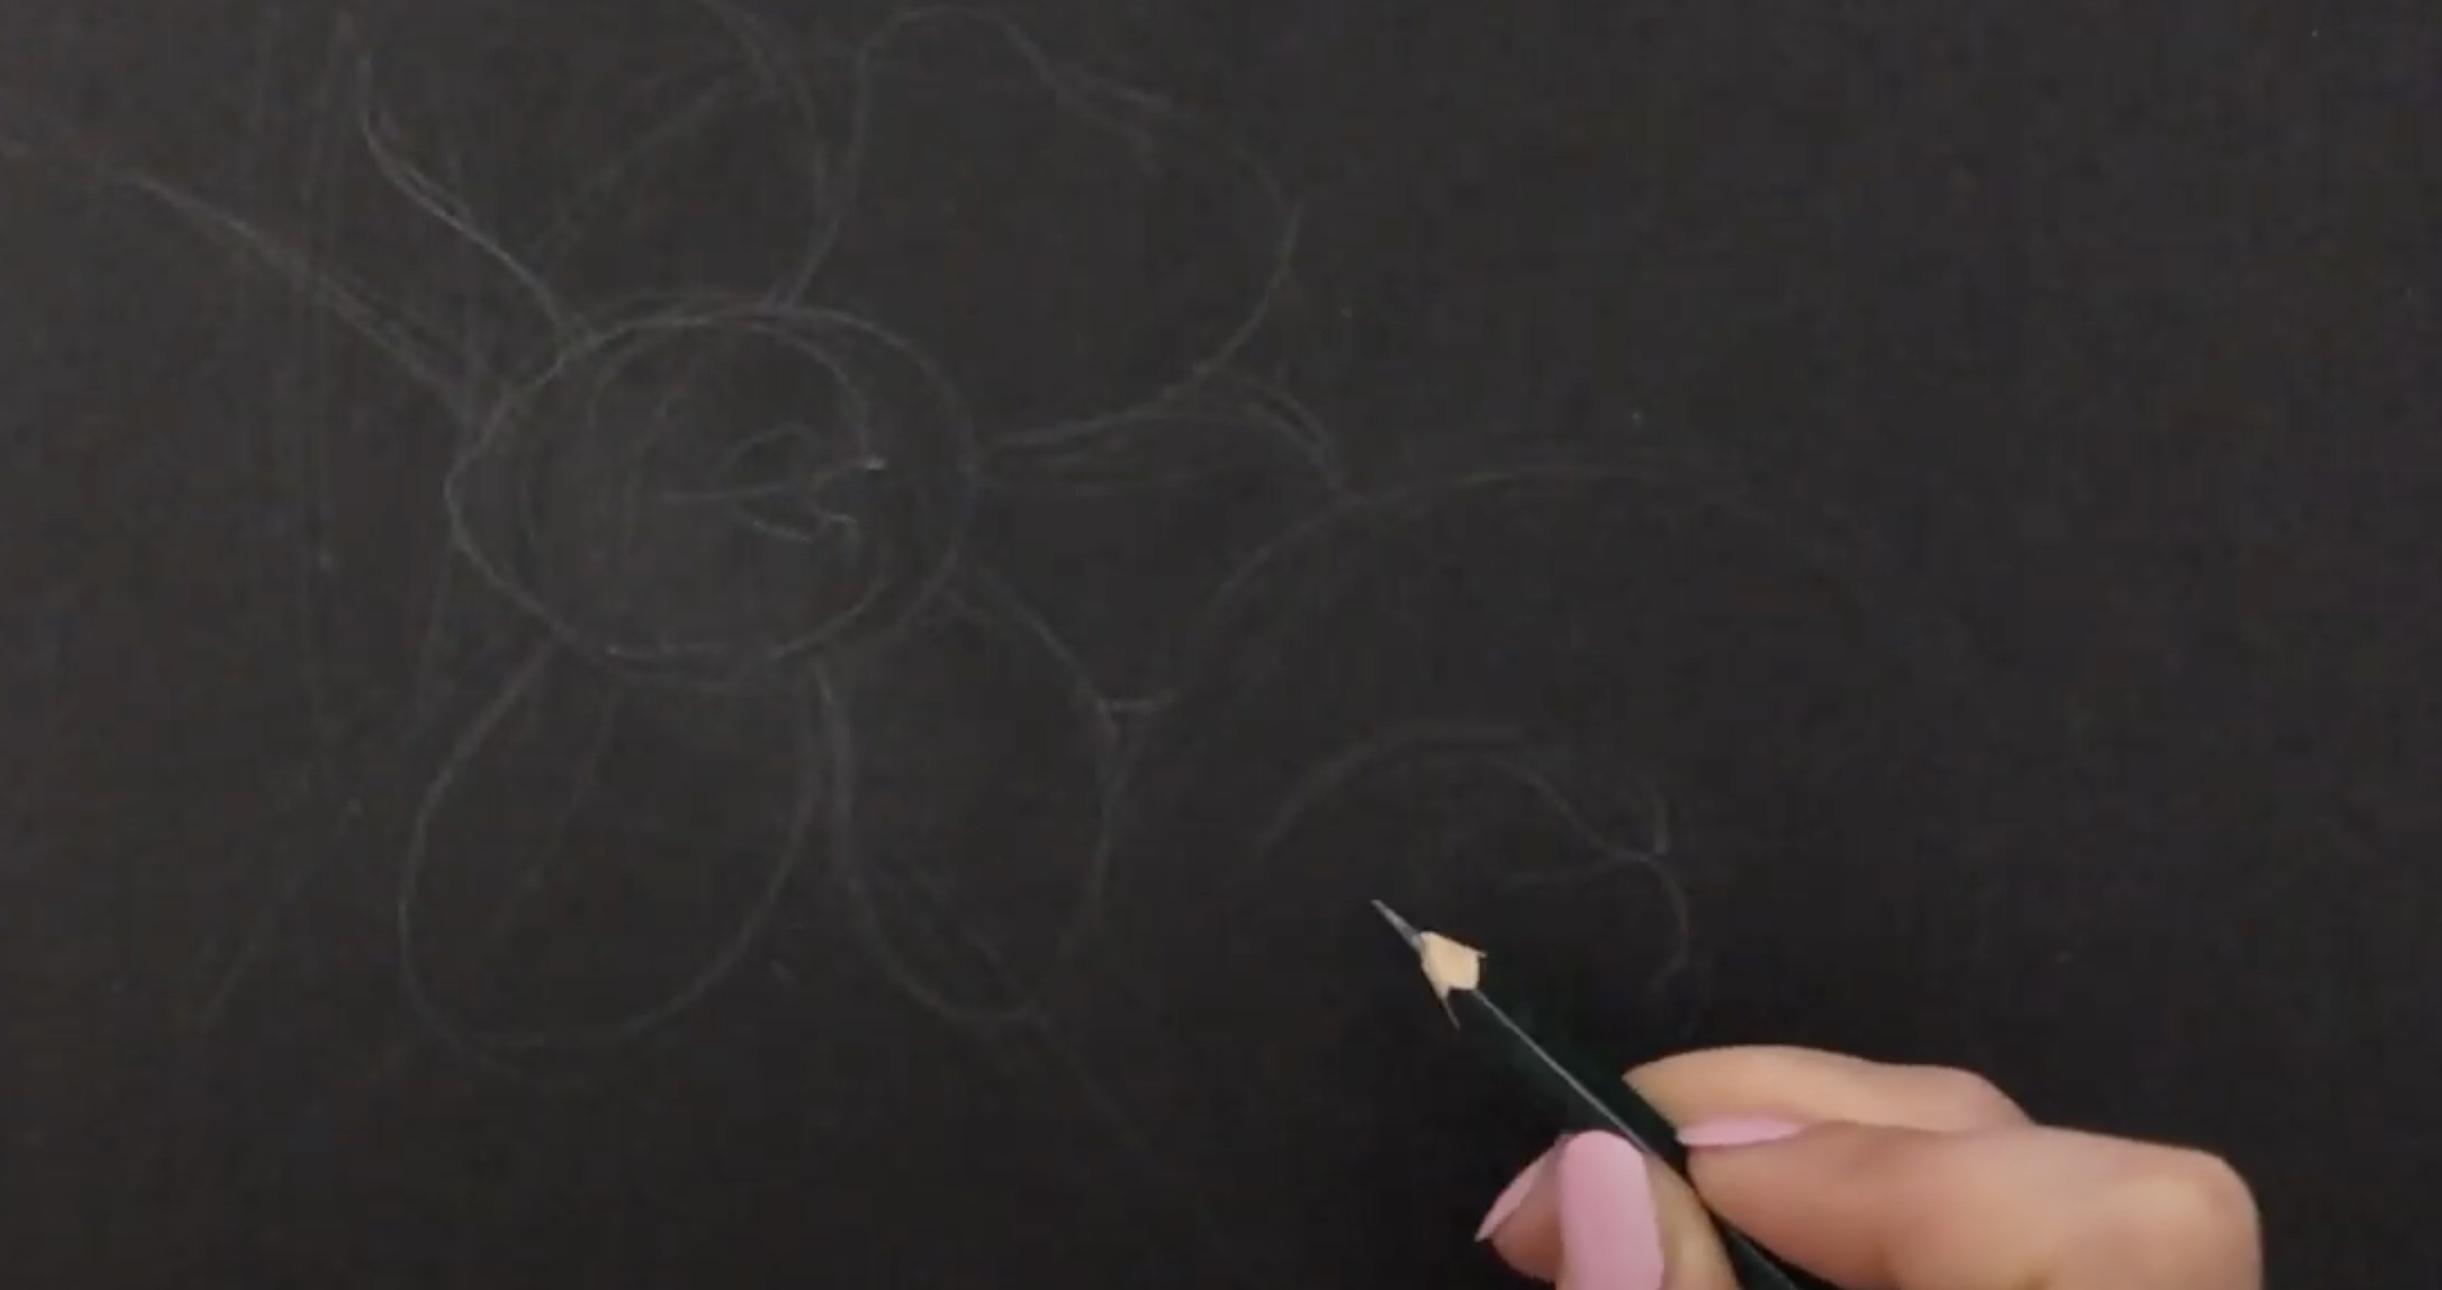
You can add more flower placements by drawing soft shapes; there is no need for perfection. This stage is just about deciding on size and position.
5. Refine the Flower Shapes

Erase extra lines and start adding petal shapes. Pay attention to how petals overlap and vary in length or width. This gives your drawing a natural feel.
6. Observe Petal Details
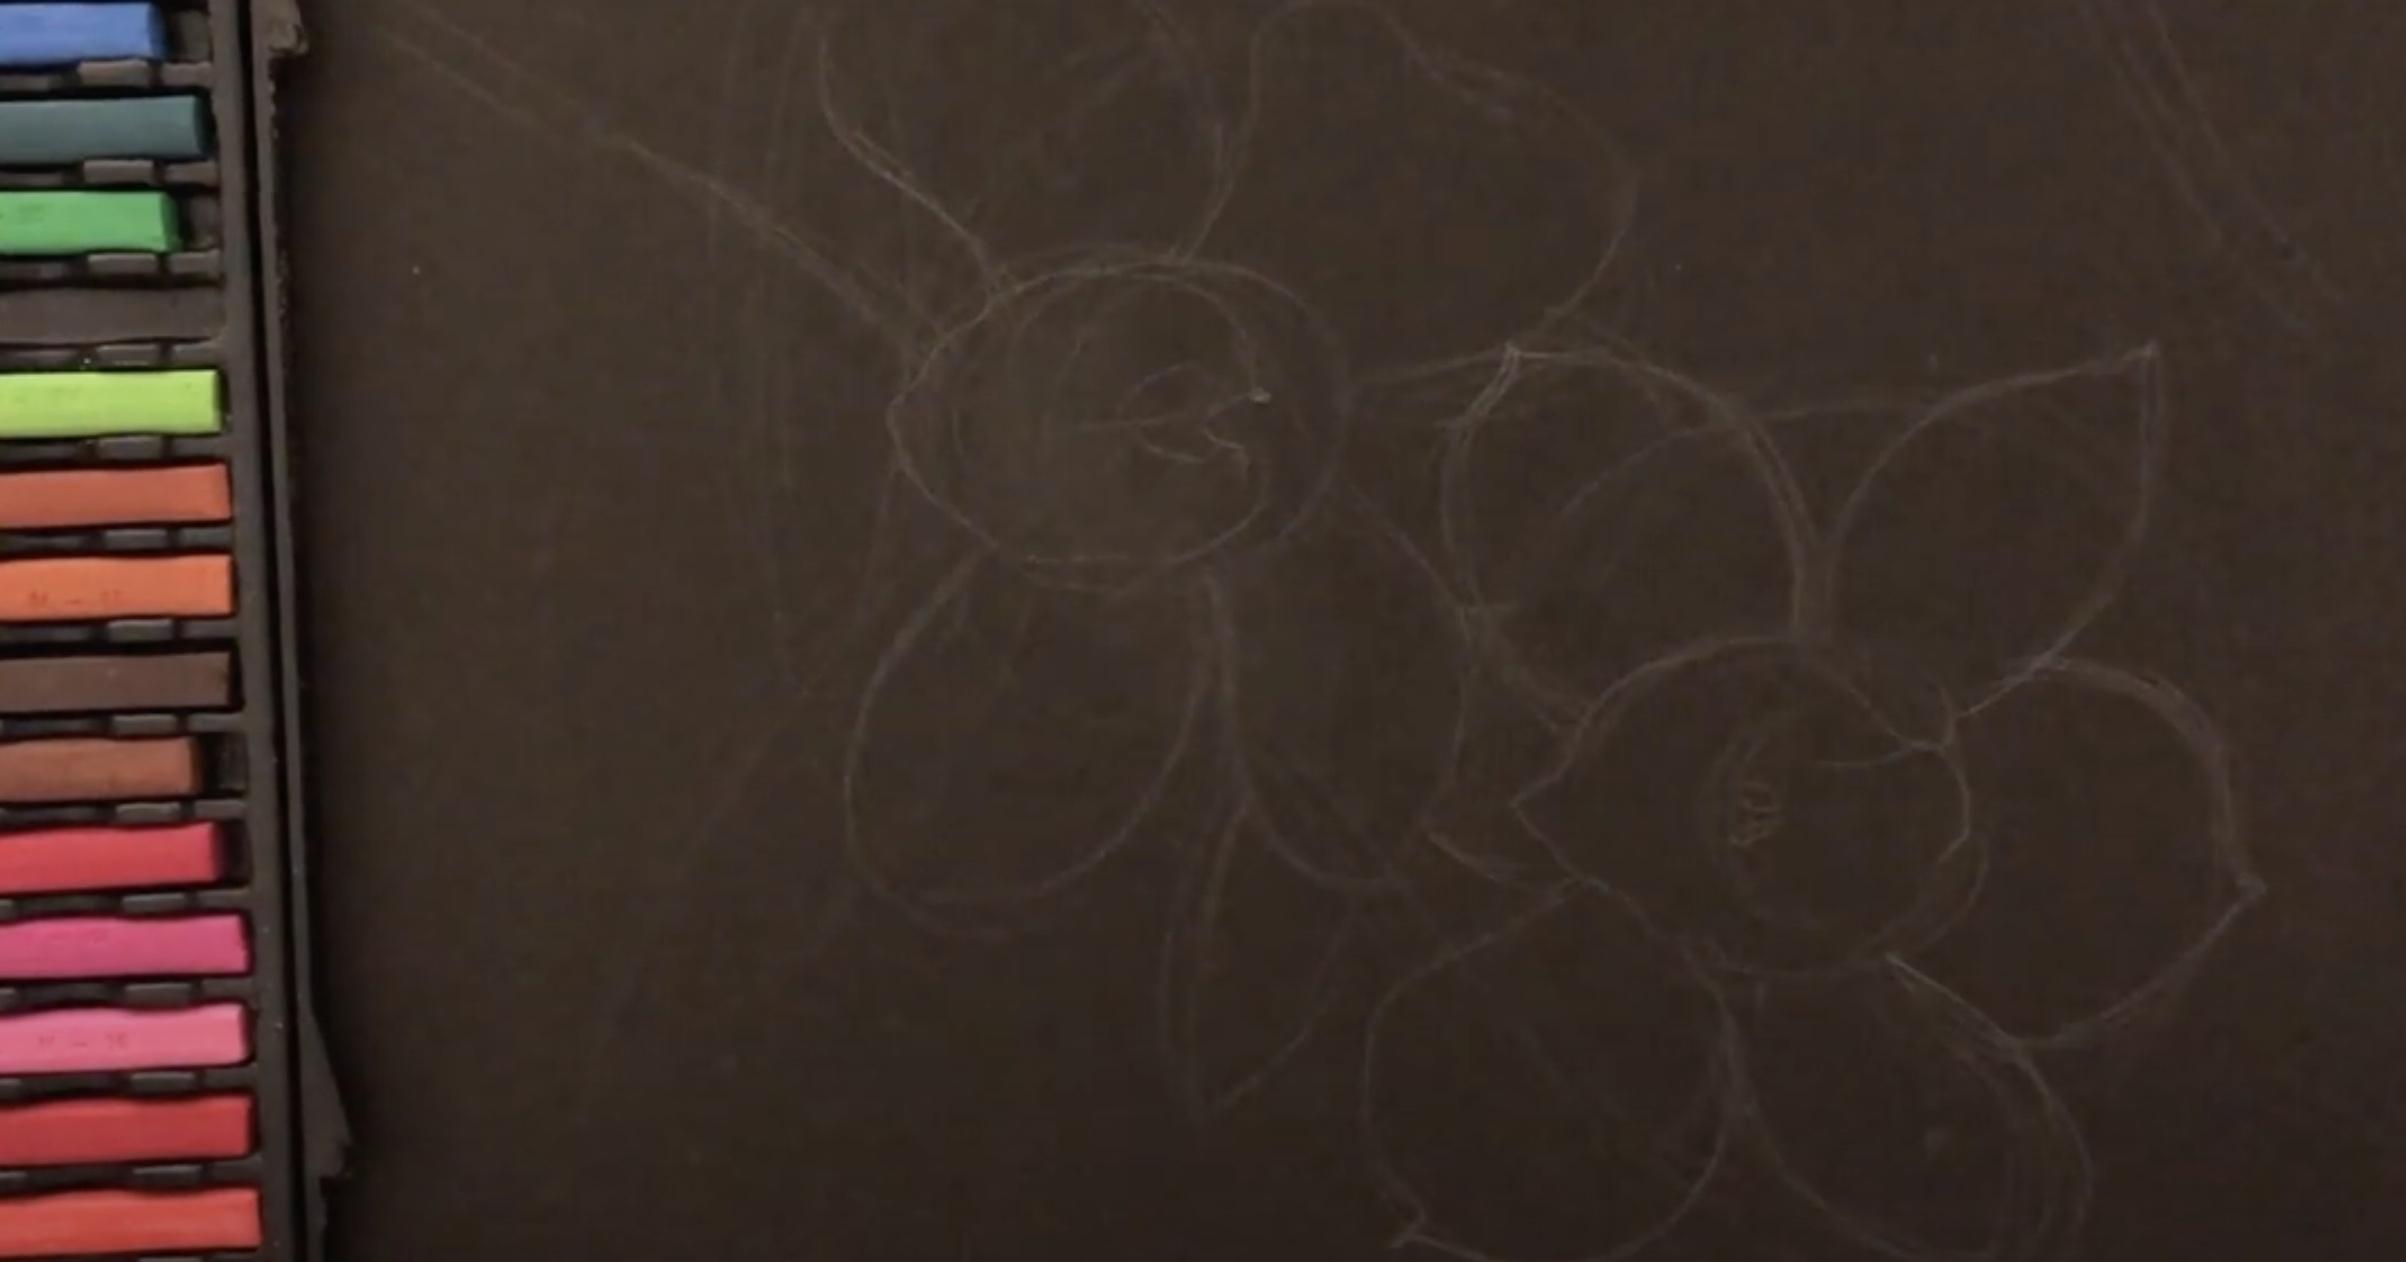
Look closely at your reference image. Add spiky tips, curves, or folds unique to orchids. These small details make your flowers instantly recognizable.
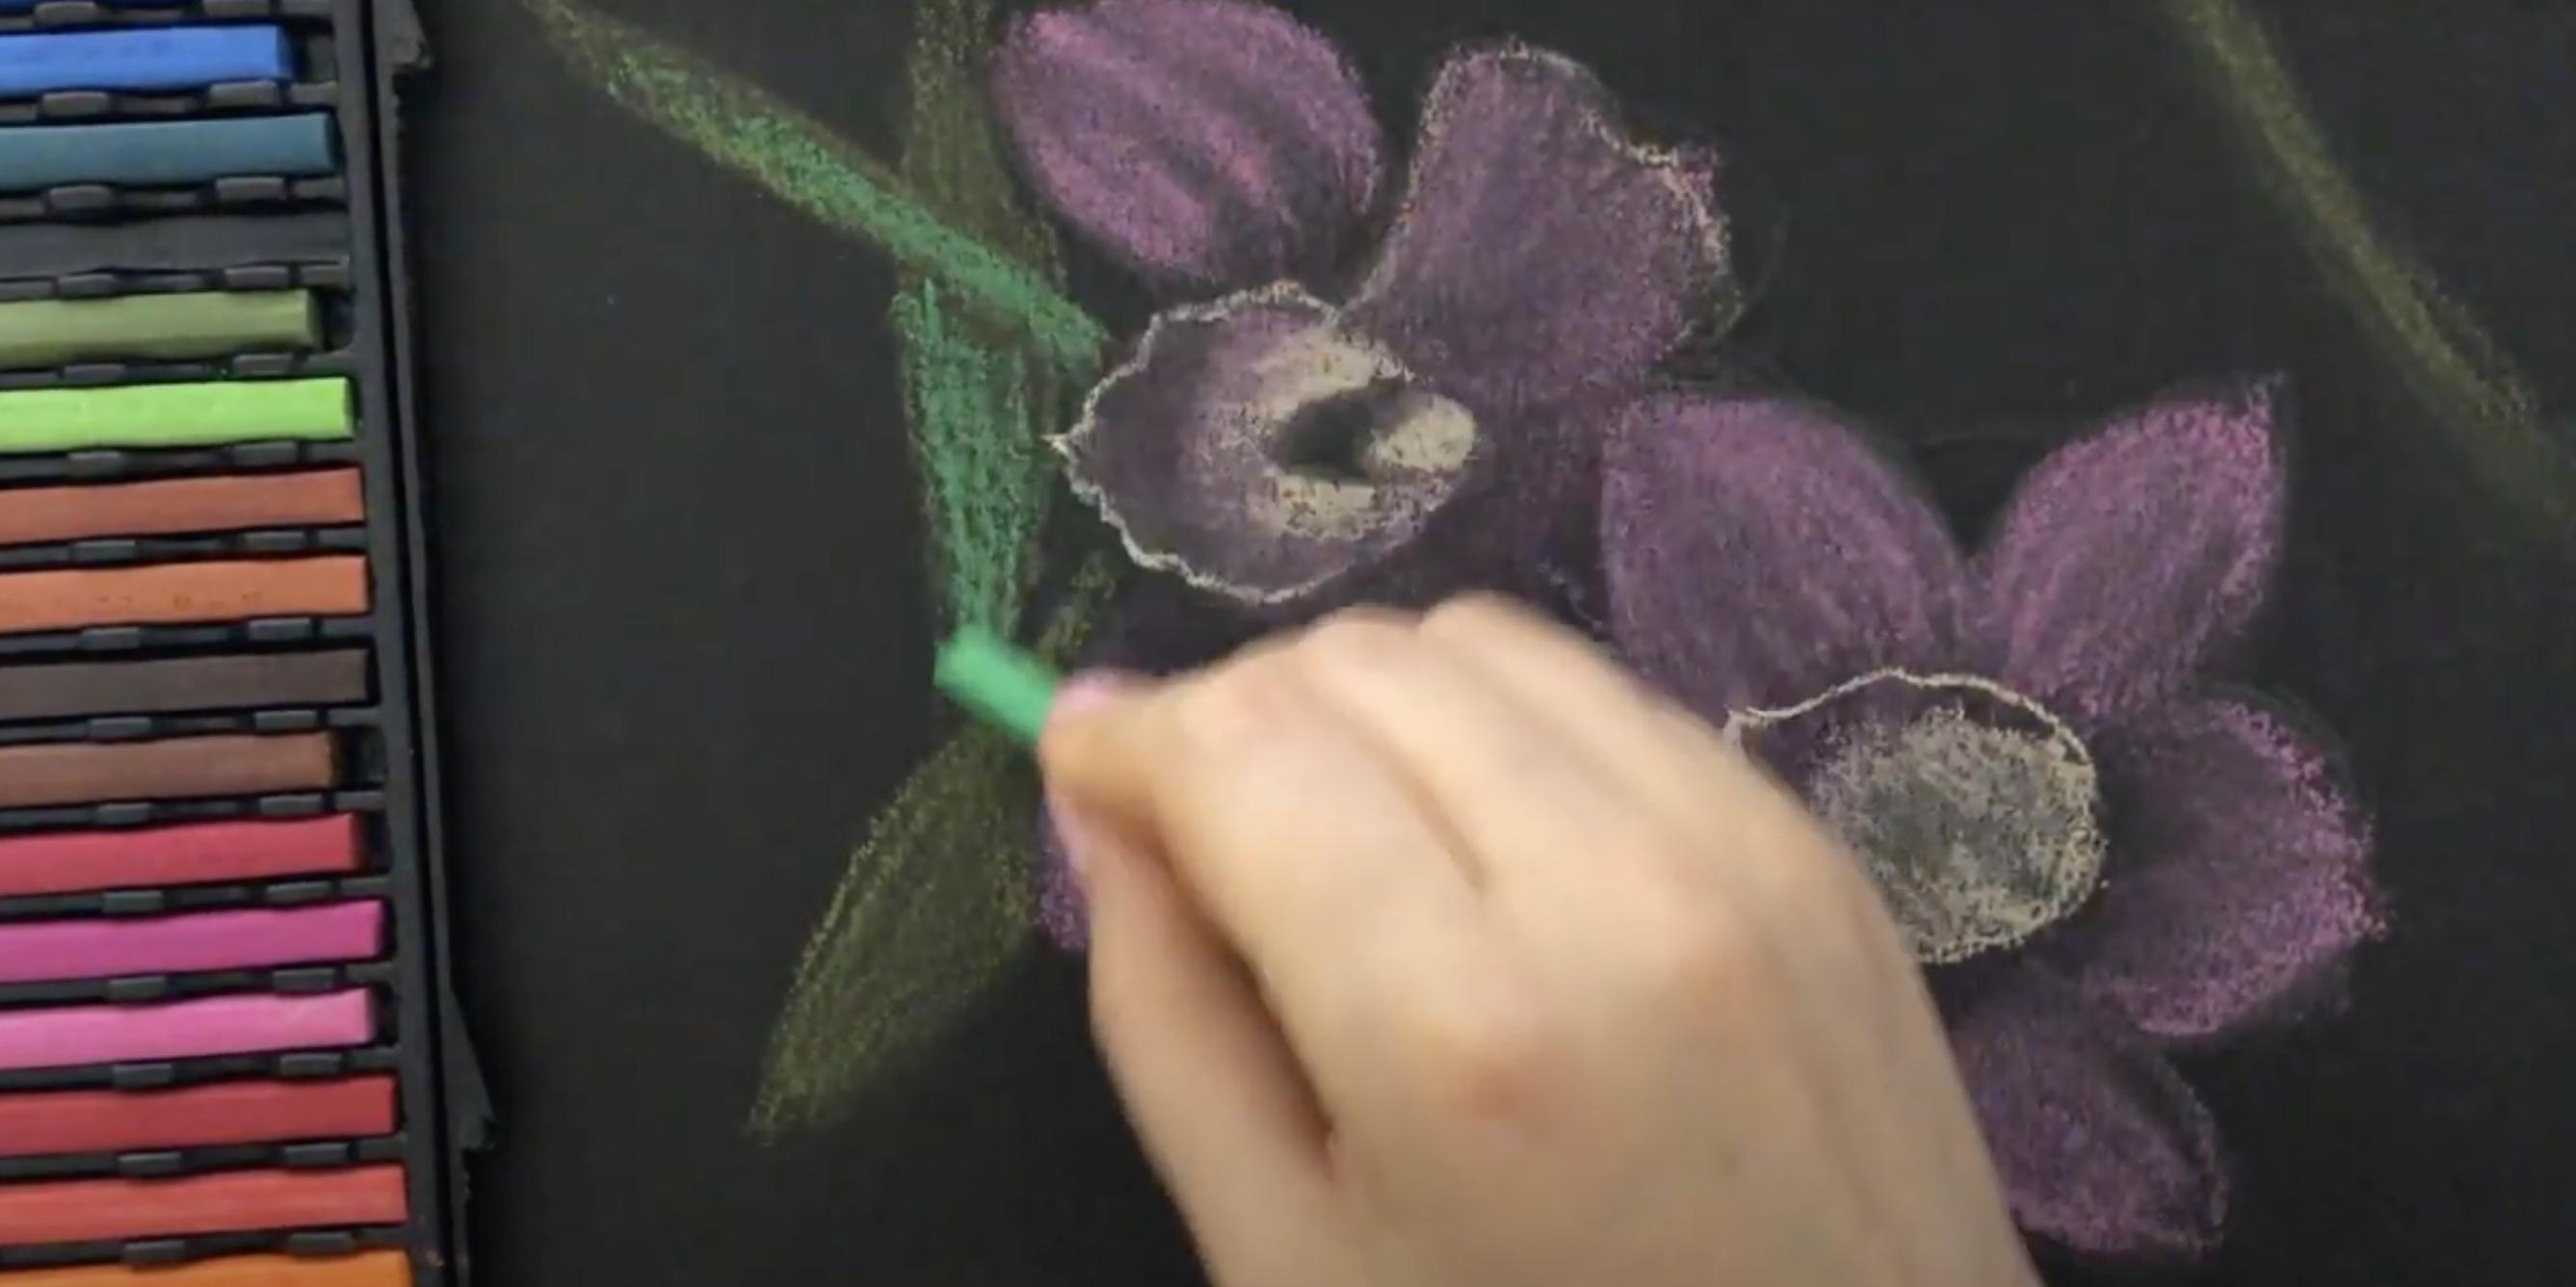
7. Begin with Base Green Layers
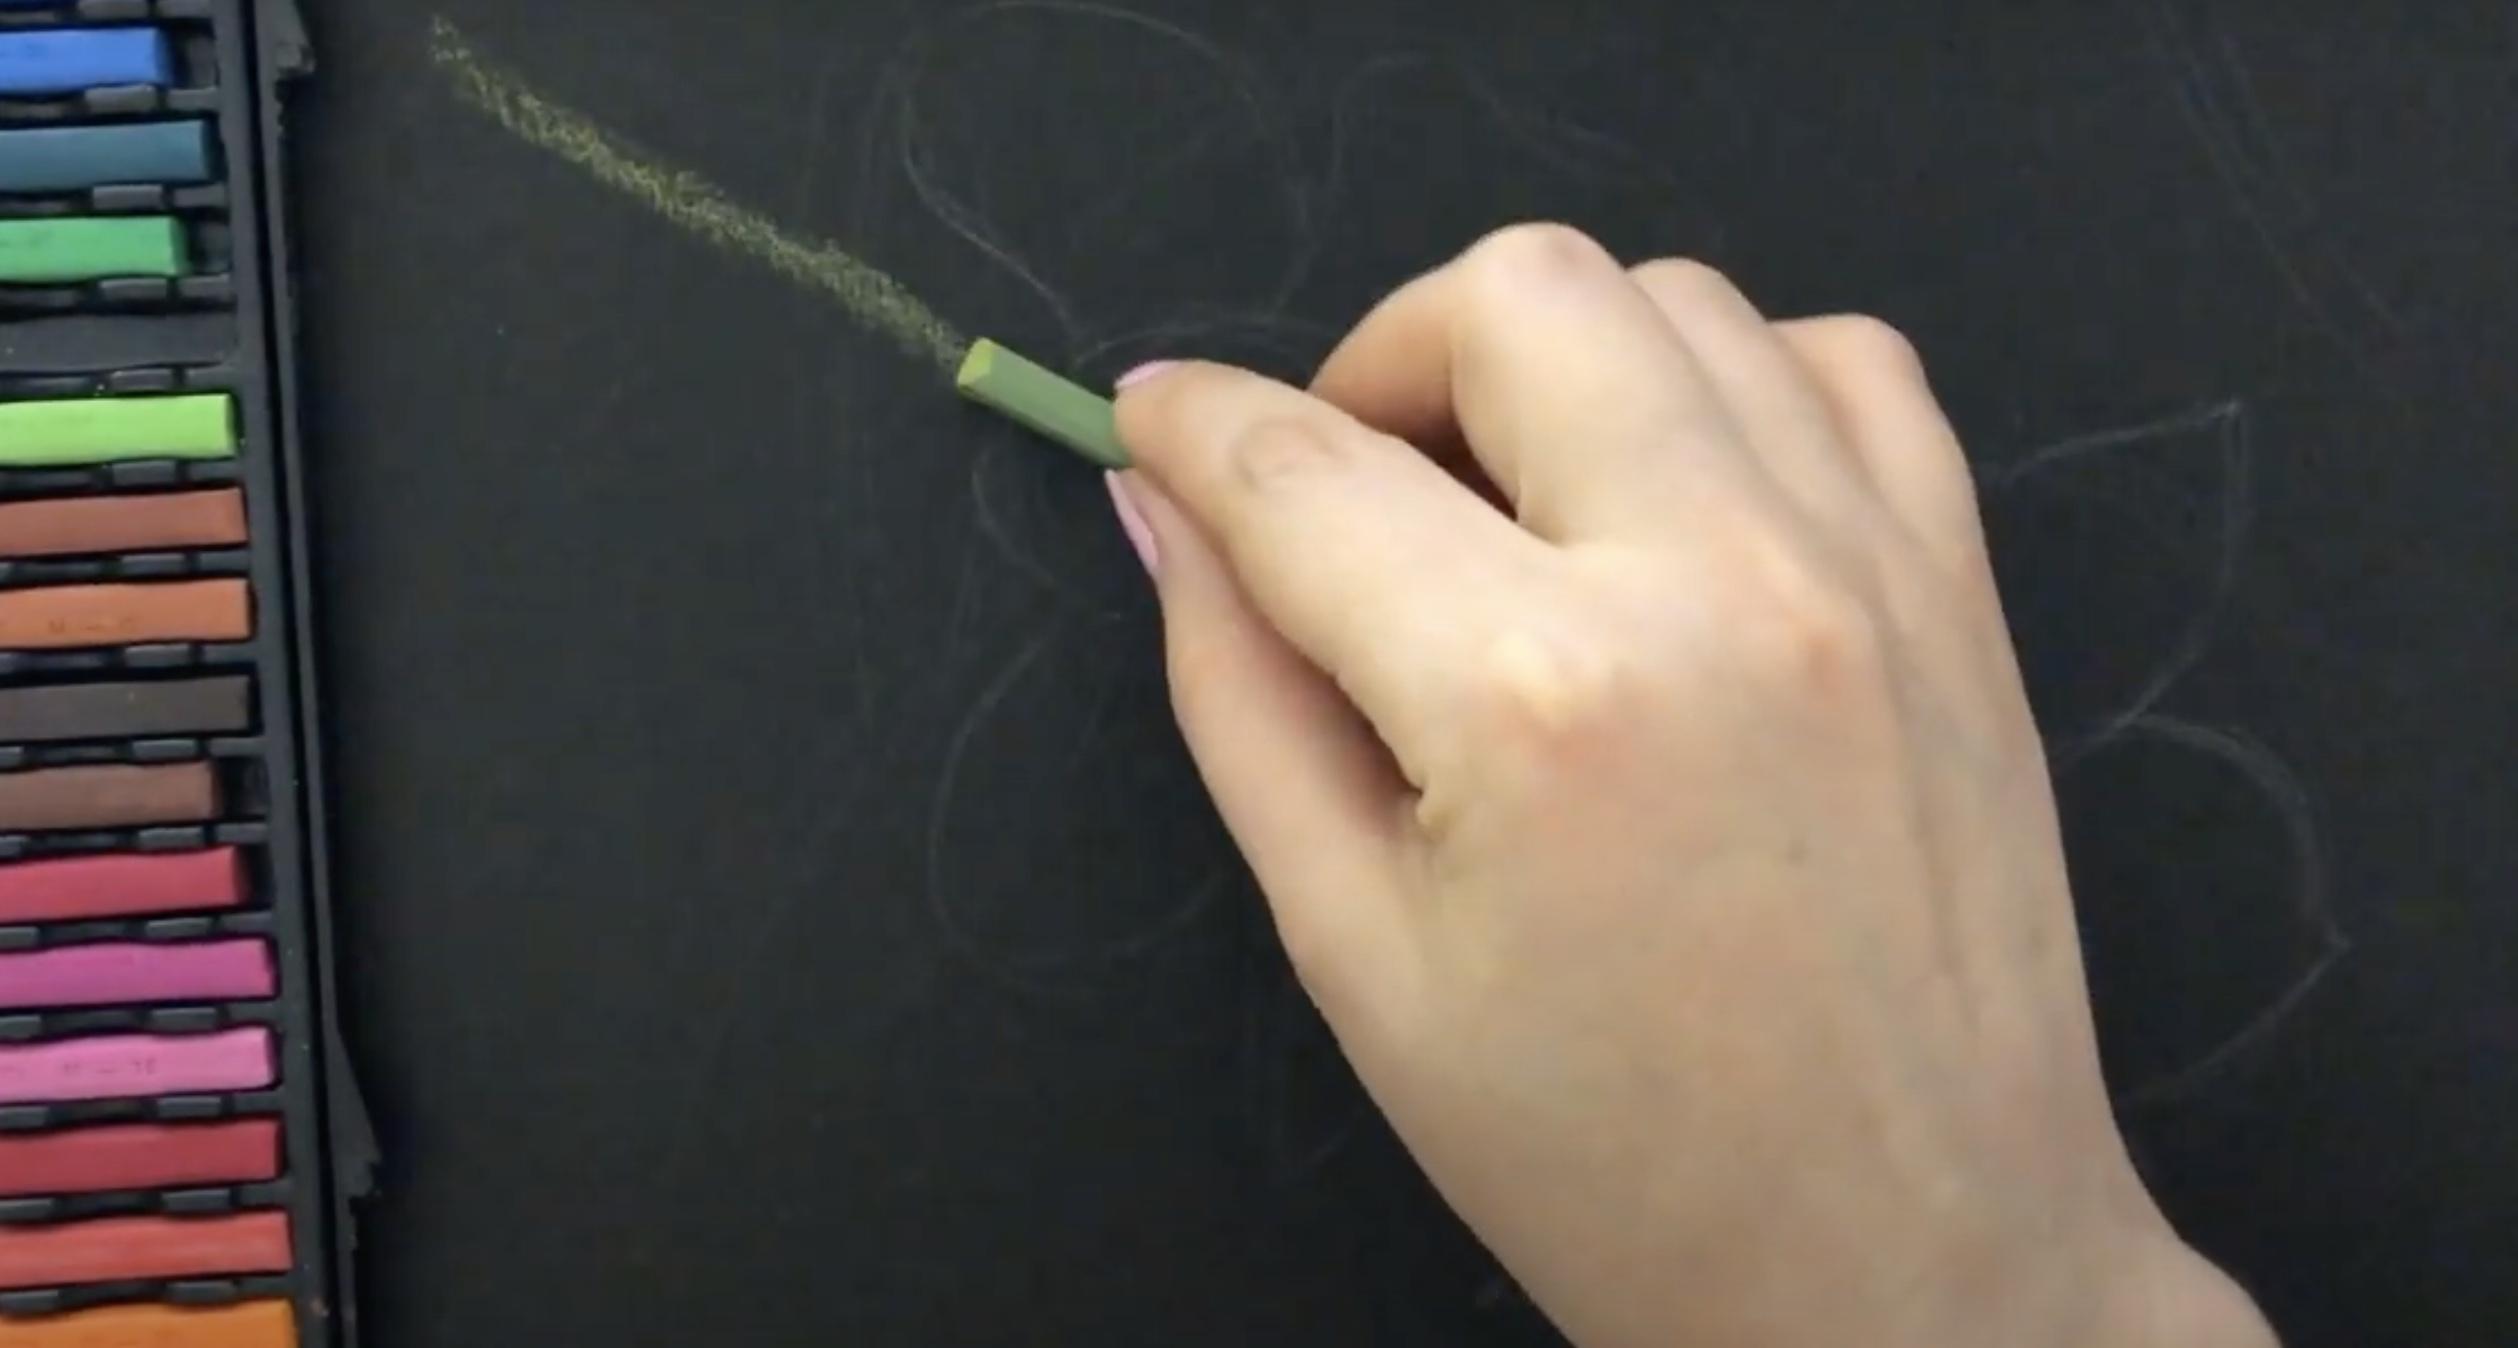
Start applying soft green pastel where the stems and leaves are. Use a light hand; your first layer should be gentle and sketchy.
8. Add the First Layer of Petal Color
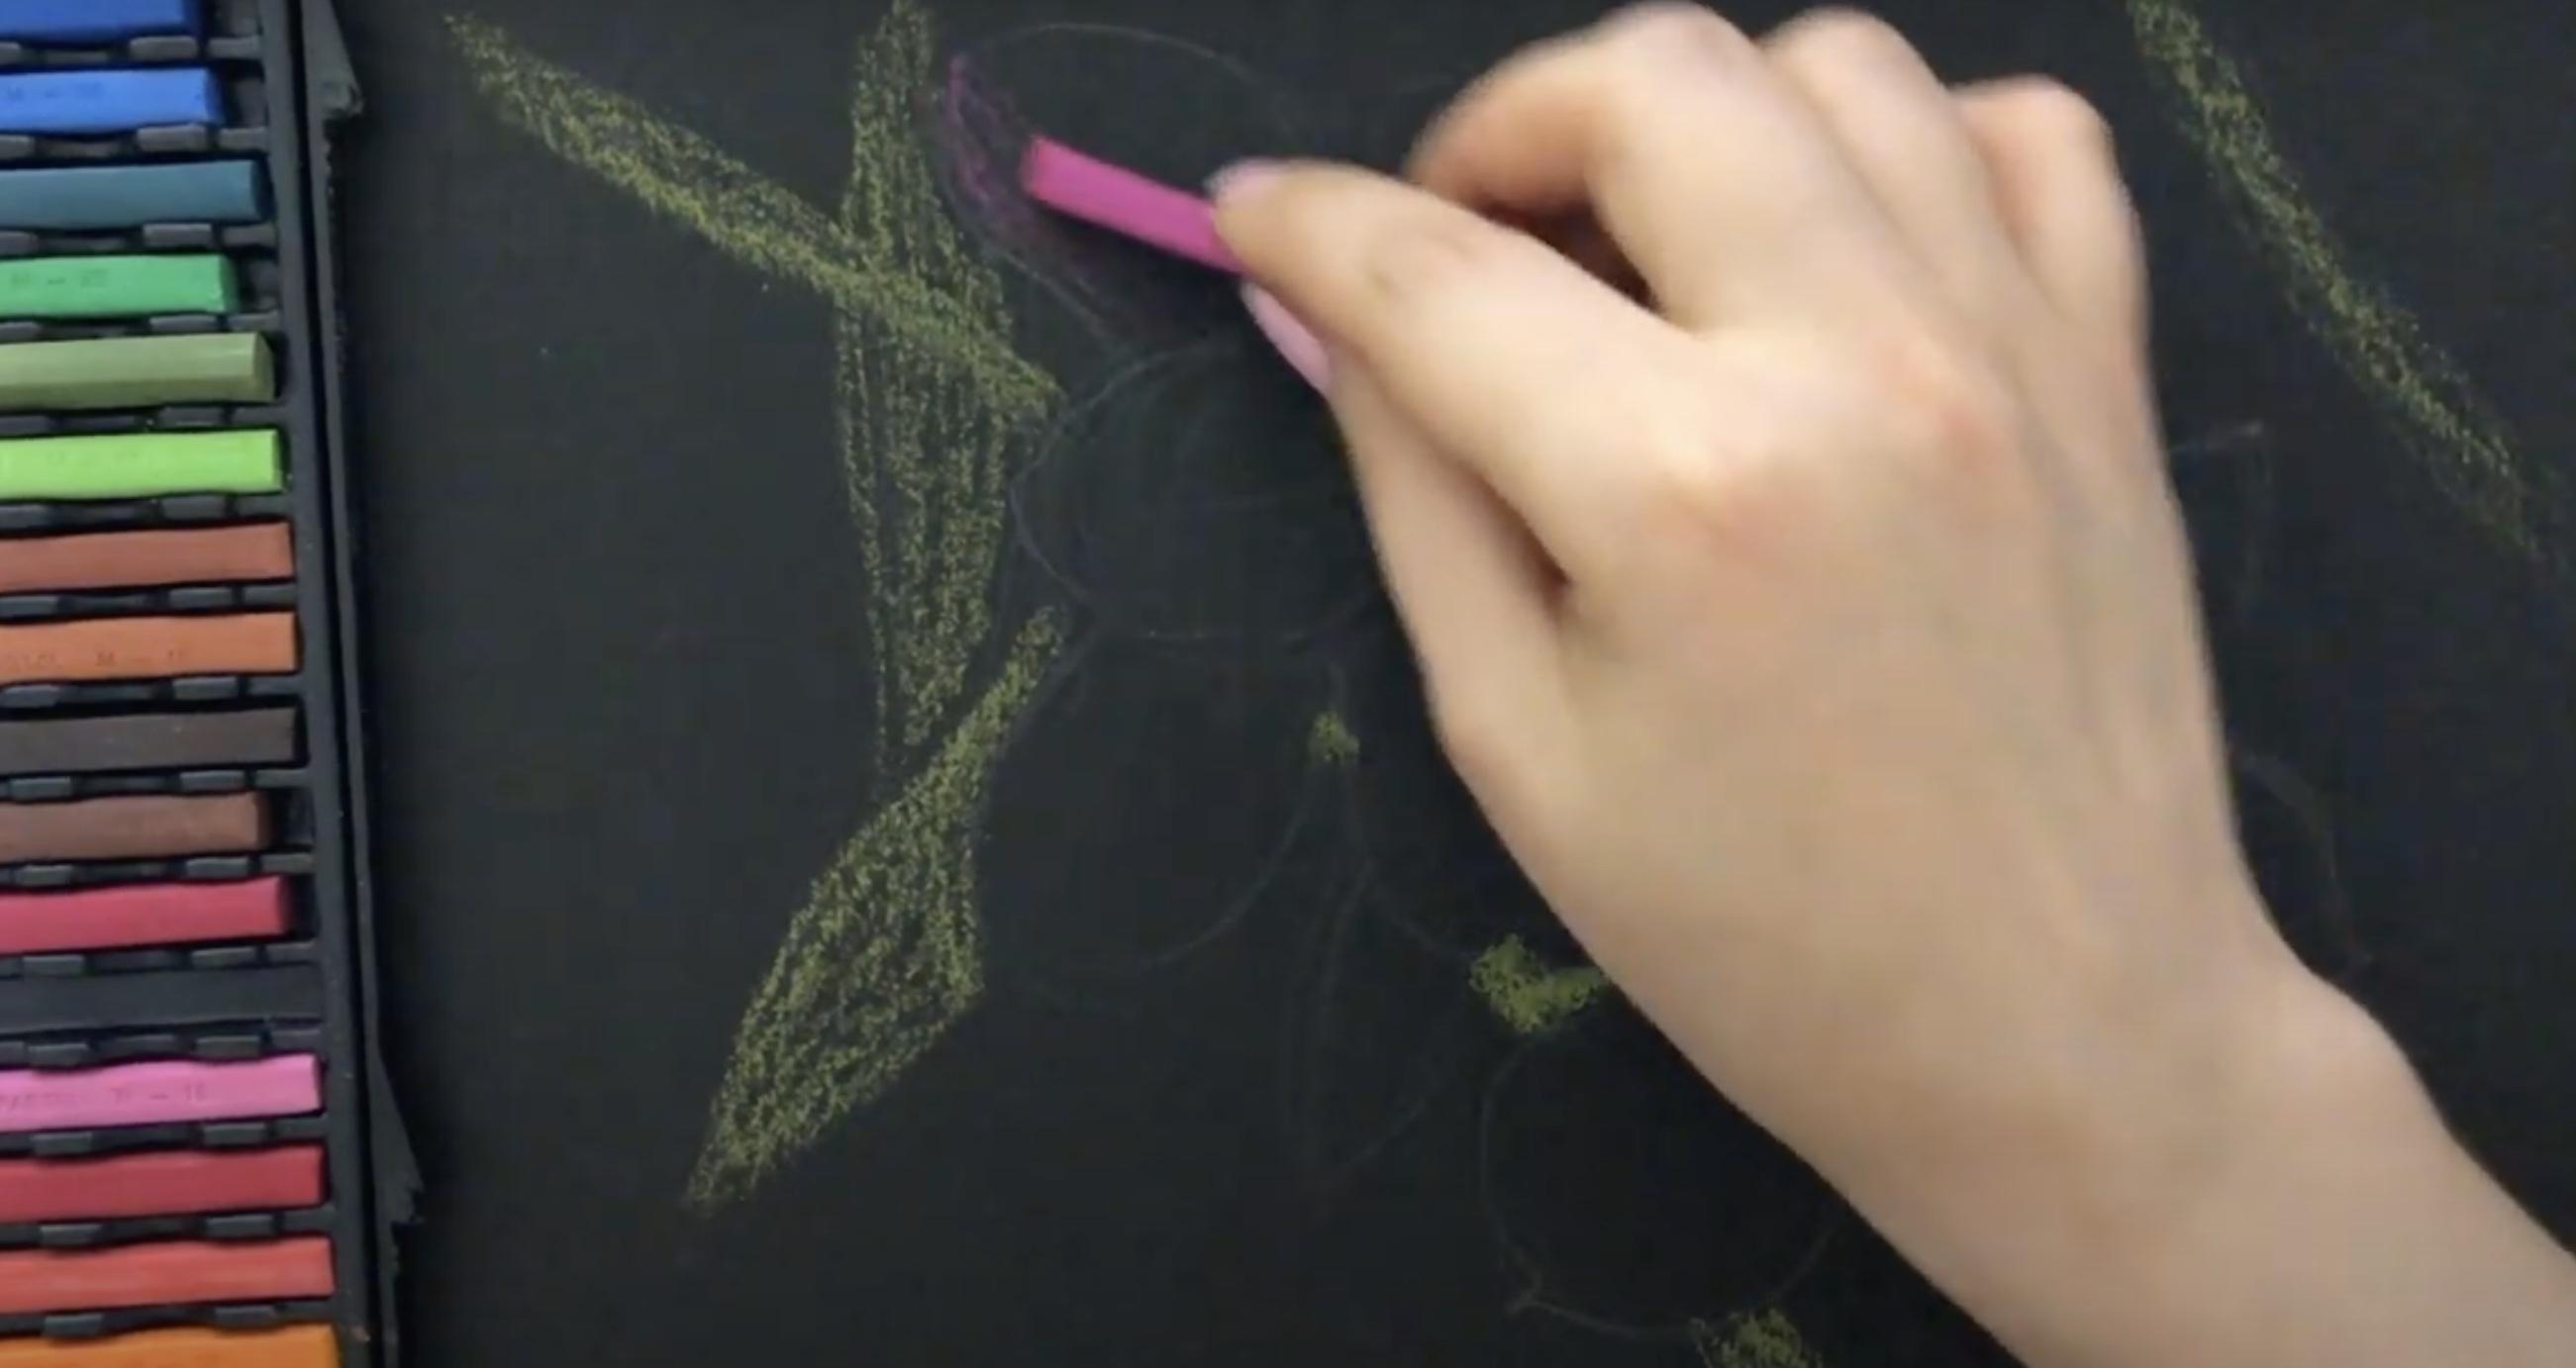
Fill in the petals using a soft pink pastel. Keep the strokes light and broad. This is your underpainting, and it doesn’t need detail yet.
9. Blend Your First Layers
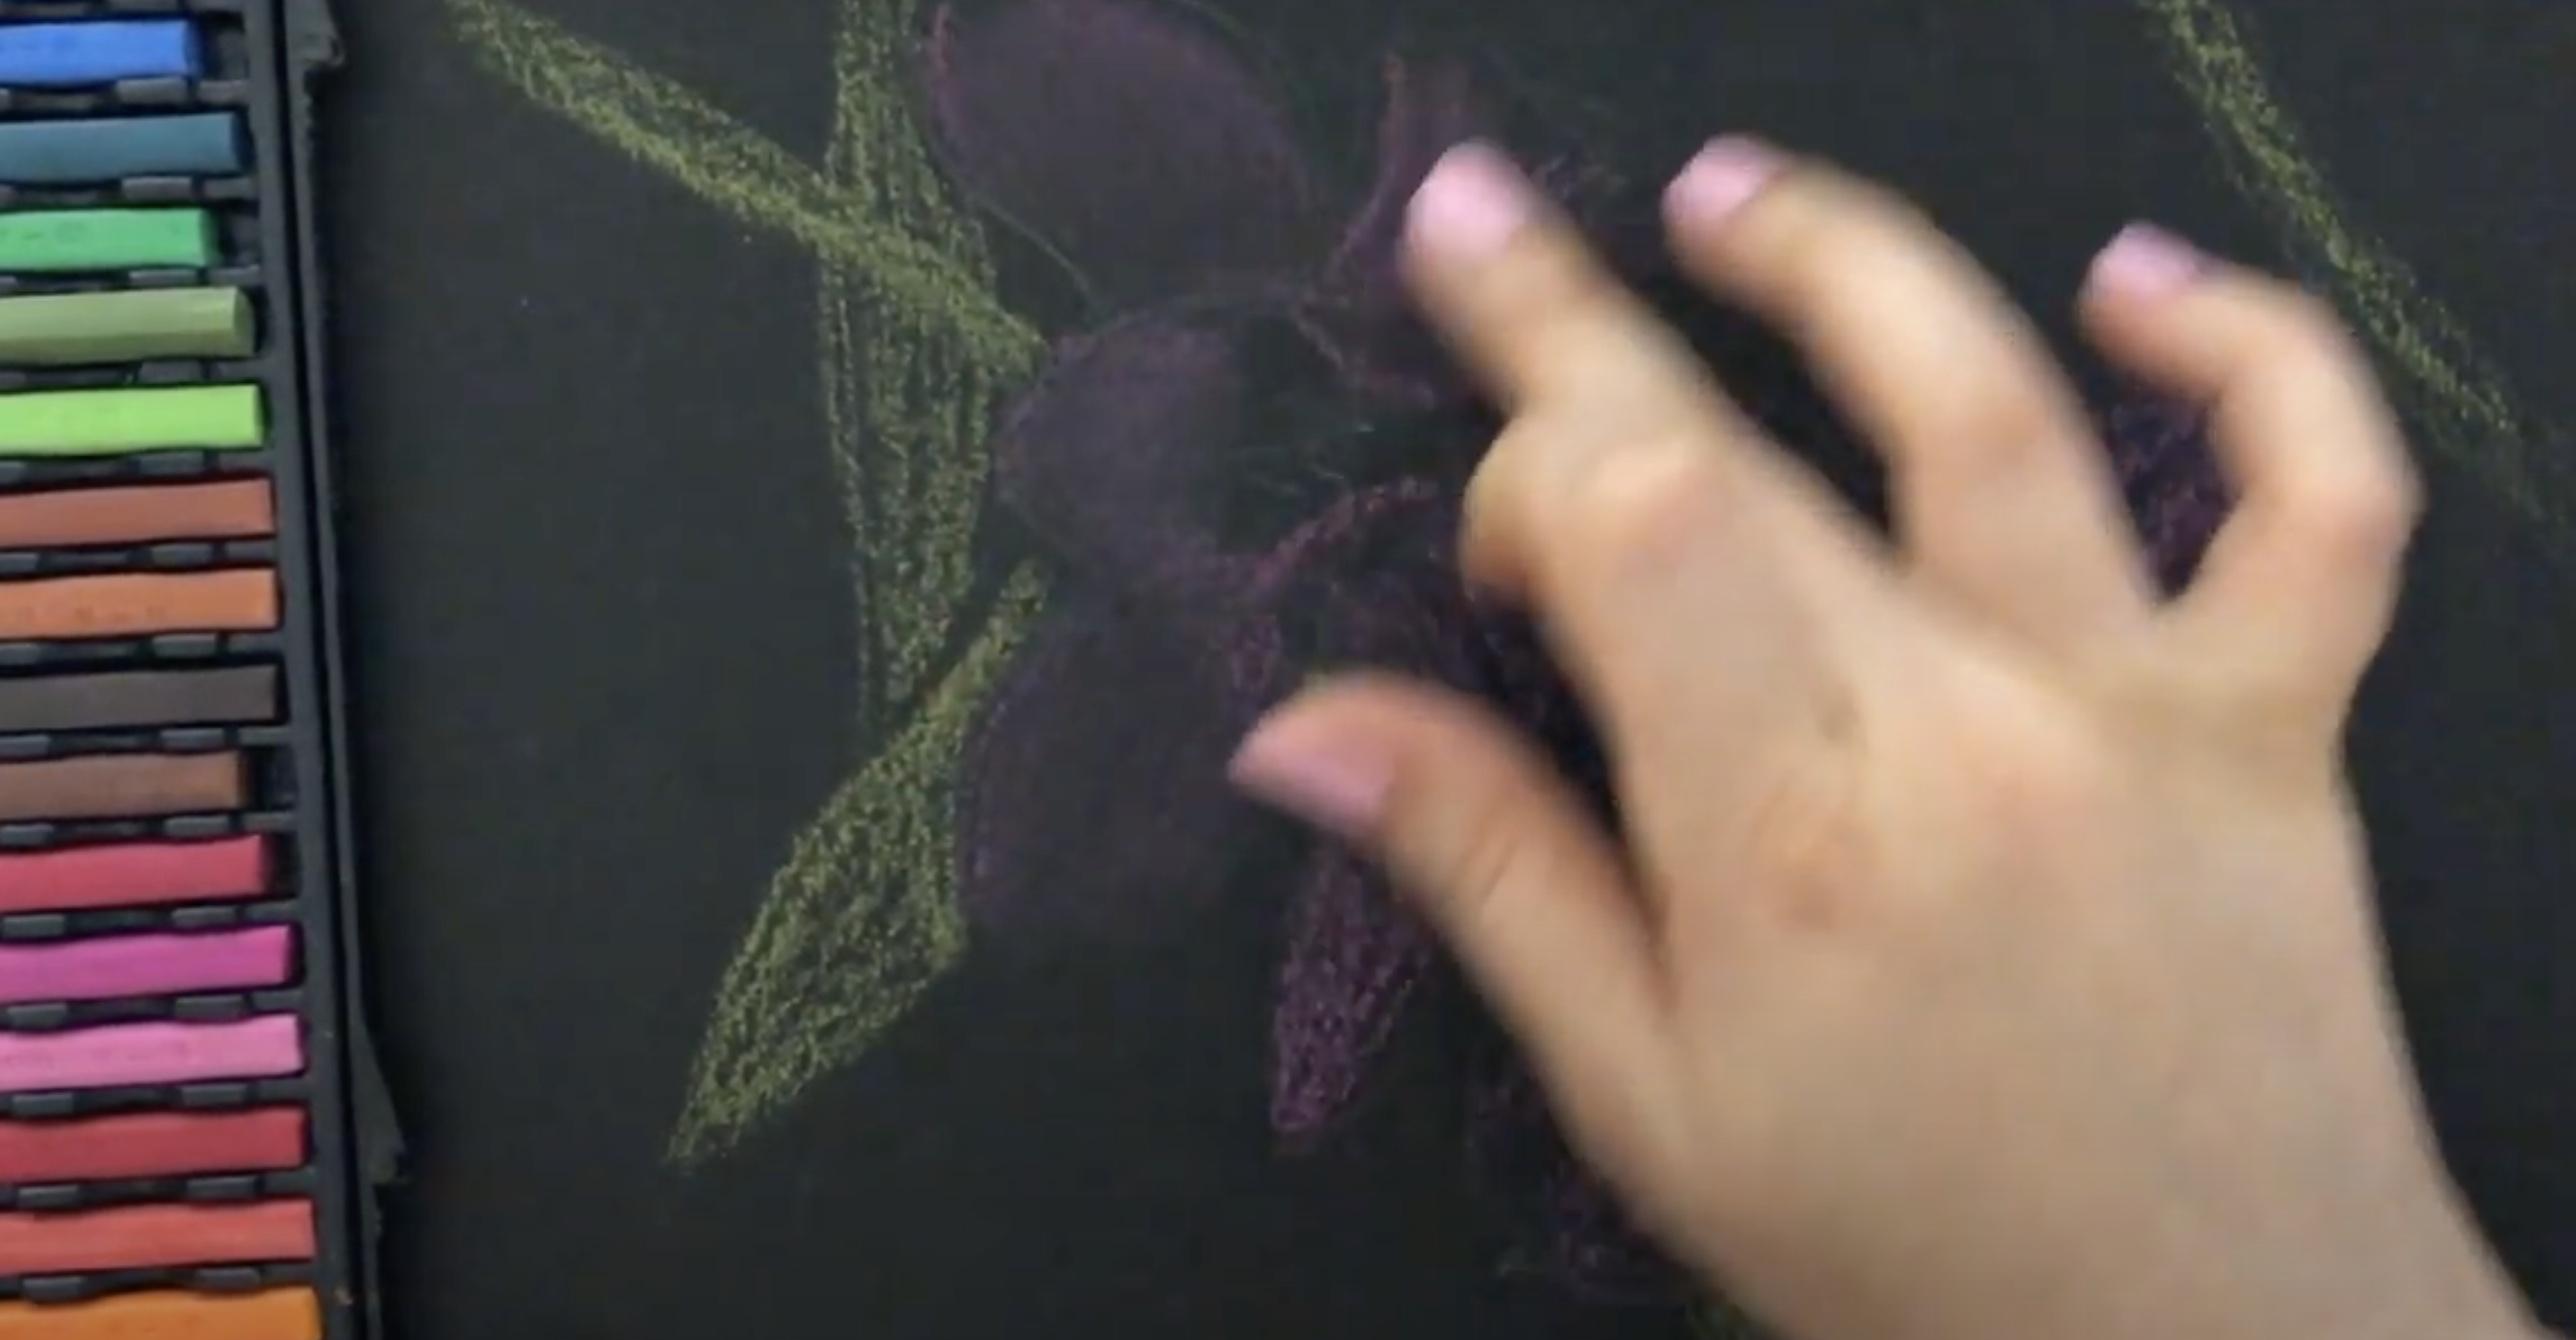
Use a clean fingertip or blending tool to smudge the colors gently. On black paper, you’ll notice some fading; don’t worry, it’s normal.
10. Layer Lighter Colors
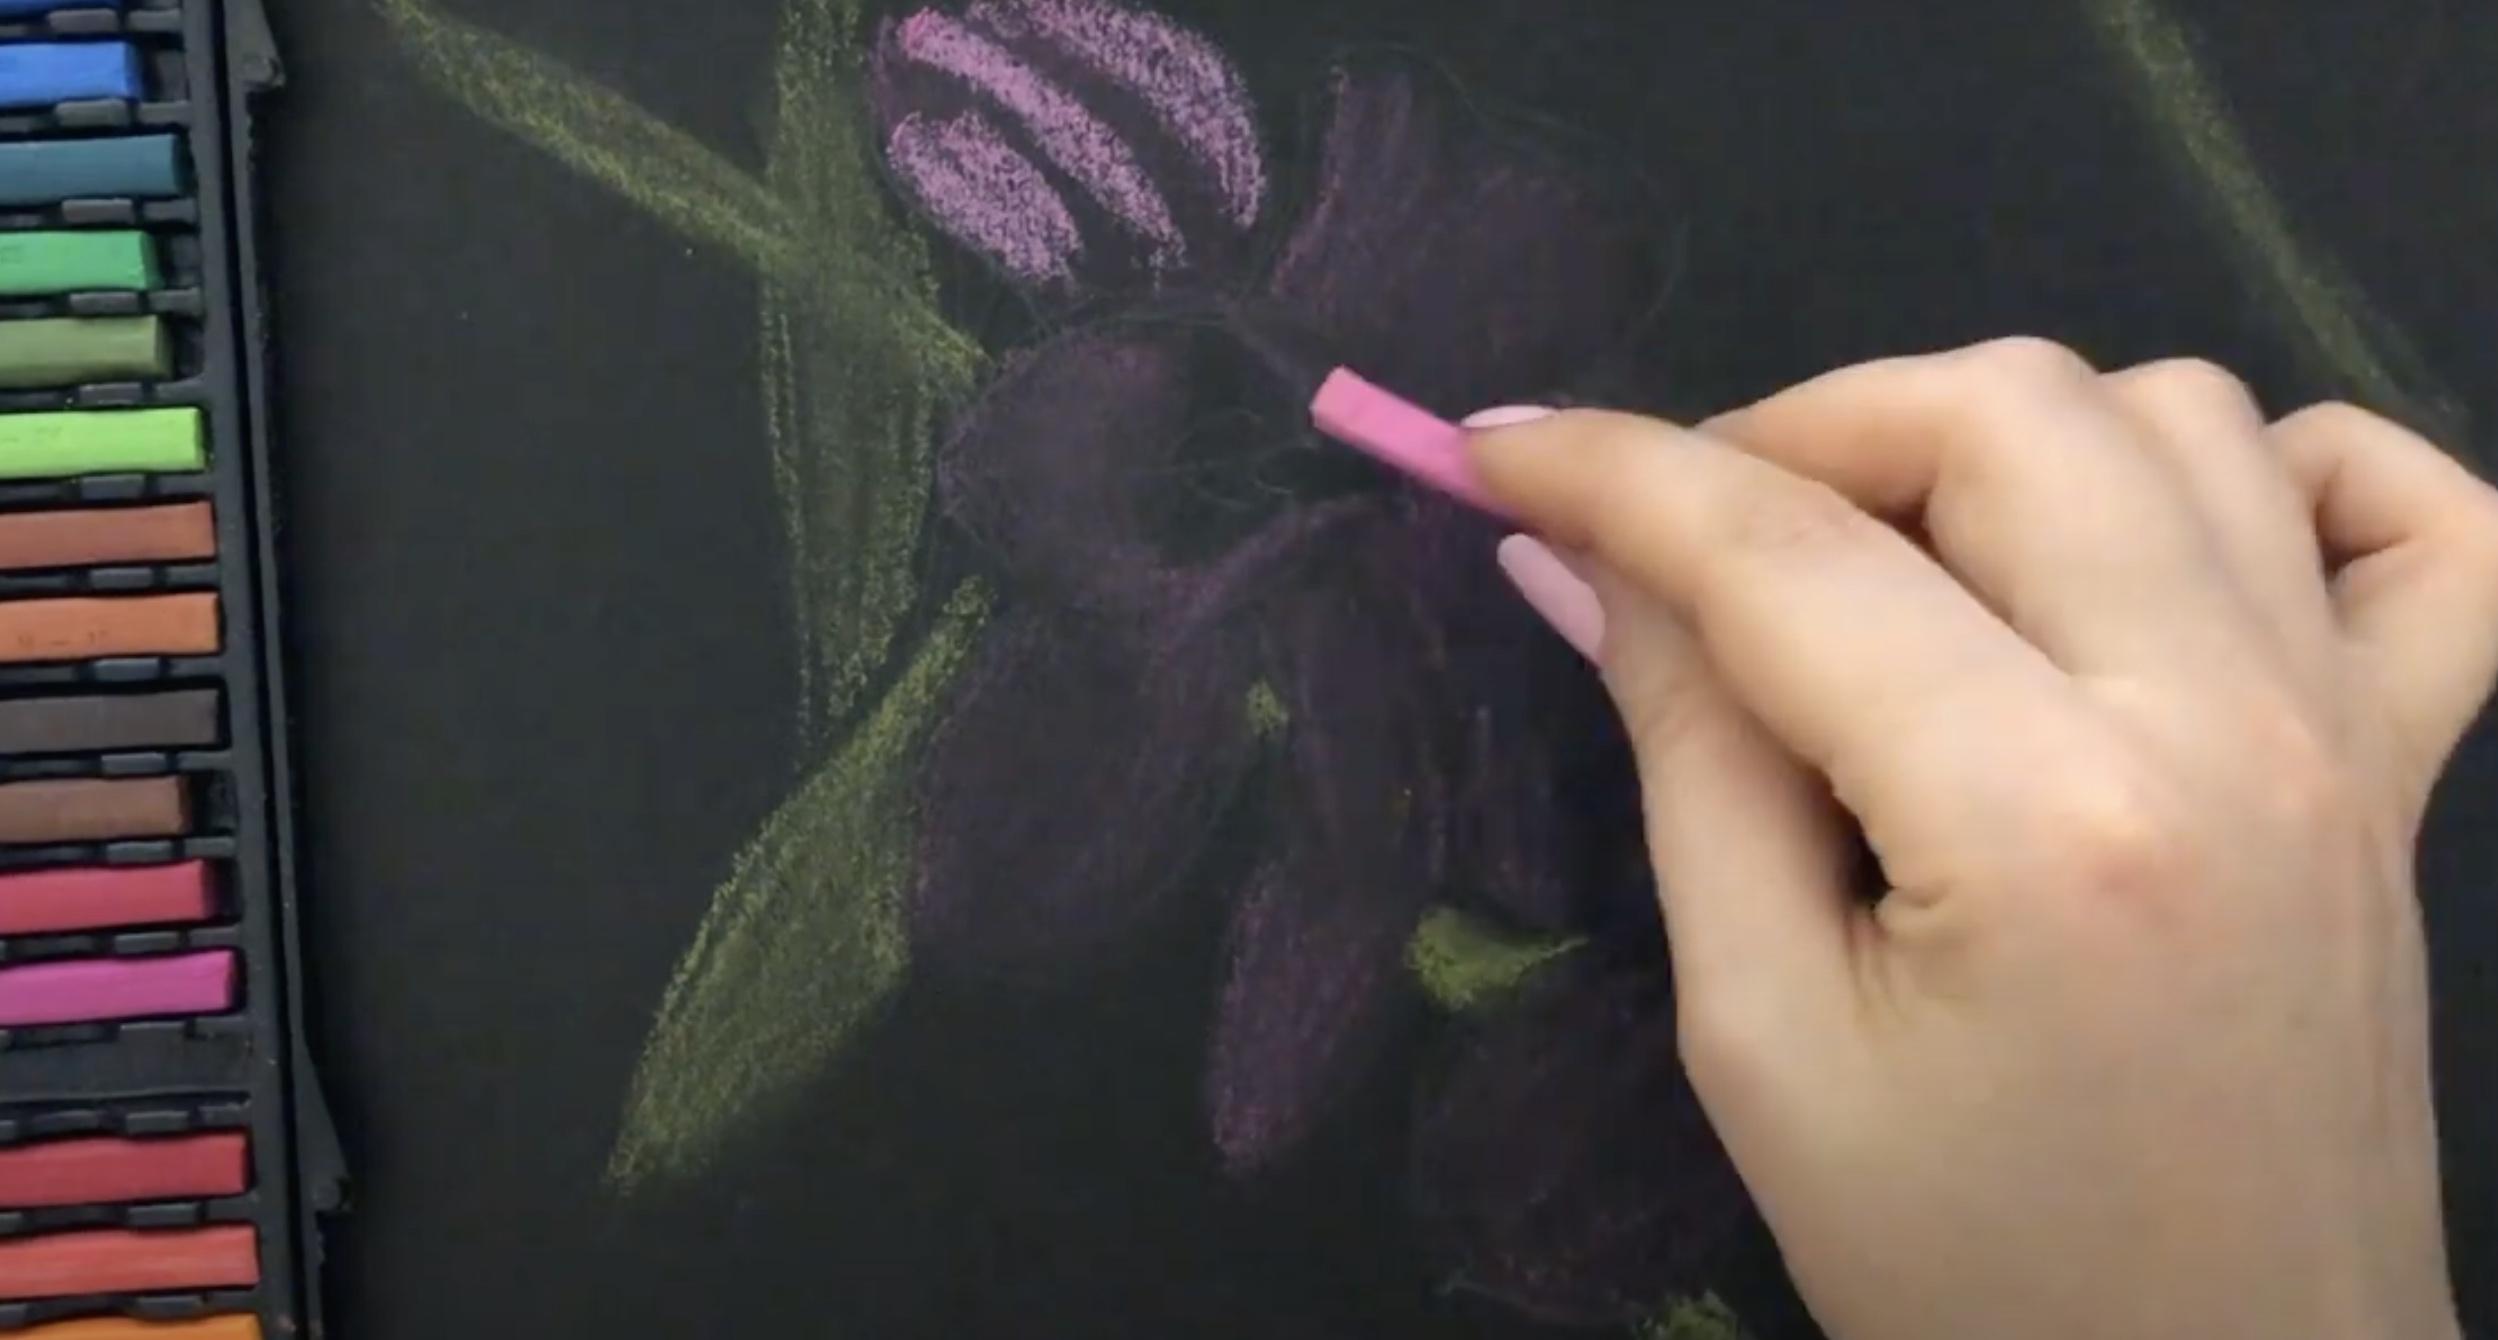
Now, apply a lighter pink or peach tone to build up the highlights. Focus on areas that naturally catch light.
11. Add Mid-Tones
Introduce a lighter pink or a creamy peach shade to brighten the highlighted areas of each petal. Build color slowly for a glowing effect.
12. Deepen the Greens
Go back to your leaves and stems with a deeper or brighter green. Layer softly and blend to give volume and depth.
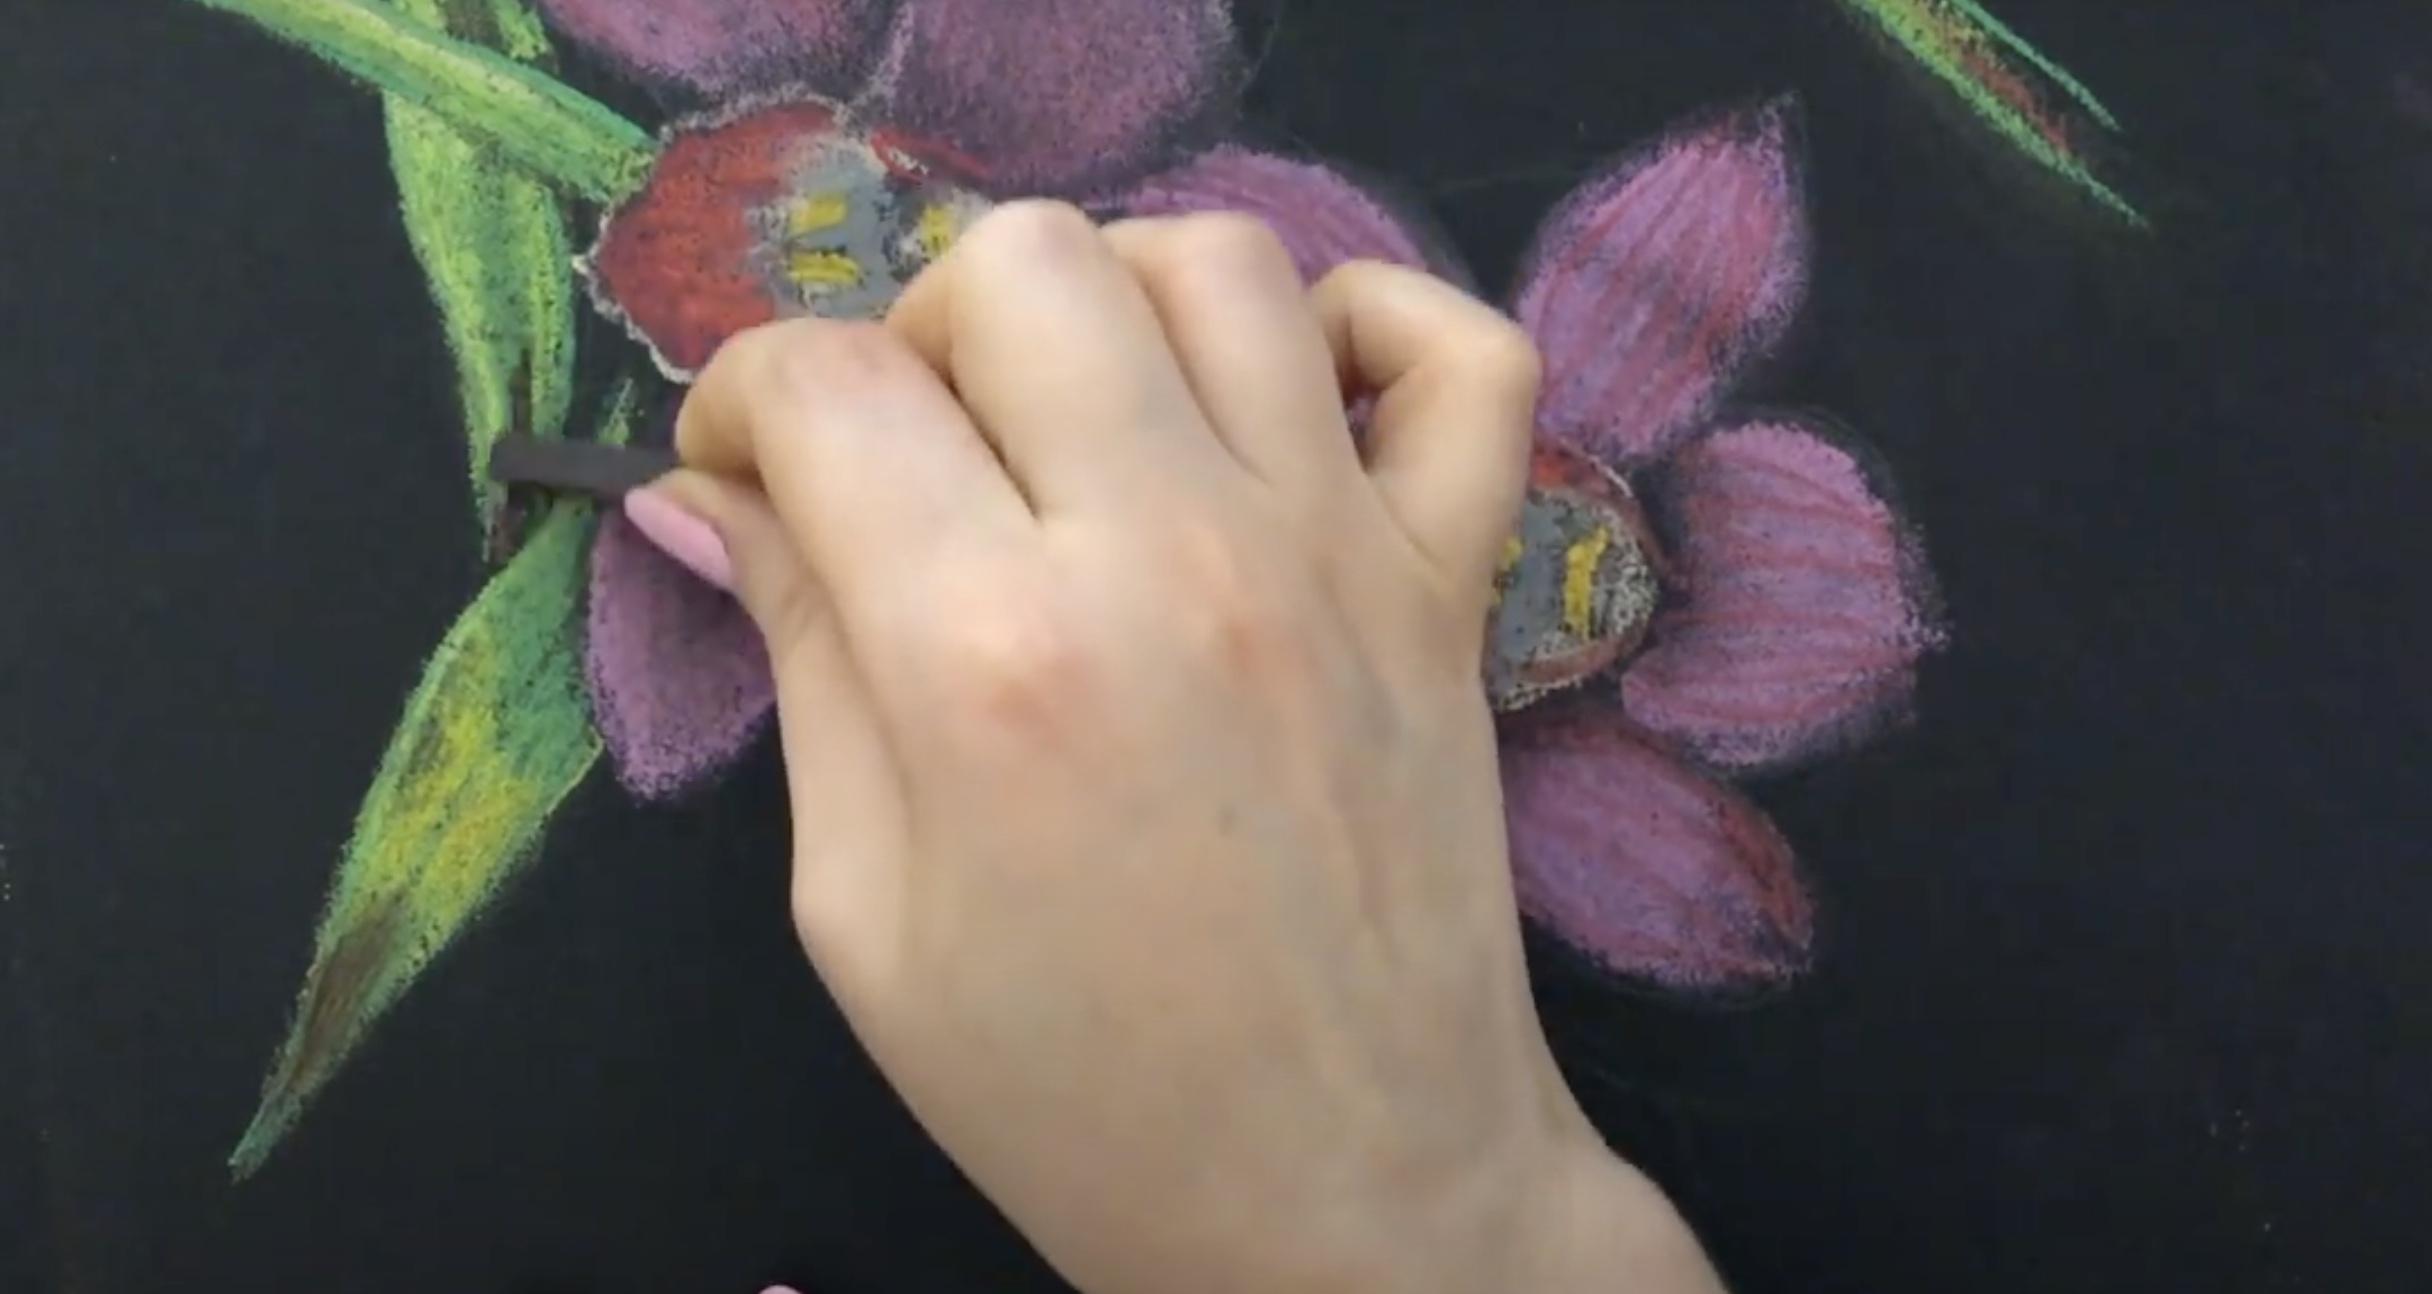
13. Introduce Reds and Accents
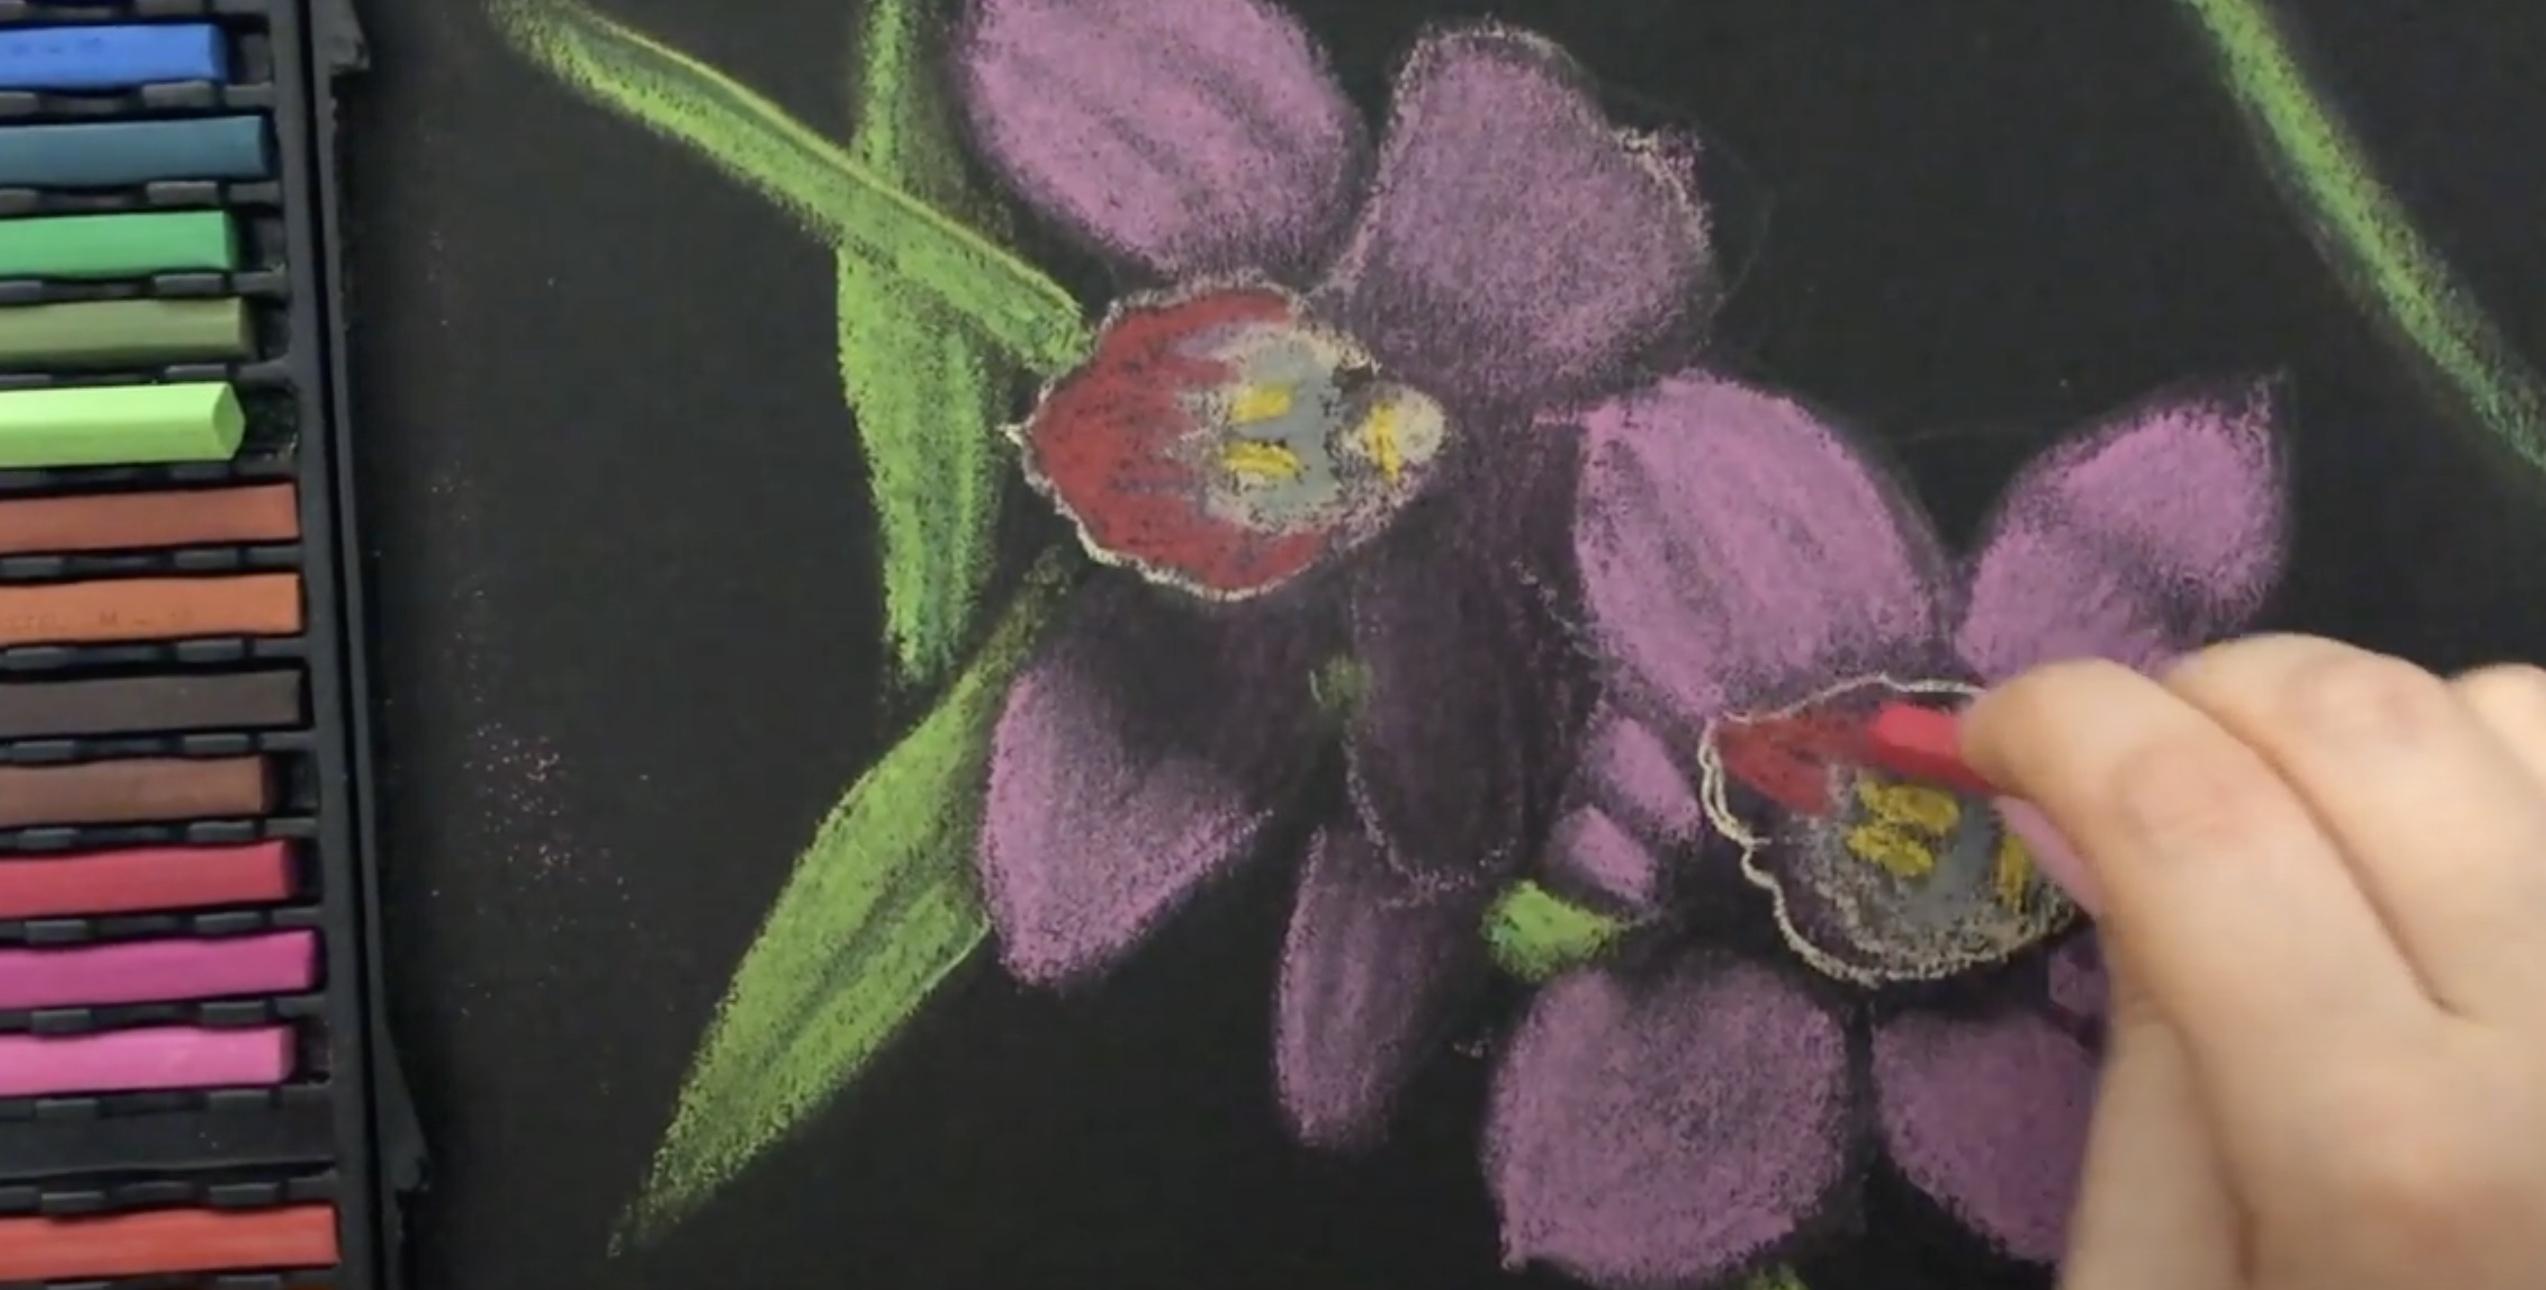
Bring in deeper reds or warm tones to give dimension and warmth to the orchid petals. This enhances richness and adds floral realism.
14. Refine the Petals
Add more detail to each petal, shaping their edges and softly blending colors. Use light strokes in brighter areas and darker tones for shadowed edges.
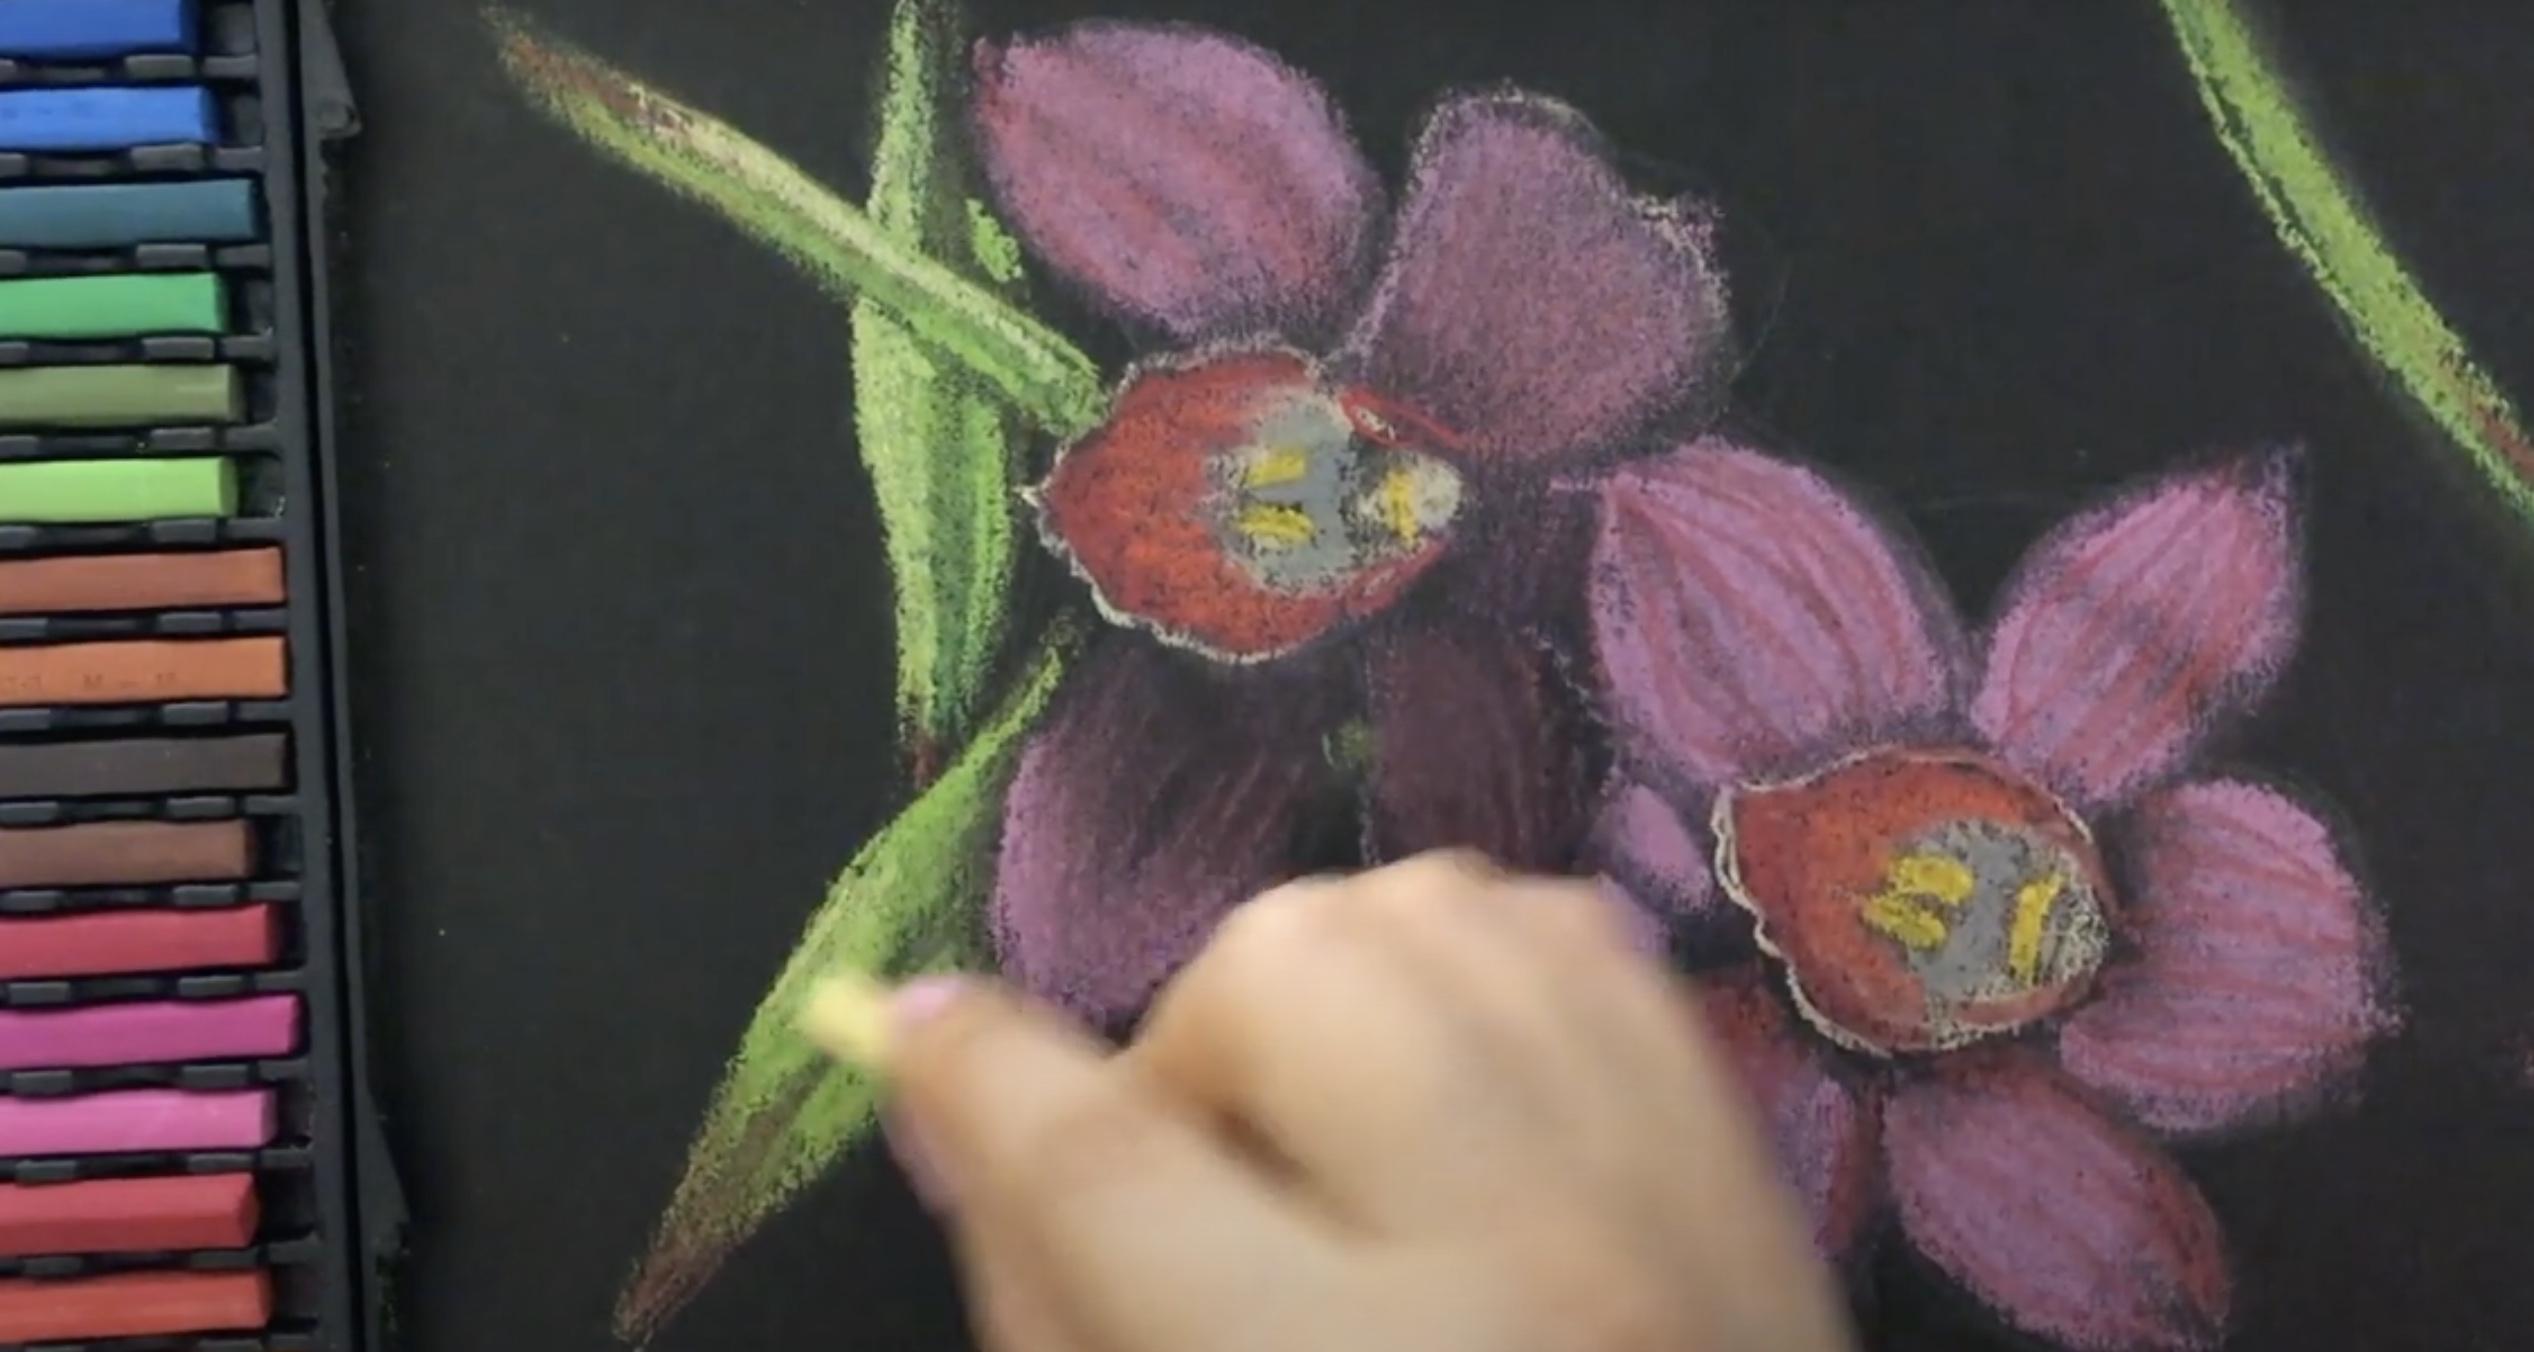
15. Balance Shadows and Highlights
Use browns for subtle shadows and white or pale yellow for sharp highlights. Adjust light and shadow to enhance realism.
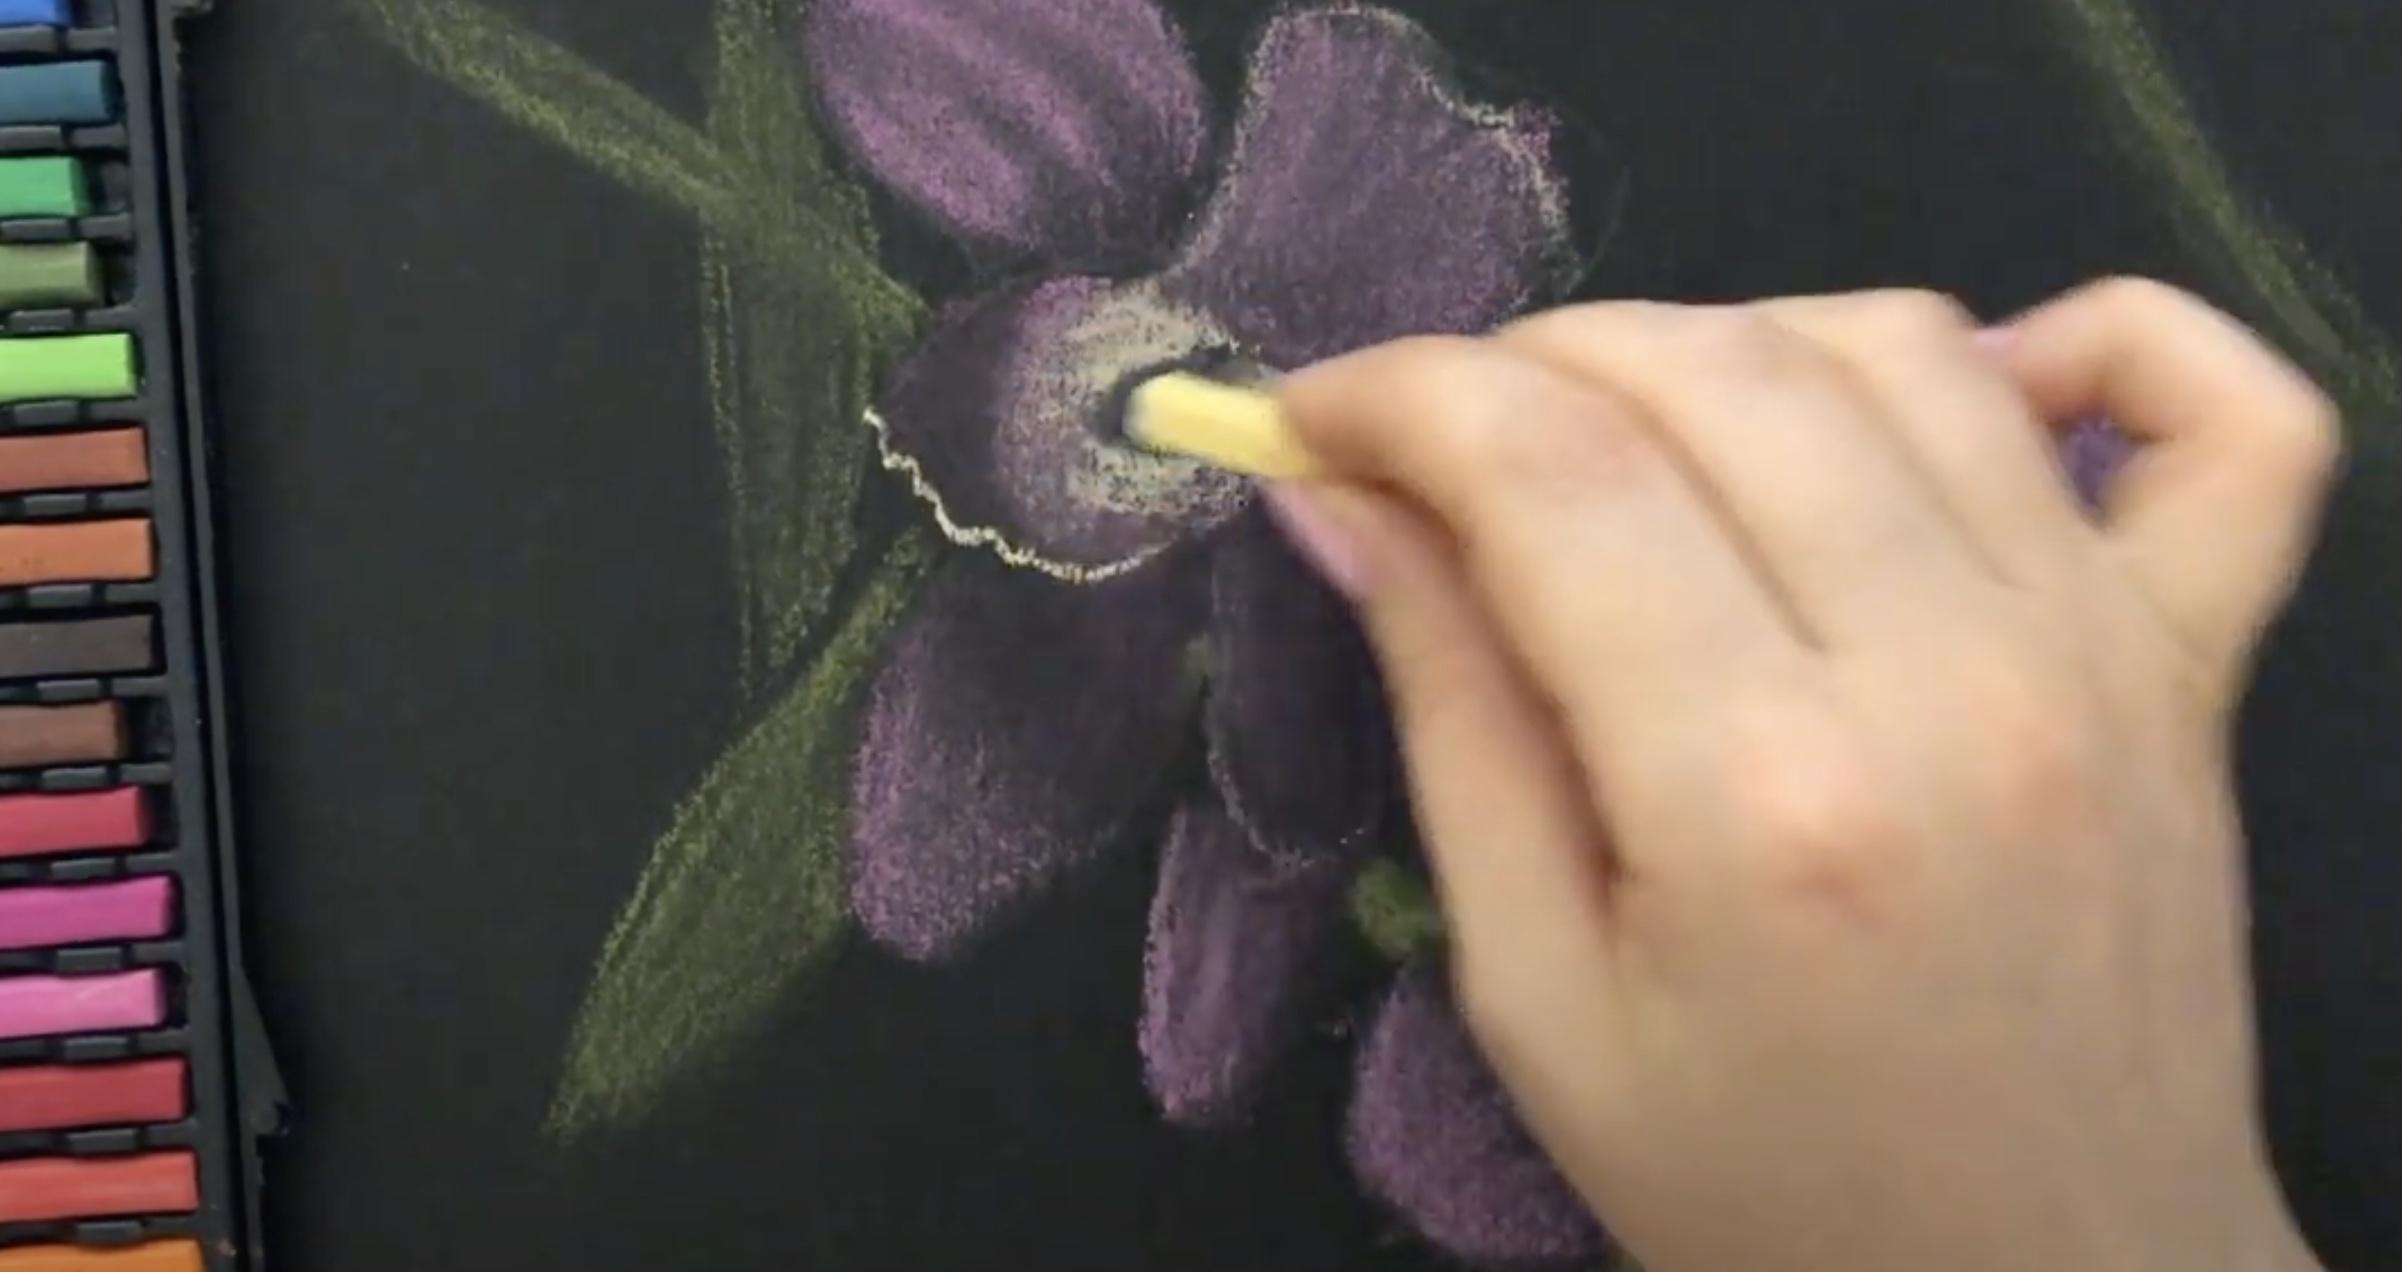
16. Add Final Touches
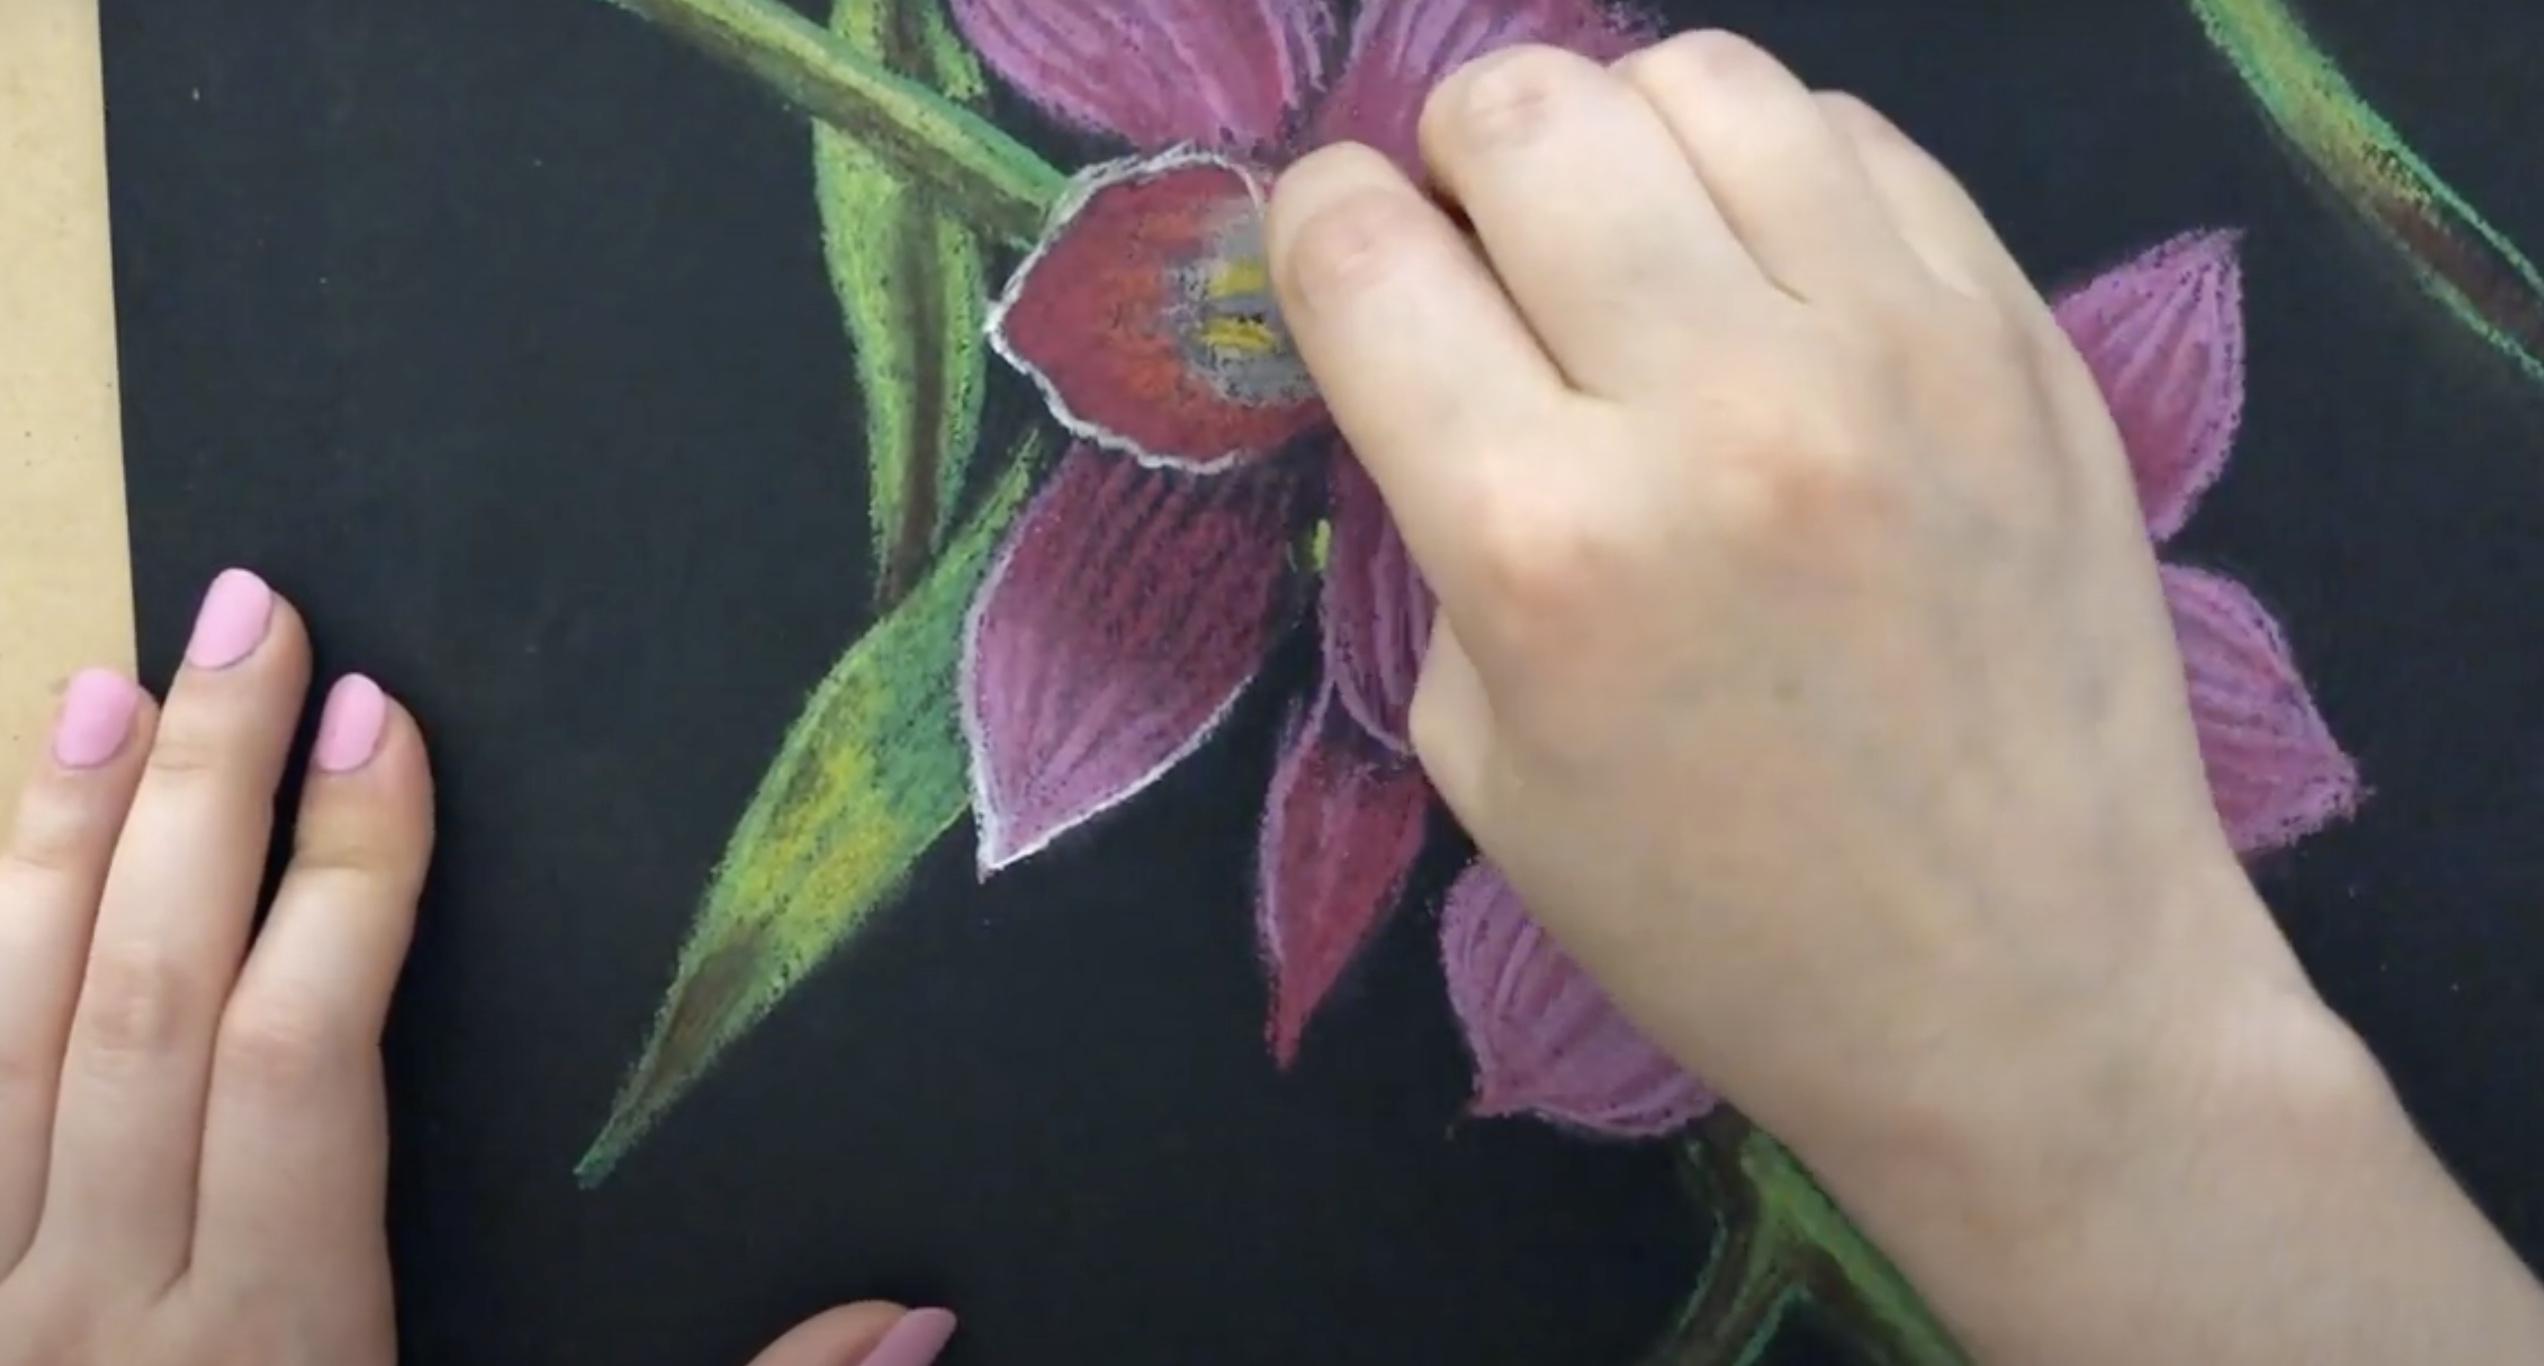
Use a white pastel to outline the glowing edges of petals or central features. These finishing strokes make the artwork pop against the dark background.
17. Finishing Touches
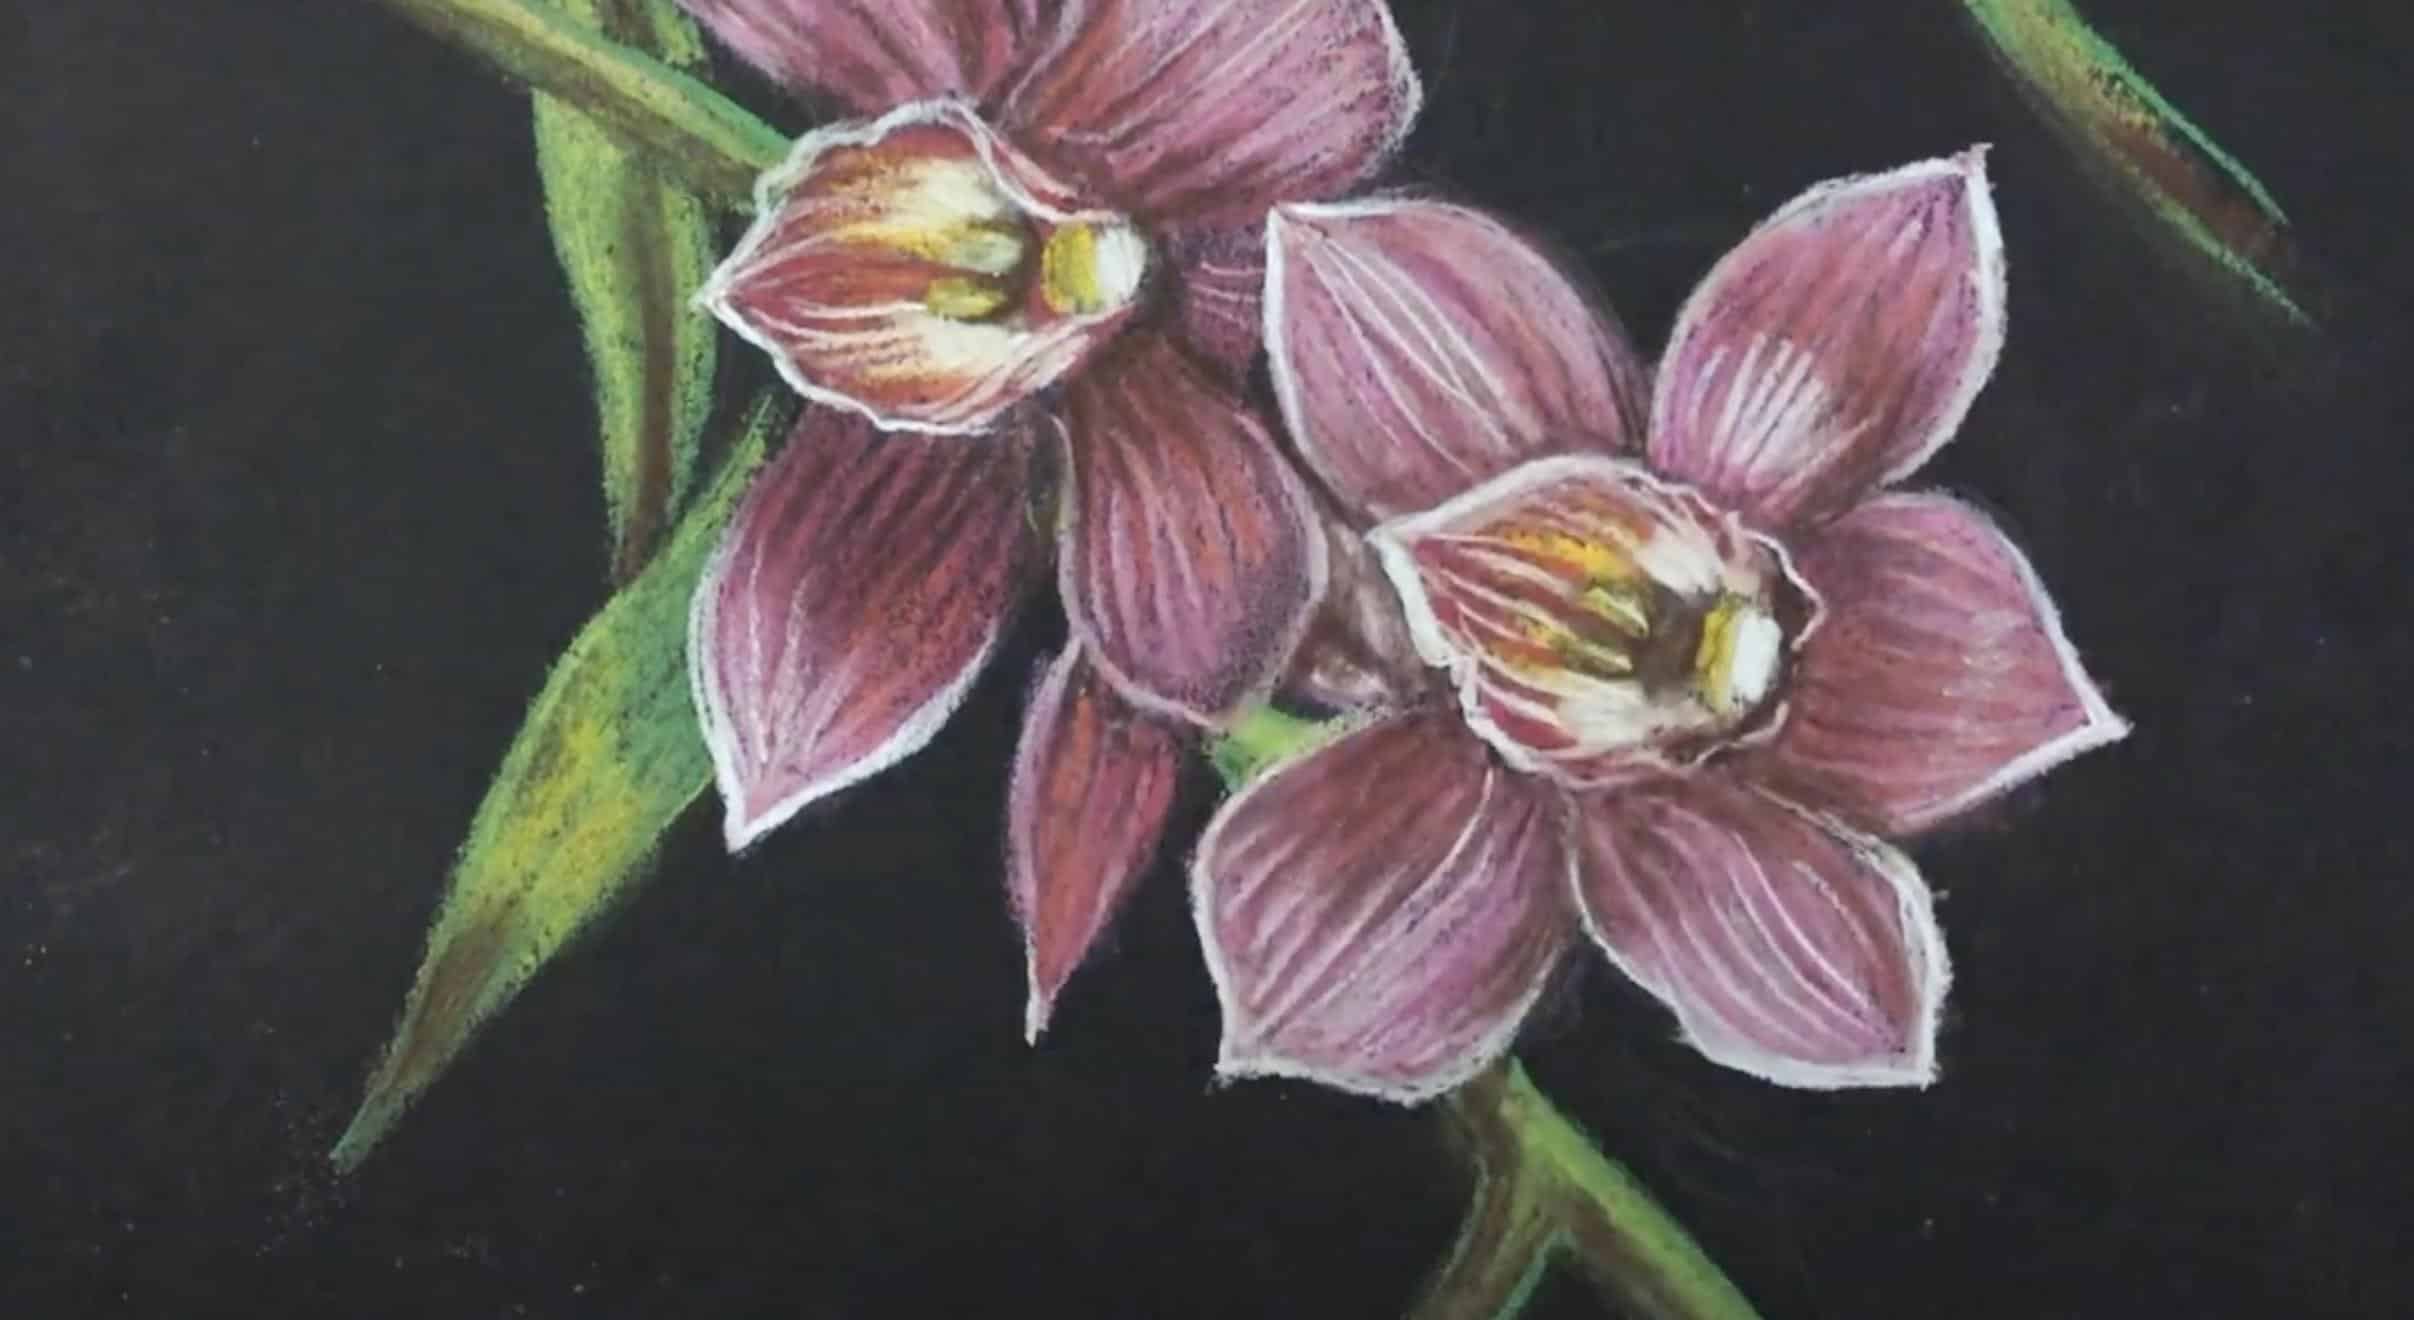
Gently style contrast with darker outlines or shadows, but avoid overworking the paper. Use a pastel pencil for cleaner details and step back to review. Your orchid drawing is now ready to be admired!
Creative Orchid Drawing Easy
Artists looking to capture the charming beauty of orchids have many options. These simple yet stunning approaches can help anyone create beautiful orchid artwork, regardless of skill level.
1. Single bloom focus
Artists can concentrate on one perfect orchid flower, paying attention to its unique shape and delicate petals.
2. Ink outline technique
One can create bold, graphic interpretations using a black pen with minimal detail for striking results.
3. Watercolor exploration
Translucent colors can blend naturally to capture the orchid’s ethereal quality when using this medium.
4. Abstract interpretation
Breaking down the orchid into basic shapes and colors creates a modern artistic statement.
5. Pattern creation
Filling a page with repeated small orchid motifs produces a decorative and pleasing effect.
6. Mixed-element composition
Drawing orchids emerging from unexpected objects or environments adds intrigue to artwork.
7. Texture emphasis
Highlighting the velvety, waxy surfaces of different orchid varieties brings them to life on paper.
8. Negative space design
Drawing only parts of the orchid allows white space to define the rest, creating elegant simplicity.
9. Botanical study approach
Labeling parts of the orchid creates both an educational and artistic piece of work.
The Bottom Line
Drawing orchids offers more than just a fun hobby. It opens doors to artistic growth and personal relaxation.
We’ve walked through simple steps that make orchid sketching manageable for anyone. Start with basic shapes, then add details as you gain confidence. Remember, practice makes progress, not perfection.
Your first attempts might not look exactly as planned, but that’s okay! Each orchid drawing teaches you something new. If you found this blog helpful, please try the
Have questions?
Drop them in the comments below. And don’t forget to check out our other flower drawing guides. Your artistic path is just beginning, and we’re excited to see where it takes you!