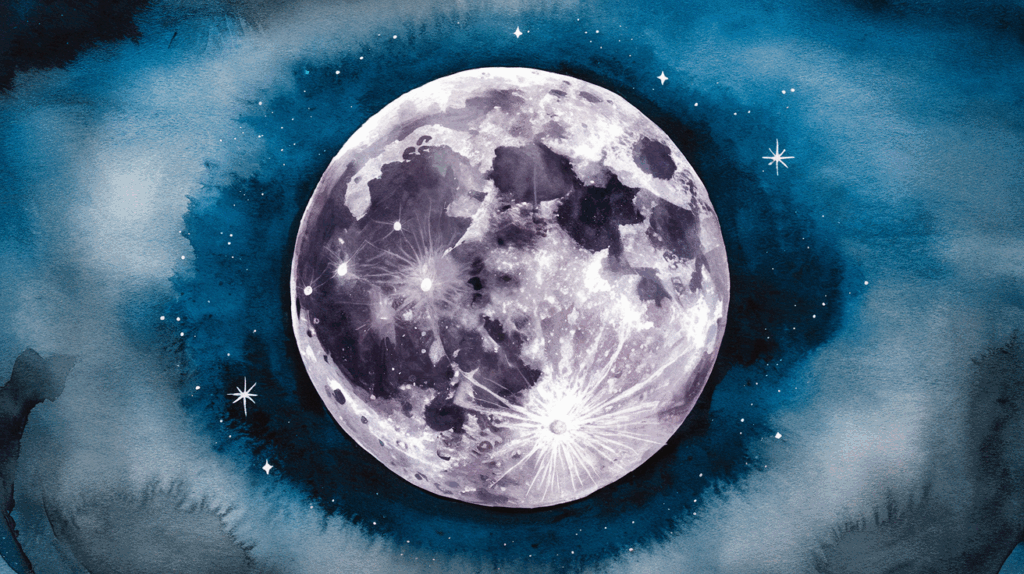
Creating ethereal moon scenes in watercolor requires a delicate approach to color blending. Artists who master this technique can evolve simple paper into luminous nightscapes in which the moon glows with an almost magical quality.
The secret lies in understanding how pigments interact with water and paper to create atmospheric effects. This guide explores the essential color combinations and blending techniques that make moonlight come alive in
From creating the perfect night sky gradient to capturing the subtle glow around a full moon, these approaches help artists achieve depth and dimension in their lunar paintings.
Moon Watercolor: Shading Tips
Let’s jump into the wonderful world of watercolor blending. Creating dimensional, realistic moon paintings relies heavily on thoughtful shading.
Here are some effective shading techniques that will bring your lunar watercolors to life.
- Crater Detailing: Use a very diluted mix of gray or lavender to suggest the moon’s crater patterns gently. Apply with a fine brush using tiny, controlled strokes rather than defined lines. The key is subtlety; too much detail can make your moon look artificial.
- Directional Light Source: Determine where your light is coming from in your composition. For a full moon, the light comes from the sun directly behind your viewpoint, creating gradual shading around the edges. For crescent moons, shade the inner curve more dramatically.
- Color Temperature Shifts: Instead of just using grays, incorporate cool blues on one side, transitioning to warm yellows or oranges on the opposite side. This temperature contrast creates a surprisingly realistic dimensional effect.
- Edge Gradient: Create a soft gradient around the moon’s edge, going from bright white at the center to a slightly darker tone at the perimeter. This mimics the moon’s atmospheric glow and helps it stand out from your background.
- Shadow Play: If your moon is partially behind clouds or trees, use those elements to cast shadows across portions of the lunar surface, adding depth and integrating the moon into your overall composition.
- Lifted Highlights: Use a barely damp, clean brush or the corner of a paper towel to lift out small areas of pigment while the paint is still wet, creating brighter spots that suggest the moon’s varied surface textures.
- Layered Washes: Build depth by applying multiple translucent washes, allowing each to dry completely before adding the next. This creates rich, luminous shading that maintains watercolor’s characteristic glow.
How to Create a Stunning Moon Watercolor
Before diving into those gorgeous lunar details, you’ll need to establish the foundation of your
Here are the true and tested methods for beginners on how a magical
1. Trace Your Moon Shape
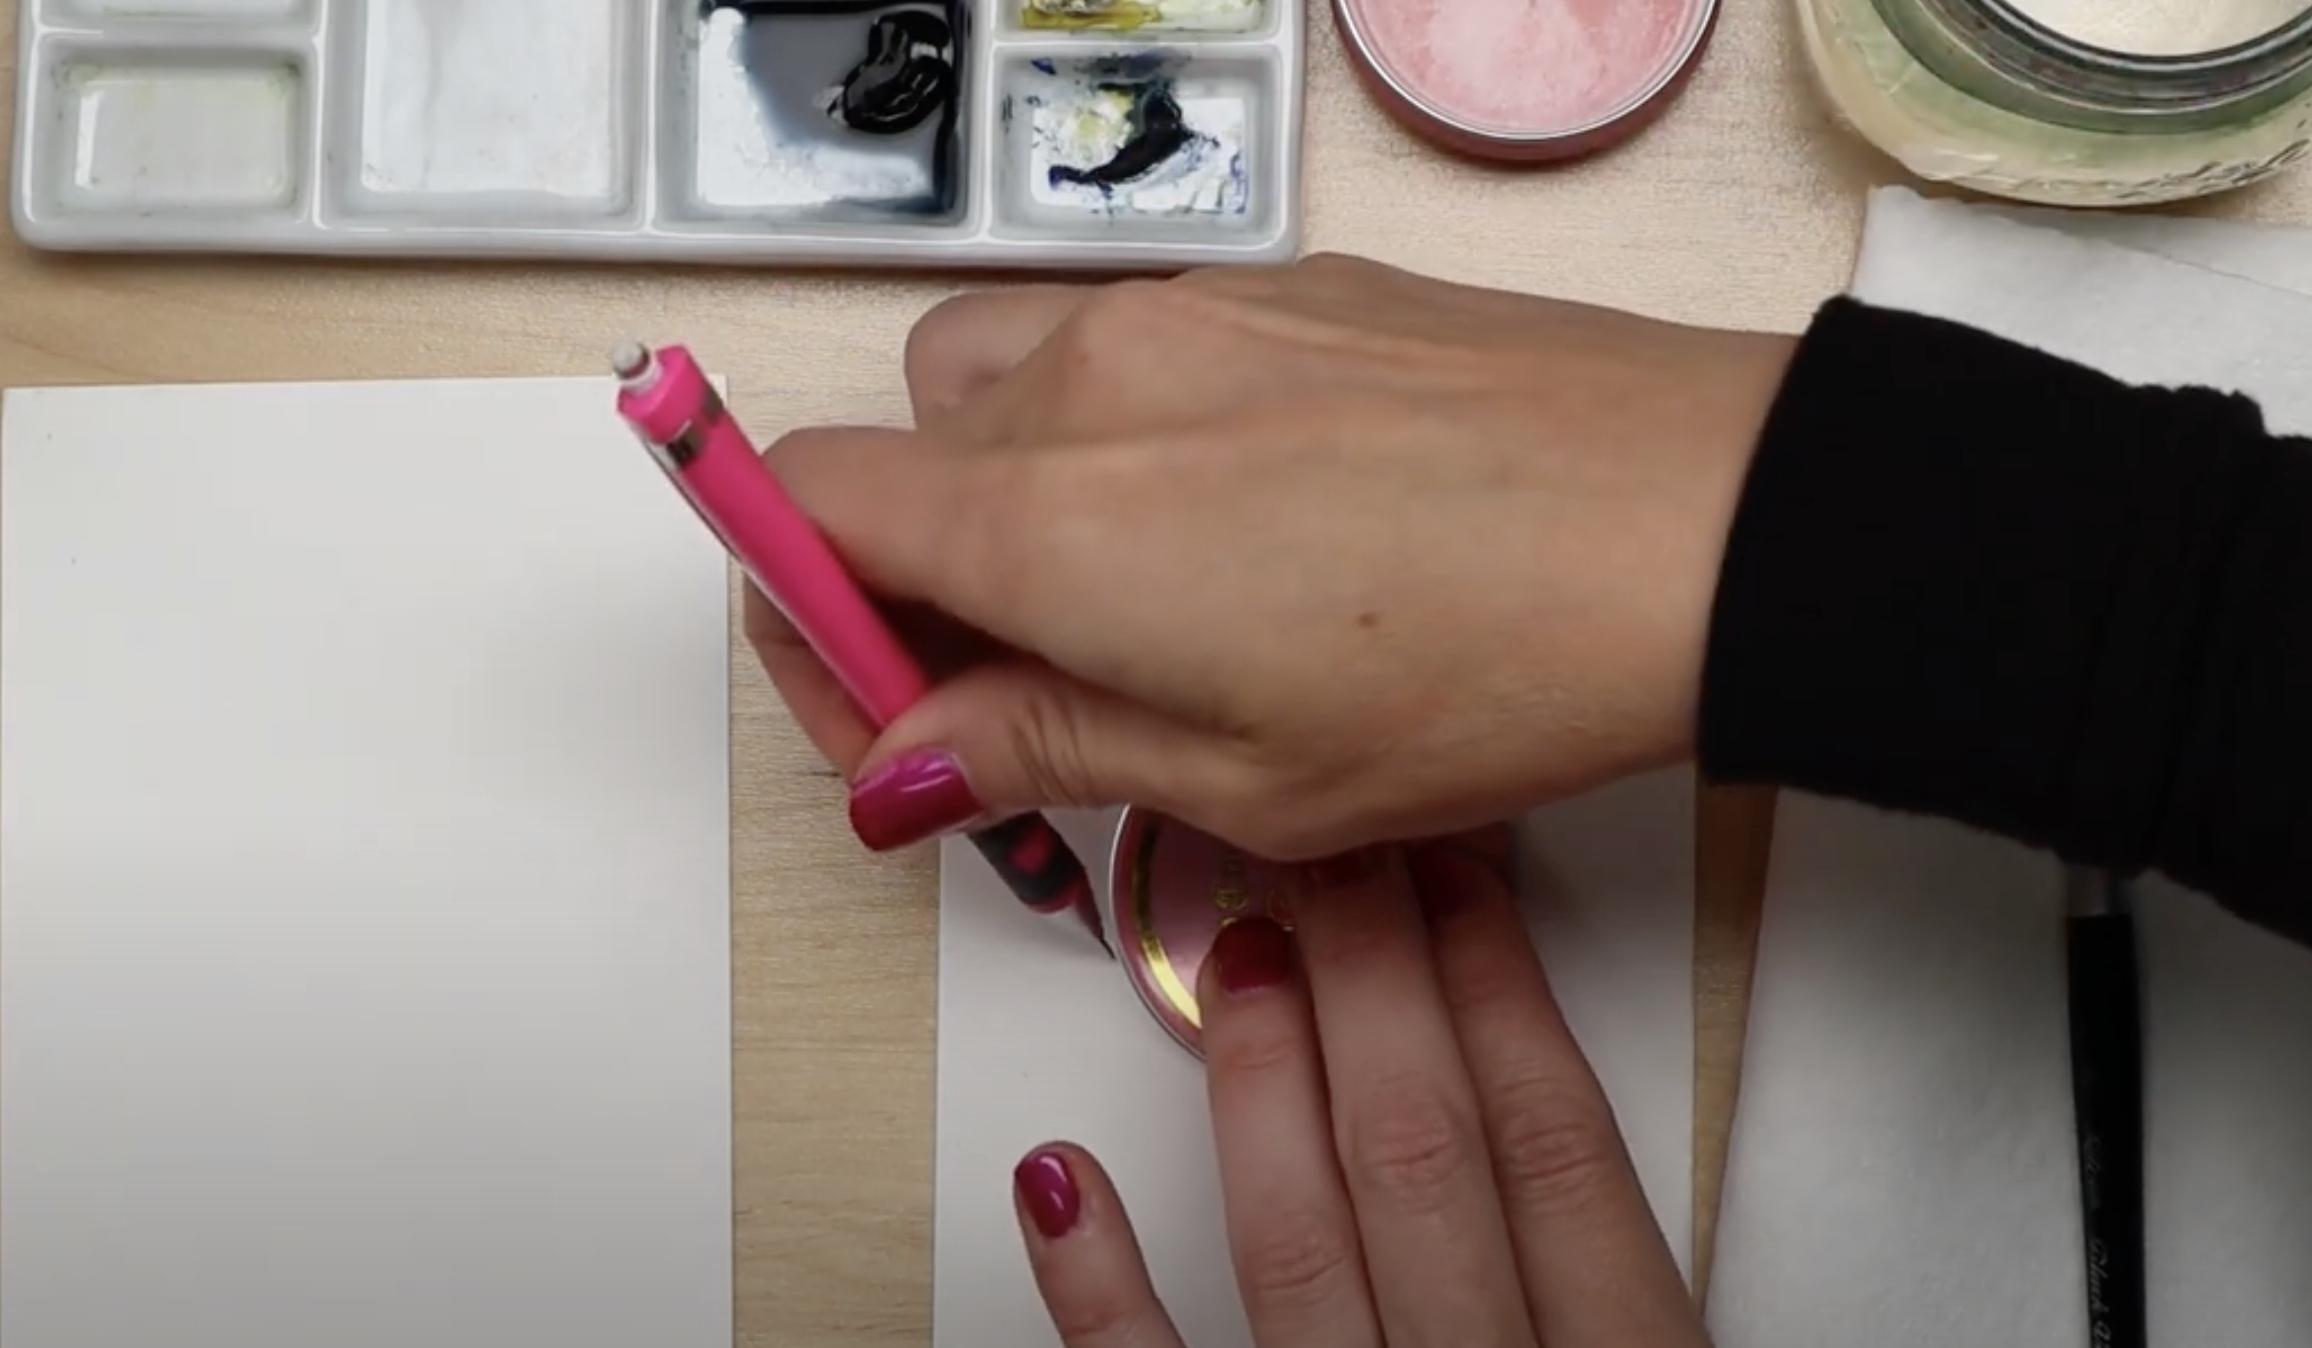
Find the center of your watercolor paper and place a round object (like a candle lid) in the middle. Hold it firmly and carefully trace around it with a pencil to create your moon.
Look from above to ensure the circle is even and doesn’t shift.
2. Apply Clean Water Using the Wet-on-Wet Technique
Using a clean brush, fill in your moon circle with water. Make sure the water layer glistens but doesn’t puddle. Rotate your paper if needed to check for dry spots and even out the moisture.
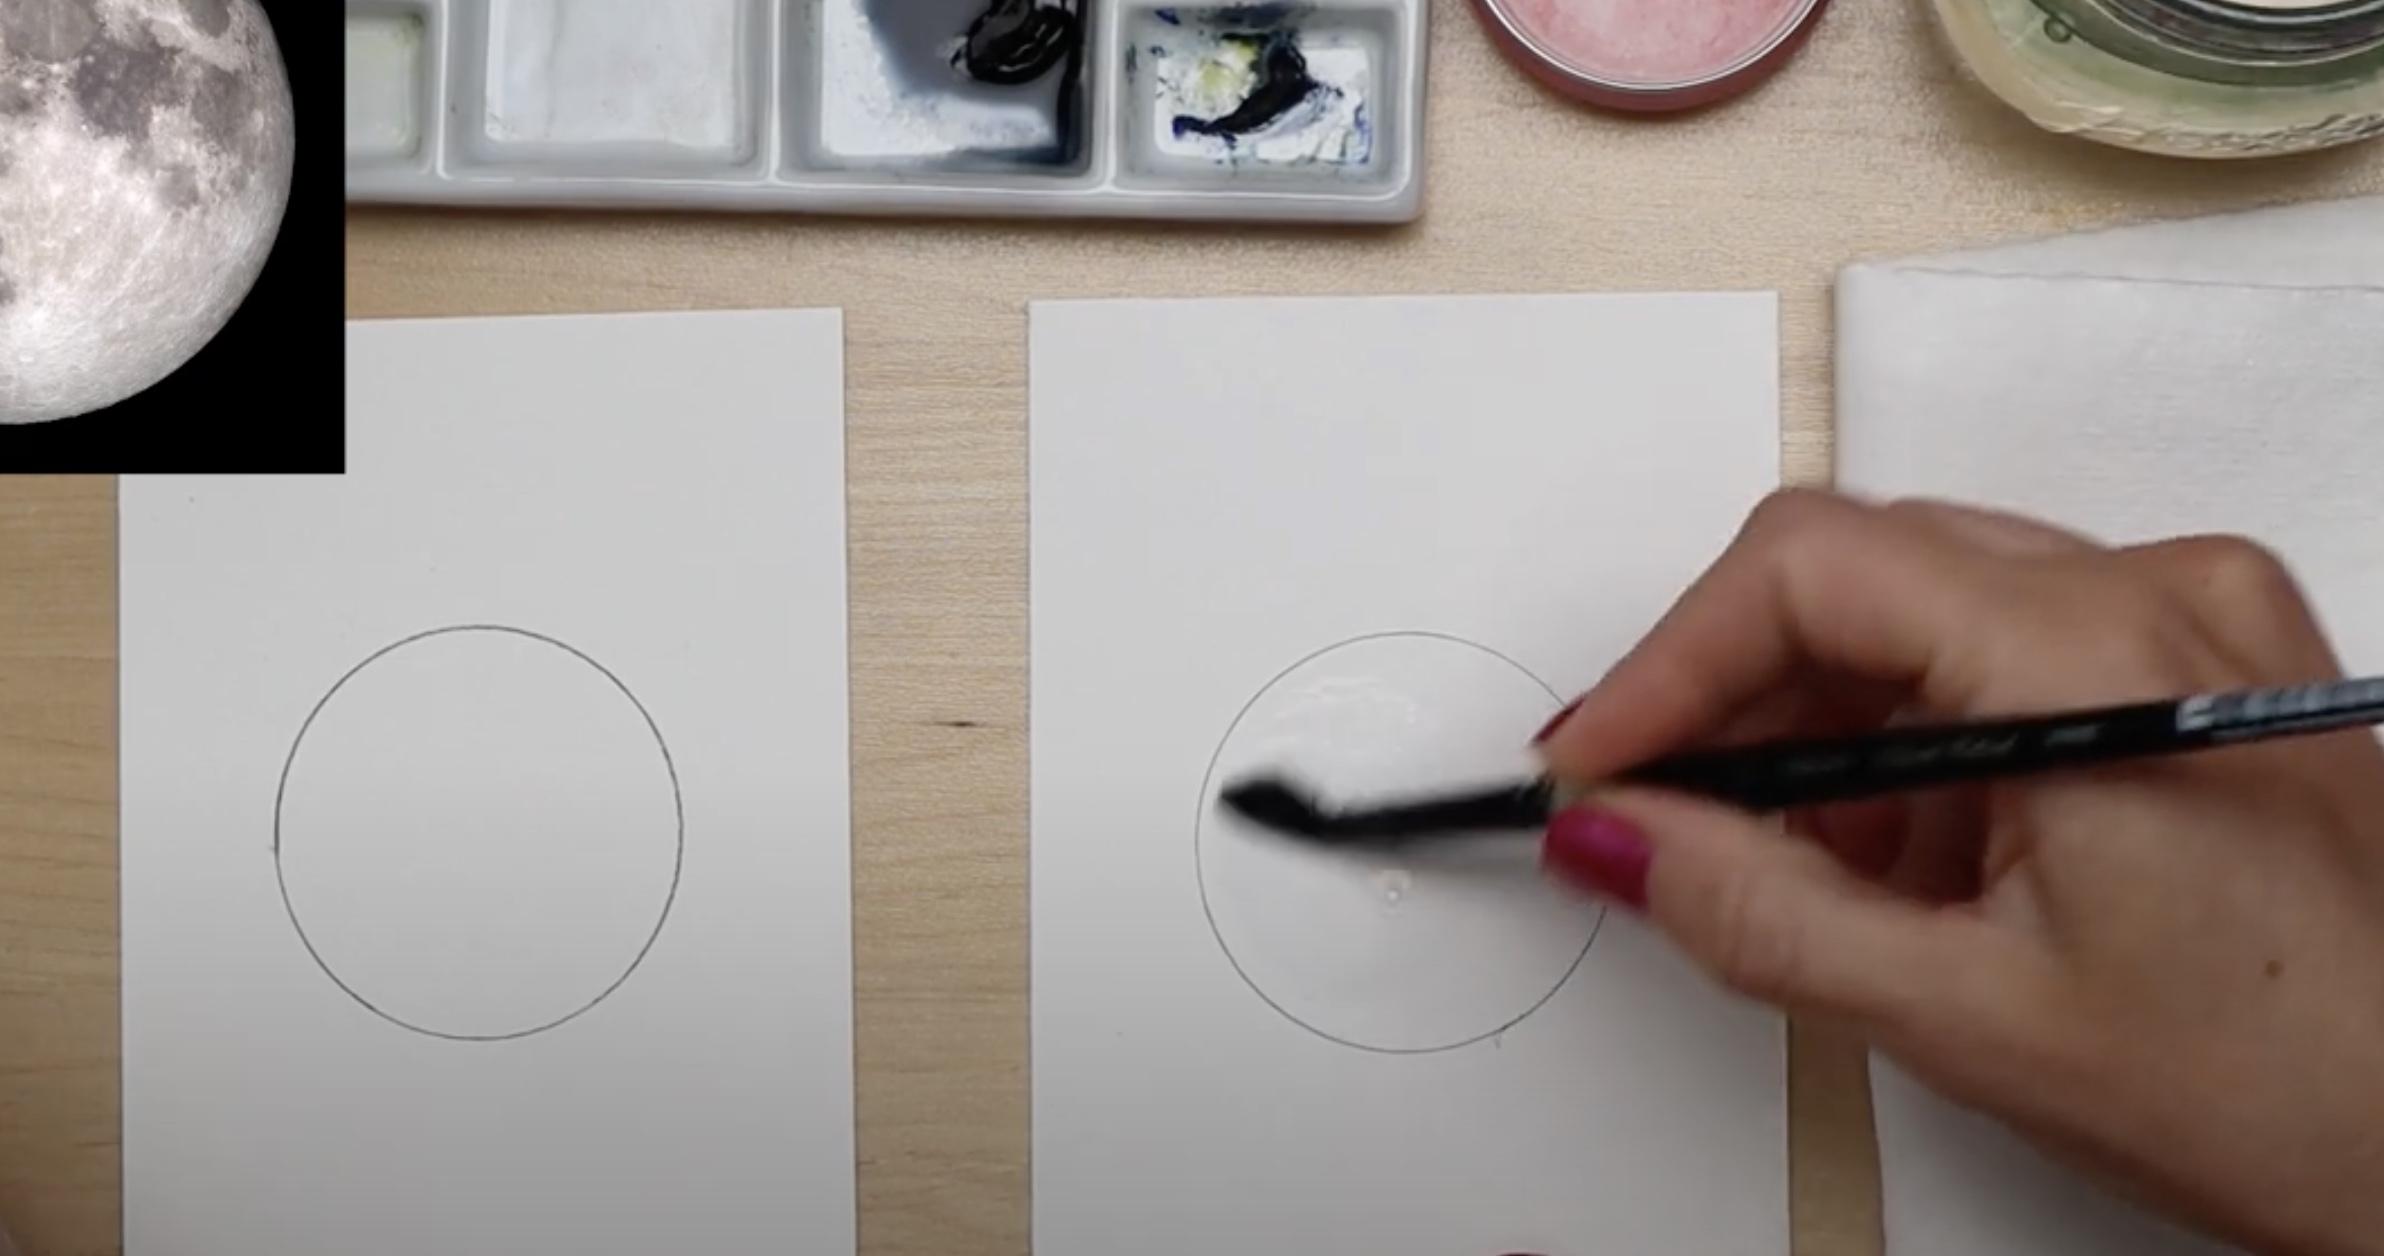
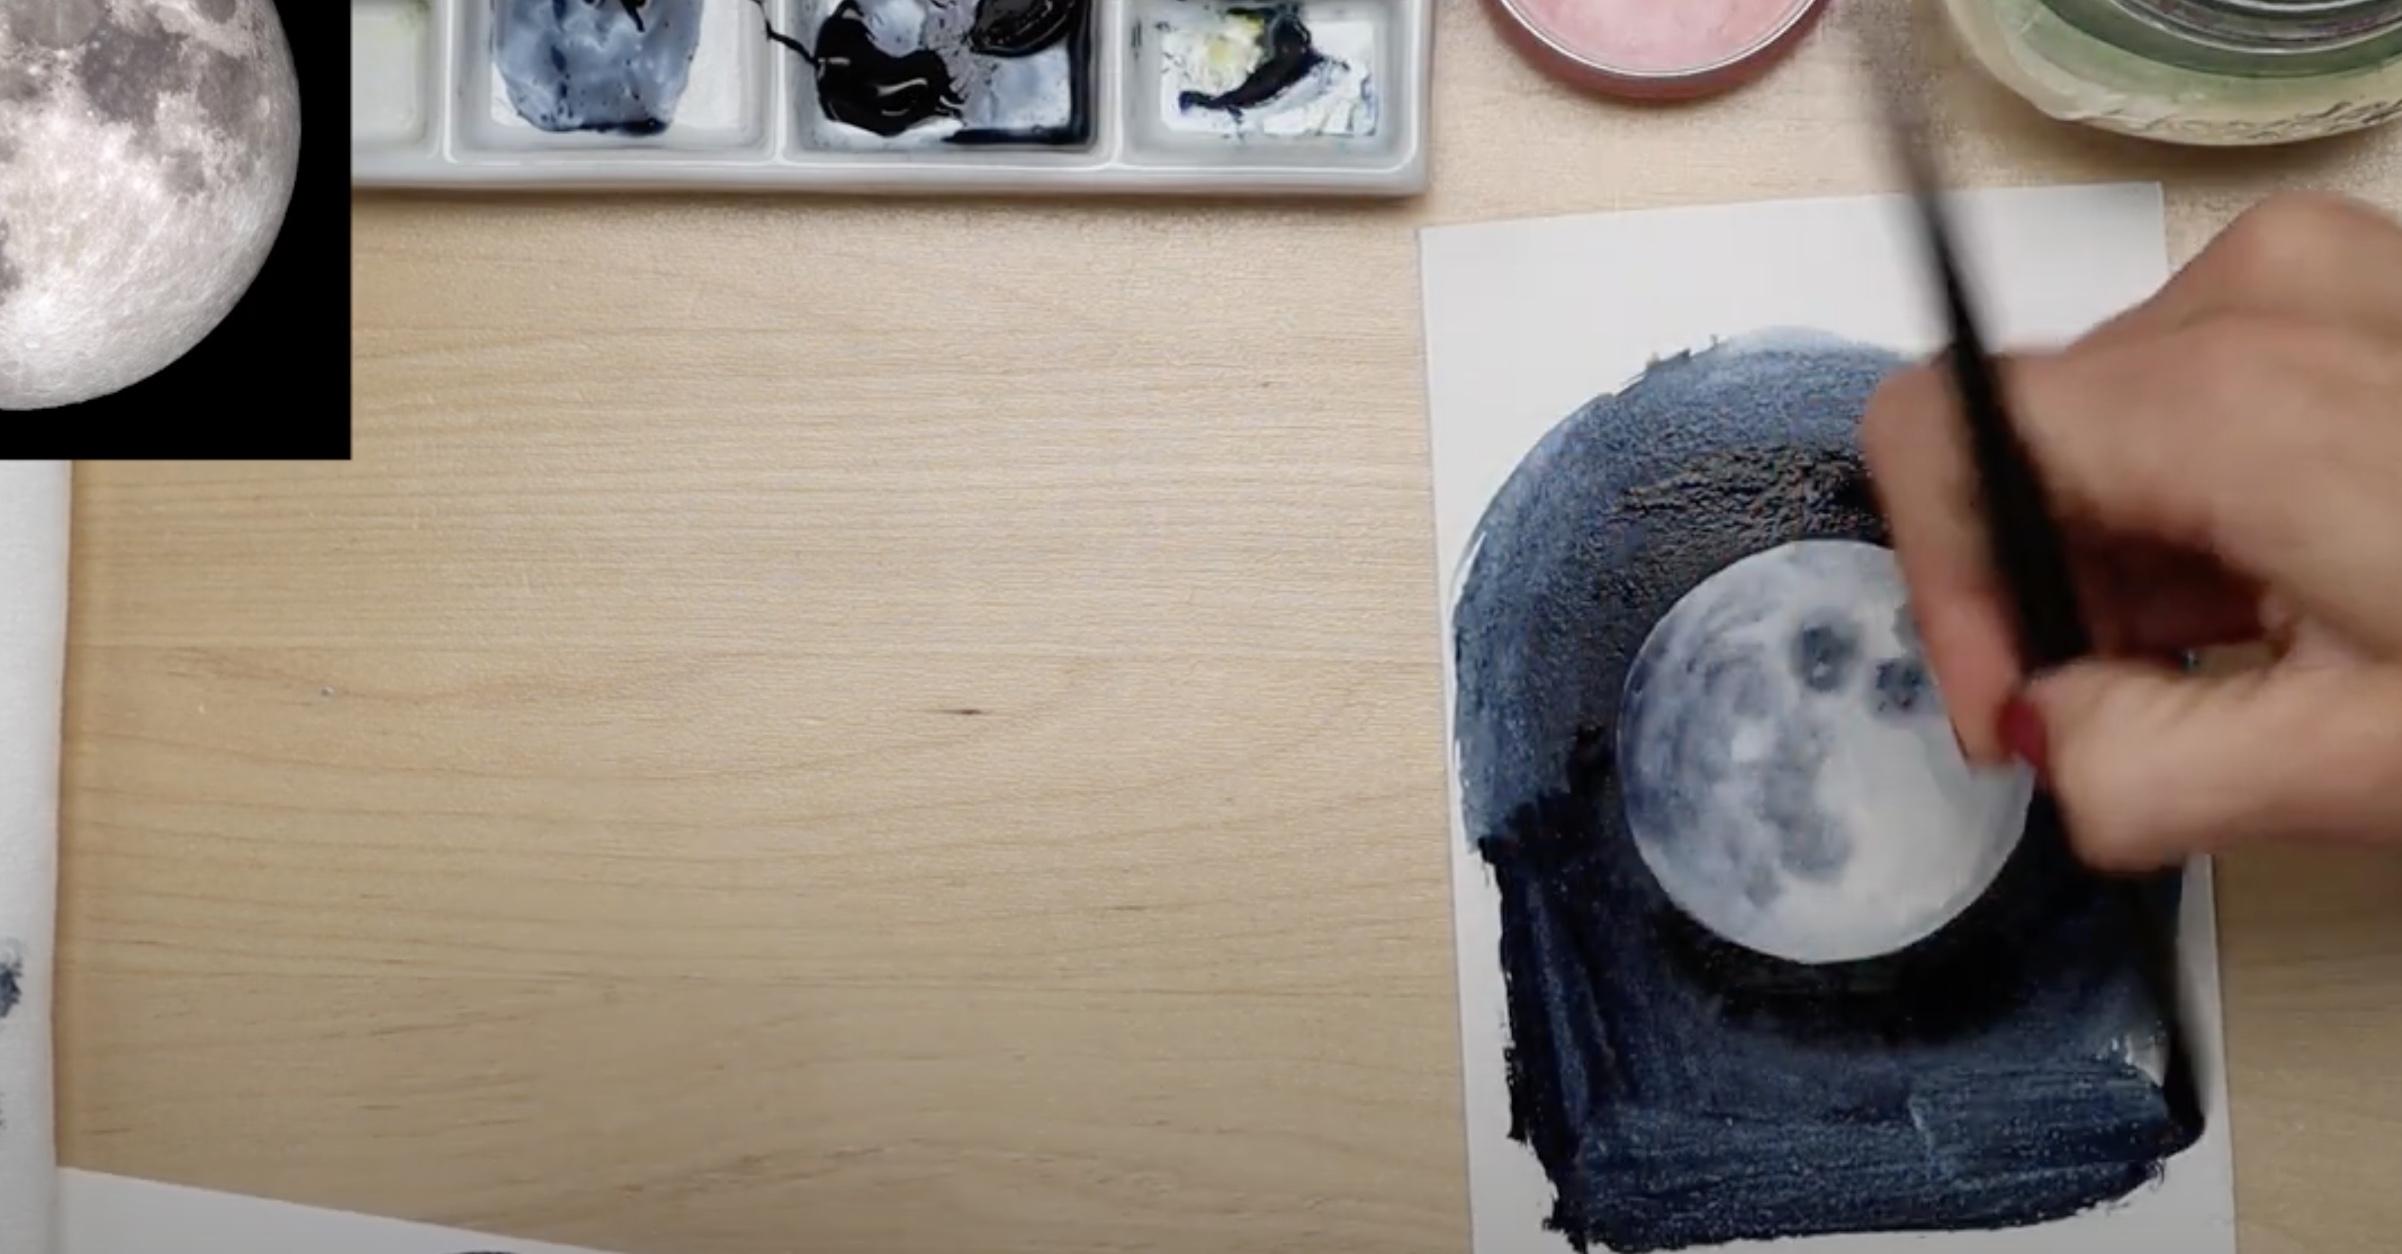
3. Mix and Drop in Color for Moon Details
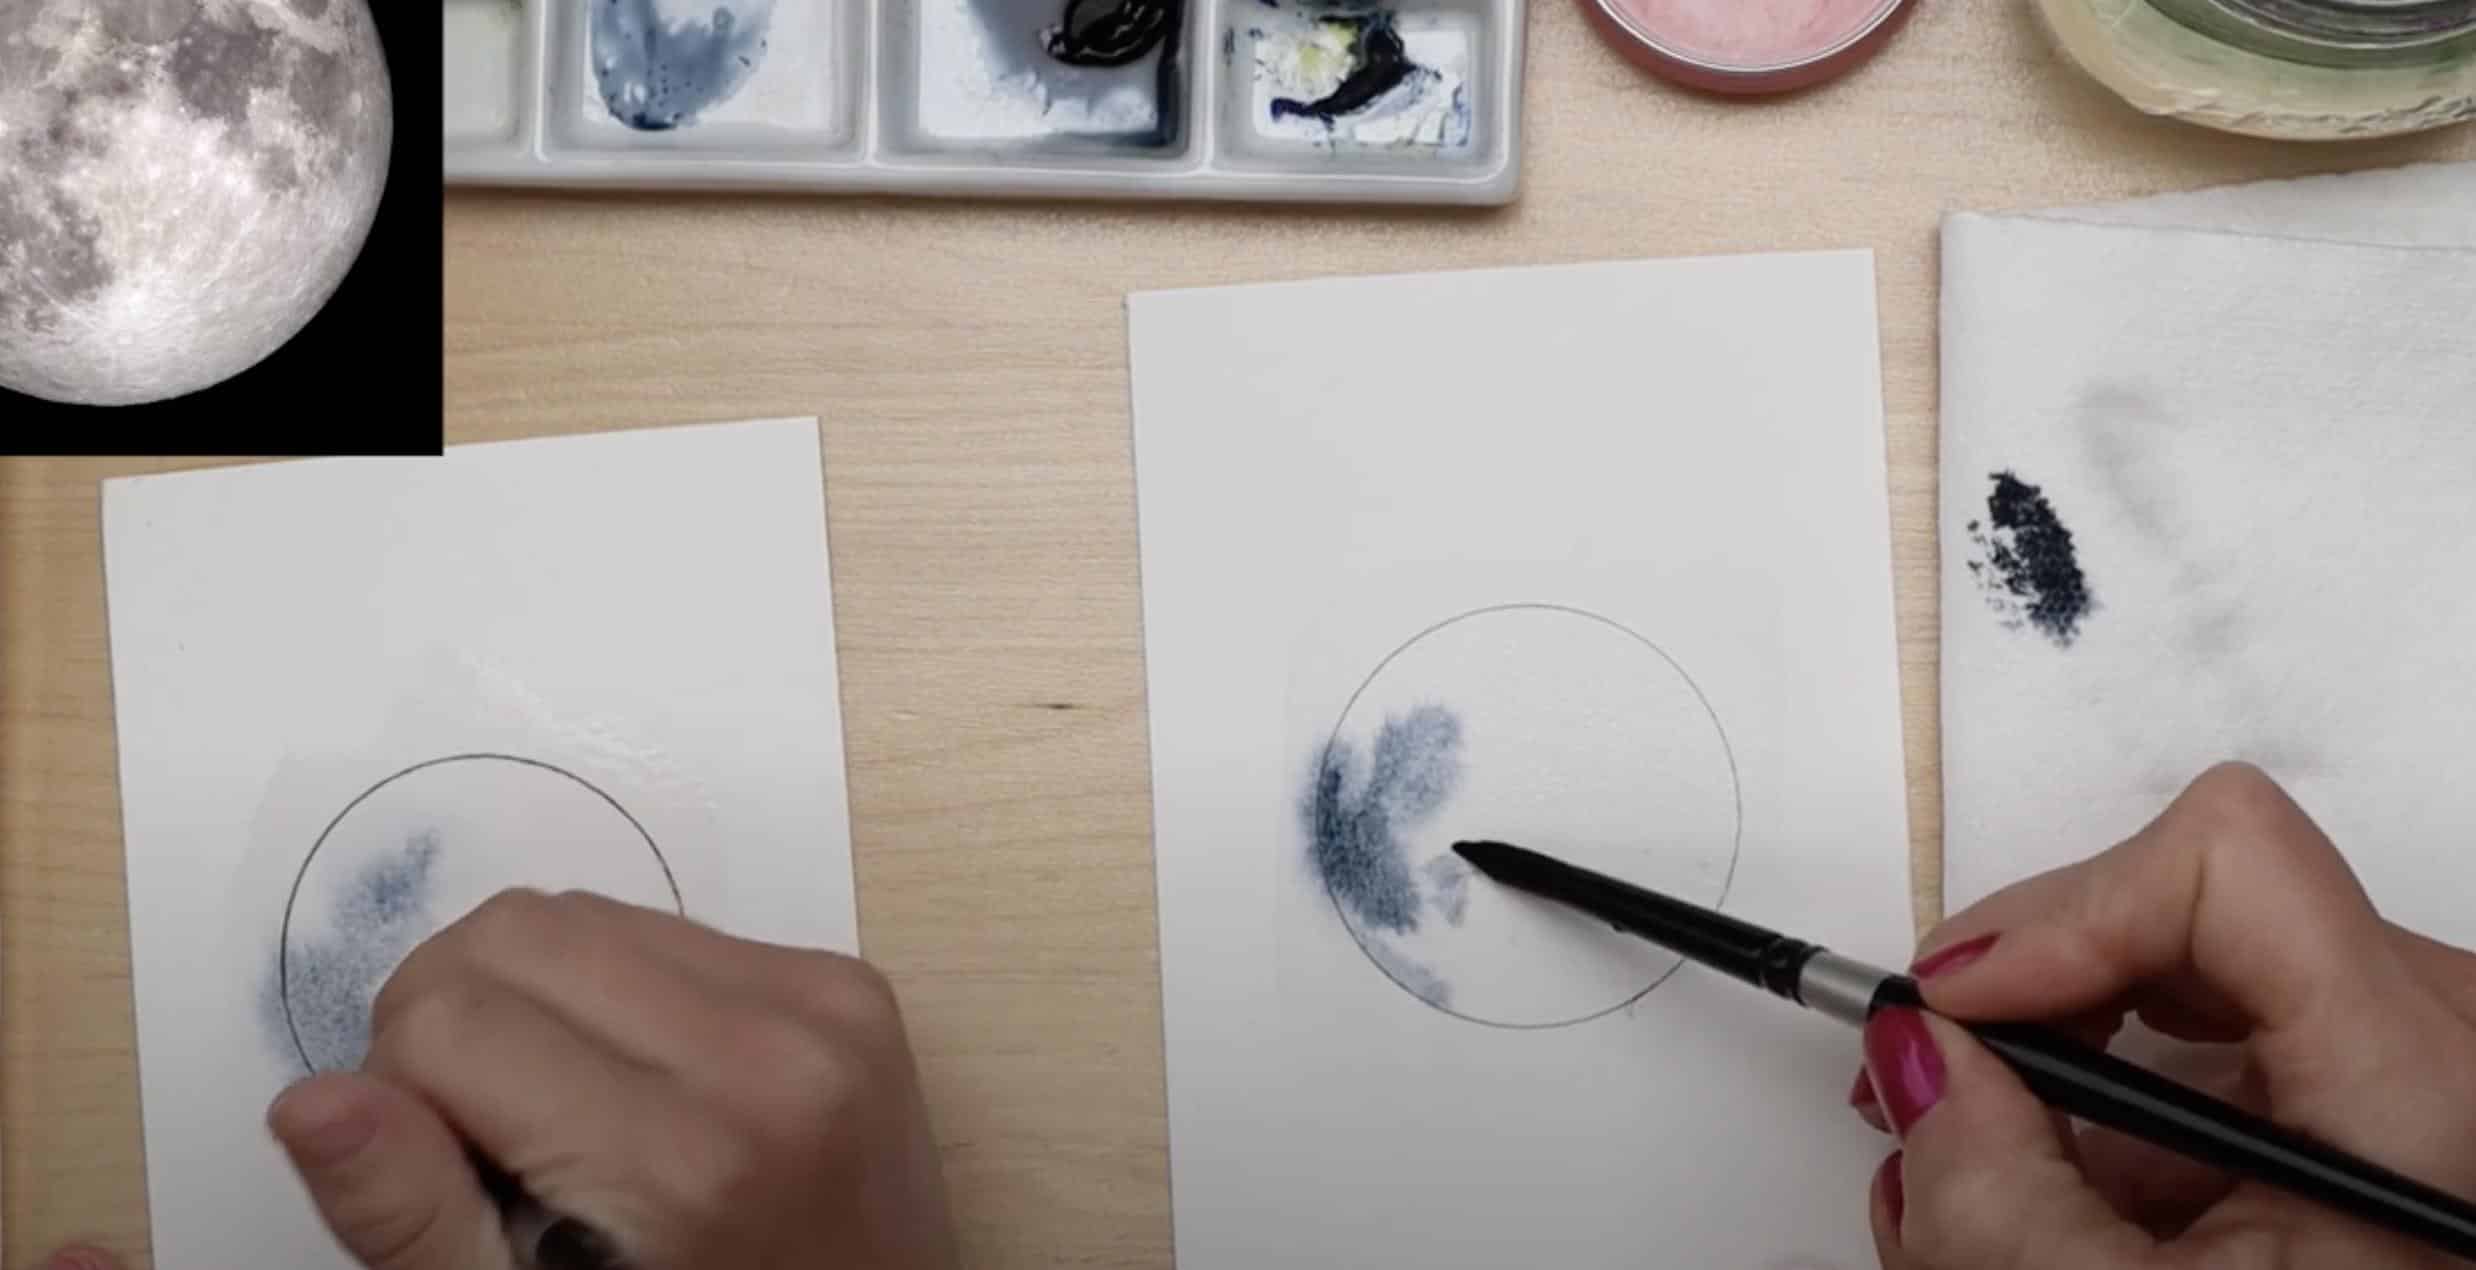
Prepare a creamy mixture of watercolor (such as Payne’s Gray) on your palette not too dark.
Lightly drop the color onto the wet moon, especially on the left side and some on the right, mimicking real moon craters. Blot your brush slightly if the paint spreads too fast.
4. Add Texture with the Blotting Technique
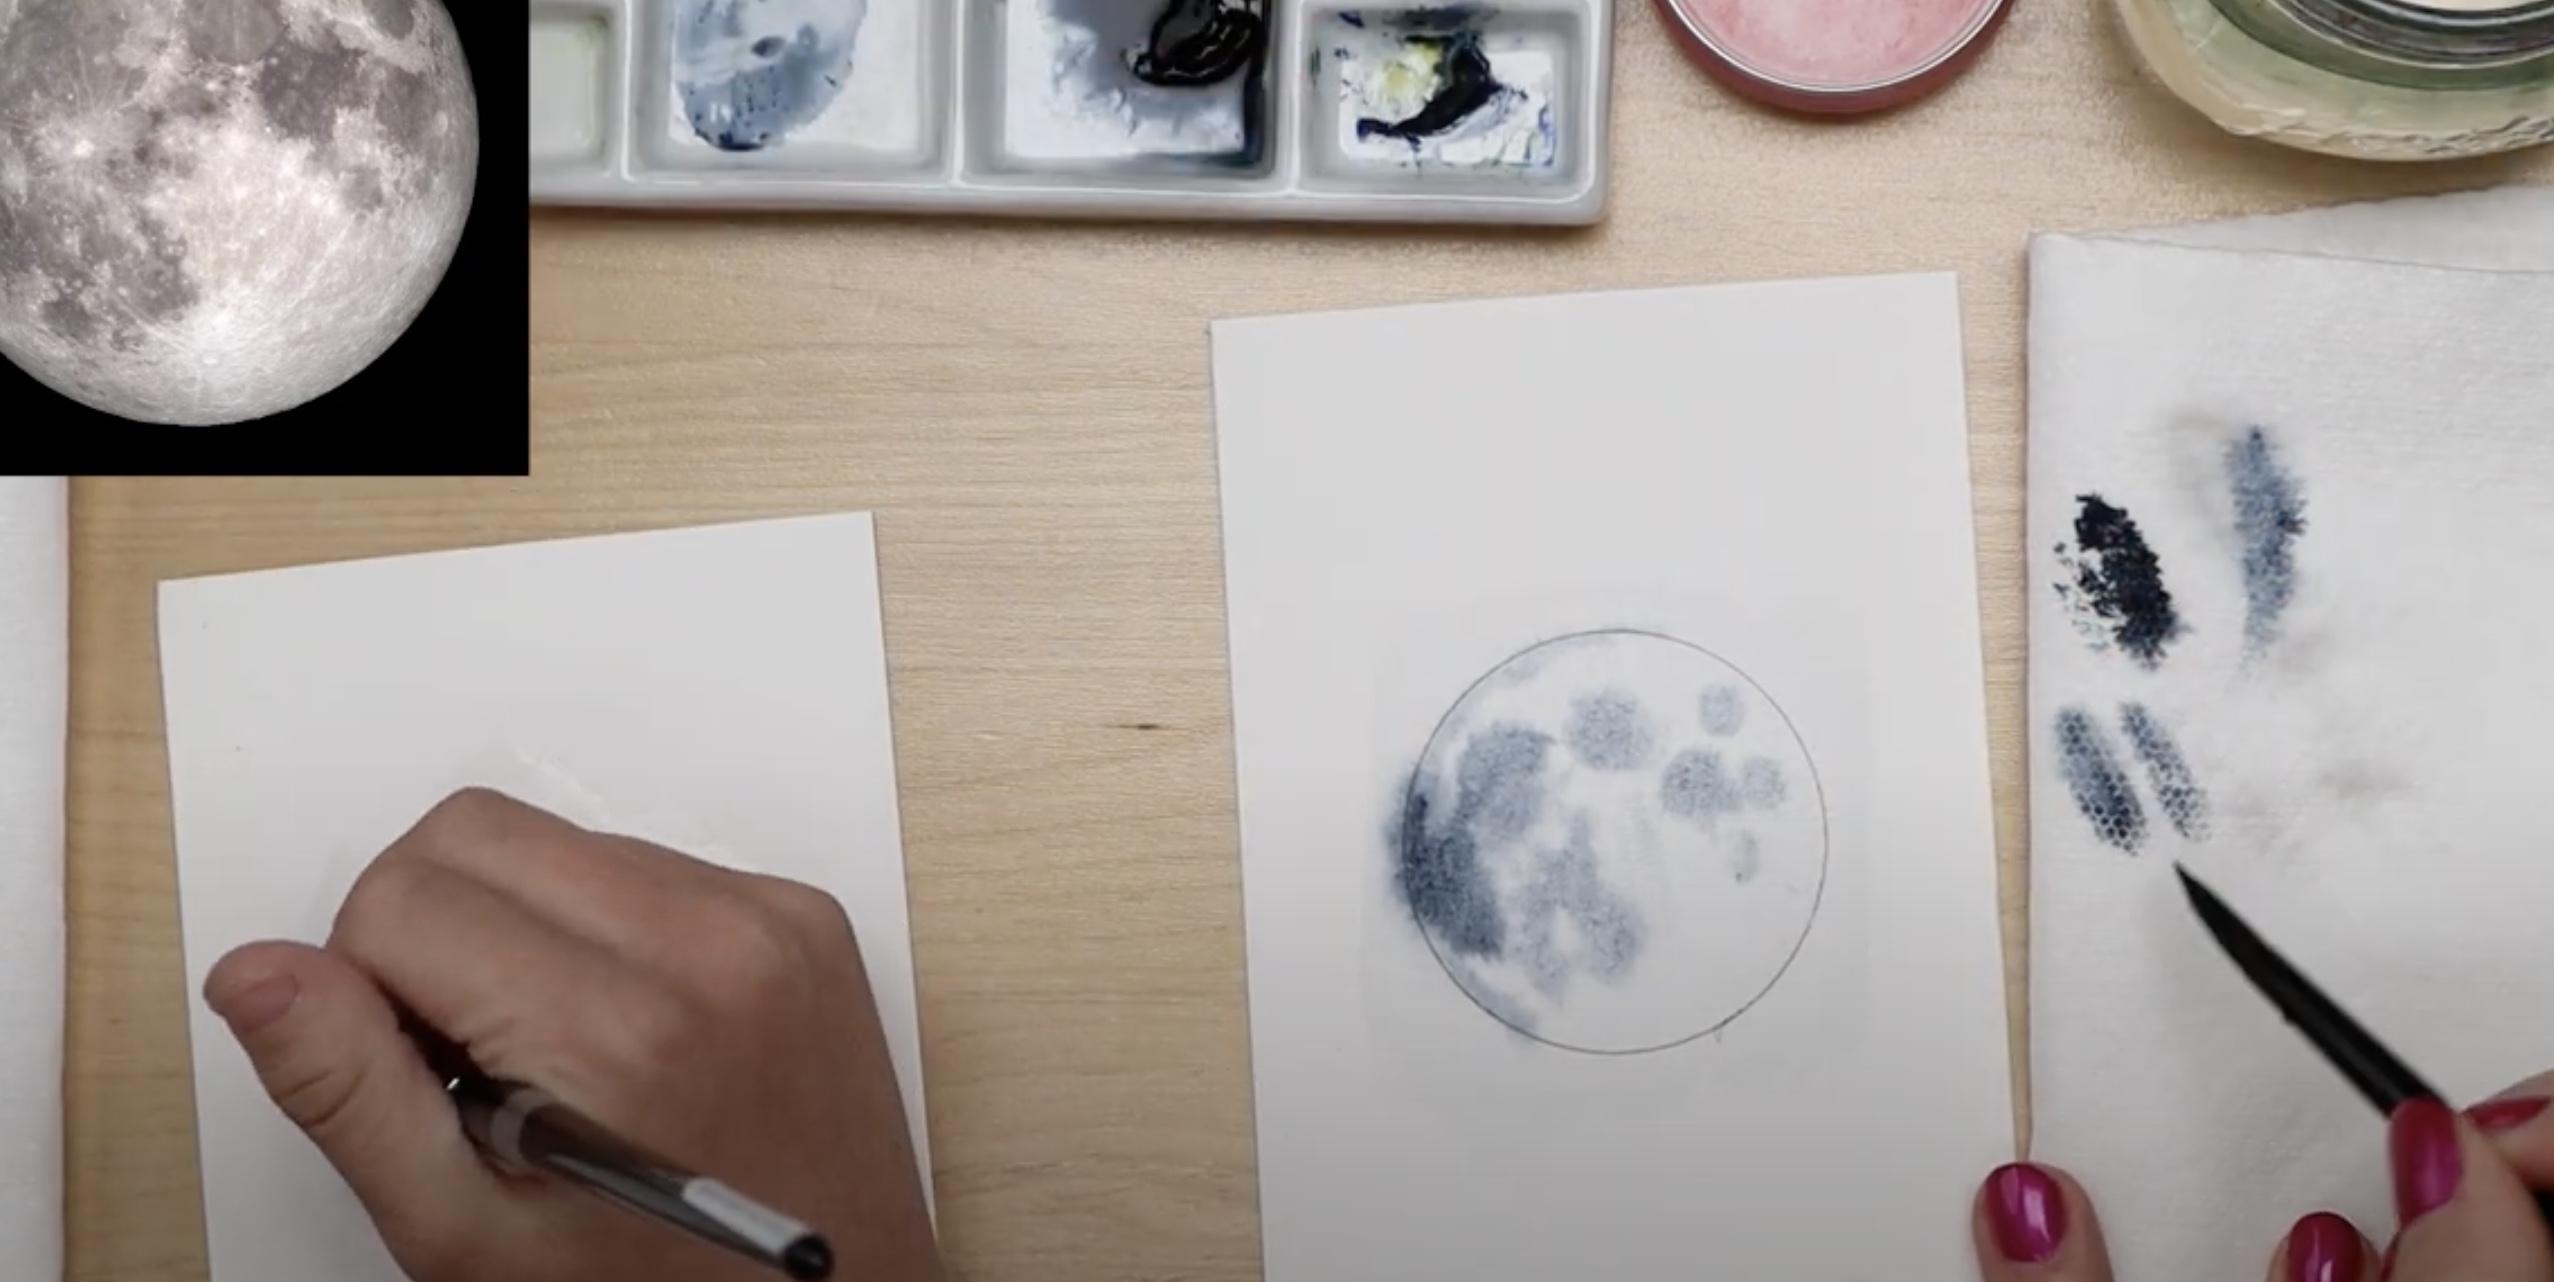
Gently dab your brush on a paper towel to reduce excess paint, then return to the moon to create textured crater effects. You can also use slightly diluted paint to build up mid-tones, giving the moon more depth.
5. Layer More Pigment (While Still Wet)
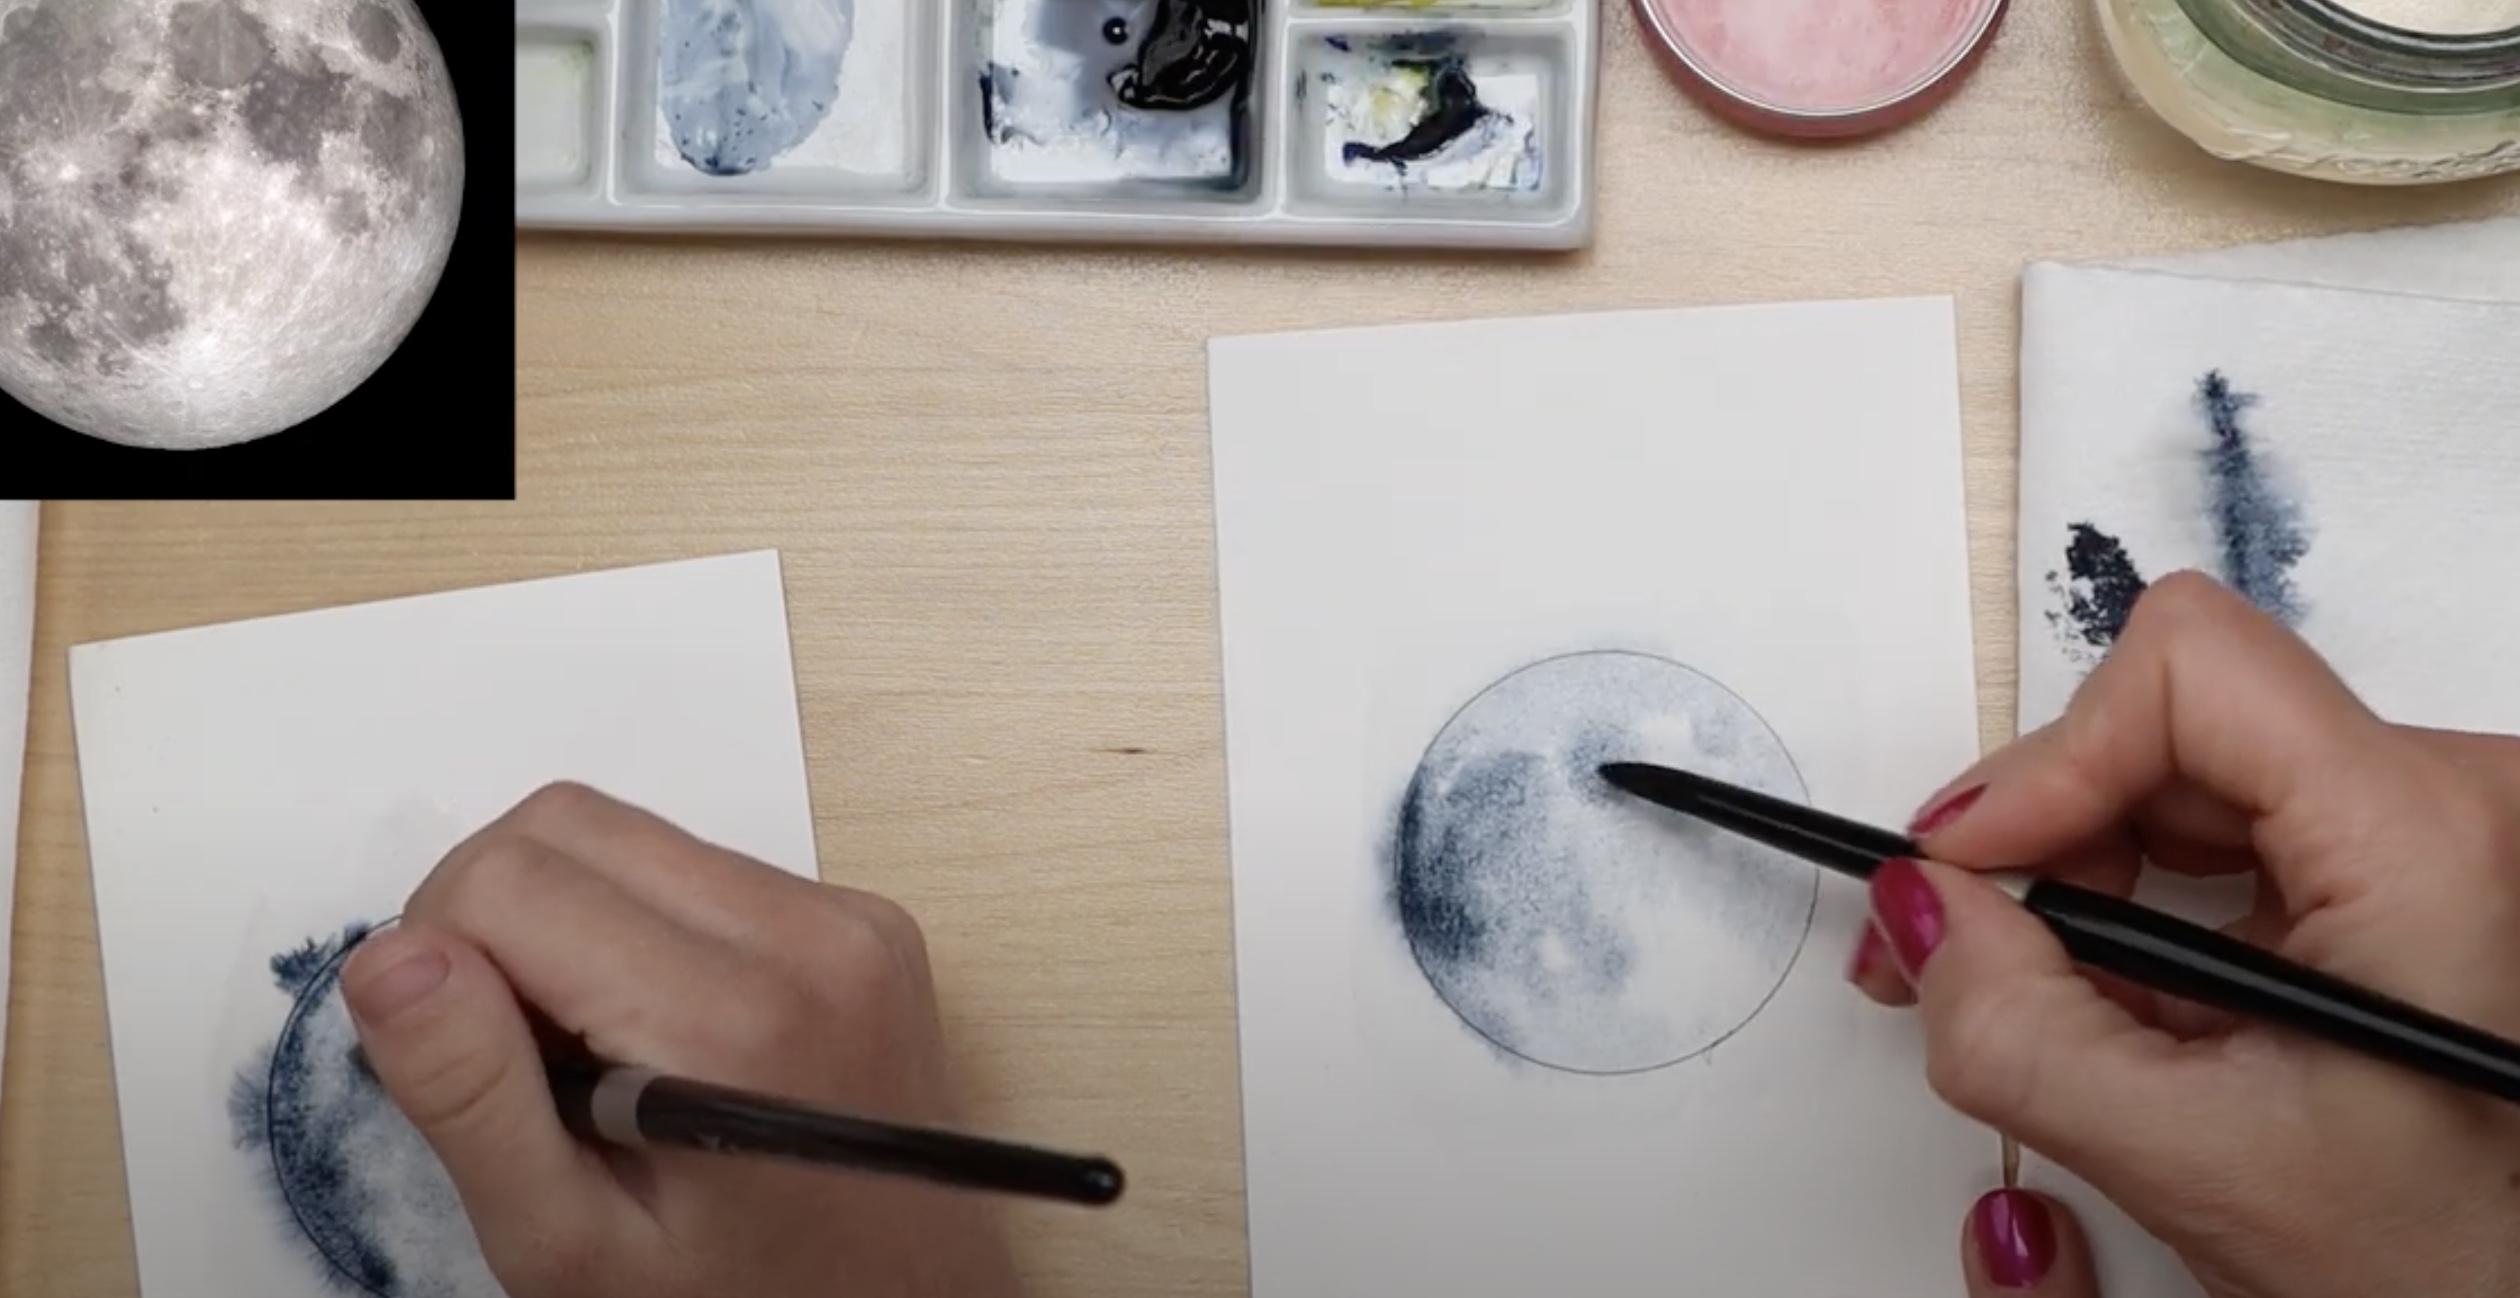
If you want to deepen certain areas, do so while the paper is still moist. Work quickly and gently; once the paper begins to dry, stop to avoid streaks and harsh edges.
6. Let the Moon Fully Dry
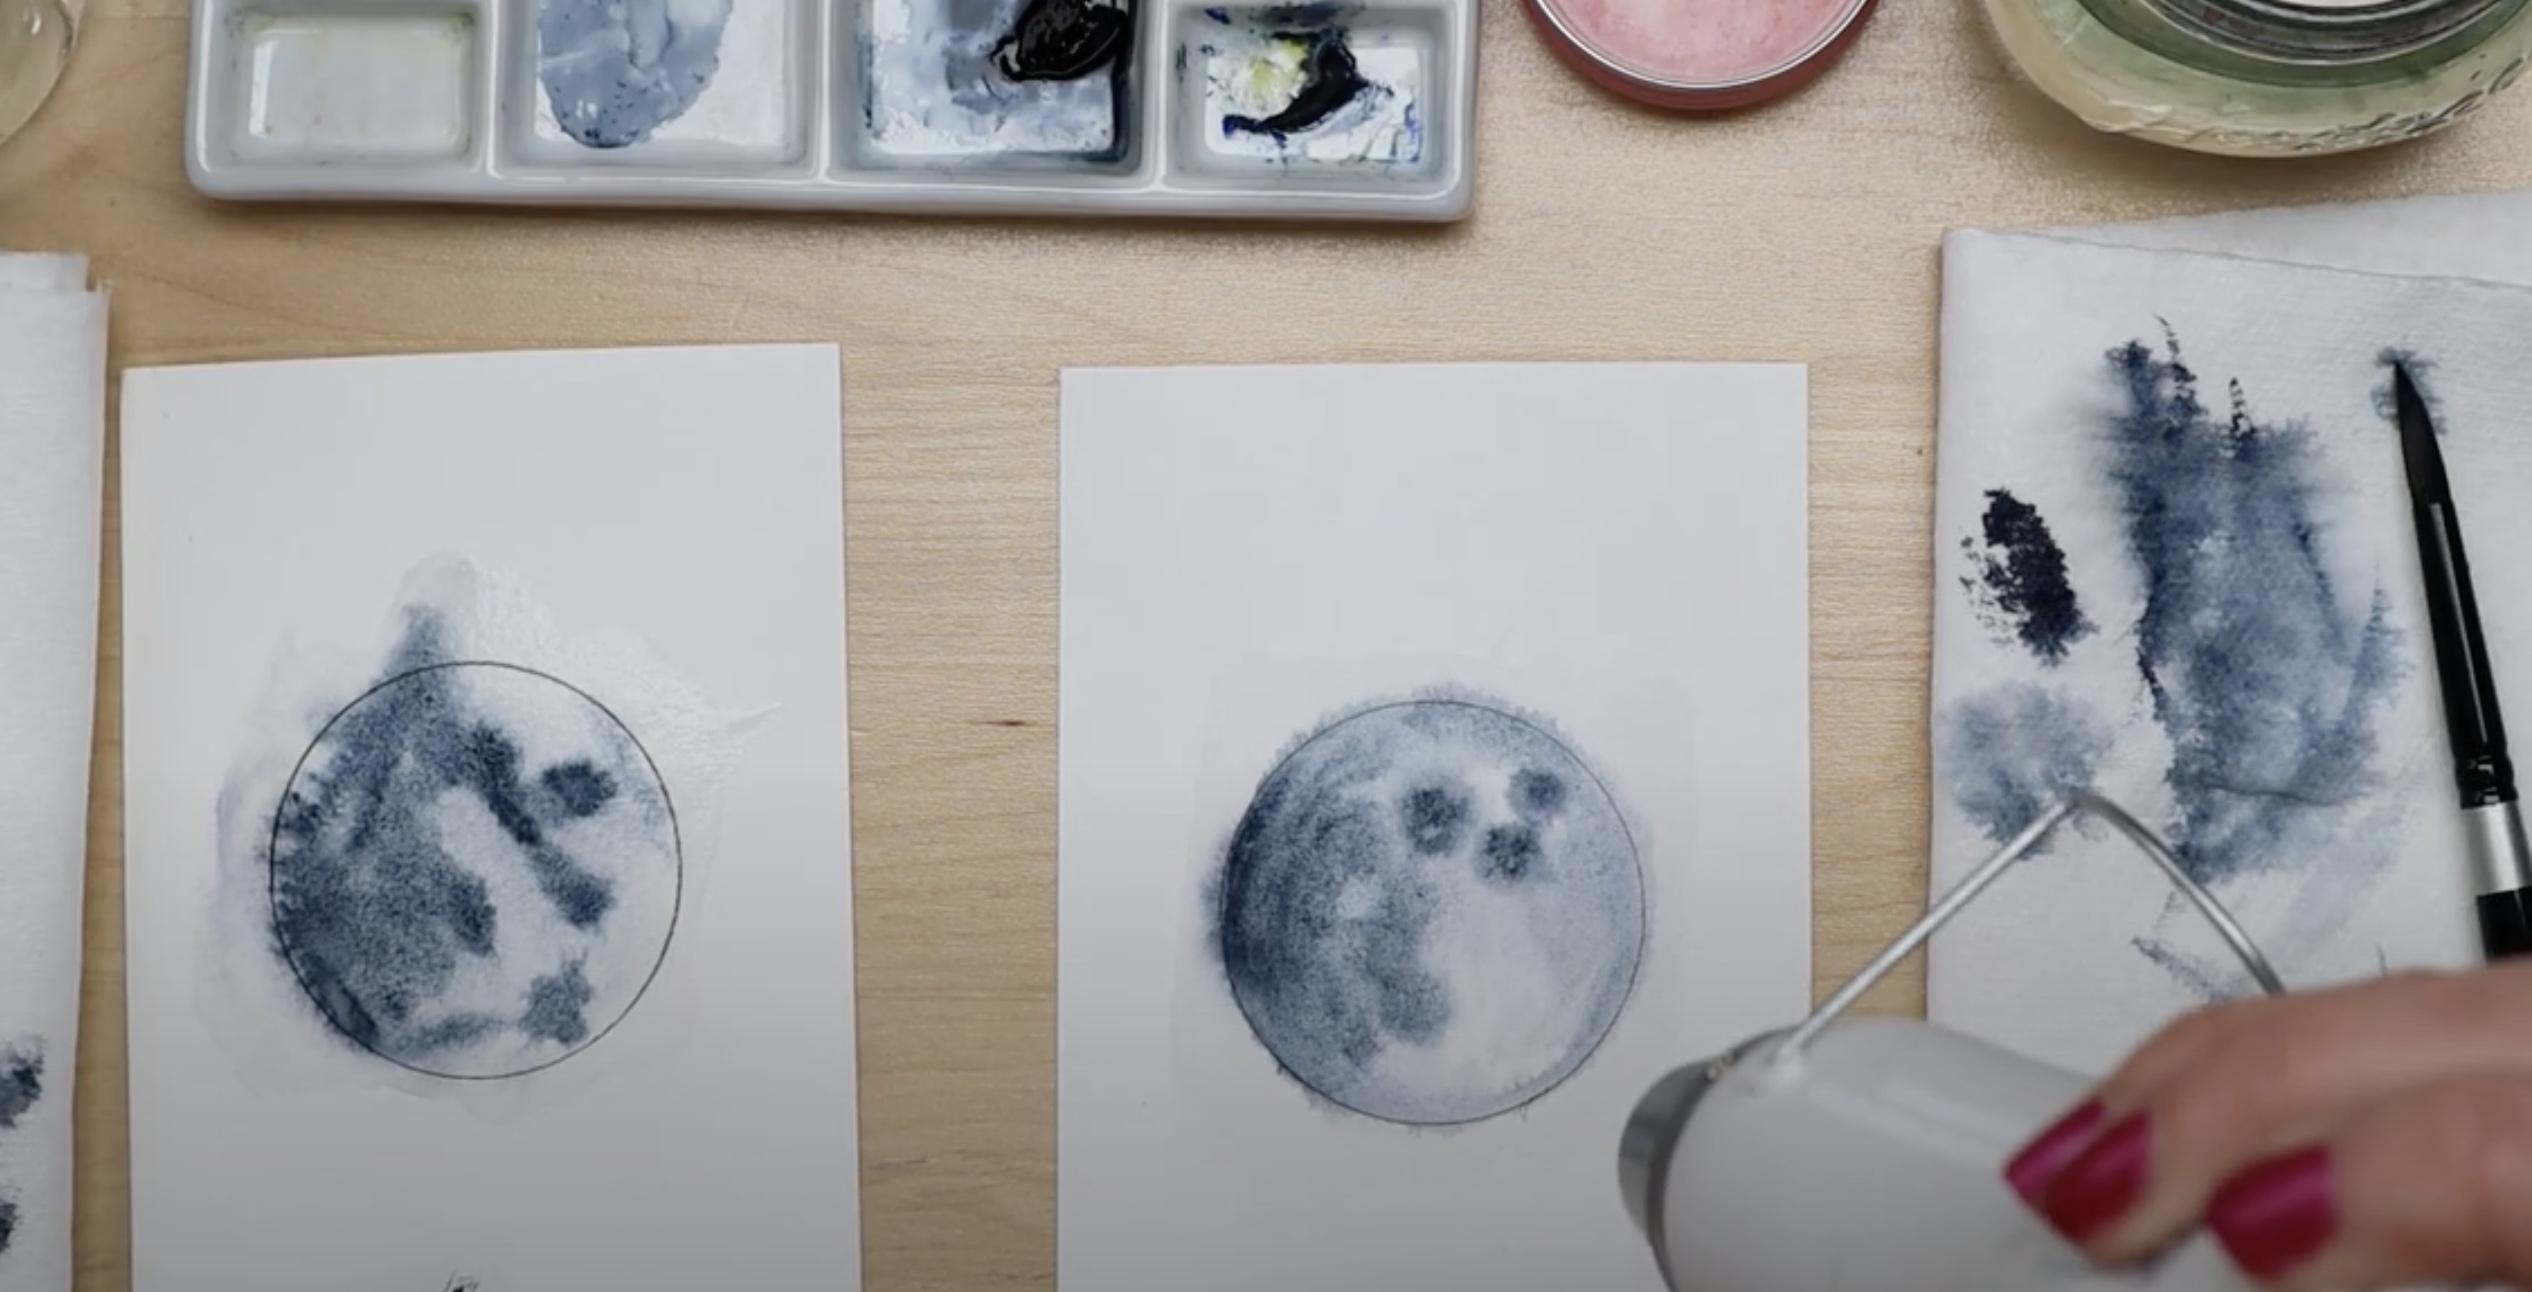
Allow your moon to dry completely before proceeding. If you’d like to speed up the process, use a hairdryer or heat tool; just be careful not to over-dry or warp the paper.
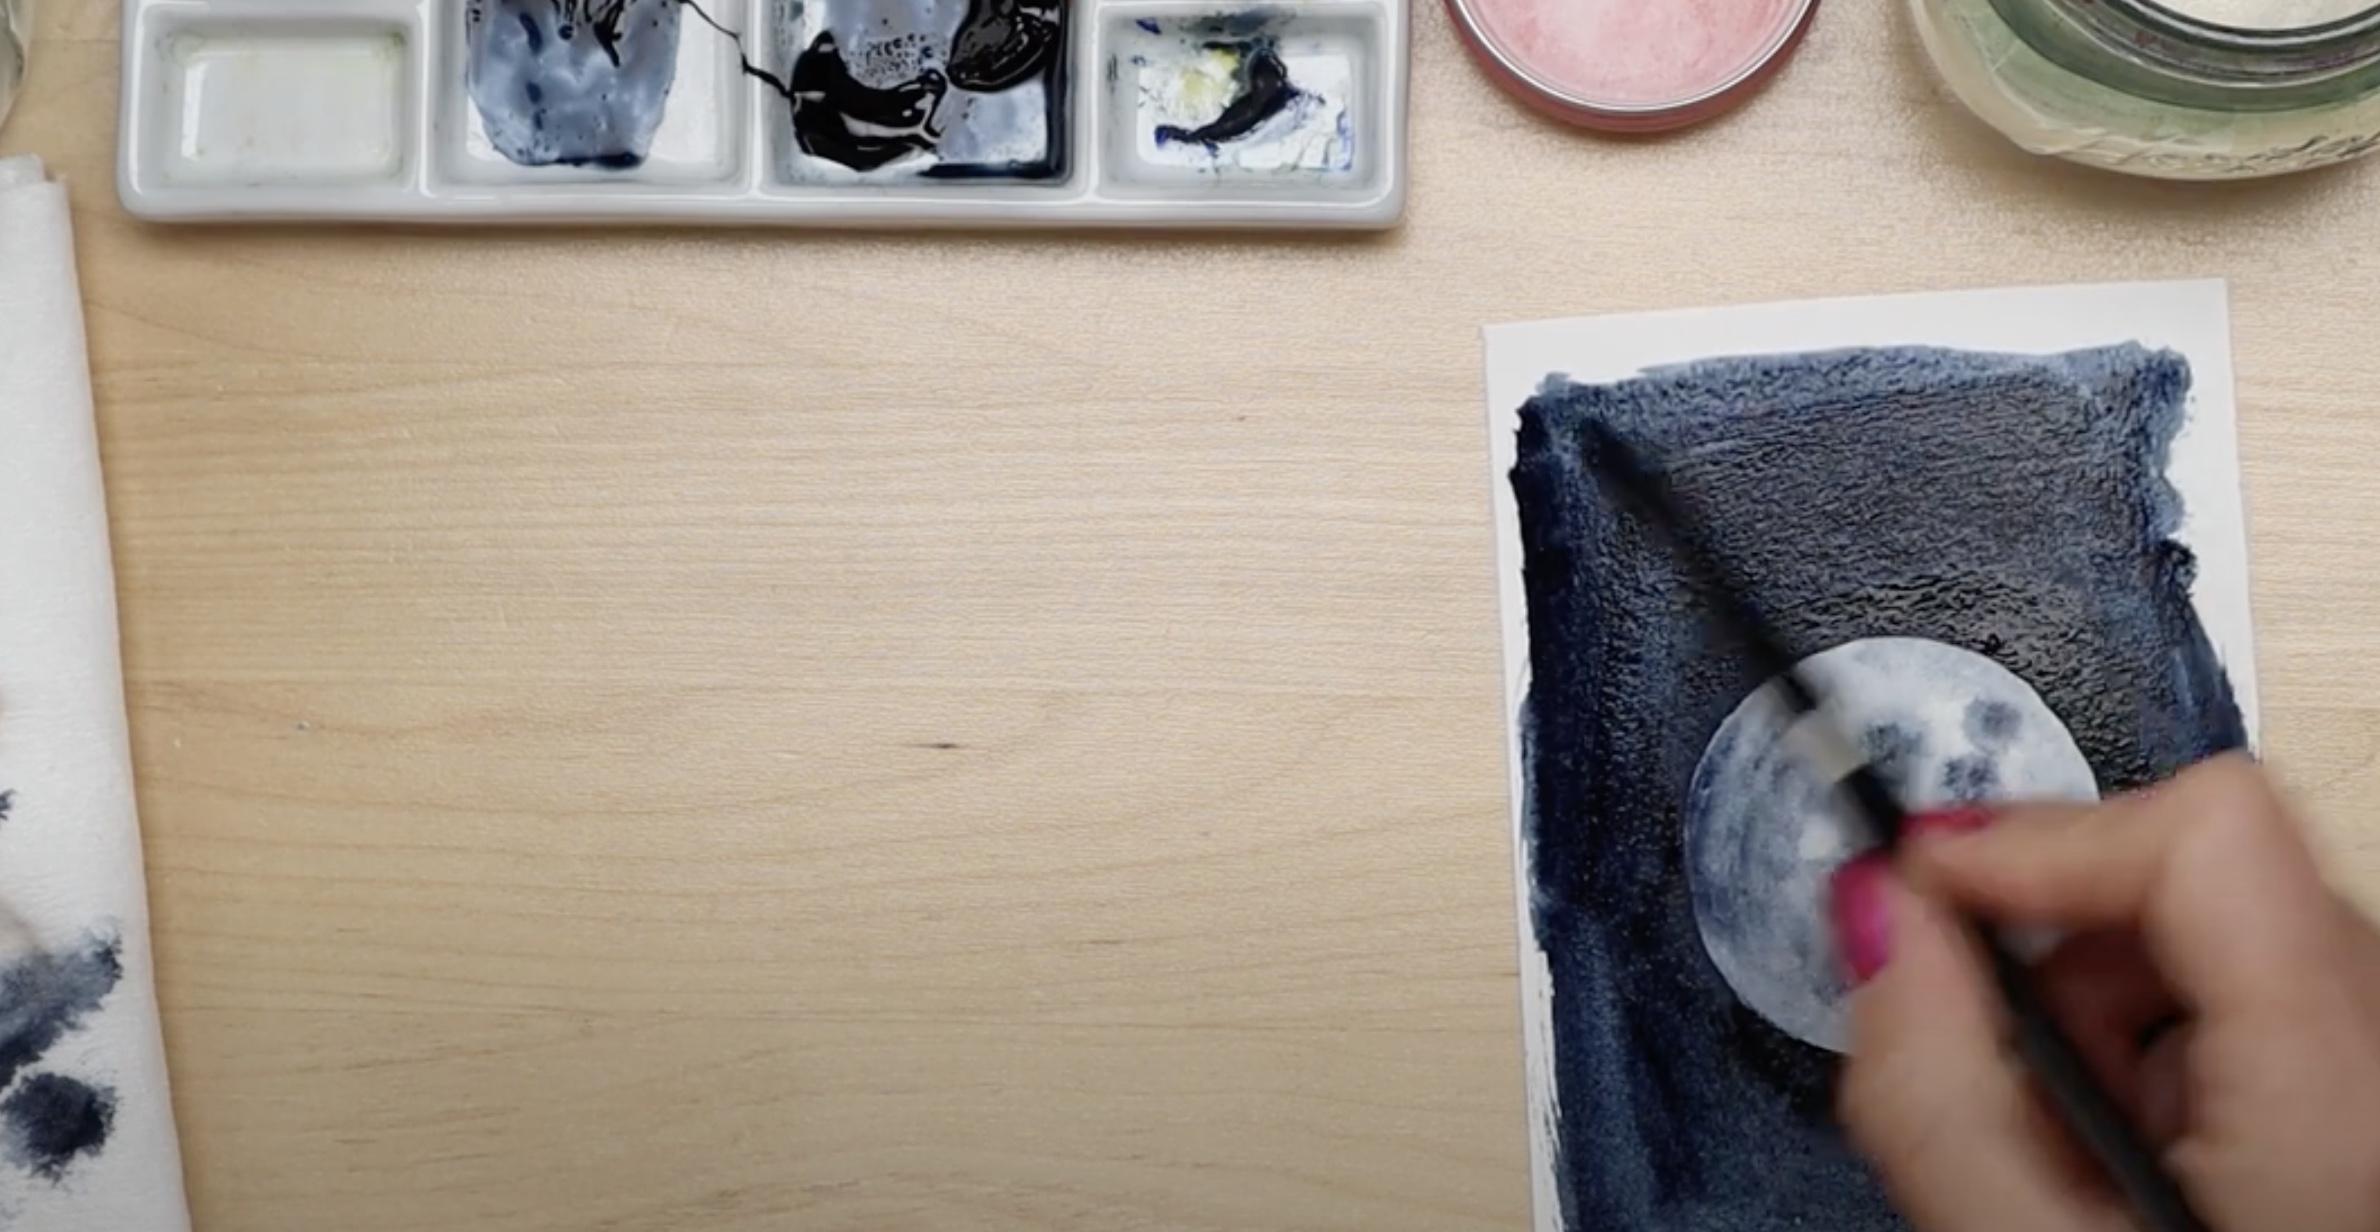
7. Prepare and Paint the Night Sky

Mix a generous amount of dark paint. You’ll need enough to cover the background smoothly. Begin painting around the moon, using the tip of your brush to follow the pencil line carefully. Rotate the paper as needed for better control.
8. Fill the Entire Background
Once the moon’s edges are done, extend the paint outward to fill the background. Dip your brush in water to keep the flow smooth. You can create a full rectangle or fade the edges for a softer sky.
9. Gently Fix Any Mistakes
If paint bleeds into the moon, take a clean, damp brush and gently lift the color while the area is still wet. Always blot your brush before touching the paper to avoid pushing water around.
10. Add Stars for a Magical Touch
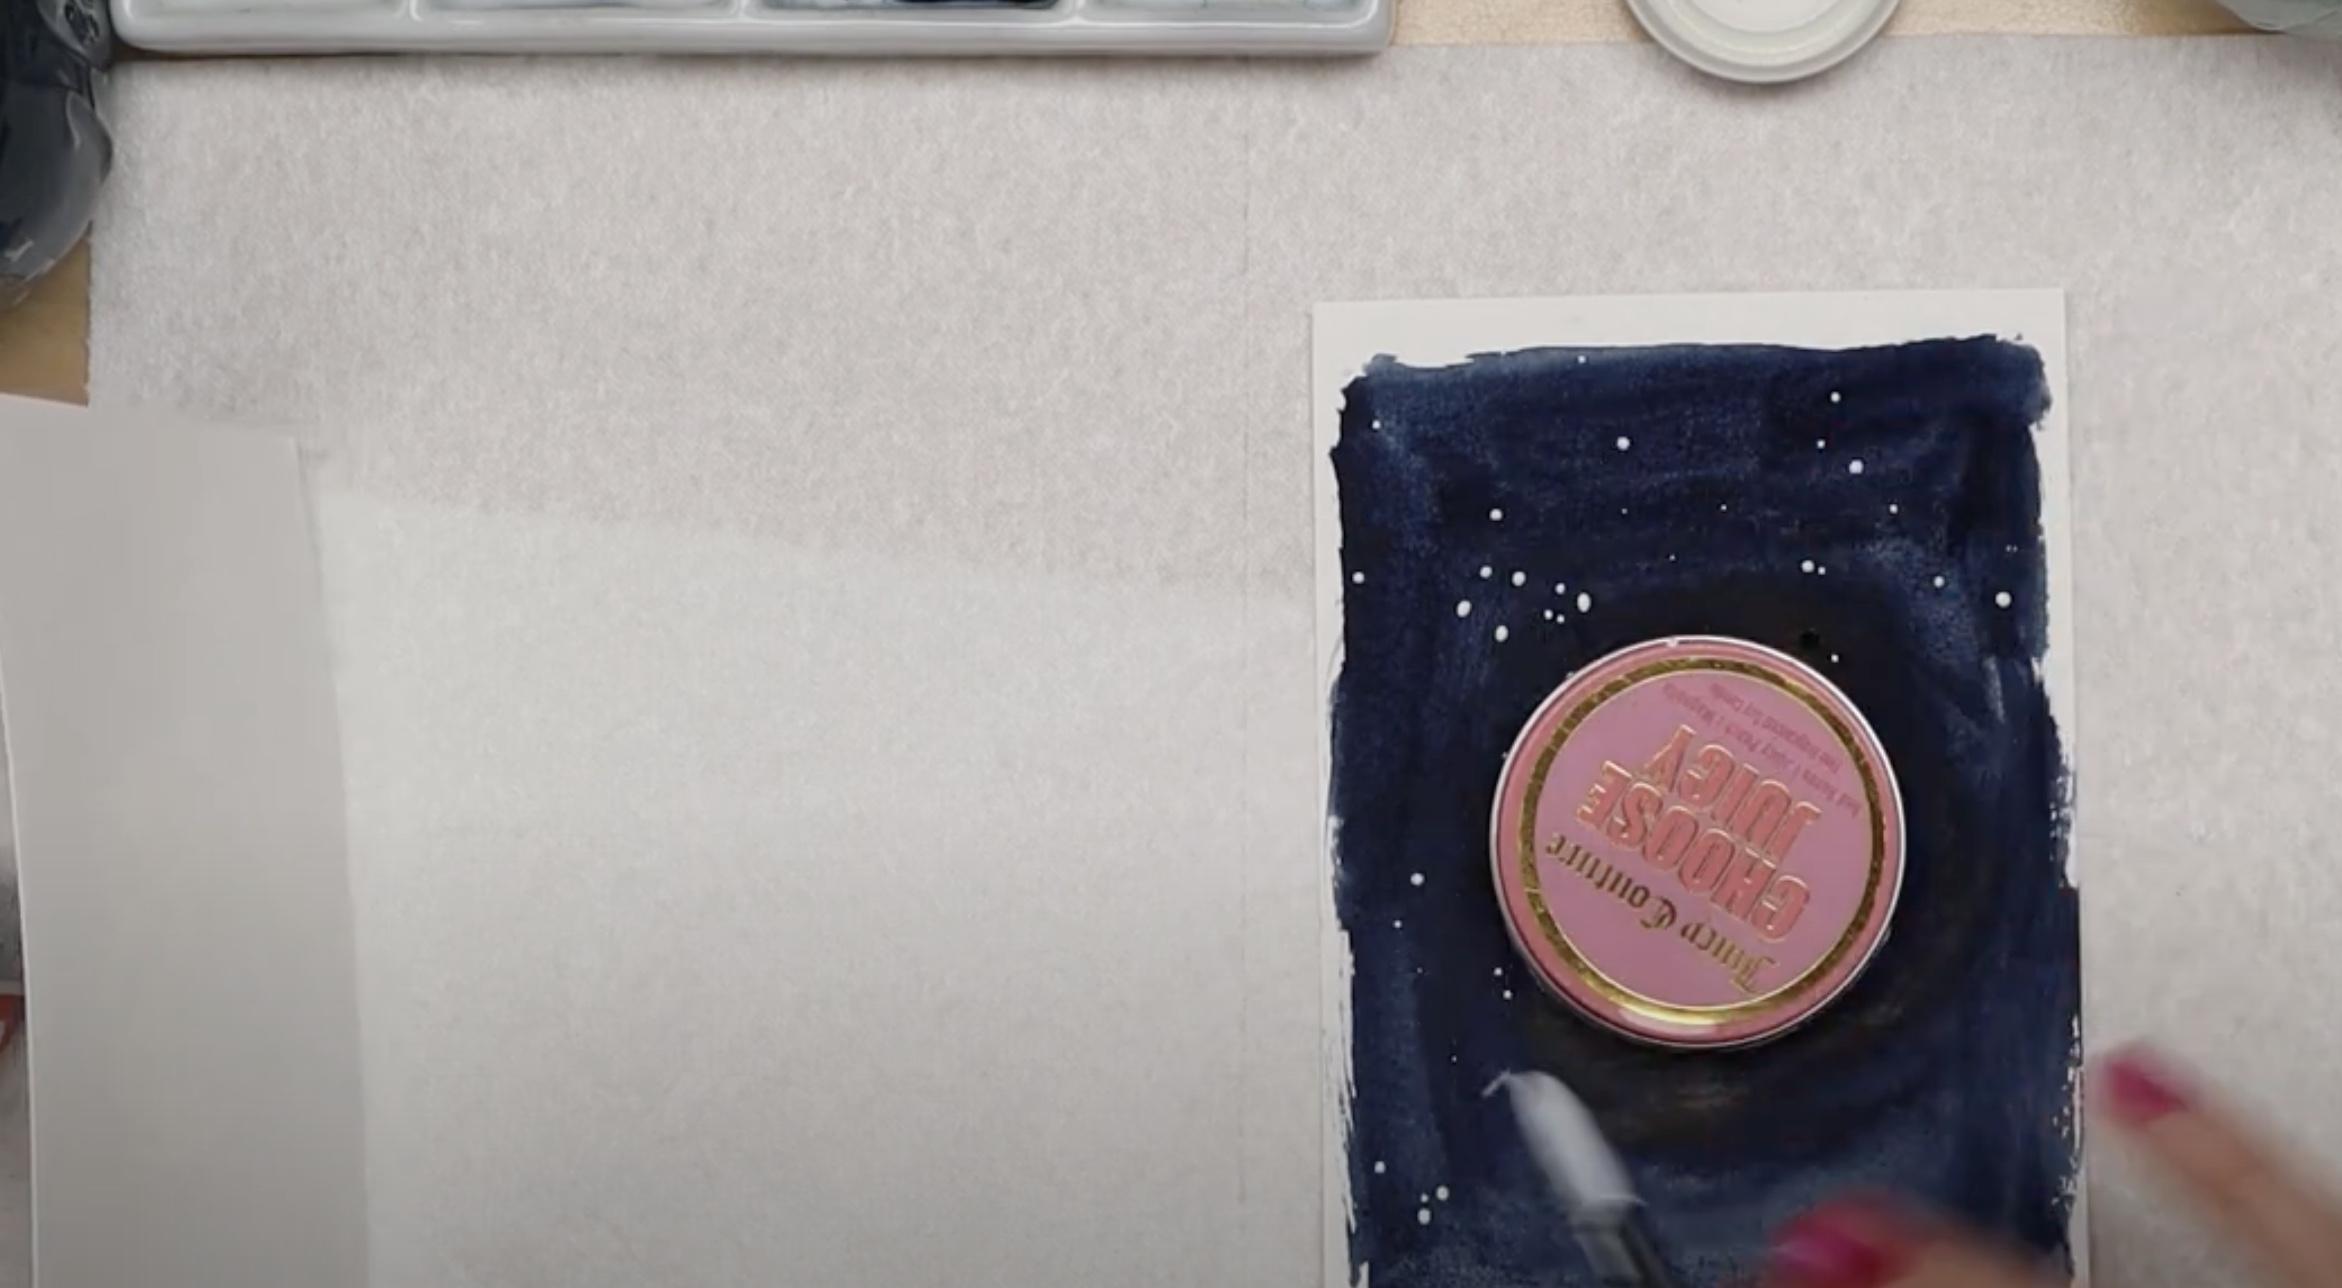
When everything is dry, cover the moon with your round object again. Load a brush or toothbrush with white gouache or ink and spatter stars across the night sky.
Tap the brush gently or flick the bristles for finer specks. Let it dry, and admire your cosmic masterpiece.
Moon Watercolor
From dramatic full moons emerging from inky night skies to delicate crescent shapes floating among misty clouds, lunar subjects lend themselves beautifully to watercolor’s fluid nature.
1. Full Moon Over Calm Waters
2. Lunar Eclipse Drama
3. Moon Through Misty Pines
4. Desert Moon Rising
5. Cityscape Moonlight
6. Crescent Moon with Clouds
7. Moon Garden
To Conclude
Mastering the art of color blending for moon drawing opens up a universe of creative possibilities. The techniques I have mentioned, from wet-on-wet applications to gradient washes and subtle color layering, all contribute to capturing that magical lunar glow that makes moon paintings so attractive.
Remember, the most attractive
Ready to experience your watercolor moons, from flat circles to luminous celestial bodies? Grab your paints and brushes today, and put these blending techniques into practice.