Have you ever looked at your nail polish collection and wondered what chemicals lurk inside those tiny bottles? Many people don’t realize that commercial nail polishes often contain harsh substances that harm both their nails and the environment.
But here’s something interesting: making nail polish at home is actually possible and quite simple. People who try DIY nail polish find that it’s not only better for their nails but also allows for custom colors that can’t be found in stores.
The benefits go beyond personal health too. Homemade nail polish creates less waste, uses natural ingredients, and cuts down on plastic packaging. This makes it a smart choice for anyone who cares about the planet.
This guide will show how to make beautiful nail polish at home using common household items and natural colorants that won’t damage nails or the earth!
Why Should You Try Making Your Own Nail Polish?
Making your own nail polish offers many perks that store-bought options can’t match. Here’s why it’s worth trying:
- Health benefits: Homemade polishes skip the harsh chemicals found in commercial brands. Your nails can breathe better and stay stronger without those tough compounds.
- Personal touch: Mix colors that match your mood or outfit perfectly. You control what goes into each bottle.
- Budget-friendly: Basic ingredients cost less than fancy branded polishes, especially when you make several shades from one batch.
- Less waste: Creating your own polish means fewer plastic bottles in landfills. You can reuse containers and mix only what you need.
- Fun activity: The mixing process itself becomes a creative hobby. Kids and friends can join in too, making it a social event.
When people switch to homemade nail polish, they often notice their nails feel healthier. The absence of strong smells is another plus that many folks appreciate right away.
Must-Have Items for DIY Nail Polish Making
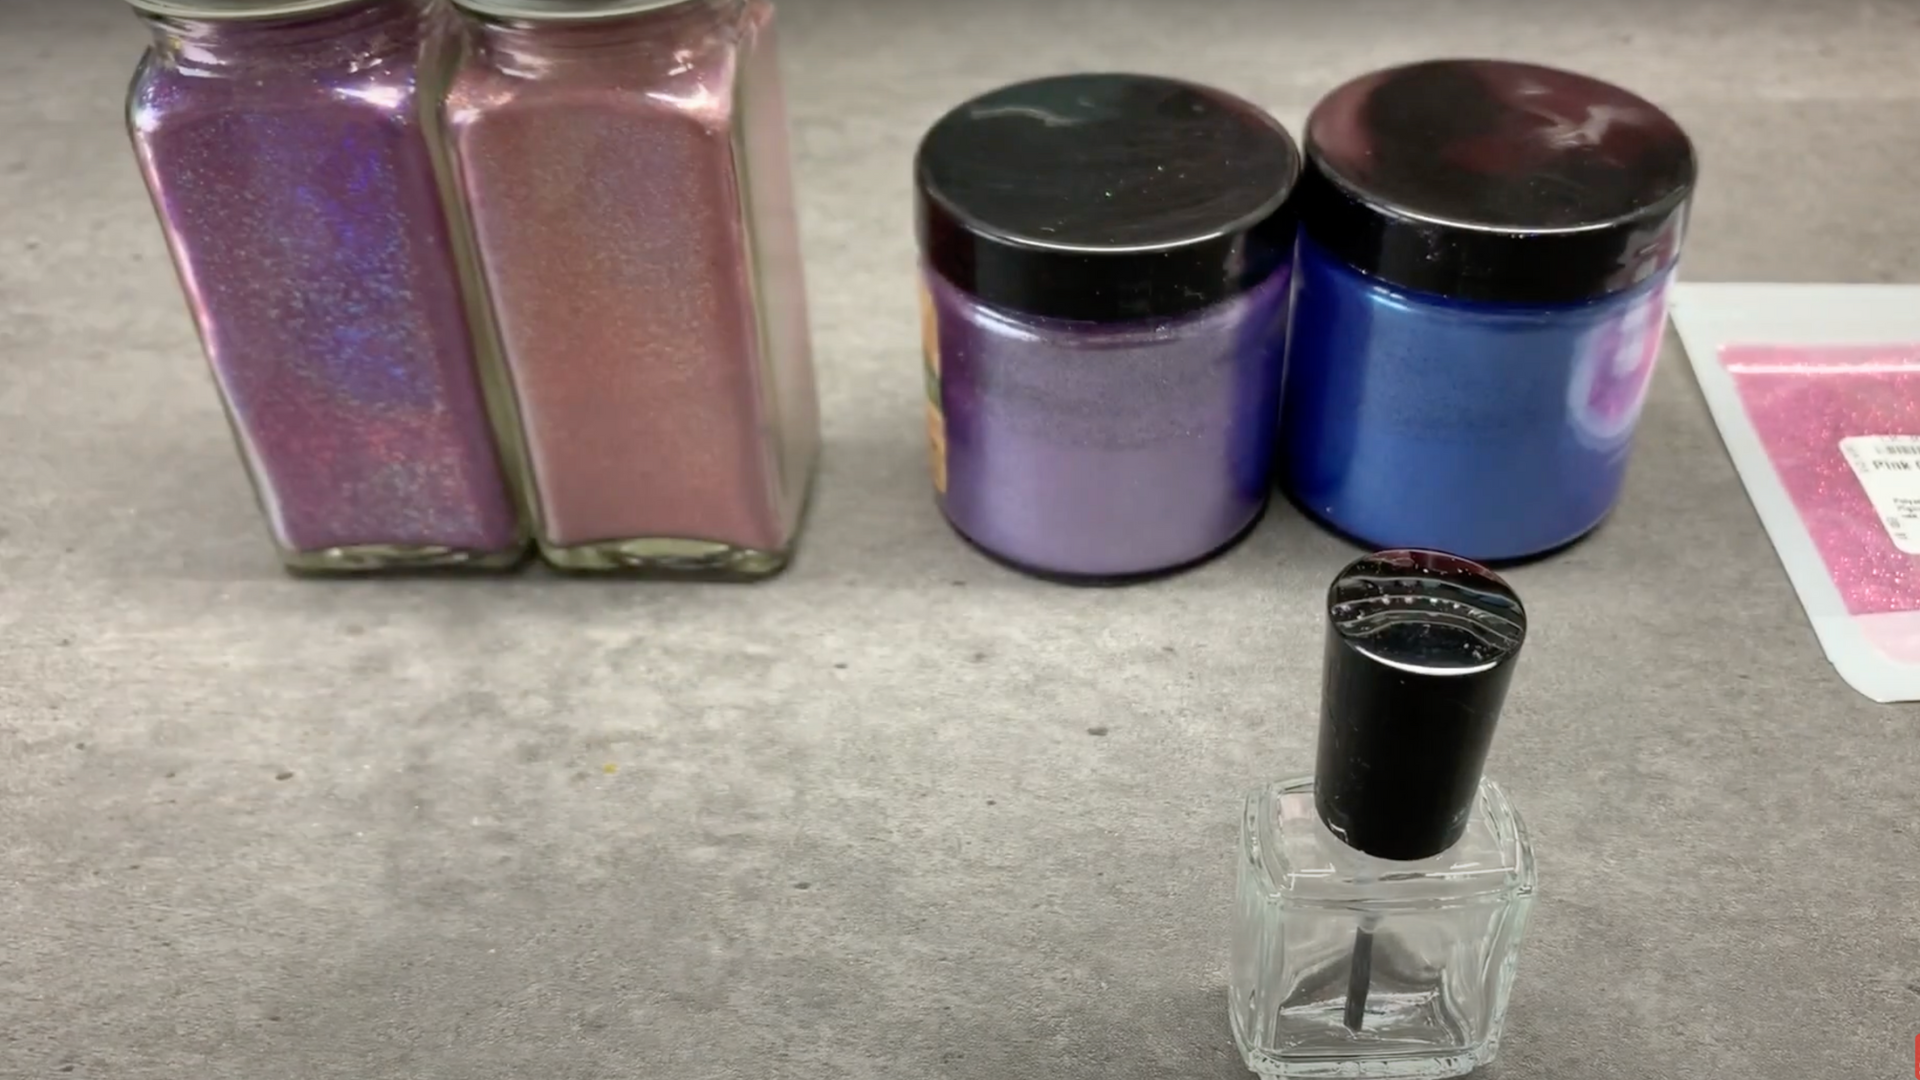
Before jumping into making colorful nail creations, gathering the right tools and materials is key. These items will set you up for success from the start.
| Items | Description |
|---|---|
| Nail Polish Base | Clear base for regular polish or glitter base for suspending glitter. |
| Pigments/Mica Powders | Color powders for creating unique nail polish shades. |
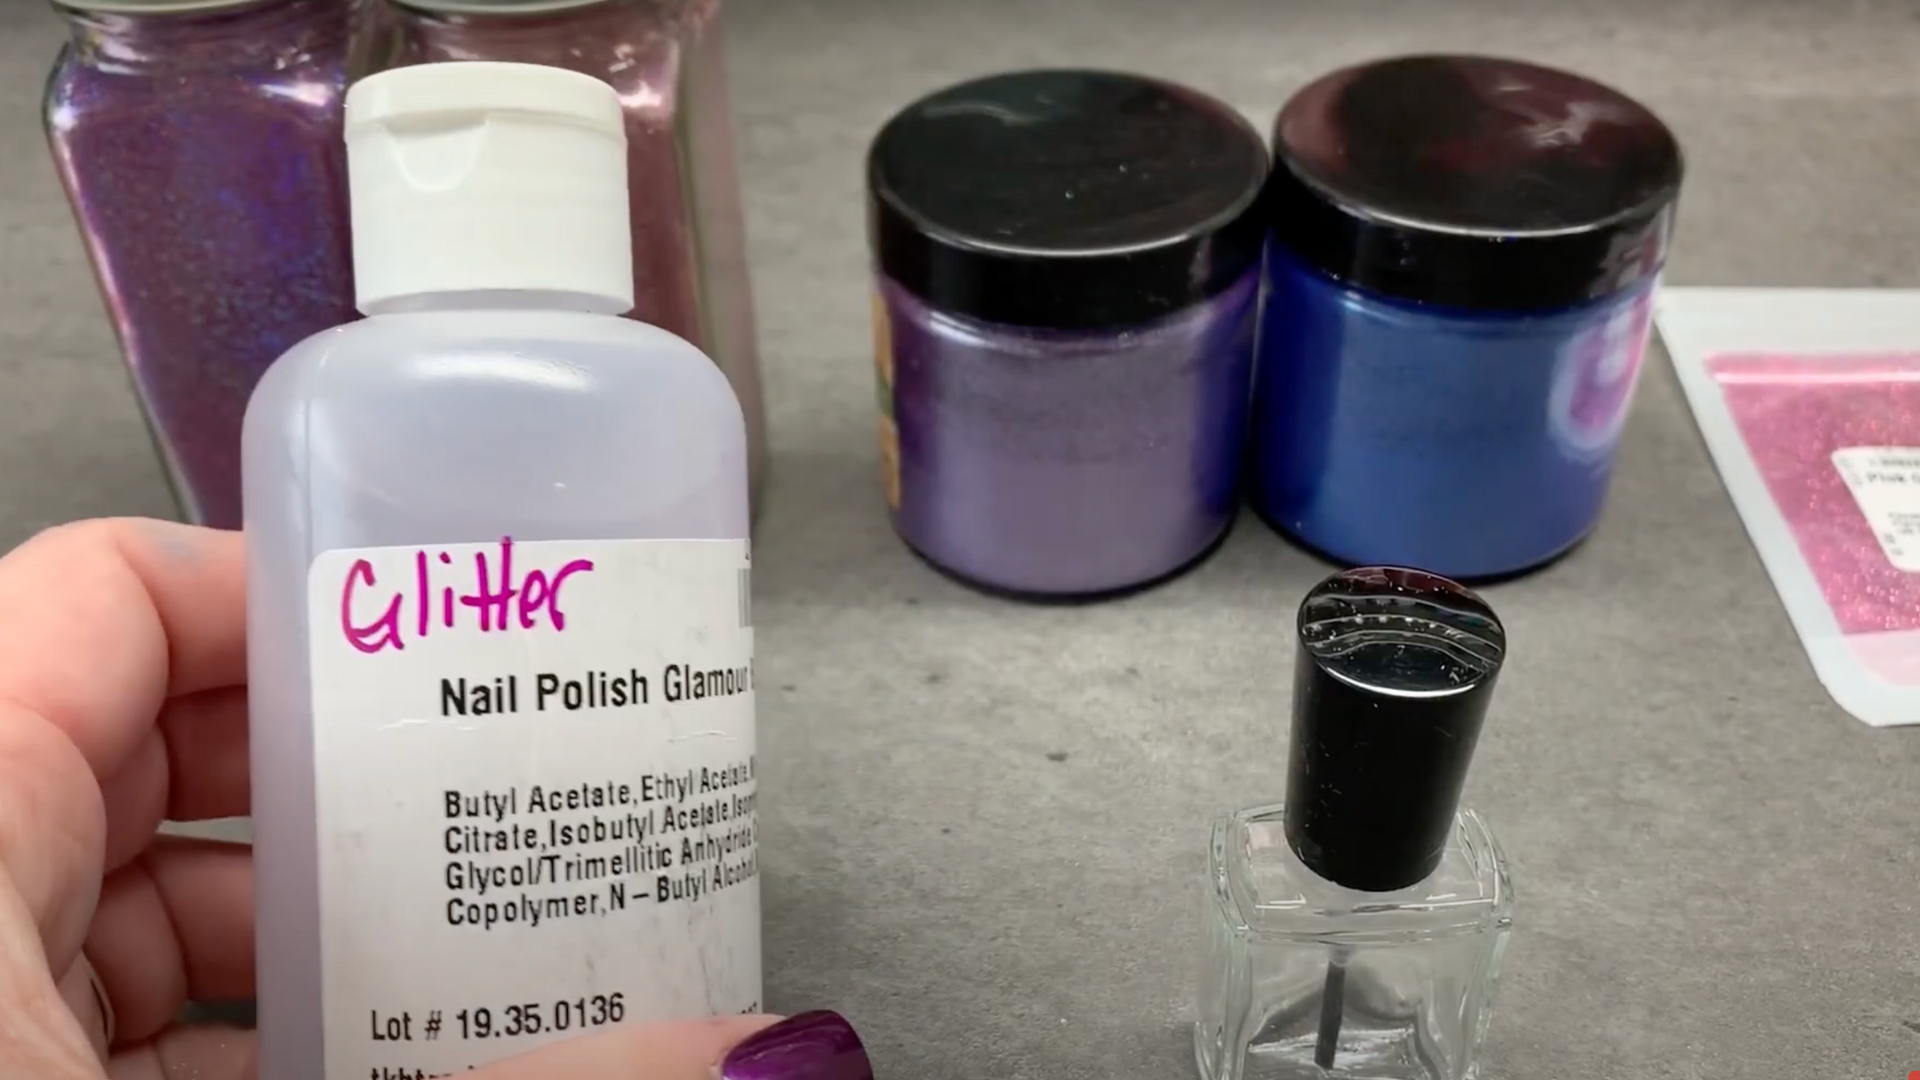
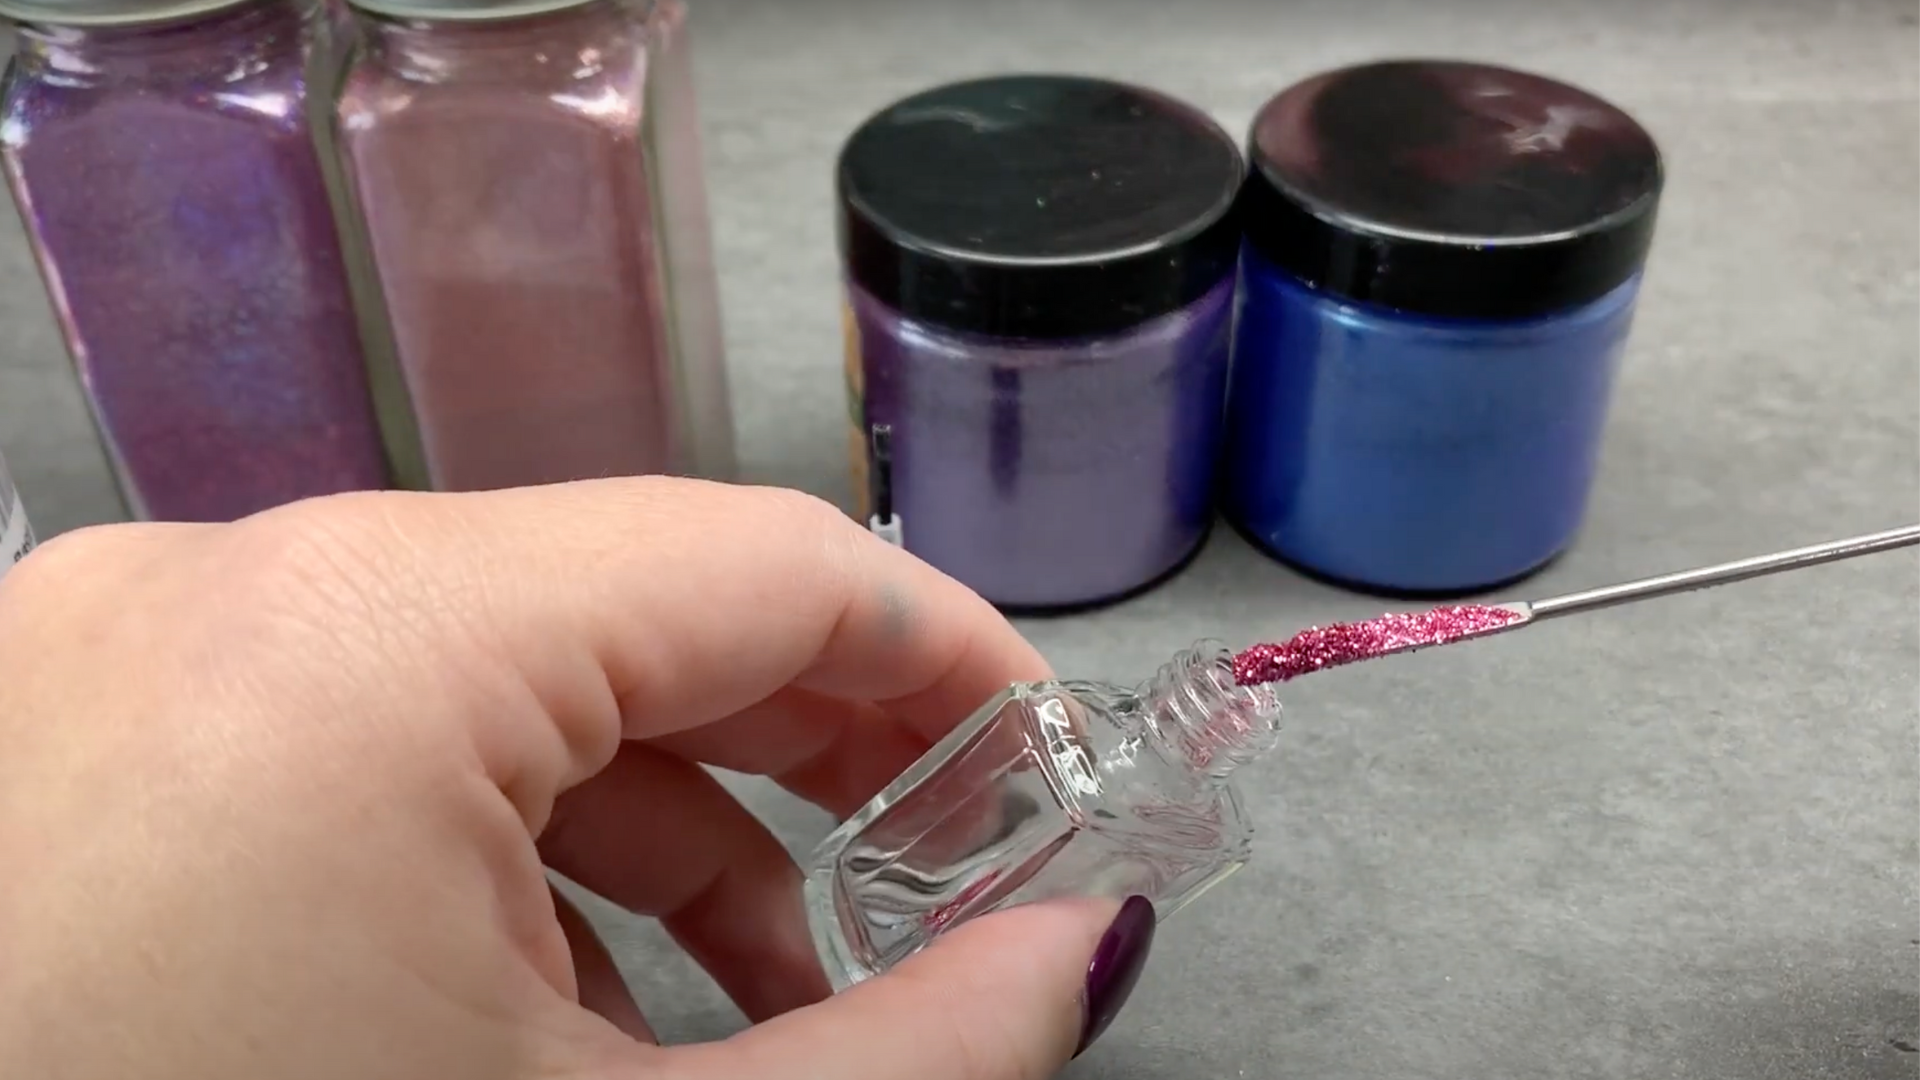
| Glitters | Fine glitter to add sparkle and texture to your polish. |
| Stir Sticks | Small sticks for stirring the polish mixture. |
| Glass Mixing Balls | Small balls added to bottles to help mix the contents. |
| Empty Nail Polish Bottles | Small bottles to hold your custom nail polish creations. |
With these basic supplies on hand, you’re ready to start your DIY nail polish ride. The fun of mixing and creating custom colors is just moments away.
Creating Your Own DIY Nail Polish: A Simple Tutorial
This simple, step-by-step DIY nail polish tutorial will help beginners create their first custom shade with minimal supplies and effort:
Step 1: Set Up Your Workstation
First, clear your workspace and make sure it’s clean and dry. You want a smooth, stable surface free from dust or debris to keep your creations neat.
Next, gather everything you need in one area. This will help you stay organized and ensure you don’t forget any materials mid-process. Lay down a protective covering if you’re working on a gentle surface to prevent accidental spills or stains.
Step 2: Choose Your Nail Polish Base
Your nail polish base is the foundation for your custom polish. It determines the texture, finish, and durability of the final product.
- Clear Base: A standard clear base is perfect for creating opaque or sheer colors.
- Glitter Base: If you’re adding glitter, a specialized base is essential for suspending the glitter particles evenly.
Carefully select the right base depending on your design. The consistency of the base will also affect how well the color blends with your pigment or glitter. Be sure to check the instructions on the base’s label to ensure you’re using it correctly.
Step 3: Add the Glass Ball

Once you have your bottle ready, drop in a small glass ball. This is crucial because the ball helps agitate the ingredients, making sure they mix well.
You’ll need to use the glass ball when shaking the bottle later. It helps evenly distribute the pigment, glitter, and other materials throughout the base, resulting in a smooth, consistent nail polish.
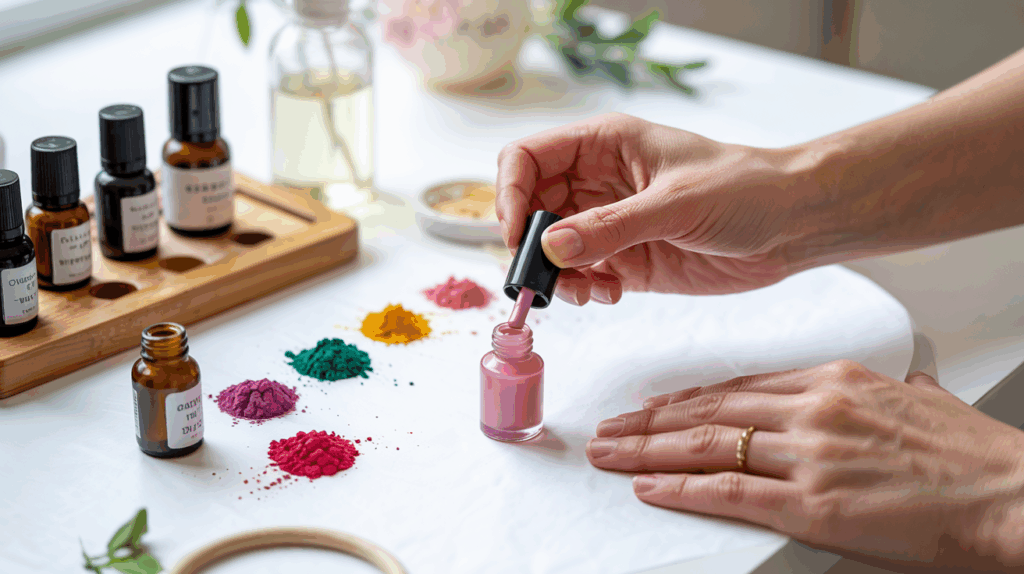
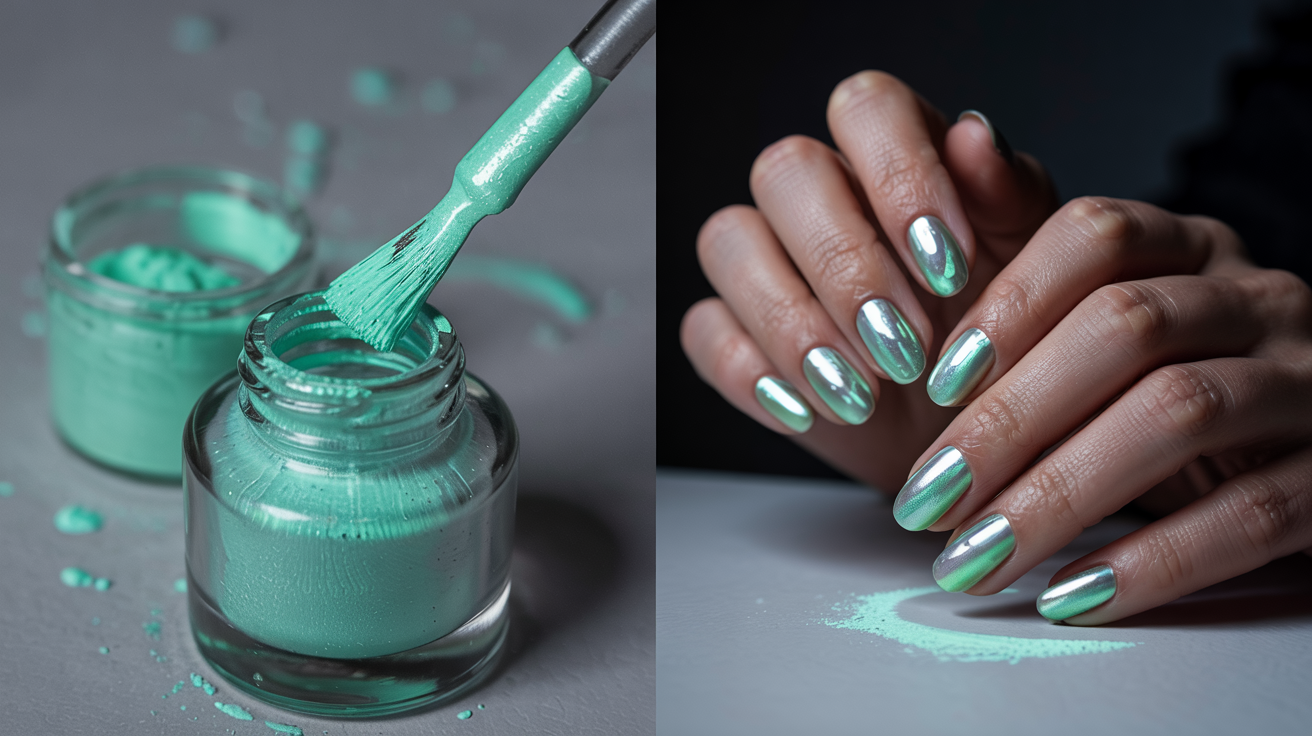
Step 4: Mix Pigments and Mica Powders
Now, it’s time to select the pigments or mica powders you want to add to your nail polish. You can choose from a variety of colors, such as lively neons or pastel hues, depending on the look you’re going for.
- Pigments: These are ideal for solid color polishes and can be mixed to create custom shades.
- Mica Powders: If you want shimmer or a metallic effect, mica powders are the way to go.
Add the pigment or mica to the bottle slowly, ensuring you’re not overfilling it. The key is to blend the colors gradually for the perfect shade.
Step 5: Pour in the Nail Polish Base
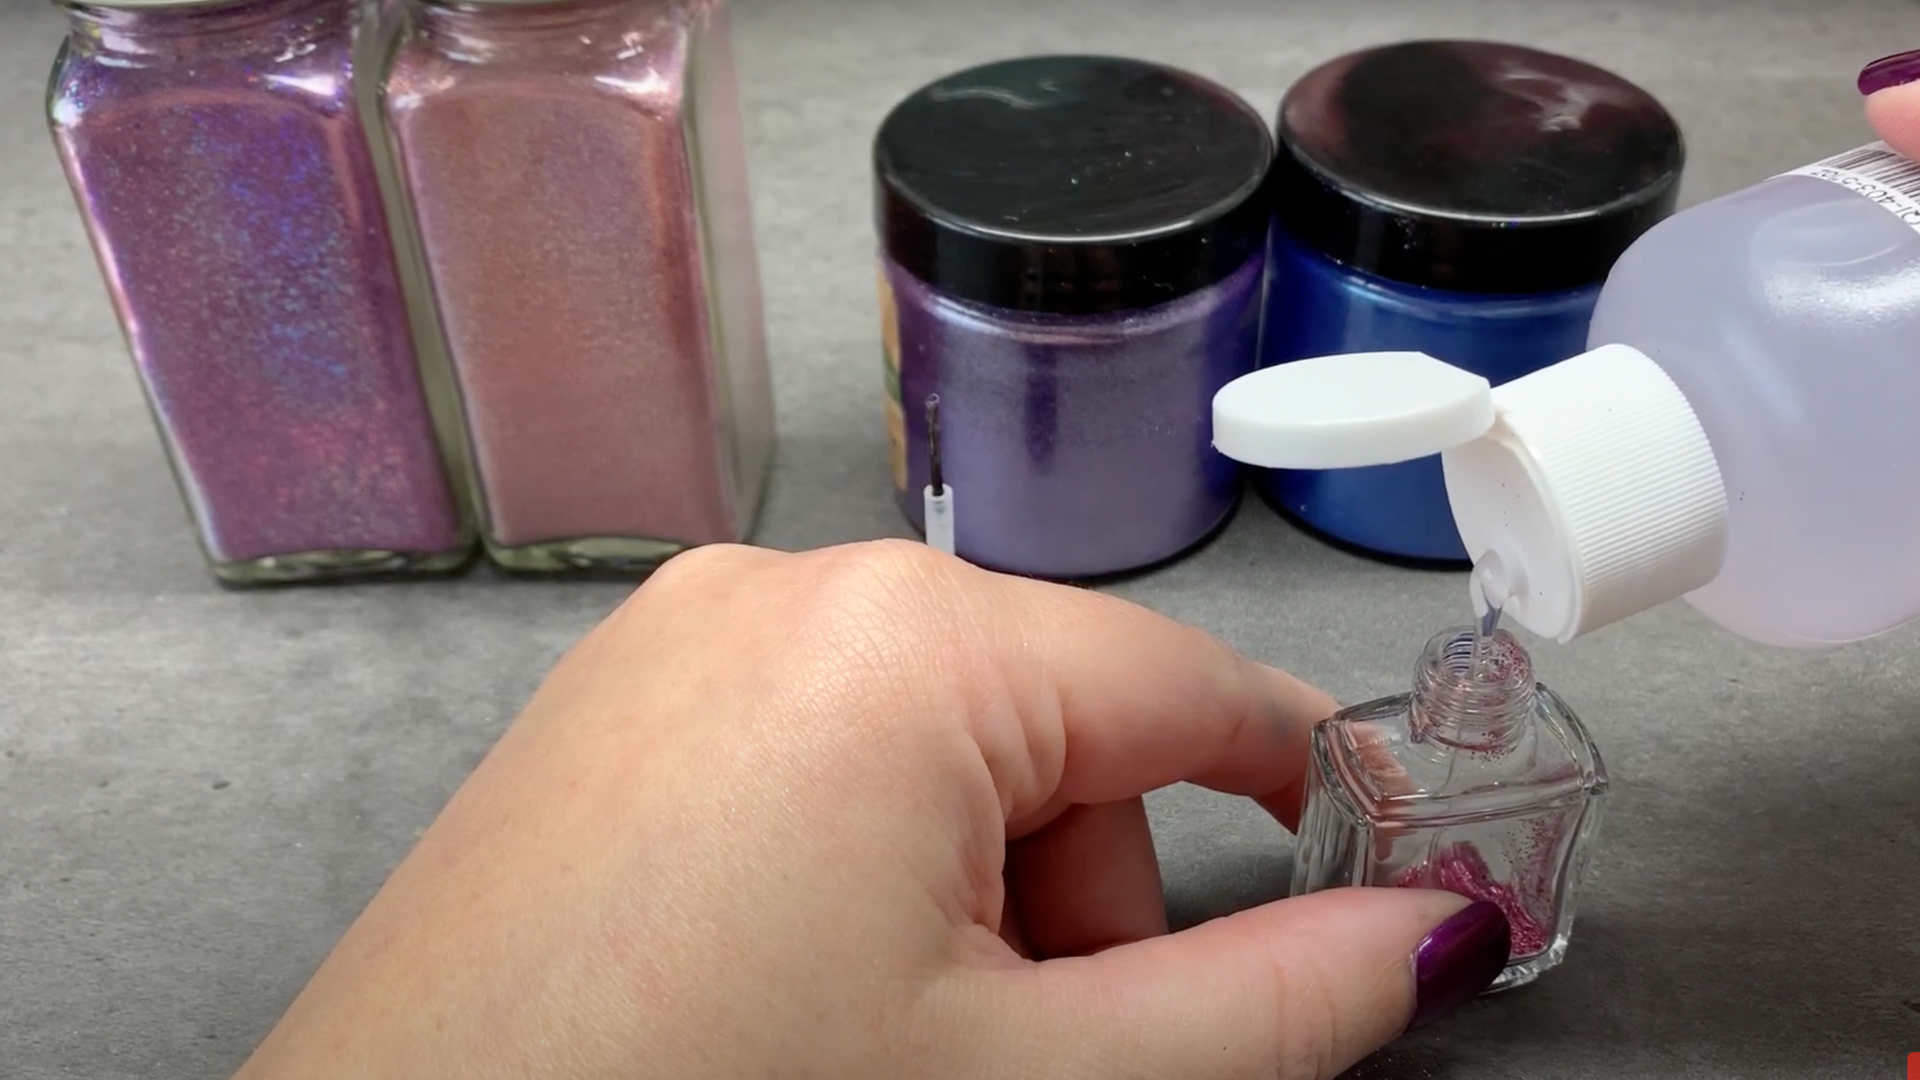
Next, carefully pour the nail polish base into the bottle, filling it about halfway. This base will make up the majority of your nail polish.
Make sure to leave some room at the top of the bottle for easy mixing and shaking. A little extra space helps you avoid spilling when you shake the bottle later to mix everything together.
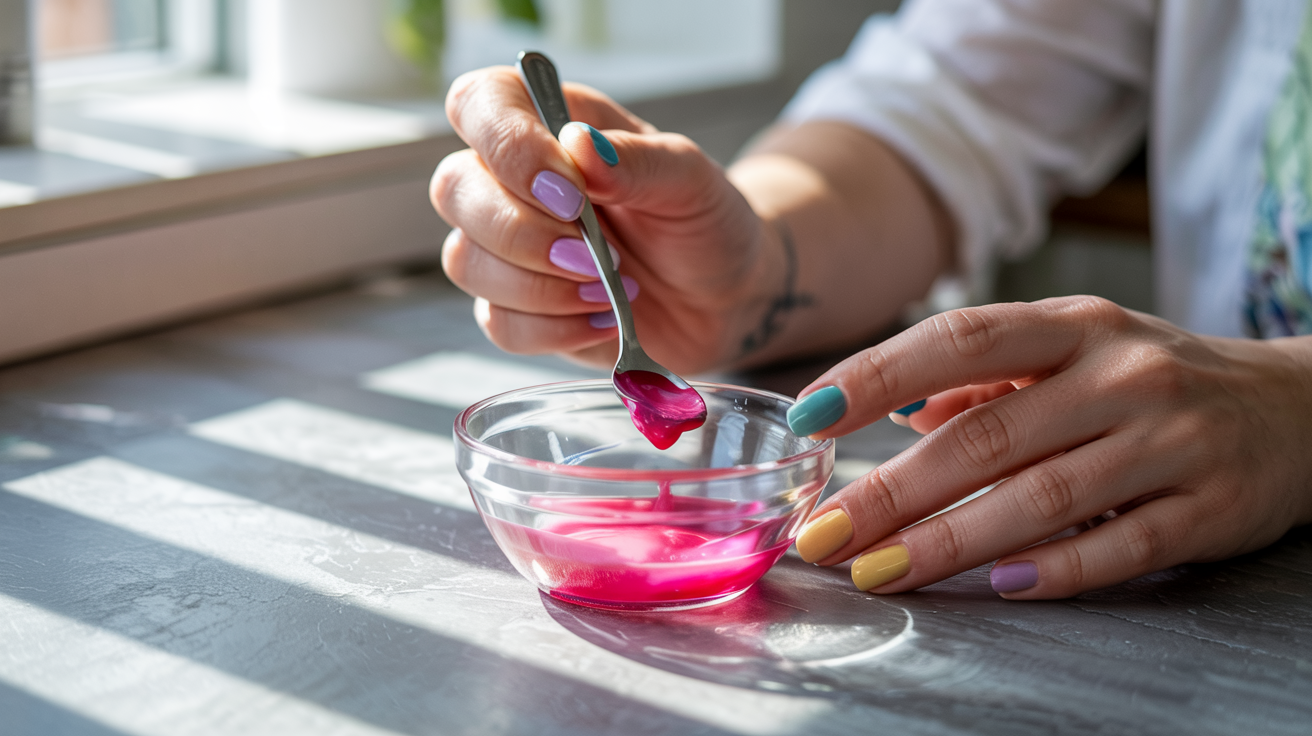
Step 6: Stir and Test
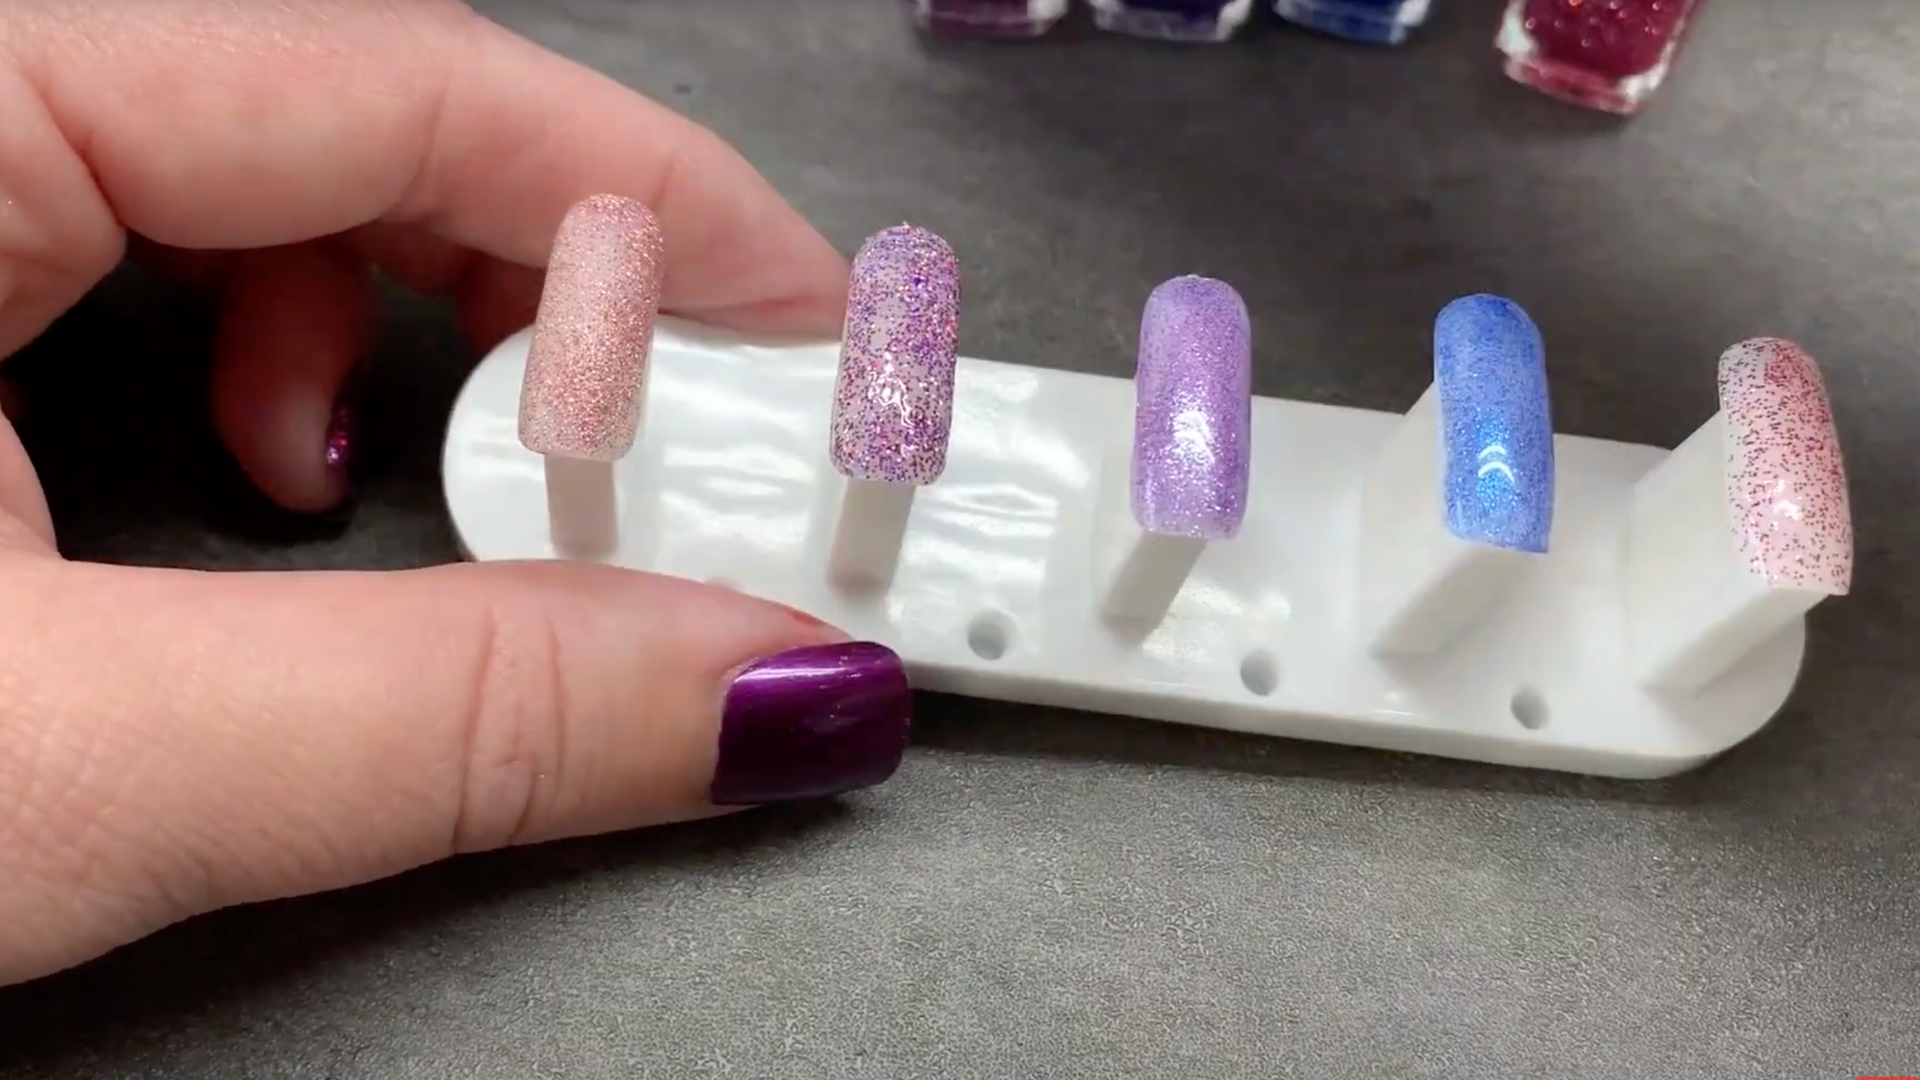
After sealing the bottle, give it a gentle shake to mix all the ingredients together. The glass ball inside will help break up any clumps and ensure a smooth blend.
Once mixed, test the polish on a small section of your nail or a nail swatch to check the color and consistency. If the shade isn’t as intense as you want or the texture is too thick, feel free to add more pigment or base to adjust it.
With these basic steps mastered, you can expand your DIY nail polish collection by experimenting with different colorants and effects.
For a more detailed tutorial on how to DIY nail polish at home, click on the video below:
Unique DIY Nail Polish Ideas You’ll Love
Creating DIY nail polish opens up endless possibilities for unique colors and textures that you won’t find in stores.
Pressed Flower Polish
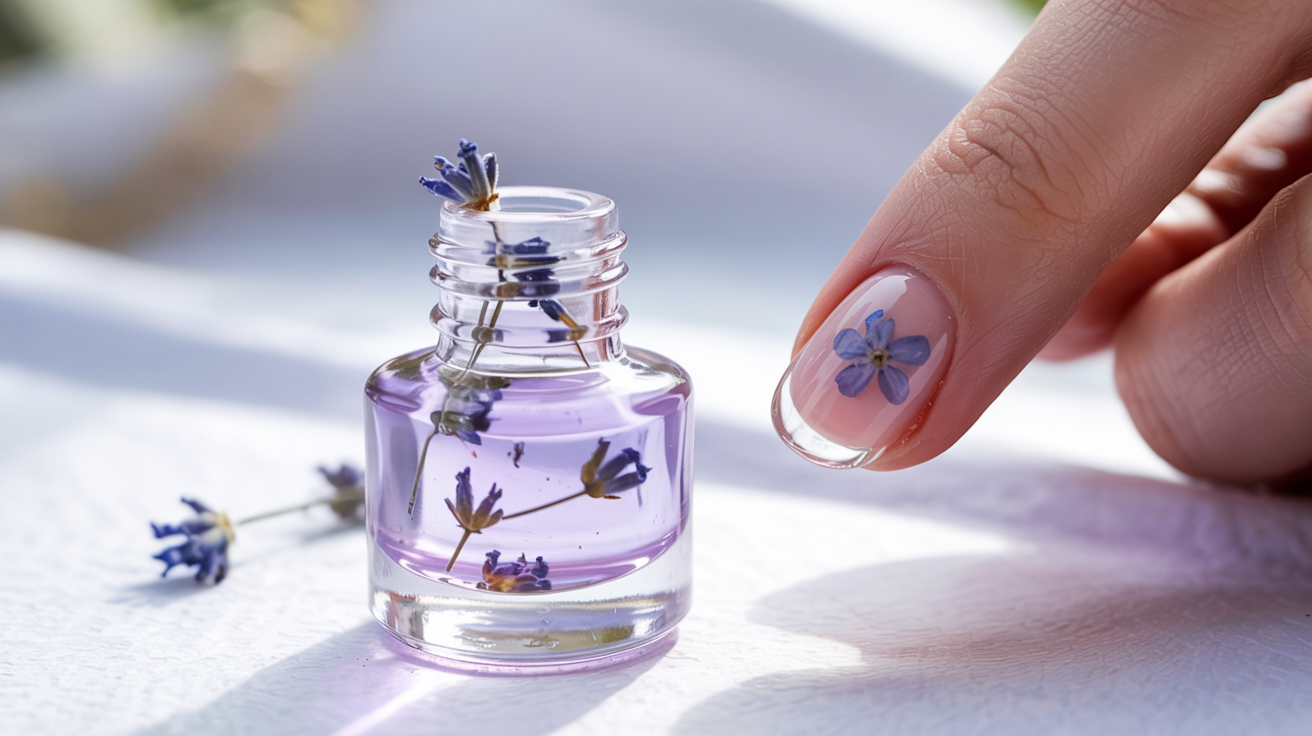
Press tiny dried flowers between clear base coat layers for a natural look. Use small blooms like baby’s breath or fern tips. Apply a thin base coat, place the flower with tweezers, then seal with another coat.
This creates a gentle garden effect on each nail that looks hand-painted but requires no artistic skill.
Coffee-Tinted Brown
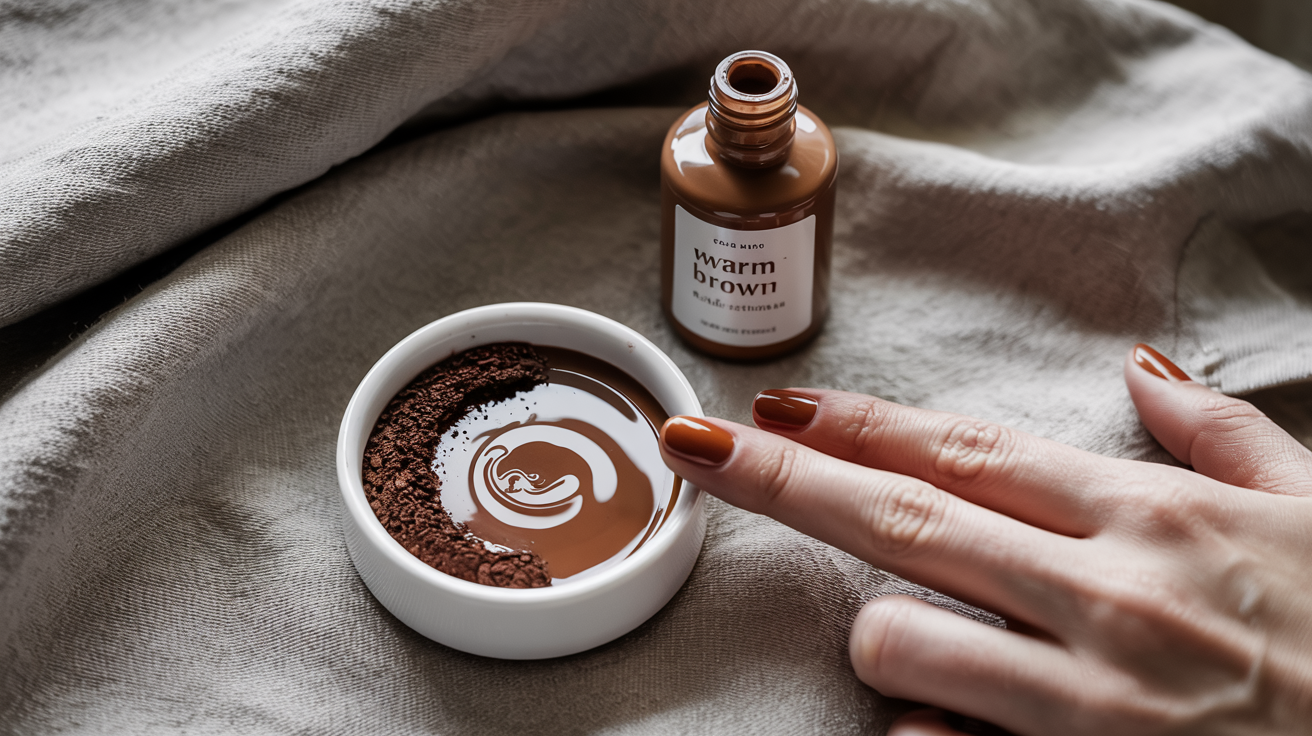
Mix a small amount of instant coffee powder with clear polish for warm brown tones. Start with just a pinch and add more until you reach your desired shade.
The fine coffee particles create a smooth finish that smells faintly of your morning cup when dry. Perfect for fall looks.
Sparkly Stone Effect
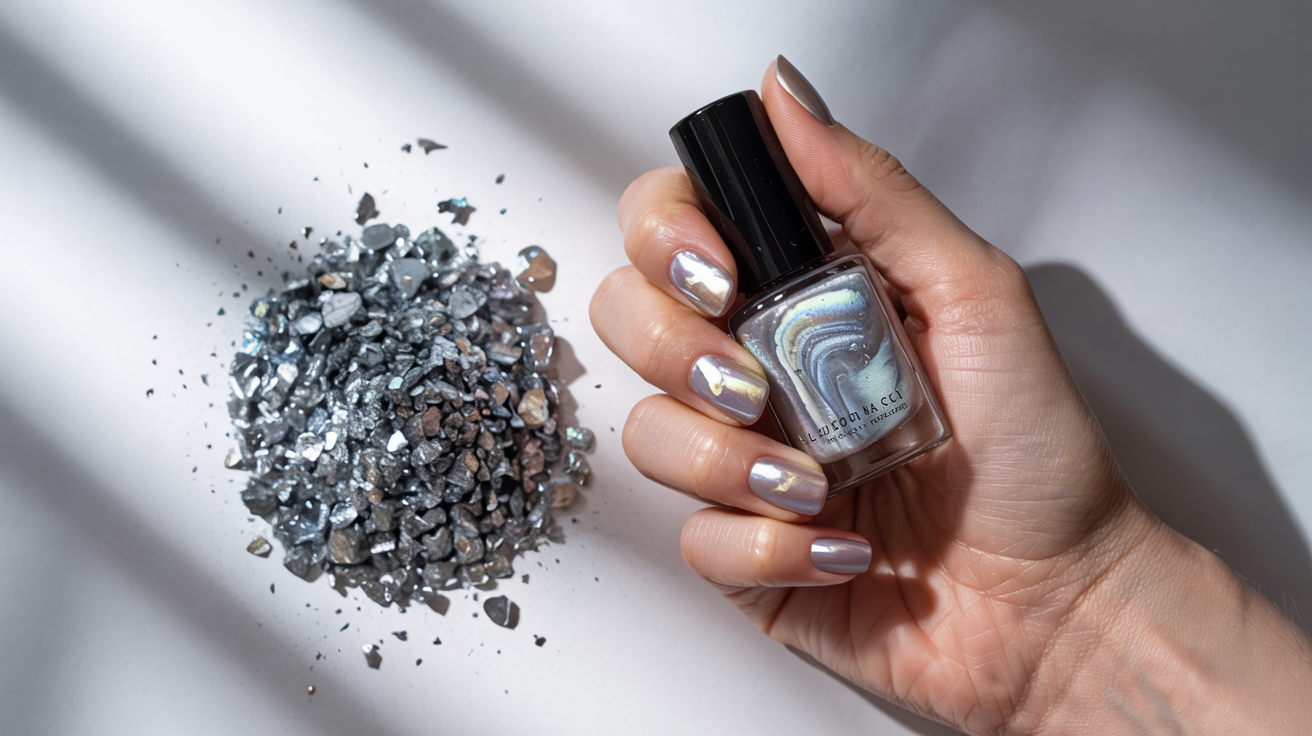
Crush mica powder or eyeshadow into clear base for a stone-like finish. Different colored micas create effects similar to marble, granite, or gemstones. Mix thoroughly to avoid clumps.
The light-catching particles shift color as nails move in the light.
Speckled Egg Polish
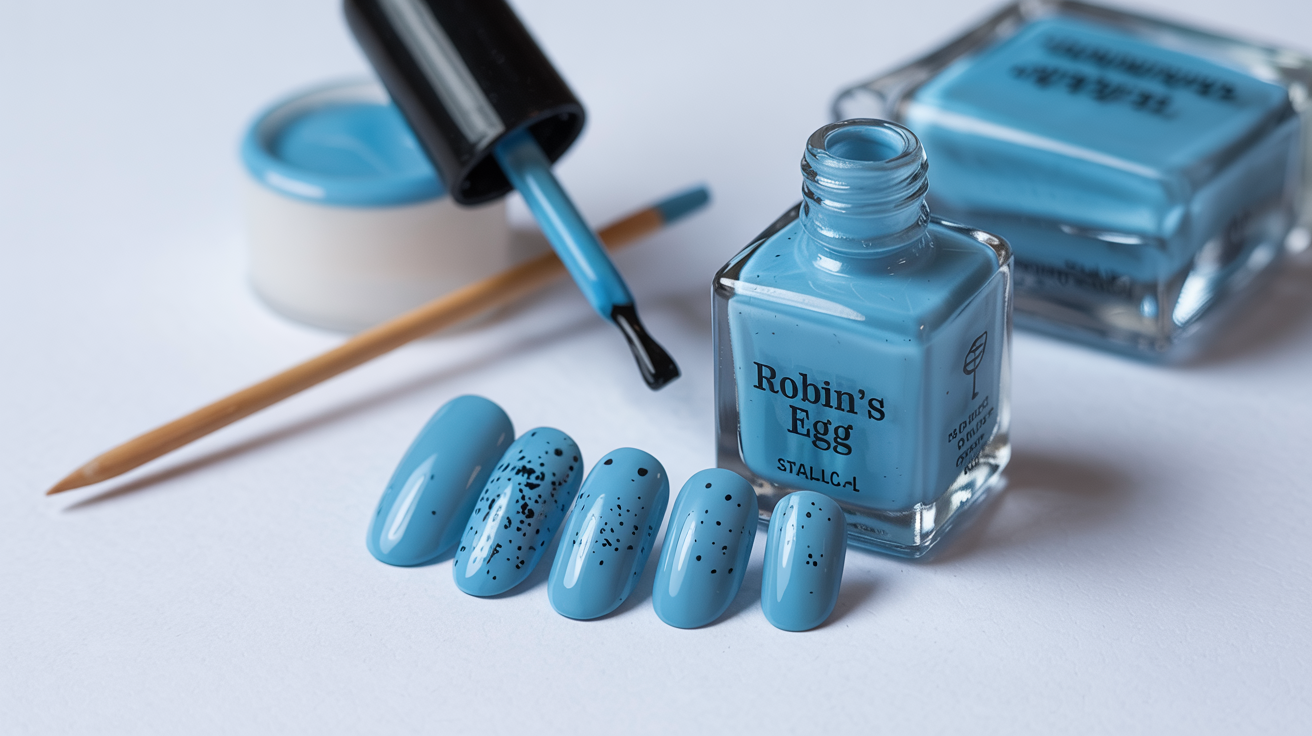
Add tiny black and brown dots to a pale blue or green base. Use a toothpick to flick small amounts of dark polish into your mixture. Stir gently to maintain the specks rather than blending completely.
This creates a robin’s egg effect that’s subtle yet interesting.
Glow-in-the-Dark Formula
Mix phosphorescent powder with clear polish for a nighttime surprise. The polish looks normal in daylight but glows after exposure to light.
Different powders create different glow colors. Apply over white polish first to maximize the glow effect.
These ideas are just the beginning of what you can create with simple ingredients and a bit of creativity.
Wrapping It Up
DIY nail polish brings together fun, safety, and personal style in one bottle. The simple methods shared here let anyone create unique colors without special skills or tools.
The main appeal of homemade polish lies in its gentle formula. Without harsh chemicals, nails stay healthier while still looking great. The bonus? Creating less waste for our planet.
Ready to try mixing your own nail polish? Start with just one of these ideas and see how it goes. The process is as rewarding as the result.
Have you made your own DIY nail polish before? What colors would you like to create? Share your experiences or questions in the comments below!