Markers click open. The smell of ink fills the air.
Many artists feel lost when they first try alcohol markers. Colors bleed into each other, the paper warps, and those beautiful, smooth blends seem impossible to achieve. It’s no wonder so many beginners give up before they’ve really started.
But here’s something you might not know: anyone can create stunning artwork with alcohol markers.
The secret isn’t talent; it’s technique. With the right tips, tools, and a bit of practice, those tricky markers can become one of the most useful tools in your art supply collection.
This guide will show you how to handle alcohol markers like a pro, from choosing the right paper to creating smooth color transitions that will make your artwork stand out.
What Are Alcohol Markers?
Alcohol markers contain ink mixed with alcohol as the main liquid part. This gives them special coloring traits that many artists love. Unlike water-based markers that sit on top of paper, alcohol markers sink into the paper fibers, creating smooth color that dries fast and doesn’t smudge.
Some top brands include:
- Copic (high-quality but costly, good for pros),
- Ohuhu (budget-friendly with nice color range, perfect for beginners),
For new artists, Ohuhu offers a wallet-friendly way to try this style. Those with some skill might enjoy Prismacolor’s quality without breaking the bank. Expert artists often choose Copic for its lasting tips and ink that can be refilled.
How to Color with Alcohol Markers: Everything You Need to Know
Using alcohol markers requires a combination of skill and knowledge of basic techniques. With the right steps, you can create art that appears clean and features smooth color transitions.
Let’s look at some key ways to get the most from your markers, from how to hold them to making colors blend well together.
1. Protect Your Surface
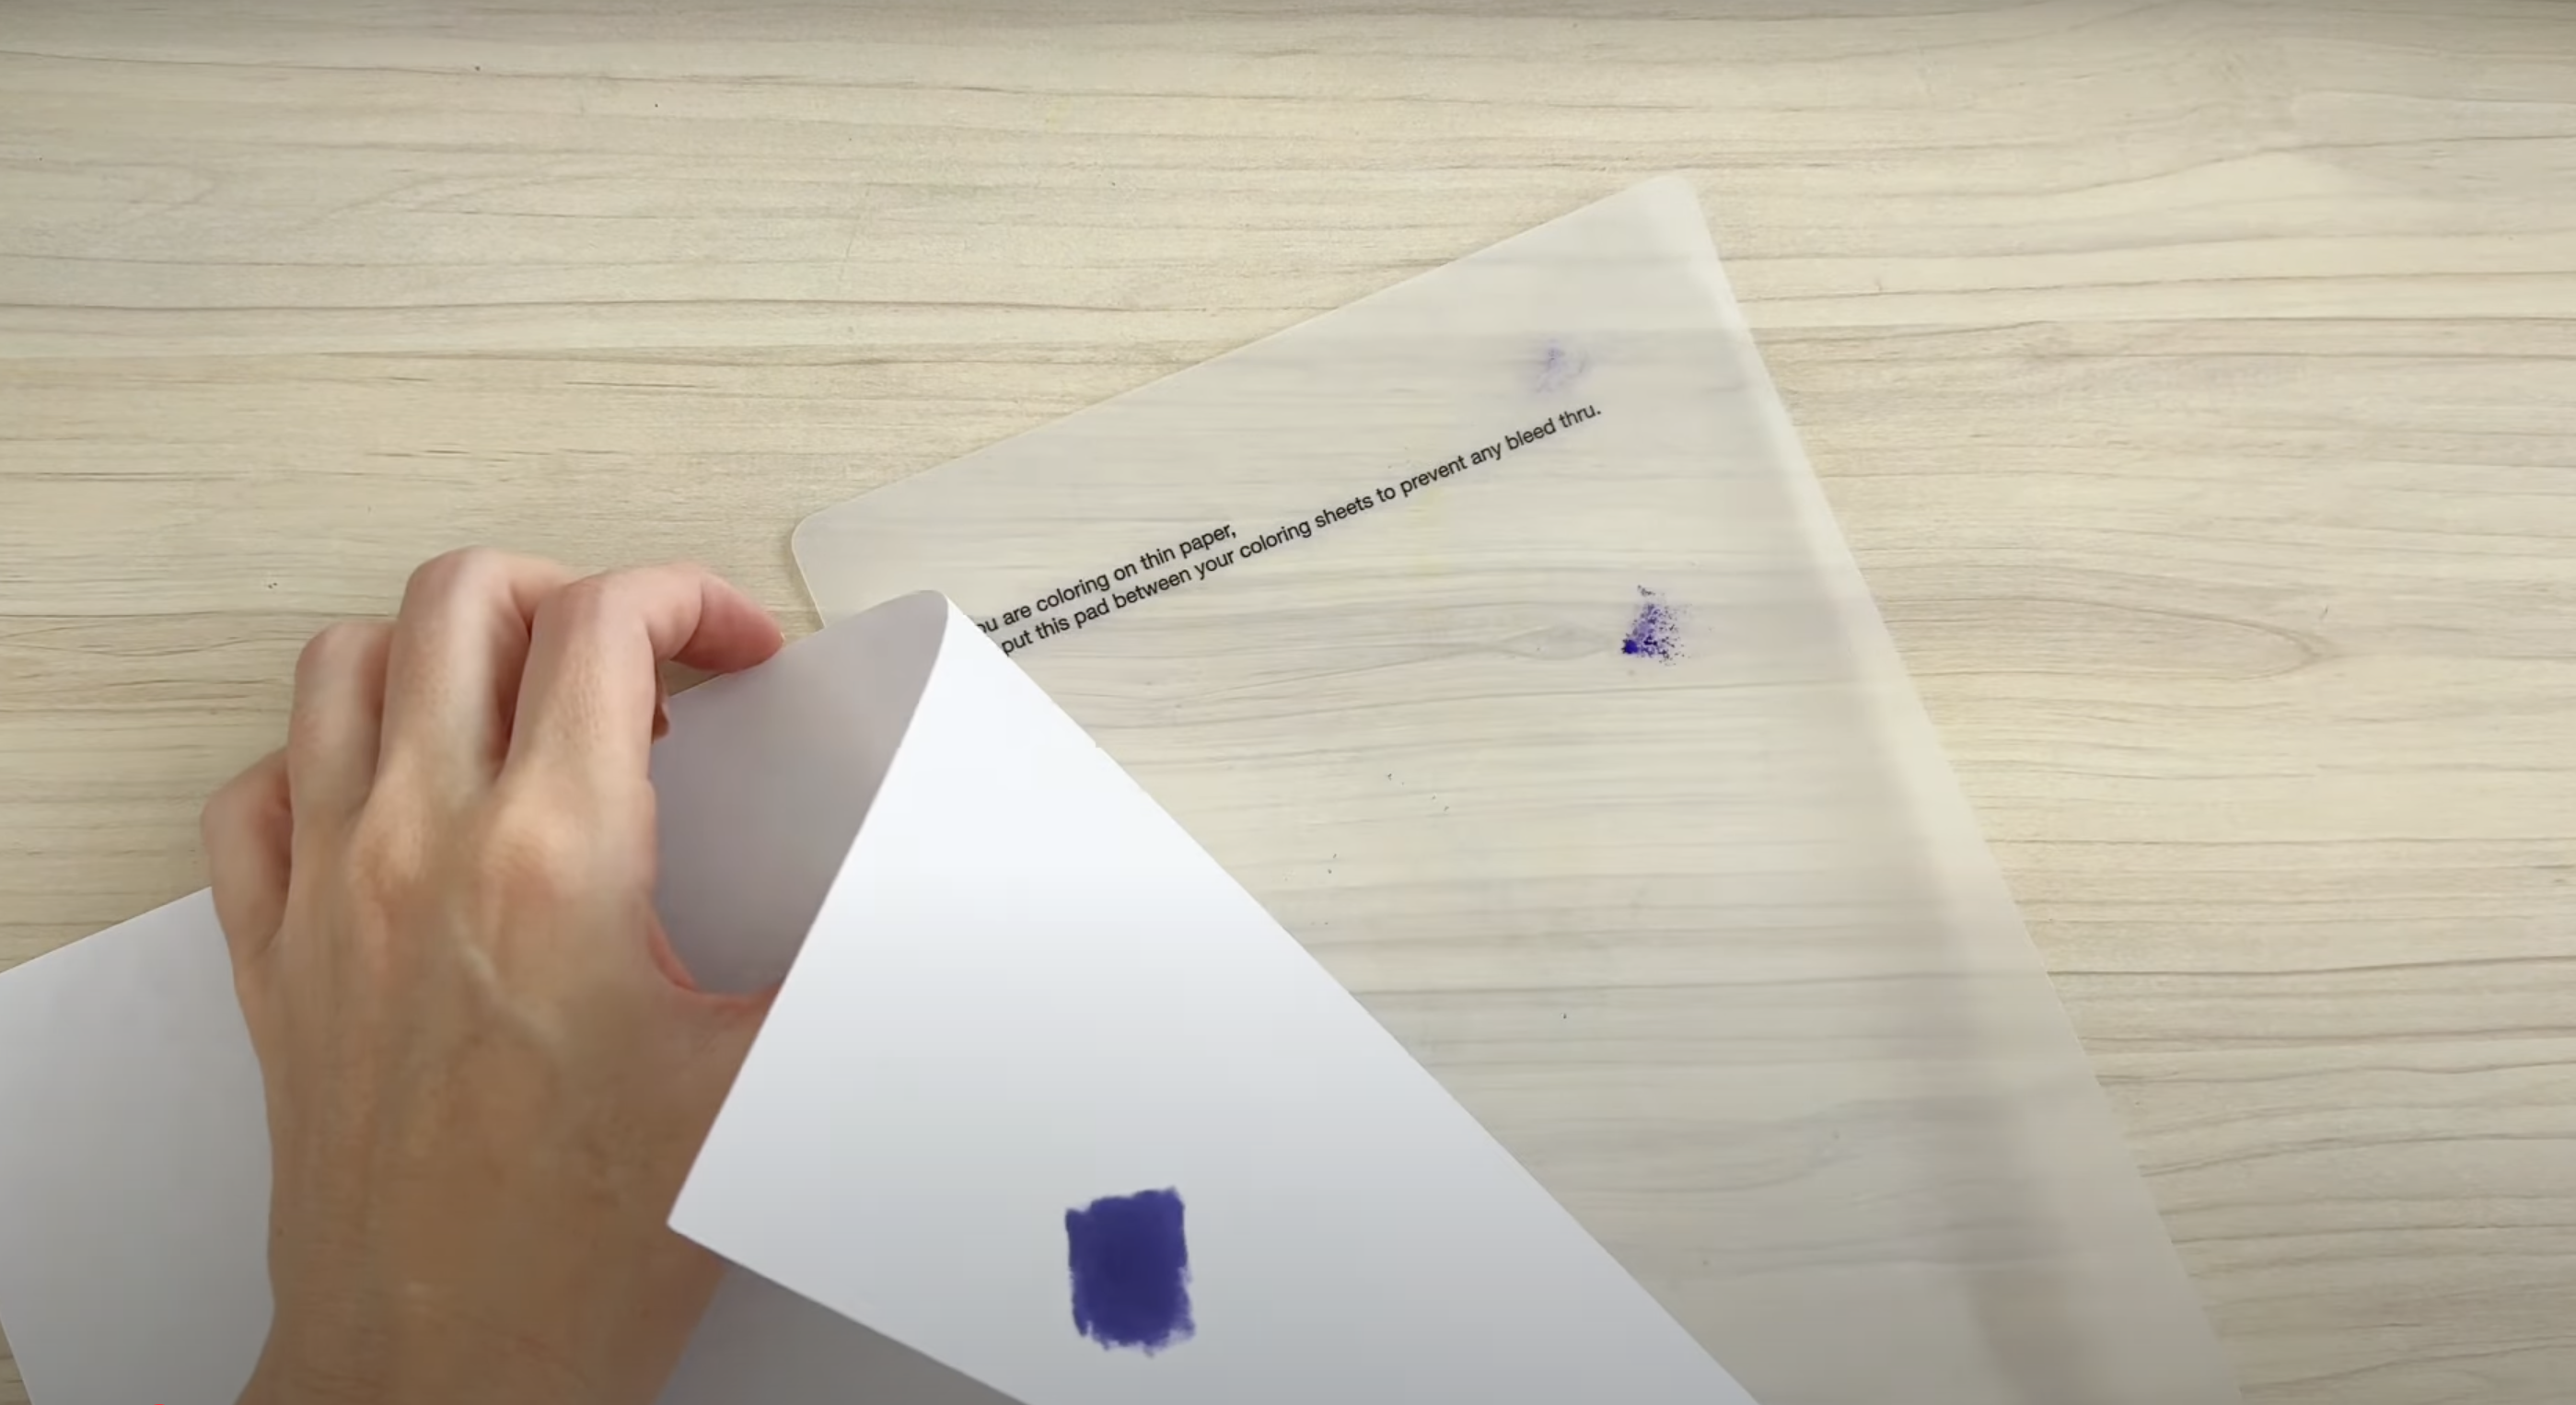
Begin by placing a thicker piece of paper, like cardstock, behind your coloring page. Alcohol markers tend to bleed through, so this step is essential to prevent any unwanted ink stains on the pages underneath.
While plastic sheets can serve as a protective layer, it’s preferable to use cardstock, as it’s easier to manage and ensures better absorption.
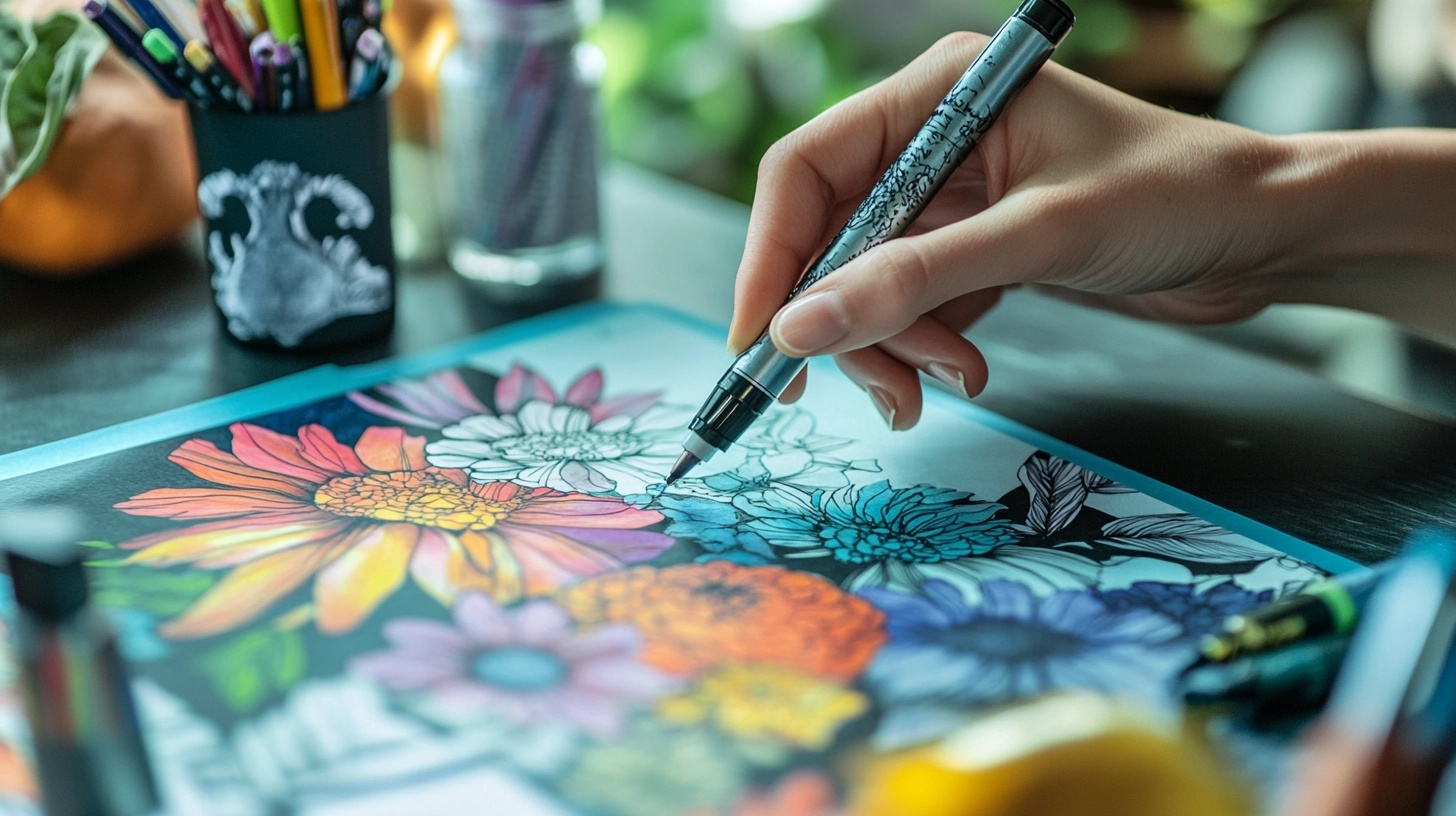
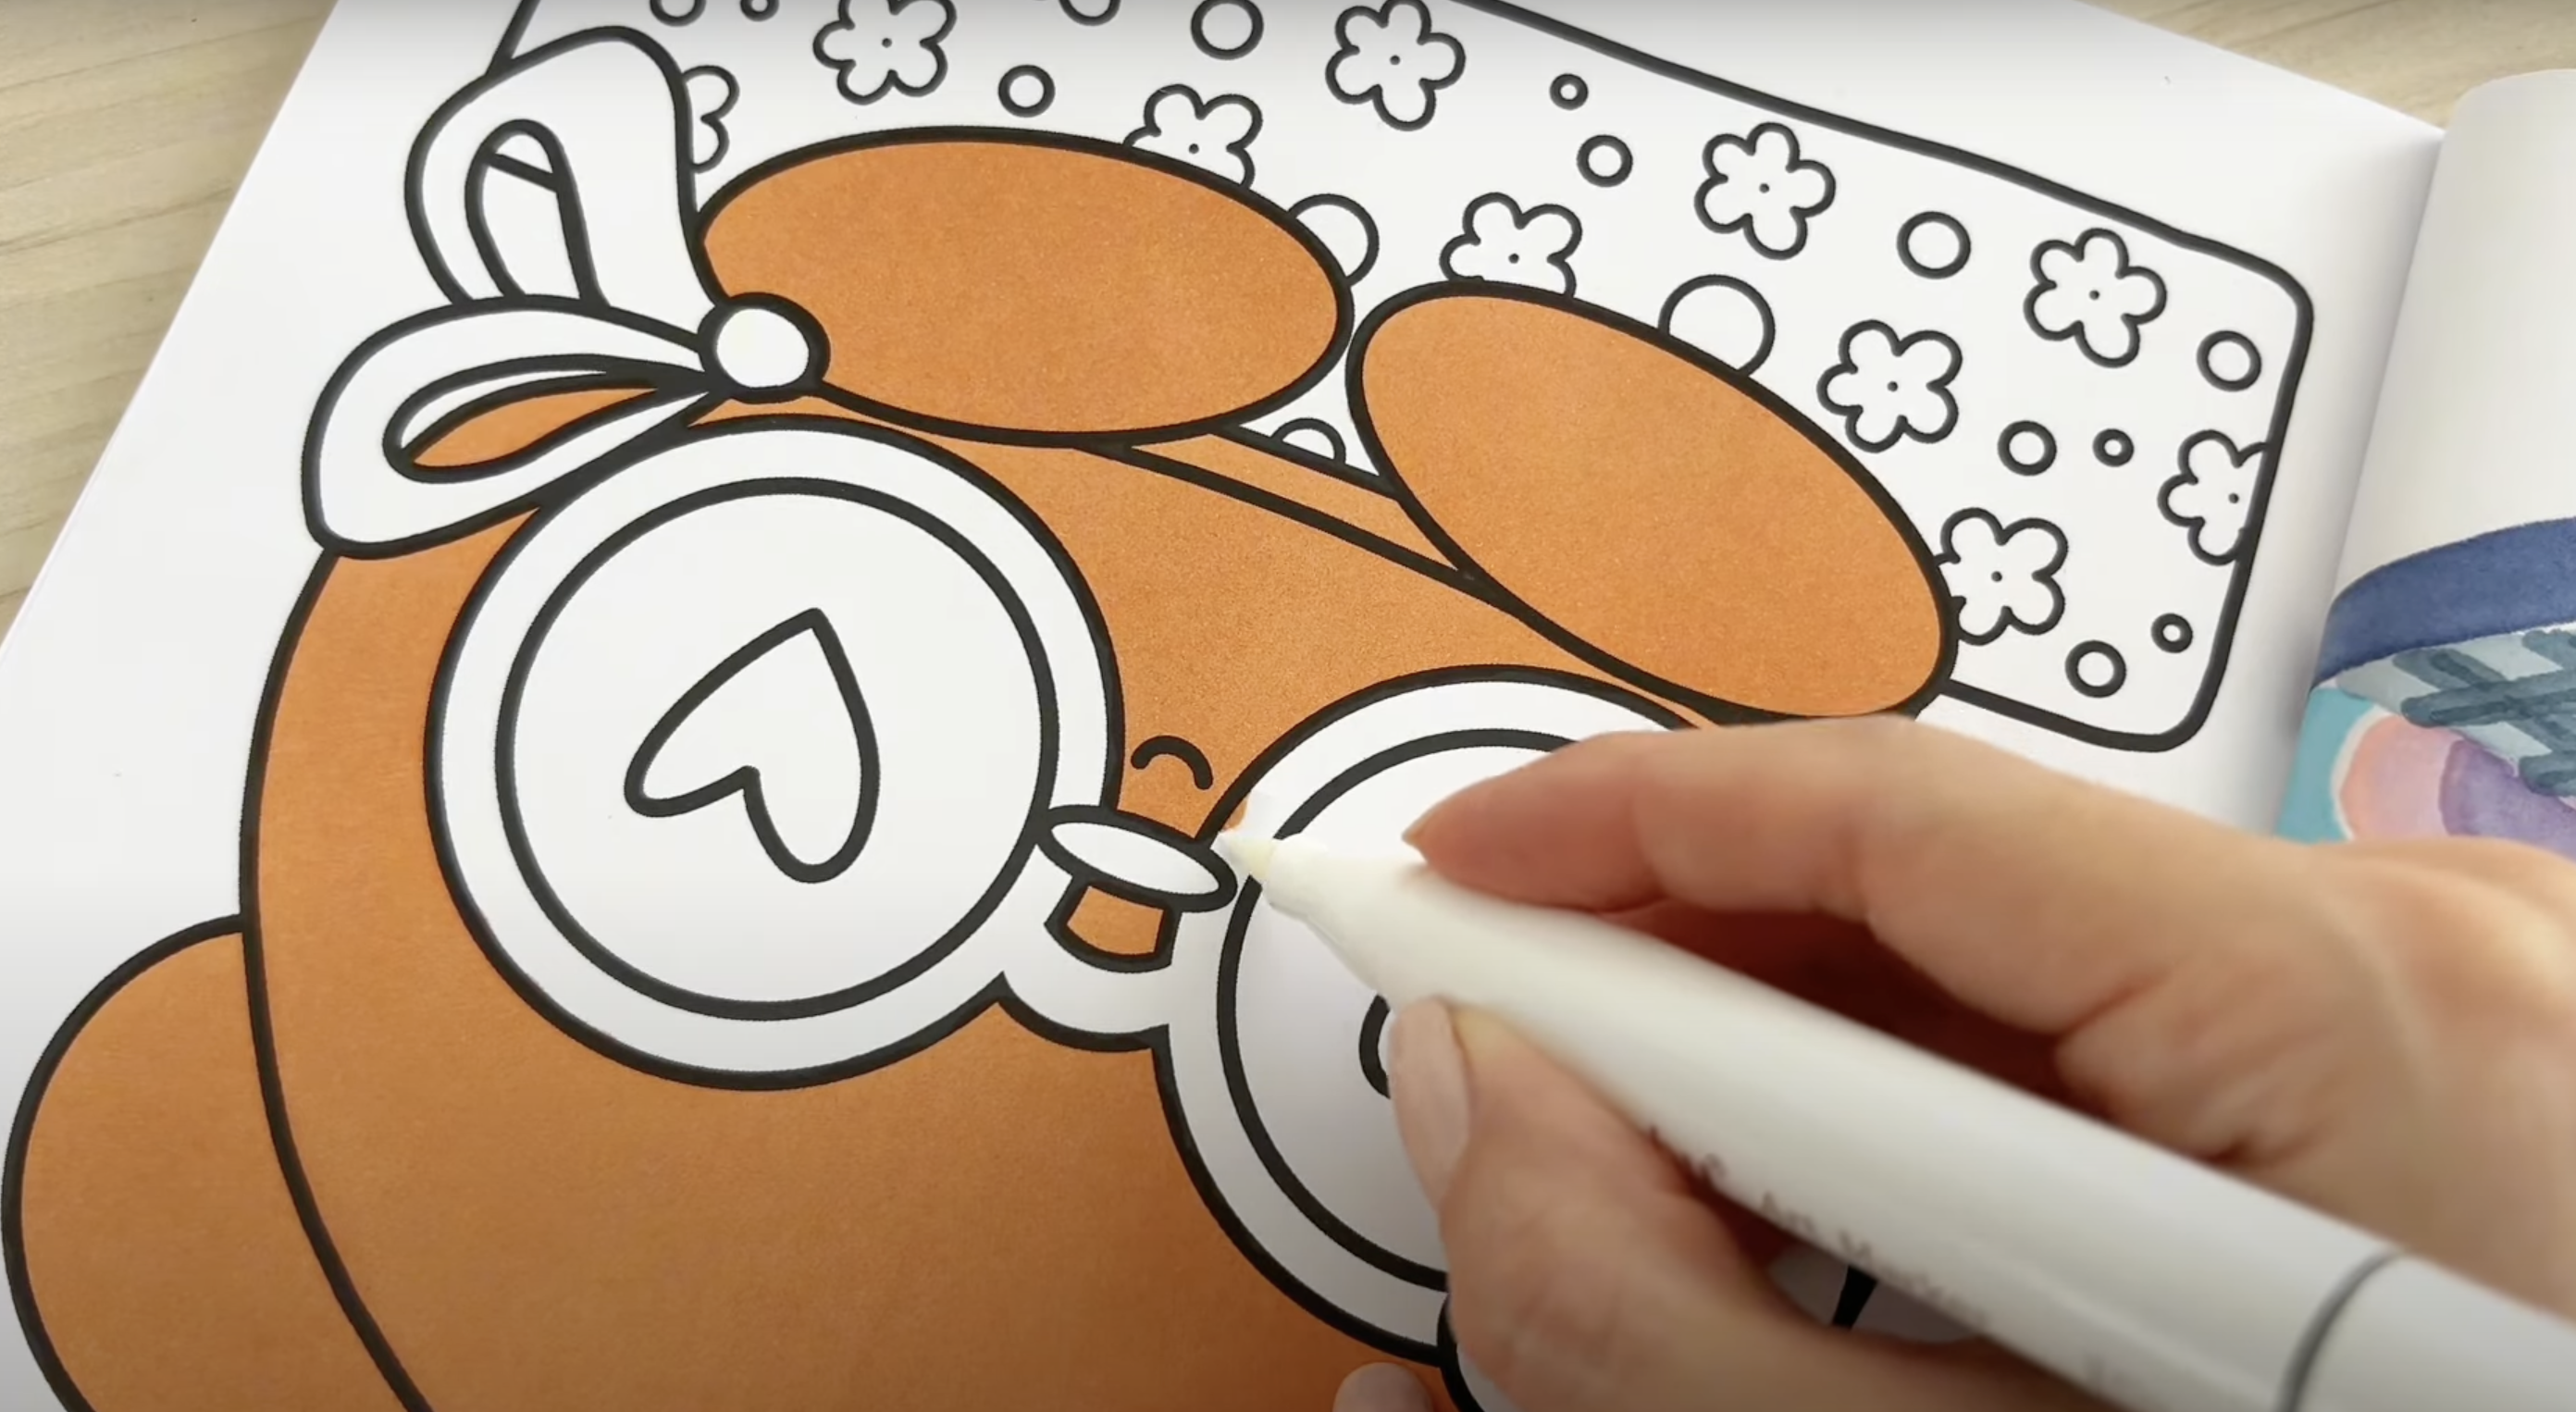
2. Achieving Smooth, Streak-Free Coloring
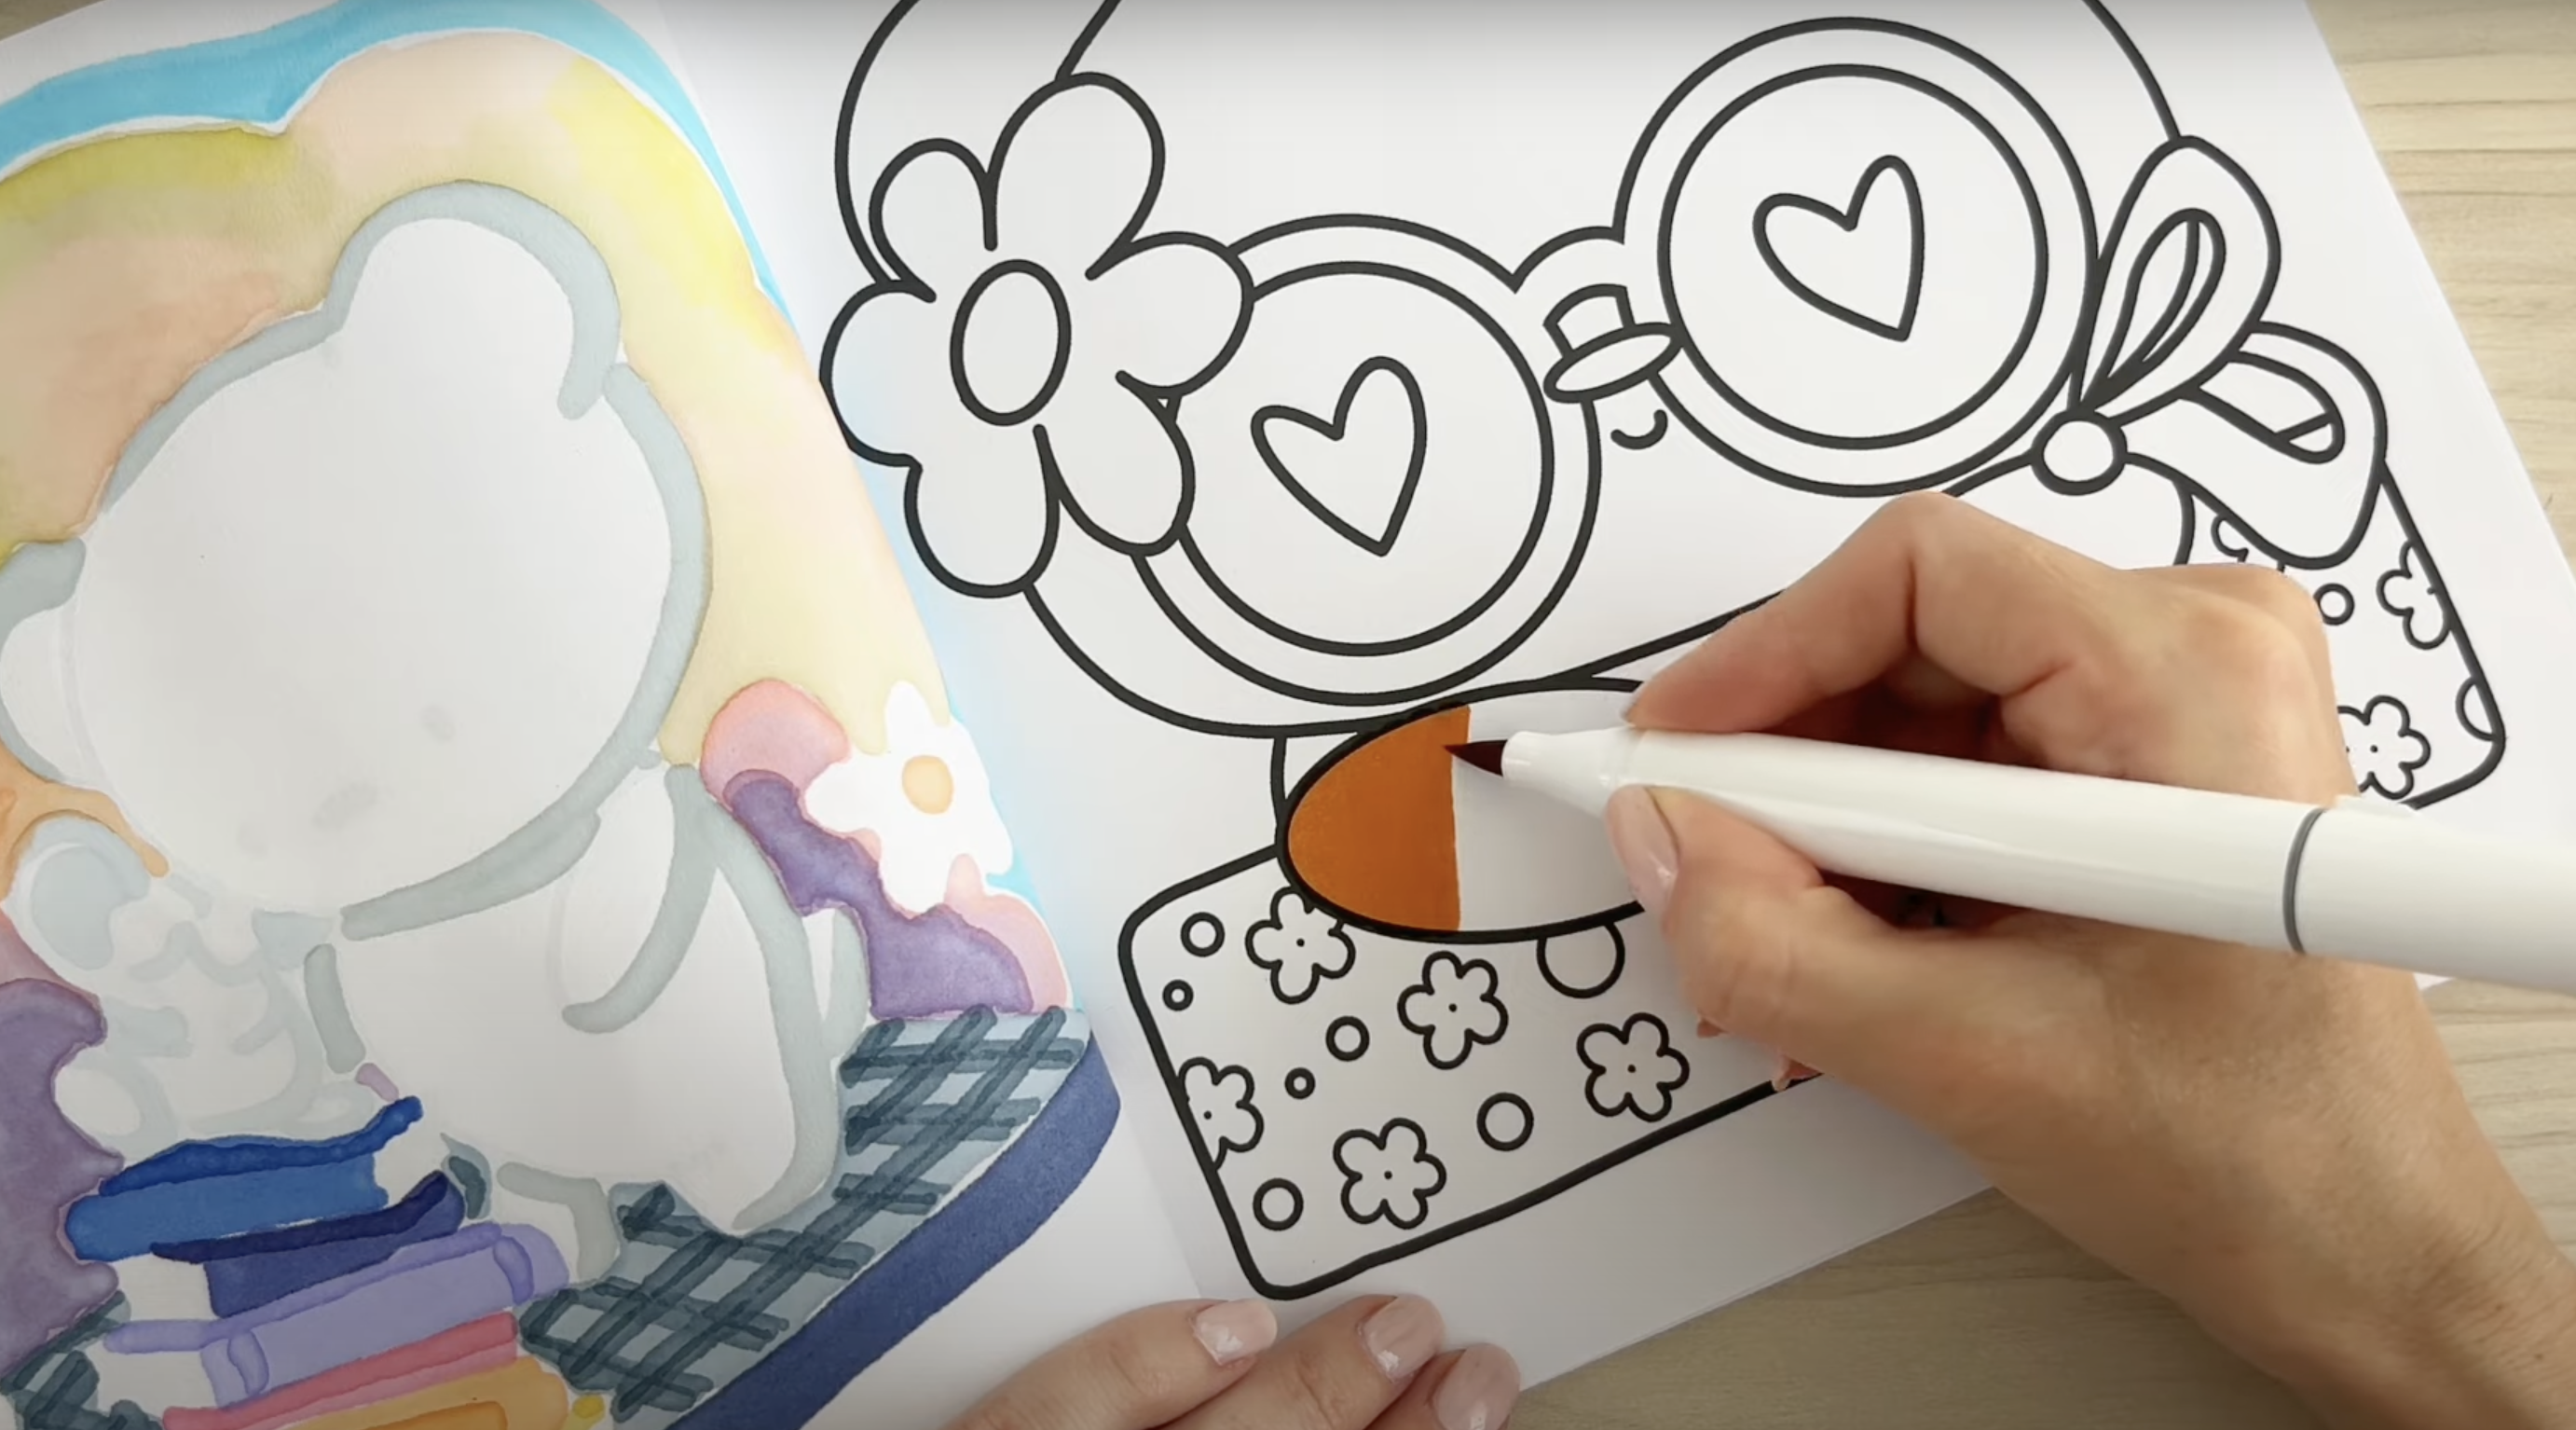
To achieve a flawless, streak-free effect, work quickly and apply your marker in consistent, straight lines.
If you pause too long, the ink will dry and leave visible streaks. For smaller areas, quick up-and-down strokes work best. For larger, more irregular sections, use tiny circular motions to allow the ink to saturate the area smoothly, creating an even finish.
3. Fixing Mistakes with a Colorless Blender
It’s natural to sometimes color outside the lines.
Don’t worry! A colorless blender can be used to gently erase those little mistakes. Just apply it over the stain and watch the pigment move away. Allow the area to dry completely before adding any additional layers of color to maintain a clean and fresh effect.
4. Creating Transparency Effects
For a see-through look, like with sunglasses, use a lighter shade of the same color you used for the surrounding areas.
Apply the lighter color on top of the existing color while it’s still wet to create a smooth transition. This trick creates the illusion of transparency and depth, which can be enhanced later with highlights and shading.
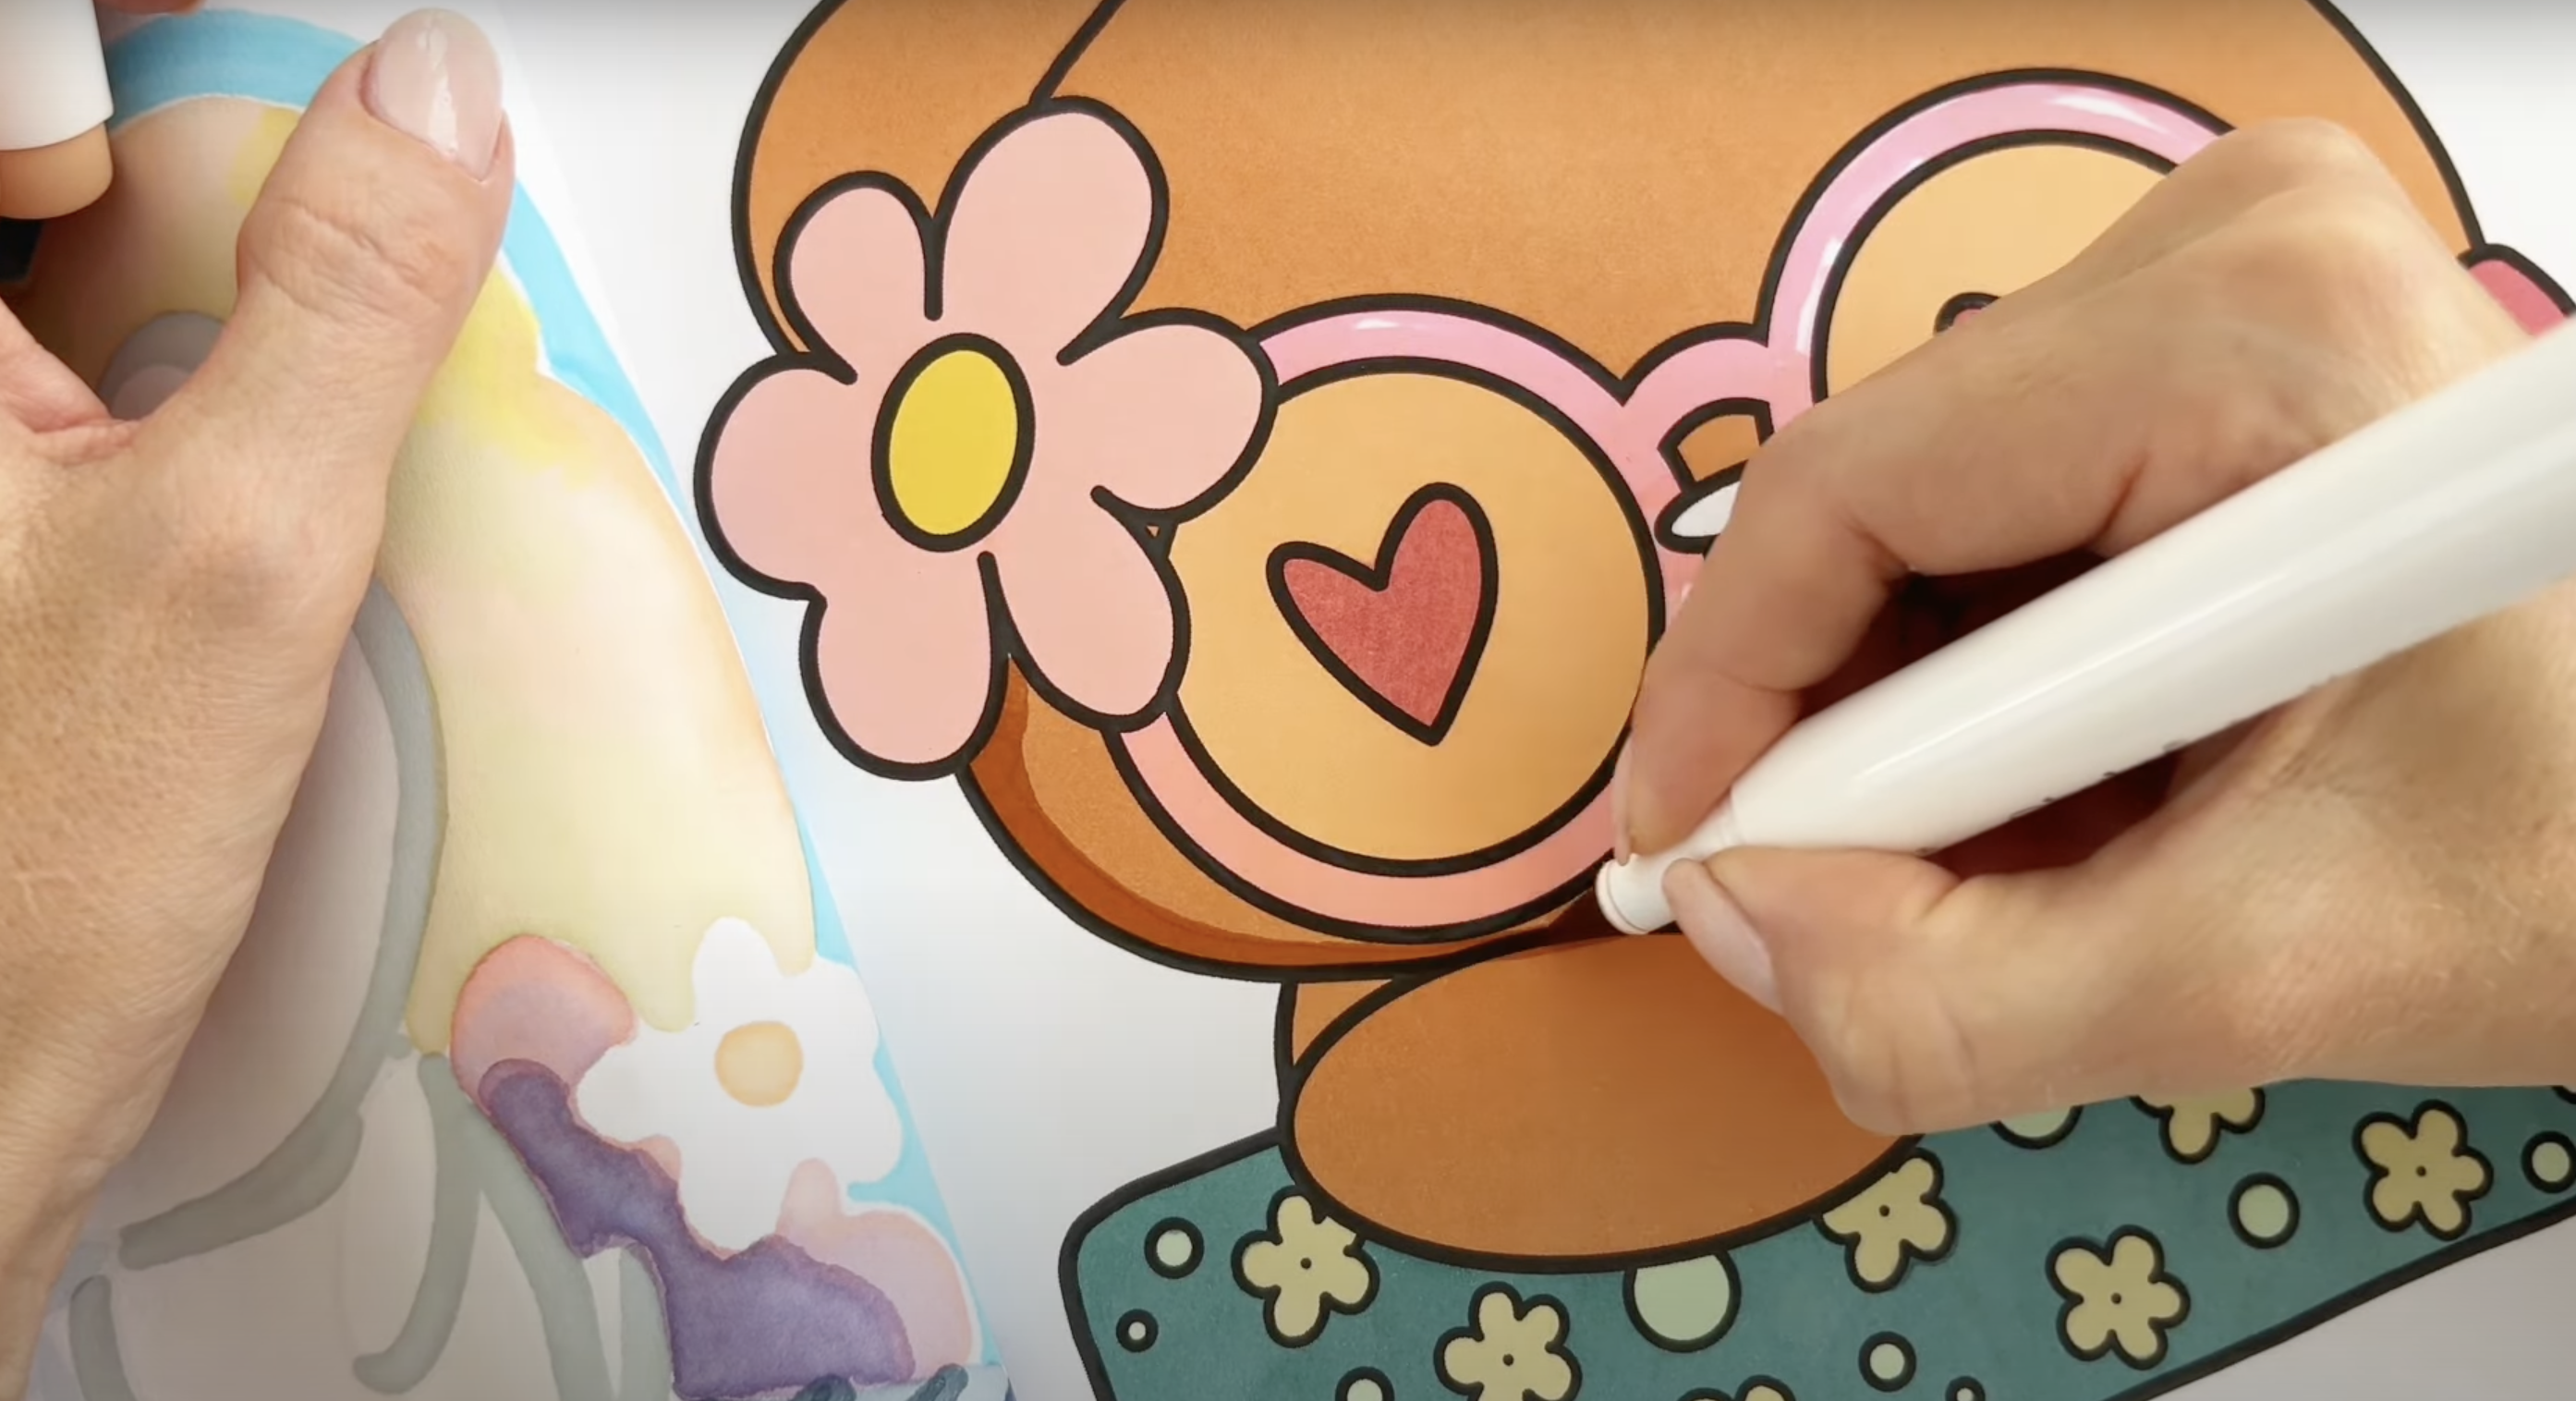
5. Adding Shadows and Highlights for Depth

Shadows add dimension to your coloring.
To create them, simply use the same color you initially used and apply it over dry areas. This will darken the color and create the illusion of shadow.
For highlights, use a white gel pen to add fine details, aligning them with the light source you imagine for your piece. These subtle touches will amplify your artwork, making it appear more lifelike and vibrant.
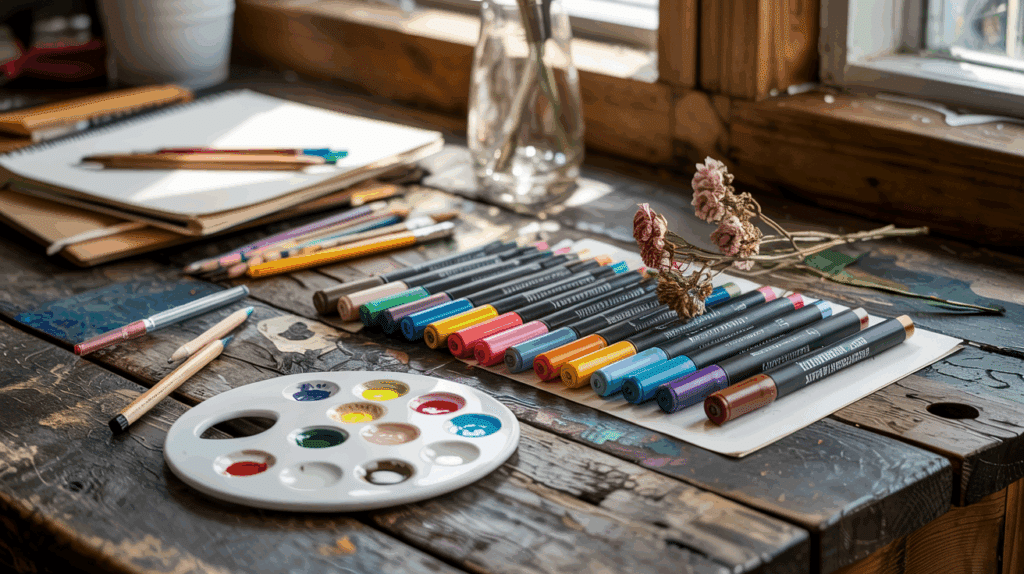
Must-Have Supplies for Alcohol Marker Coloring
The right supplies make all the difference when working with alcohol markers. Here’s what you’ll need to get started:
| Supply Type | Recommendations | Why It’s Important |
|---|---|---|
| Paper | Marker paper, Bristol board, Mixed media paper | Prevents bleeding, allows for smooth blending |
| Beginner Markers | Ohuhu, Bianyo, Spectrum Noir | Affordable options with good color selection |
| Professional Markers | Copic, Tombow, Winsor & Newton | Higher quality, refillable, replacement tips |
| Blending Tools | Colorless blender, Blending marker | Helps create smooth transitions between colors |
| Fineliner Pens | Sakura Micron, Faber-Castell | For outlines and adding details after coloring |
| Erasers | Kneaded erasers, Electric erasers | Removes pencil lines without damaging marker work |
| Scratch Paper | Any smooth paper | Test colors before applying to the final artwork |
Tips to Keep in Mind While Using Alcohol Markers
Working with alcohol markers can be fun, but also needs some careful handling to get the best results. These tips will help you avoid common mistakes and make your coloring look more put-together.
- Color from light to dark: Start with the lightest shade and build up to darker colors to create depth.
- Cap markers quickly: Alcohol evaporates fast, so always cap your markers when not in use to prevent them from drying out.
- Work in small sections: Color small areas at a time so the ink stays wet for blending.
- Use a scrap of paper under your hand: This prevents oils from your skin from transferring to the paper and affecting how the markers blend.
- Test colors first: Colors often look different on paper than on the marker cap, so test them on scrap paper before using.
- Store markers flat: Keeping them horizontal ensures both ends of the marker have equal ink distribution.
Wrapping Up
So now you know the basics of coloring with alcohol markers! I’ve shown you what makes these markers special, the supplies you need, and some key tips to improve your results.
Why does this matter? The right techniques can change your art from amateur to professional-looking, saving you money on wasted supplies and hours of frustration.
Start with a small set of markers and quality paper. Practice the blending techniques we covered, and don’t worry if your first attempts aren’t perfect. Like any skill, marker art takes practice.
Ready to try it yourself? Grab those markers, set up a comfortable workspace, and give these techniques a go. And if you create something you’re proud of, we’d love to see it in the comments below!