Small stones and pebbles can become beautiful works of art with just a few simple tools.
Many people notice painted rocks hidden in parks or displayed in gardens and wonder
The joy of rock painting lies in its simplicity; anyone from young children to older adults can create something special with minimal supplies and cost.
This guide will show you step-by-step methods on
Get ready to try this fun craft activity that brings together nature and creativity in a way that’s perfect for all skill levels.
Where to Find Perfect Rocks for Painting Fun?
You can find good rocks for painting in many spots. Look around your yard, nearby beaches, or hiking trails for stones with smooth faces.
Most creek beds contain a wealth of water-polished rocks, perfect for art projects. Many craft shops sell clean, ready-to-paint stones in various sizes. Online stores offer them too, often in bulk packs. When picking rocks, you should consider:
- Choose smooth rocks with flat surfaces.
- Select sizes that fit your design ideas.
- Wash all rocks before painting.
- Avoid taking rocks from national parks.
- Get permission on private land.
- Pick stable rocks that won’t crumble.
Larger rocks work well for detailed paintings, while smaller ones suit simple designs or children’s projects. Remember, the best rock is one that feels right in your hand.
Rock-Solid Painting Tips for Awesome Results
Achieving beautiful rock paintings is simple with a few easy steps. Start with clean, dry rocks to help the paint stick properly. Proper prep lays the groundwork for vibrant, lasting designs.
Follow these essential tips for fantastic results with your rock art:
- Prep Your Rocks: Wash rocks with soap and water. Dry them fully, then lightly sand the surface for a smoother base.
- Use the Right Paints: Pick acrylic paints, they stick well to rocks and come in bright colors that last.
- Let Layers Dry: Wait until each paint layer dries before adding more. This stops colors from mixing.
- Add Details with Fine Brushes: Small brushes help you create tiny patterns and fine lines.
- Seal Your Artwork: Finish with clear acrylic sealer spray. This keeps your designs safe from weather and handling.
How to Paint Rocks: Step-by-Step for Total Beginners
Now, let’s walk through the basics of rock painting with a simple, step-by-step approach. Even if you’ve never painted a rock before, you’ll find that each part builds naturally on the last.
What might seem tricky at first becomes easy and fun when broken down into clear, manageable steps. Anyone can convert plain stones into pretty pieces of art!
1. Prepare Your Workspace and Gather Materials

Start by creating a comfortable, well-lit area where you can paint without interruptions. Choose a table with enough space to spread out your supplies, and cover it with newspaper, kraft paper, or a plastic cloth to protect the surface.
Ensure the room is well-ventilated, especially if you’ll be using spray paints or sealants. A calm, clean space encourages creativity and keeps your tools within easy reach. Gather these essential materials before beginning:
-
Smooth rocks (store-bought or safely collected)
-
Acrylic paints or paint pens
-
Paintbrushes (various sizes)
-
Warm water and a vegetable brush (for cleaning)
-
Paper towels or a soft cloth
-
Sealing spray or brush-on sealant
-
A cup of water for rinsing brushes
2. Clean and Dry Your Rocks Thoroughly

Washing your rocks is a simple yet essential step. Rinse each rock under warm water and gently scrub away dirt or debris using a vegetable brush.
Avoid dishwashers, they’re not suitable for this task. Once clean, lay the rocks flat on a towel to dry completely. You can flip them midway through the drying process to make sure all sides dry evenly. This ensures a clean surface for your paint to adhere to, preventing any unwanted texture or flaking.
3. Choose and Apply Your Base Coat
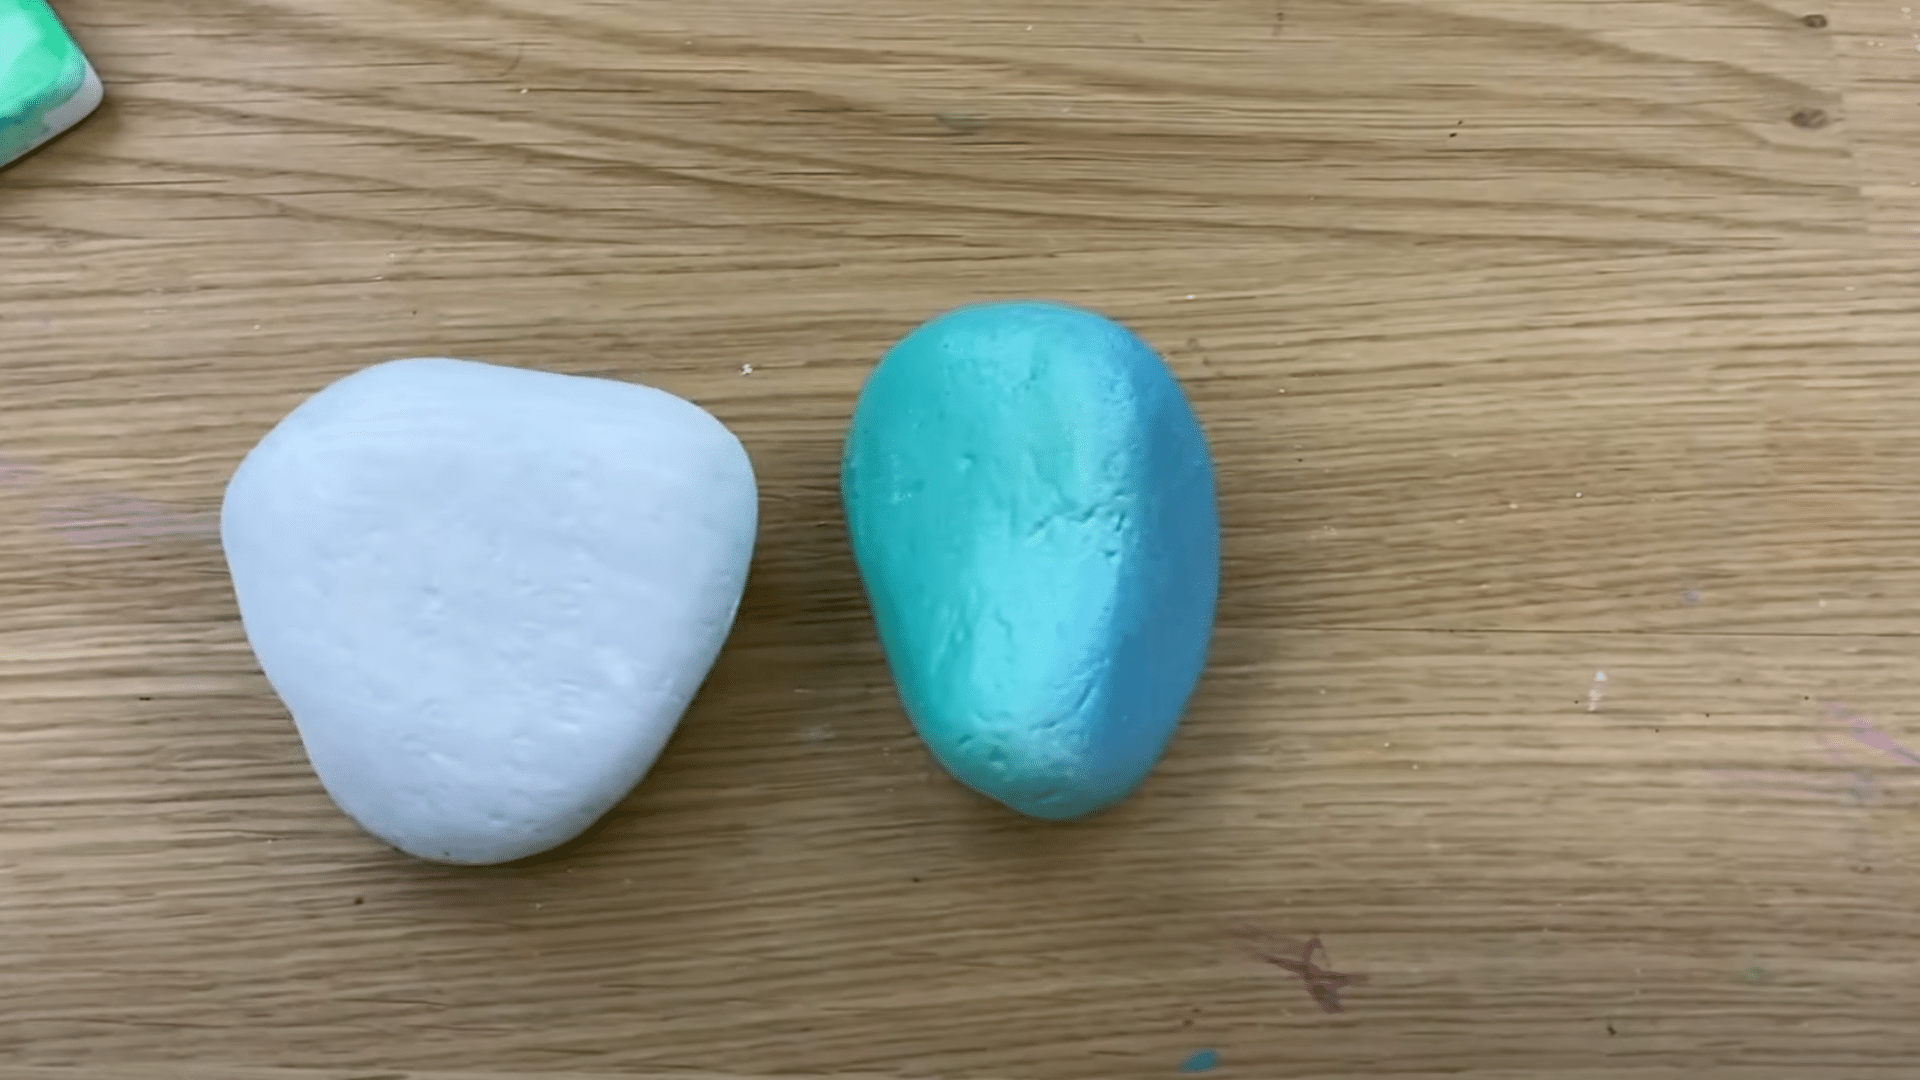
Decide whether you want to start with a base coat or paint directly onto the rock’s natural surface. A base coat helps your designs pop, especially on darker rocks.
You can brush on a layer of acrylic paint, use spray paint for smooth coverage, or even try pour painting techniques for unique effects. If you love the look of your rock as-is, skip the base coat and dive right into your design.
4. Paint Your Rock with Personality
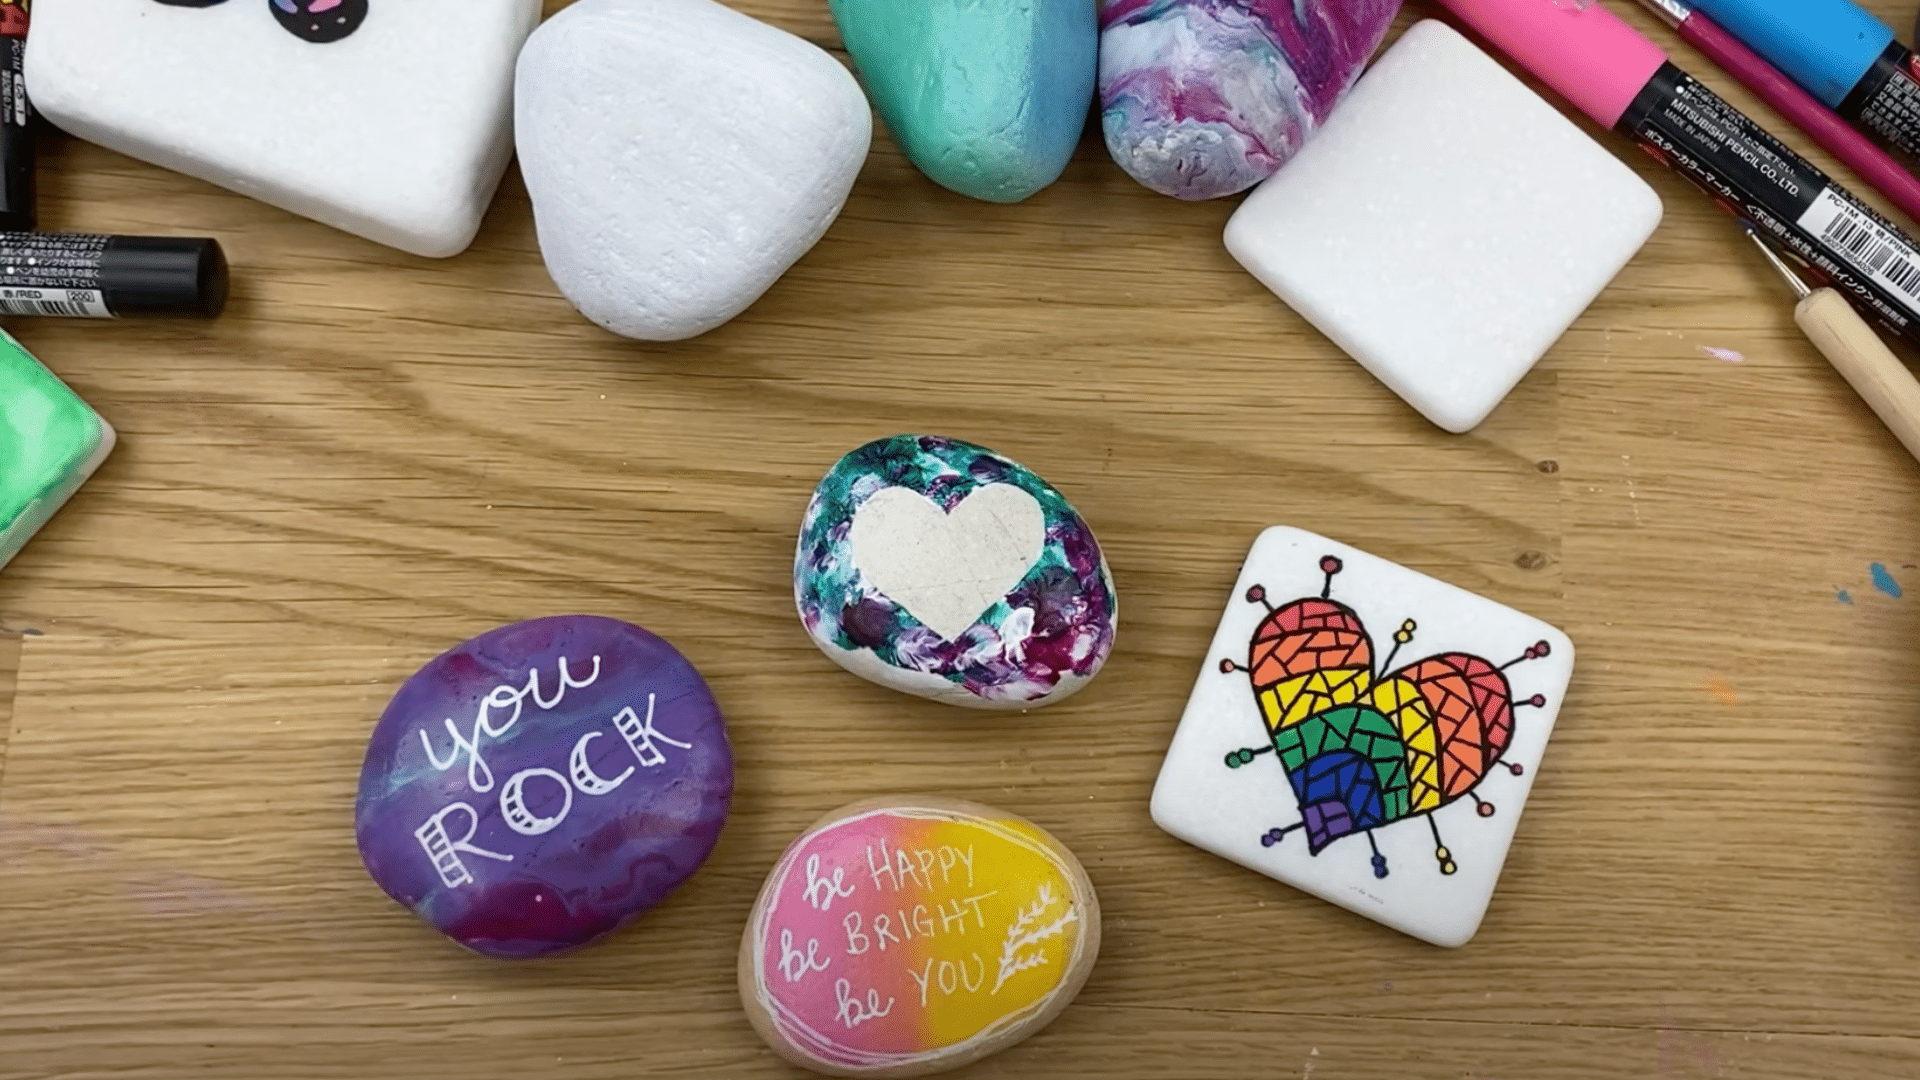
Now the fun begins! Use acrylic paints or paint pens to bring your designs to life.
Paint pens are especially beginner-friendly; they’re easy to control, come in a wide range of colors, and often feature glitter or metallic finishes. You can paint anything from inspiring quotes to animals, shapes, patterns, or cheerful scenes.
Don’t stress about perfection, this is your space to be creative and kind.
5. Seal Your Finished Masterpiece
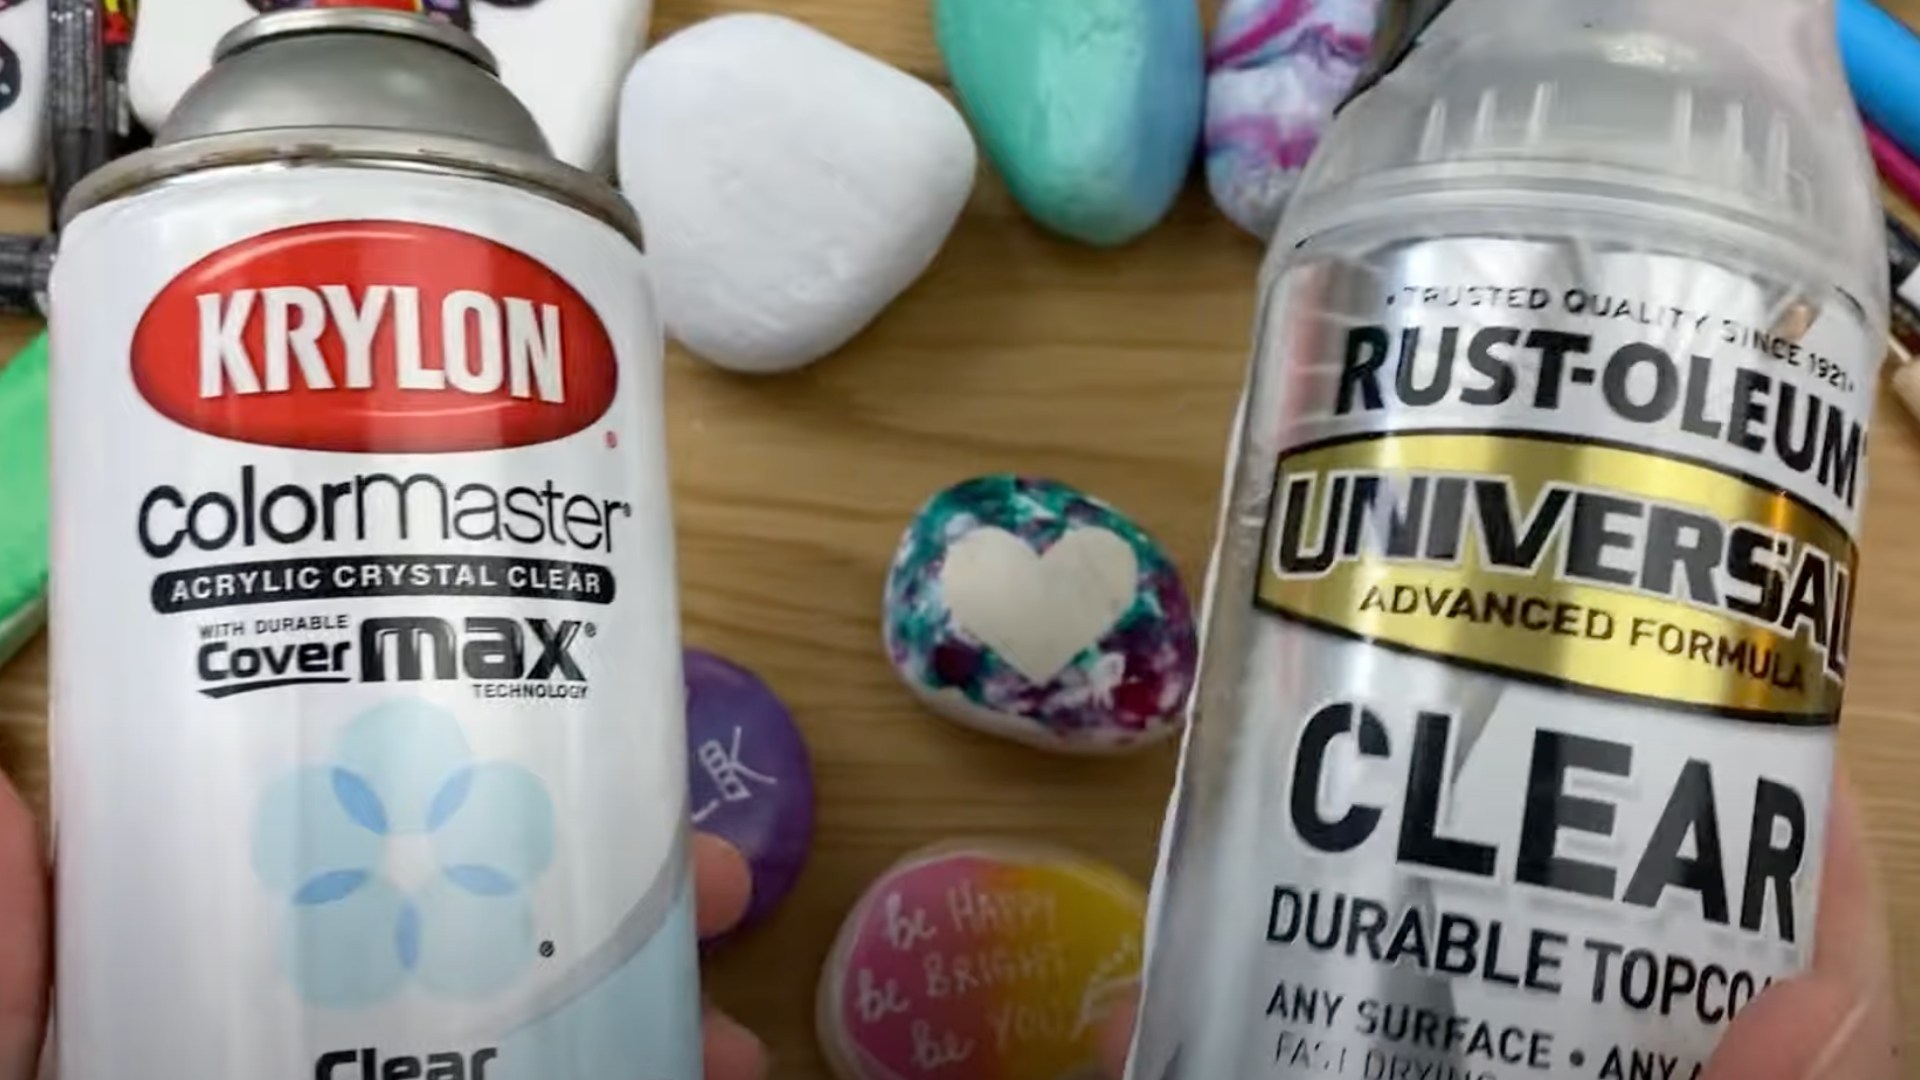
To preserve your artwork, especially if you plan to display your rocks outdoors, seal them thoroughly.
A clear spray sealant works wonderfully for covering multiple rocks at once and dries quickly with proper ventilation. If you prefer more control or are working indoors, opt for a brush-on sealant. This step protects your designs from the elements, helping them last longer.
6. Share the Joy: Hide or Gift Your Rocks
Your rock is ready to spread a little joy! Many people hide their painted rocks in parks, on walking trails, or around town for others to find as small, delightful surprises.
It’s a beautiful way to share kindness. You can also join a local rock-hiding group on social media to connect with others. Or simply gift your creations to friends, family, or neighbors. One painted rock can brighten someone’s whole day.
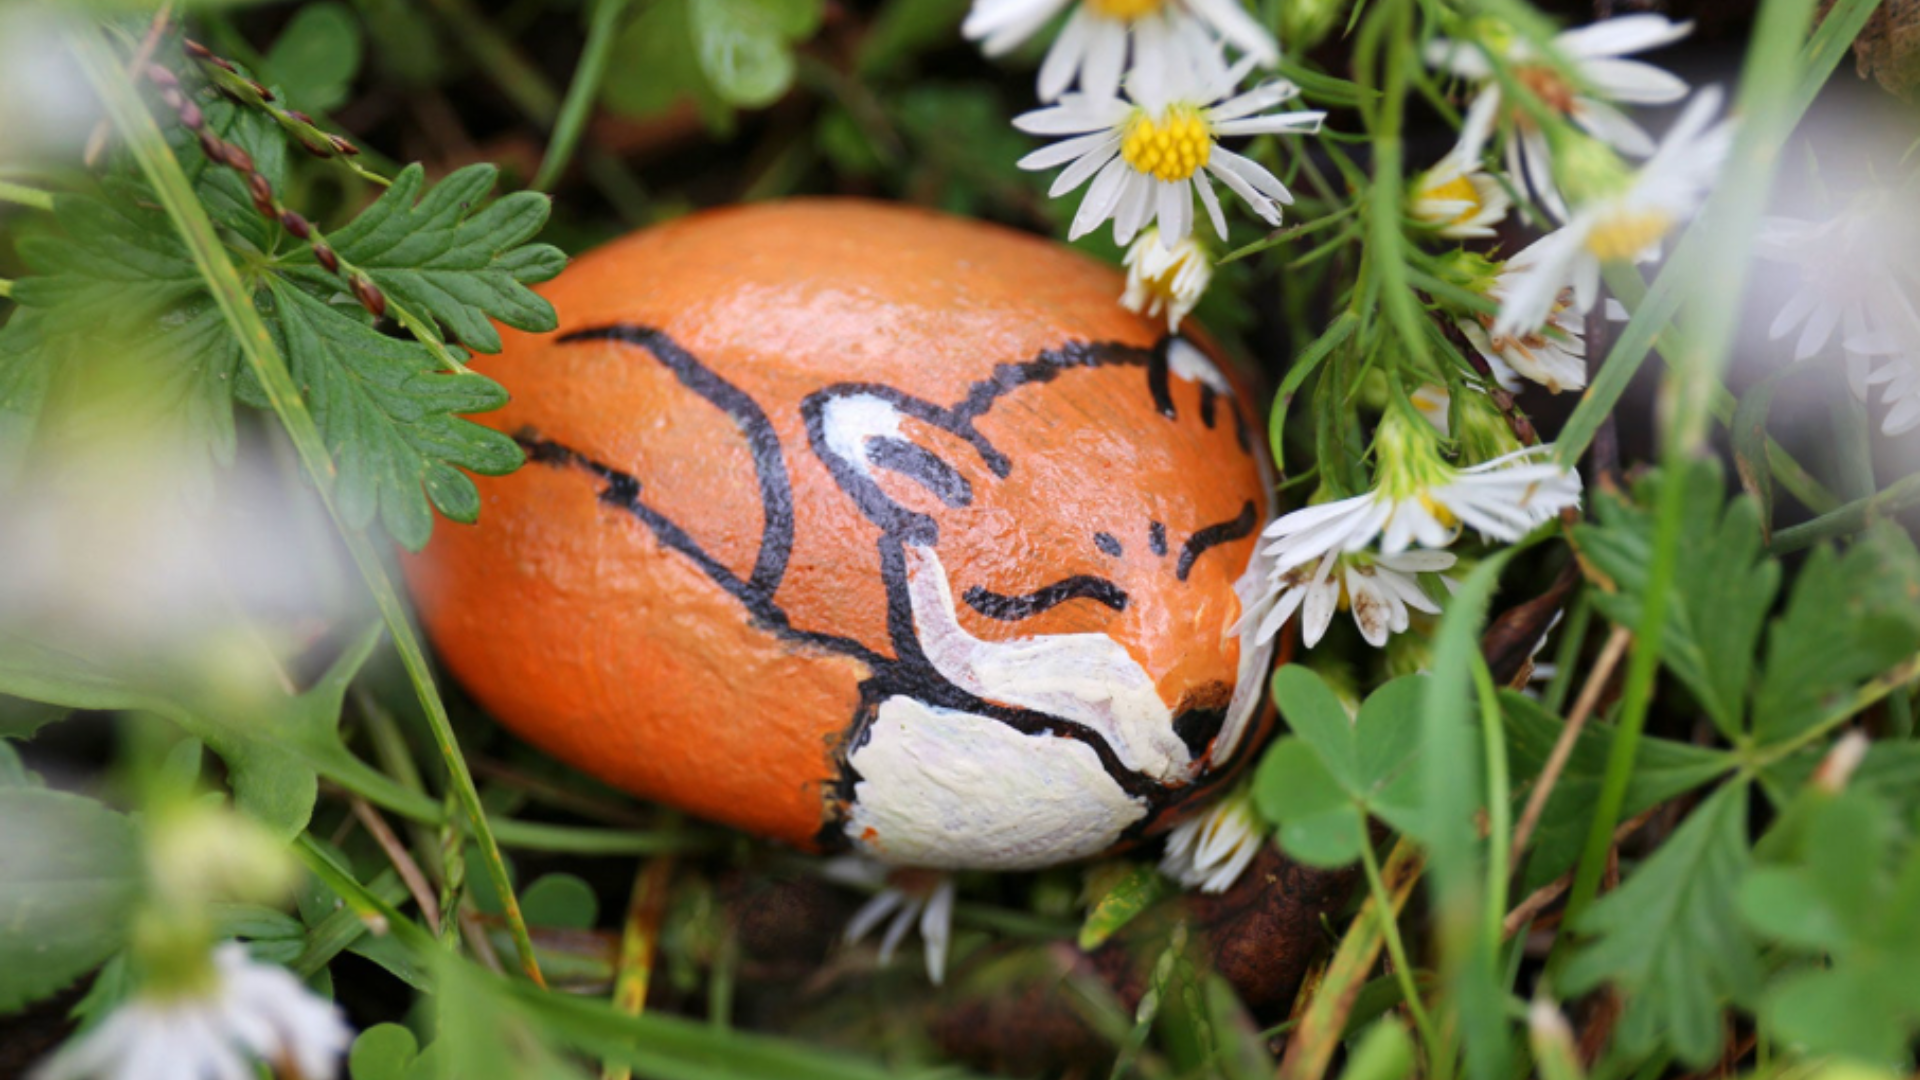
Inspiring Rock Art Ideas to Try
Once you’ve got the basics down, it’s time to get creative. There’s no limit to what you can paint on a rock, just let your imagination lead the way.
Here are some fun and inspiring ideas to spark your next design:
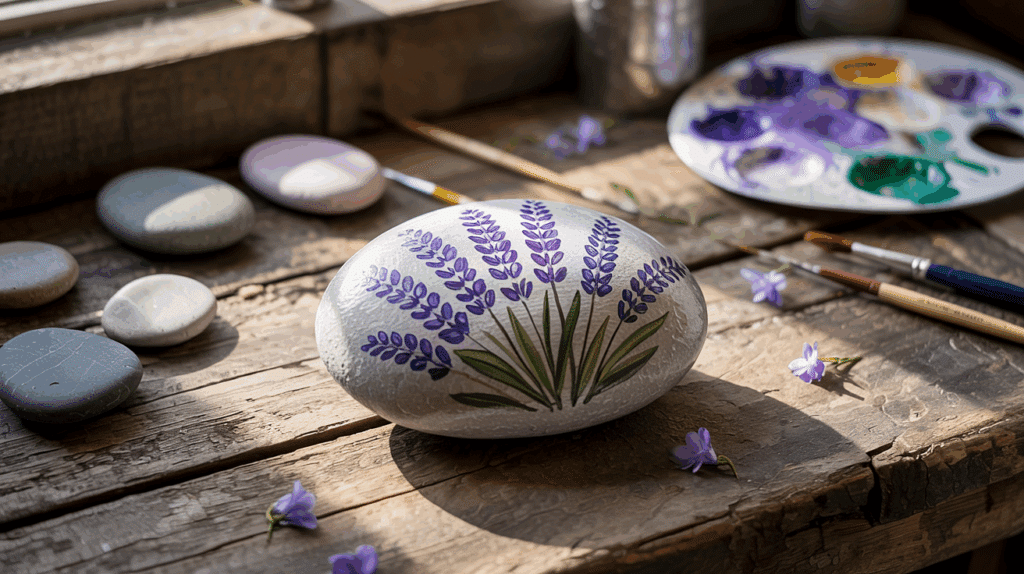
1. Sweet & Simple Rock Designs
2. Nature-Inspired Rock Art
3. Realistic Designs on Rocks
4. Boho-Inspired Rock Decor
5. Painted Rocks as Wall Decor
6. Handmade Rock Gifts
Final Brushstrokes
Rock painting offers a simple way to express creativity without complex skills or tools.
This blog showed the basics of
Why does this matter? In our screen-filled world, rock painting provides a hands-on creative outlet that connects us with nature and each other.
Grab some rocks, basic supplies, and let your imagination flow. Your kitchen table can become an art studio today! Want to share your rock art creations? Post photos in the comments below or tell us where you’ve hidden your painted rocks for others to find!