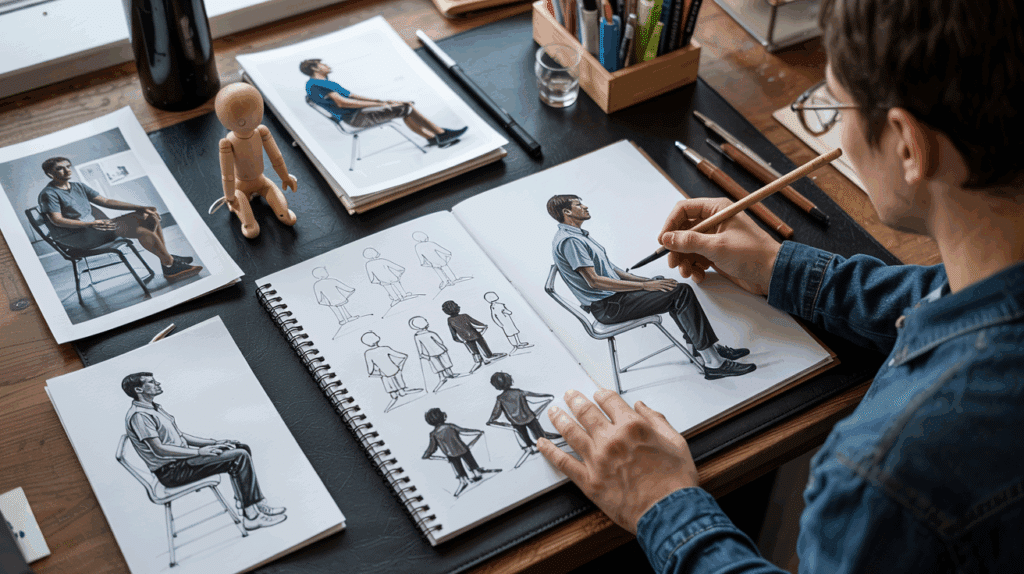
Artists often struggle when drawing people in seated positions. The legs, back angles, and natural weight distribution can be tough to get right. A good sitting pose reference makes all the difference between flat, stiff figures and ones that look real and comfortable.
Many artists want to improve their seated figure drawings, but don’t know where to start. They try different methods but still end up with awkward-looking characters.
Finding the right sitting pose reference helps artists create better work. With proper examples, they can study how the body folds, how weight shifts, and how clothing wrinkles form in various seated positions.
Ready to make seated figures look better? Keep reading for helpful tips and resources.
Why Sitting Pose References Matter for Artists
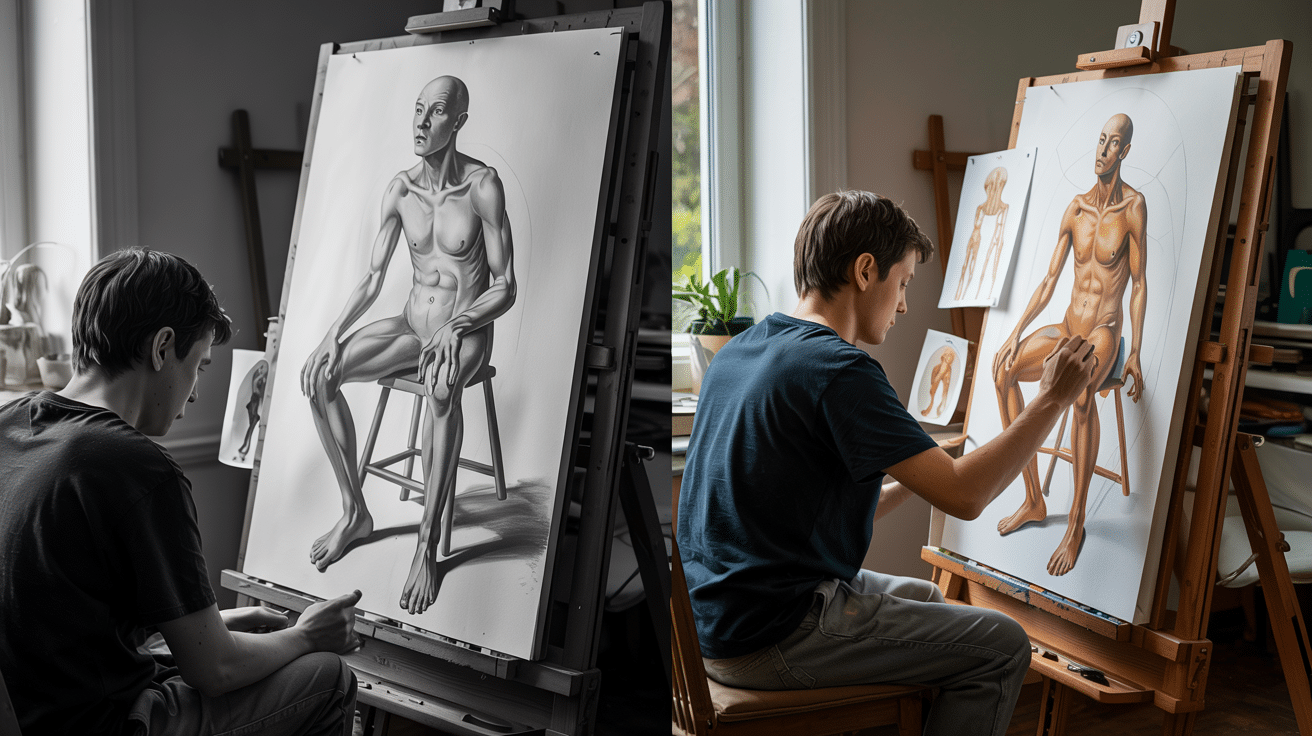
Artists who draw people need to understand how the human body functions in various positions. Sitting poses are among the most common yet challenging to get right.
Good sitting pose references show artists how weight shifts when a person sits in a chair. They help capture how the spine curves, how clothes fold, and how muscles change shape under the skin.
Without proper references, artists often render seated figures as looking stiff or unnatural.
The angles may be incorrect, or the weight distribution may appear off.
When artists study quality sitting pose references, they learn to notice subtle details. How knees bend, how hips tilt, how hands rest on laps – these small things make drawings look real.
Using references isn’t cheating. Even expert artists rely on them to create work that feels original and reverberates with viewers.
Steps for Mastering the Sitting Pose Reference for Drawing
Drawing people in sitting positions can be tricky for many artists. The angles, weight distribution, and body mechanics all change when someone sits down.
With the right steps, however, you can create sitting poses that look natural and well-balanced.
These five key instructions will help you build your skills and avoid common mistakes when drawing seated figures. Follow them in sequence for optimal results.
Step 1. Start with The Head Positioning
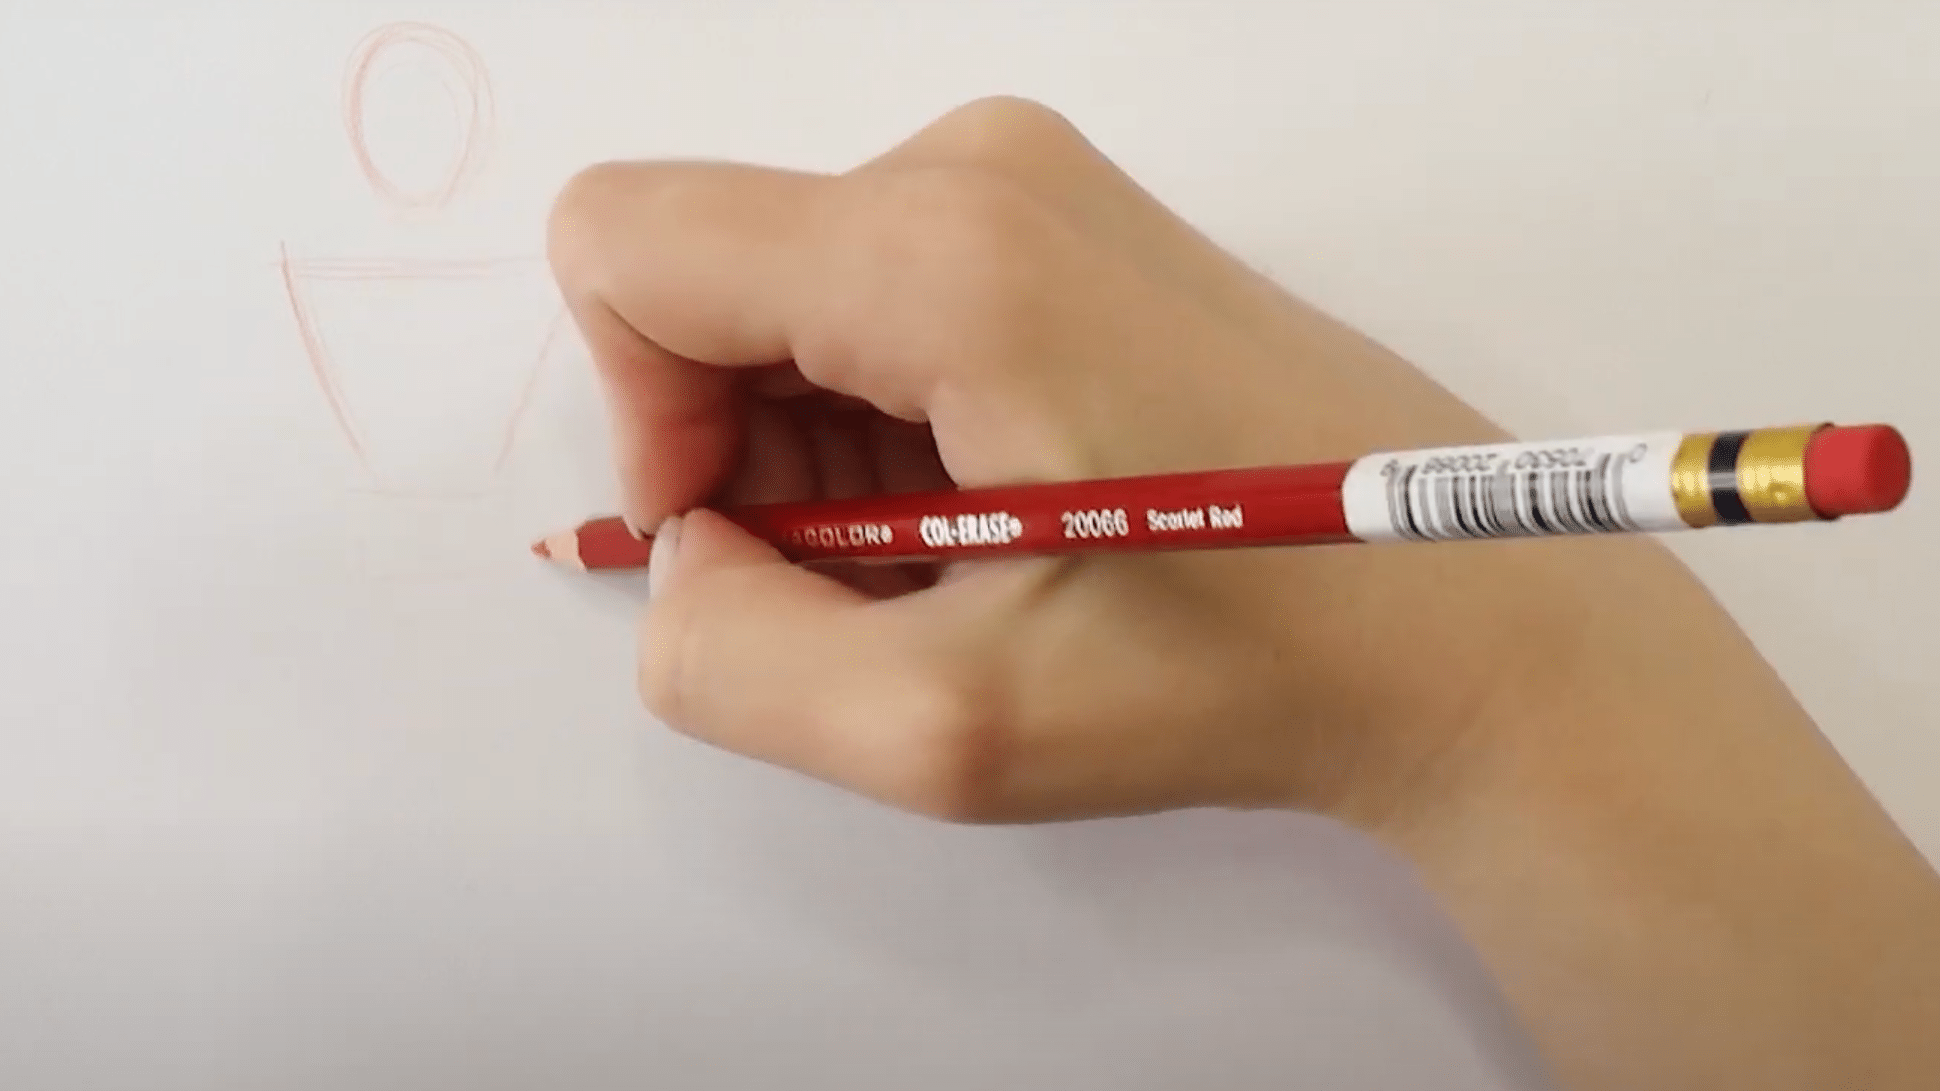
Begin by marking where the head will be to set the direction of your pose. This creates a base for your entire figure, as the body’s movement and proportions will follow from this point.
Ensure the head is positioned in line with the natural flow of the body.
Step 2. Build the Body Using Simple Shapes
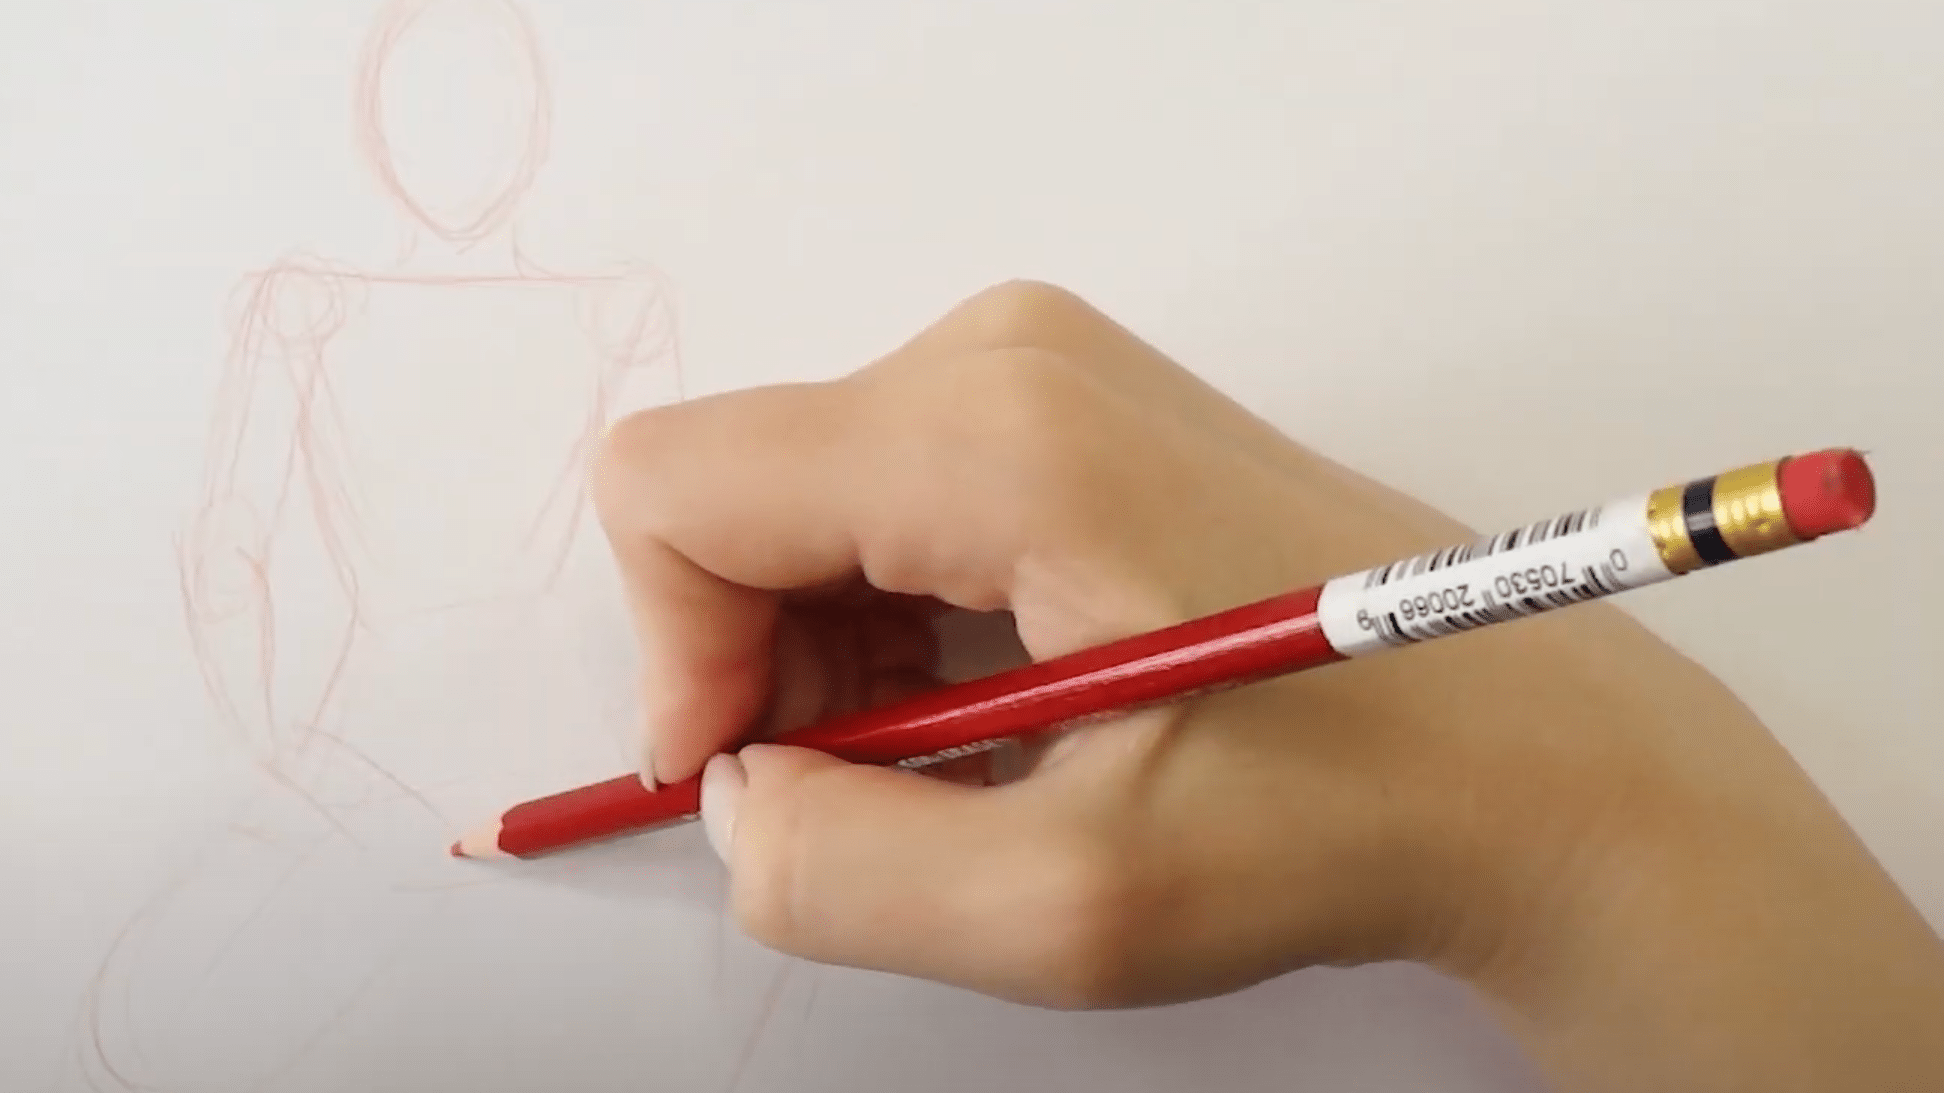
Use four-sided shapes for the chest and hips to keep correct proportions. The alignment of the shoulders and hips will significantly impact the overall appearance of the figure. Pay close attention to joints by using circles for the shoulders, elbows, and knees.
Step 3. Add the Spine Line
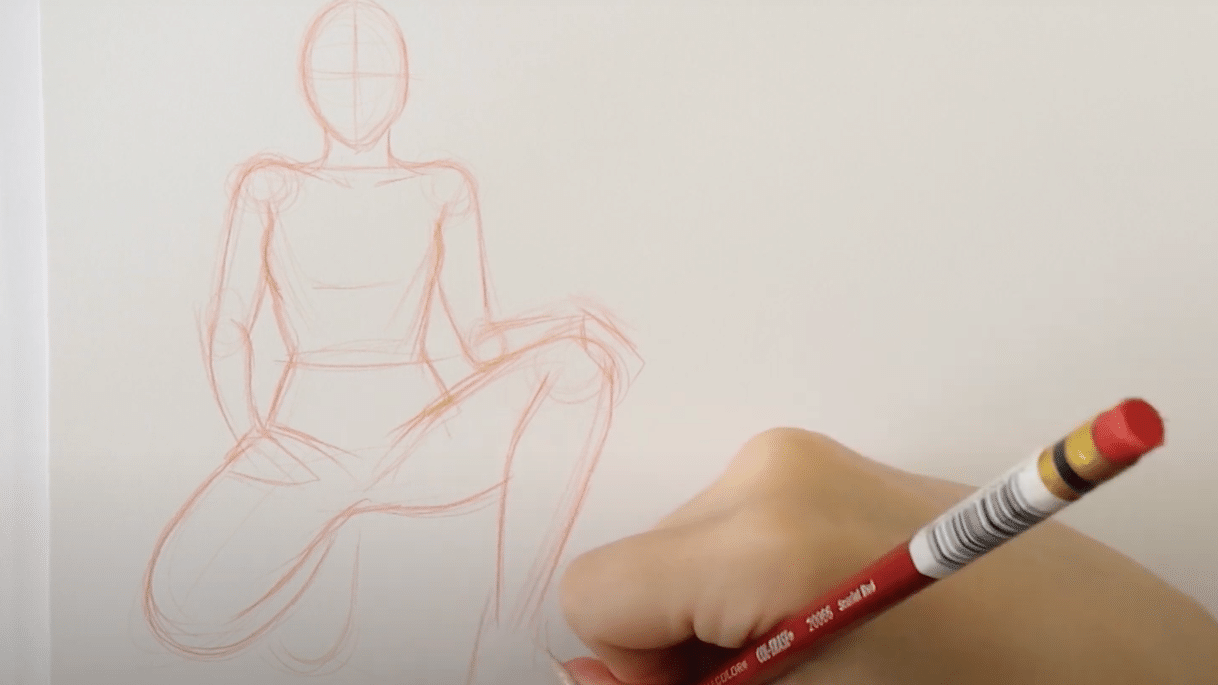
Draw a line for the spine. This helps demonstrate the body’s stance and balances the shoulders and hips.
By looking at this connection, you can see how one shoulder might rise as the opposite hip moves up or down.
Step 4. Work on The Legs and Depth
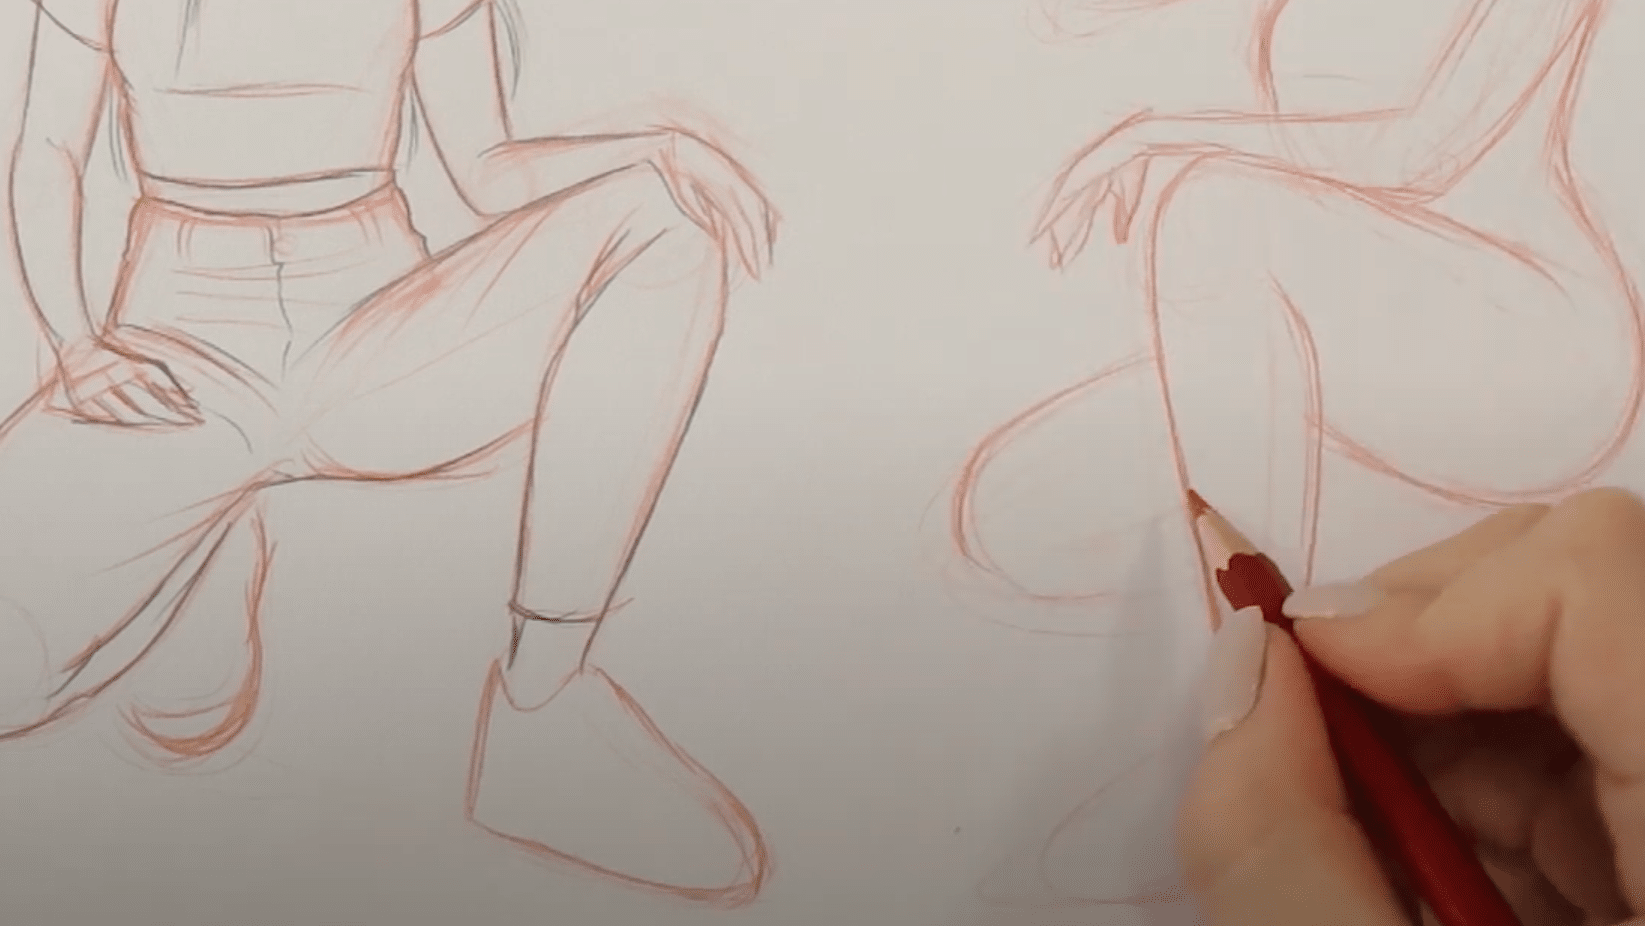
When drawing sitting poses, legs can be hard to get right, especially with depth changes. Notice how one leg might look bigger due to being closer to you. Use photos to show this effect accurately. A good understanding of body parts will help you avoid odd-looking shapes.
Step 5. Build Form and Complete the Sketch
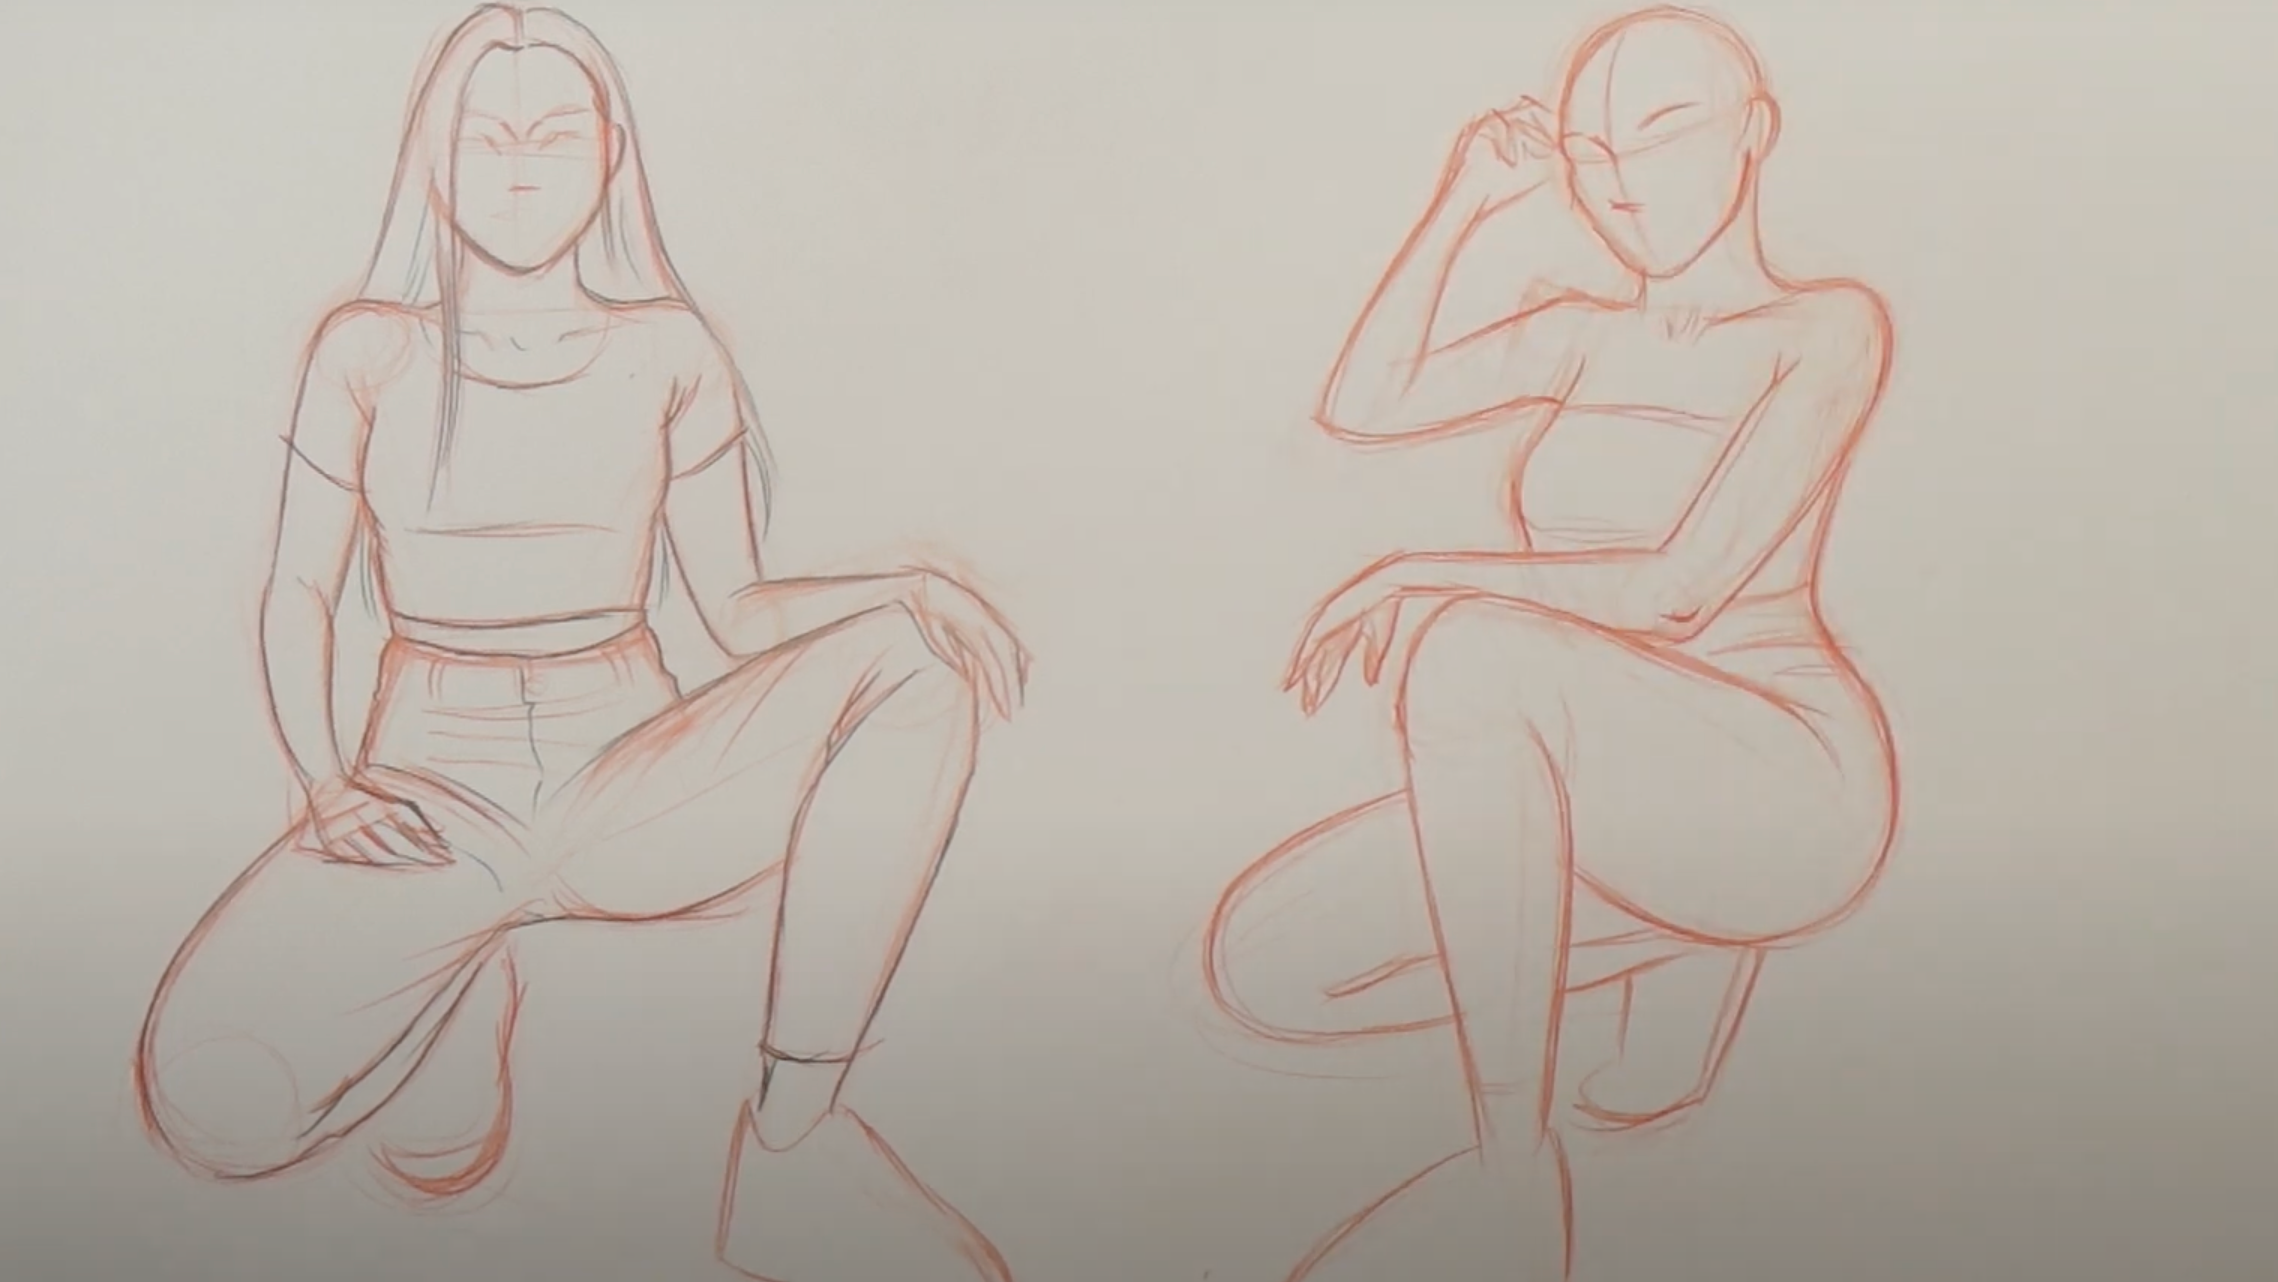
After your basic sketch is done, start adding form to the body to make it look more real. You can select the body type here, choosing between thin and fuller.
Check that all parts match in size and balance before finishing your drawing with clear outlines and shading.
Basic Anatomy of The Seated Body
When someone sits down, their body changes position in specific ways that artists need to be aware of. The pelvis rotates backward, the spine curves differently, and weight shifts to new pressure points.
For artists drawing seated figures, knowing these anatomical changes helps create more realistic artwork. Let’s look at the key areas to focus on:
- Pelvis position: The pelvis tilts backward when sitting, creating the base for the entire pose. This tilt affects everything above and below it.
- Spine curves: The spine forms an S-curve when seated, with the lower back (lumbar) often flattening out compared to when standing.
- Weight distribution: The body weight primarily rests on the sitting bones (ischial tuberosities) and thighs, creating pressure points that affect the appearance of muscles and fat.
- Leg alignment: Knees typically bend at 90 degrees or more, with feet either flat on the ground or in various positions depending on comfort.
- Shoulder and arm position: The upper body might lean forward, back, or to one side, changing how the shoulders sit relative to the spine.
Understanding these basics helps artists avoid common mistakes, such as making the legs too long, the torso too short, or failing to account for how the body folds at joint areas.
With practice, you’ll notice how these elements change based on the specific sitting position.
Techniques to Master Seated Figures
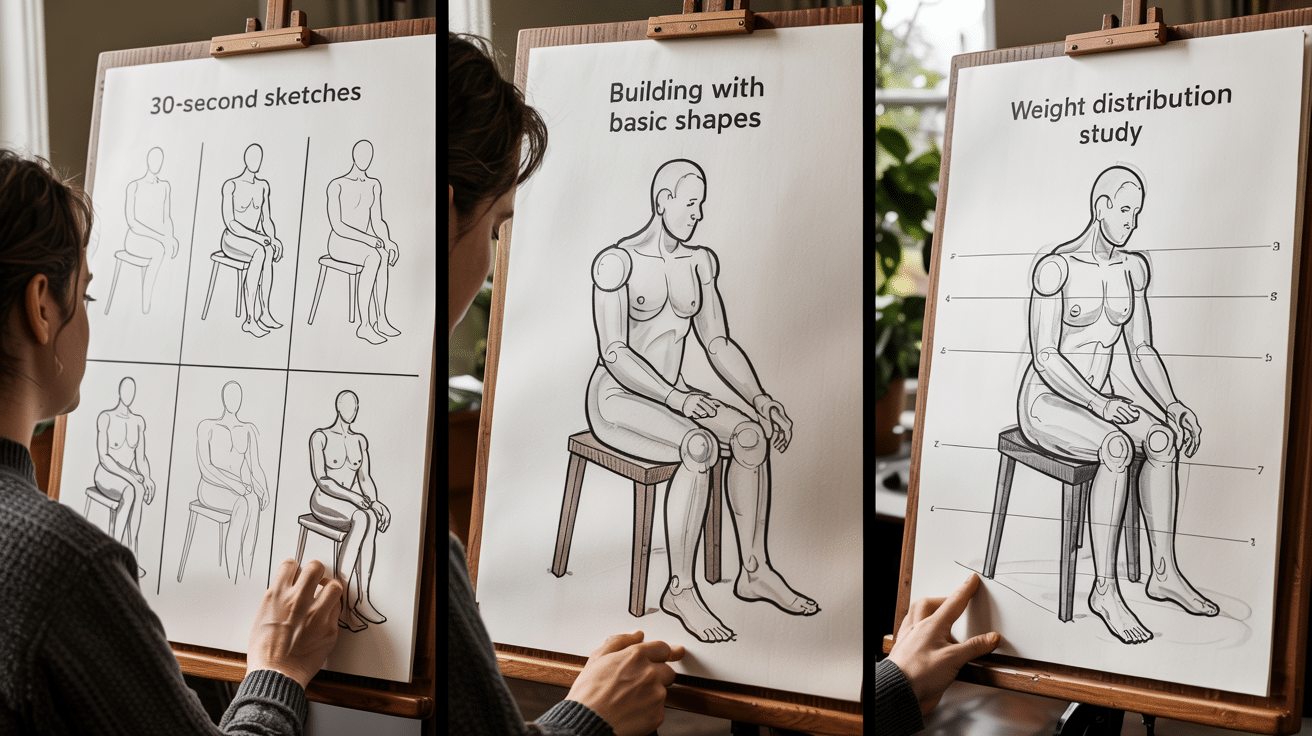
Drawing seated figures takes practice and focused study. These exercises will help you develop the skills necessary to create a natural-looking sitting pose reference with accurate proportions and weight distribution. Try adding them to your regular practice routine for steady improvement.
- Draw 20 quick gesture sketches of seated figures, spending only 30 seconds on each one.
- Study your reflection in a mirror while using yourself as a sitting pose reference.
- Practice drawing only the skeleton structure of seated figures
- Draw the same sitting pose reference from multiple angles
- Fill a page with just hands resting on laps
- Time yourself drawing a complete seated figure in under 5 minutes
- Sketch people sitting in cafes or parks without them noticing
- Draw cylinders and boxes in the same positions as seated limbs for practice
- Compare photos of standing and sitting pose references to note the differences
Finishing It Up
Drawing sitting poses brings a special set of challenges, but with the right approach, you can master them. This guide showed you the key steps, from placing the head to building a form with proper anatomy.
What’s next? Take what you’ve learned and apply it to your work. Try one exercise from our list each day for a week. Consider how sitting poses add personality and story to your characters.
Still struggling? Share your work with other artists for feedback.
The more you practice these techniques, the more natural your seated figures will become.


