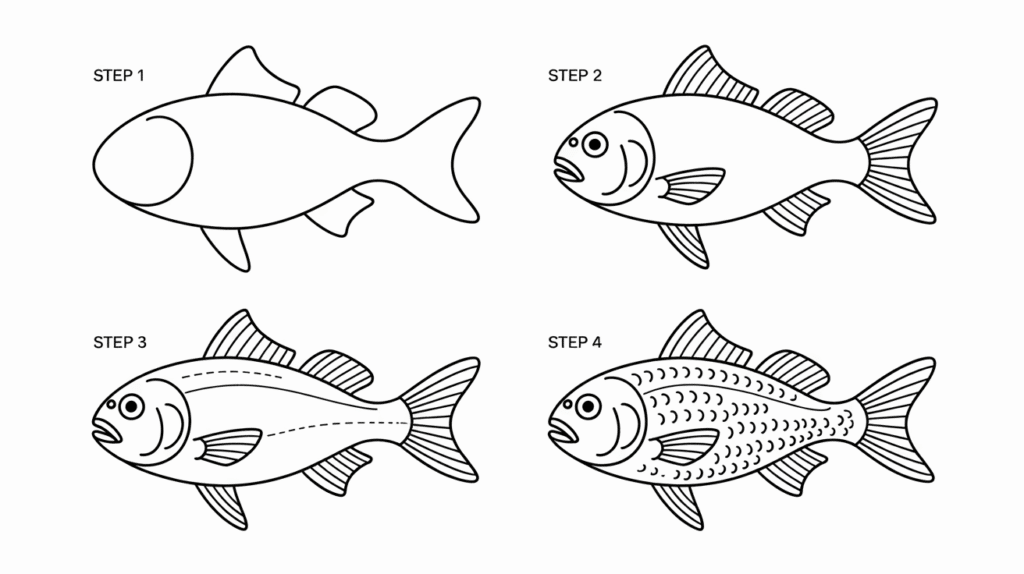
Fish drawings look hard to get right. Many people try to sketch these water creatures but end up with odd shapes that barely look like fish at all. This common problem makes many give up before they really start.
But what if drawing fish could be simple? What if anyone could learn how to draw a fish with just a few basic steps? The good news is they can.
This guide breaks down fish drawing into clear, simple stages that anyone can follow. Readers will learn how to create fins that look real, scales that catch light, and eyes that seem to watch you. They’ll finish with artwork they’ll want to show off.
So grab some paper and pencils. By the end of this guide, those tricky fish will turn into fun, easy projects anyone can master.
Why Learning to Draw a Fish is Important for Beginners?
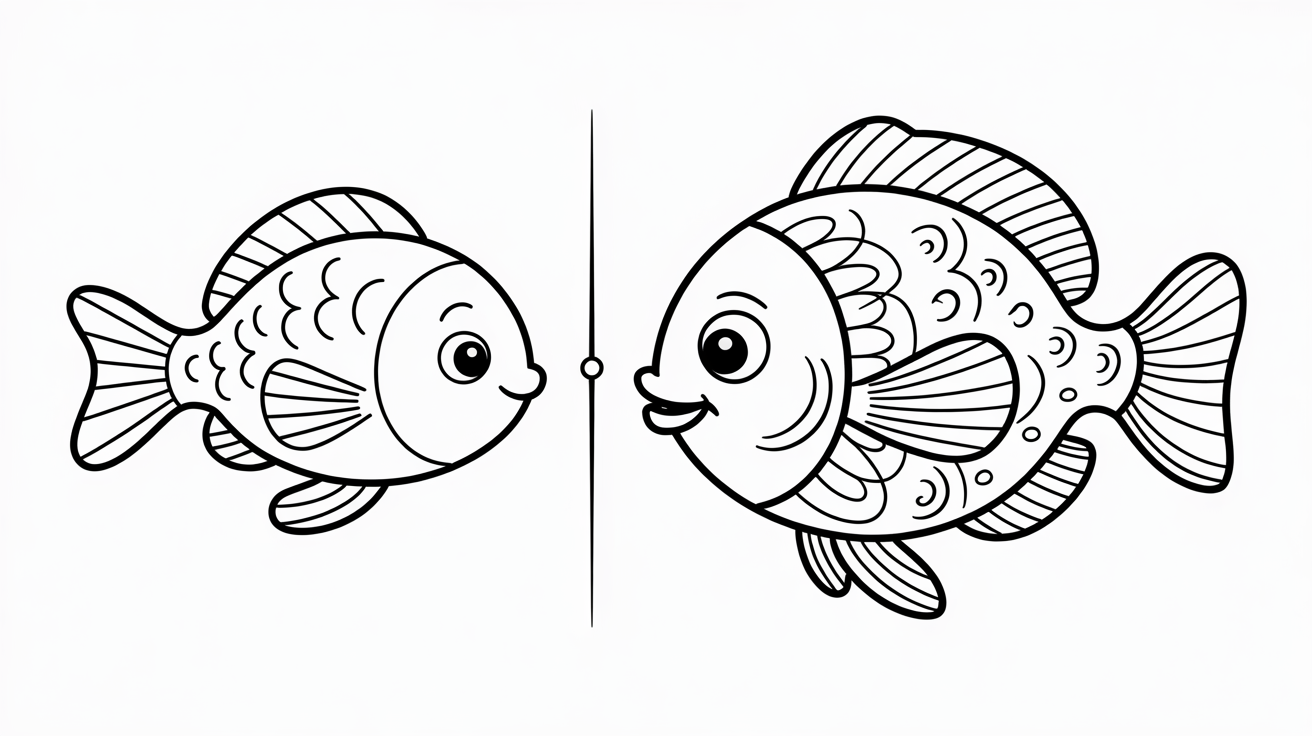
Learning how to draw a fish offers beginners many benefits that build key art skills.
- Simple shapes: Fish bodies use basic curved lines and oval forms that help new artists practice their hand control without complex details.
- Understanding shading: The scales and fins of fish provide a perfect chance to try light and shadow techniques that make flat drawings look three-dimensional.
- Line confidence: When you learn how to draw a fish, you practice making smooth, flowing lines that help with all future artwork.
- Proportion practice: Fish have clear parts that must fit together correctly, teaching beginners how to judge sizes and spaces between elements.
- Success for newcomers: Fish drawings can look good with just a few lines, giving new artists a quick win that builds their belief in their skills.
These first steps in how to draw a fish create a foundation that helps beginners grow into more complex subjects later.
Supplies Required for Drawing a Fish
Learning how to draw a fish starts with having the right tools ready before you make your first line.
| Supply | Purpose |
|---|---|
| Paper | Any blank sheet of drawing paper |
| Pencil | For sketching the outline |
| Eraser | To correct any mistakes |
| Black Marker or Pen | To outline the fish |
| Colored Pencils/Markers | To color in your fish |
How to Draw a Fish: From Sketch to Masterpiece
When learning how to draw a fish, following a step-by-step process turns simple shapes into a finished artwork anyone would be proud to display.
Step 1: Draw the Fish’s Body
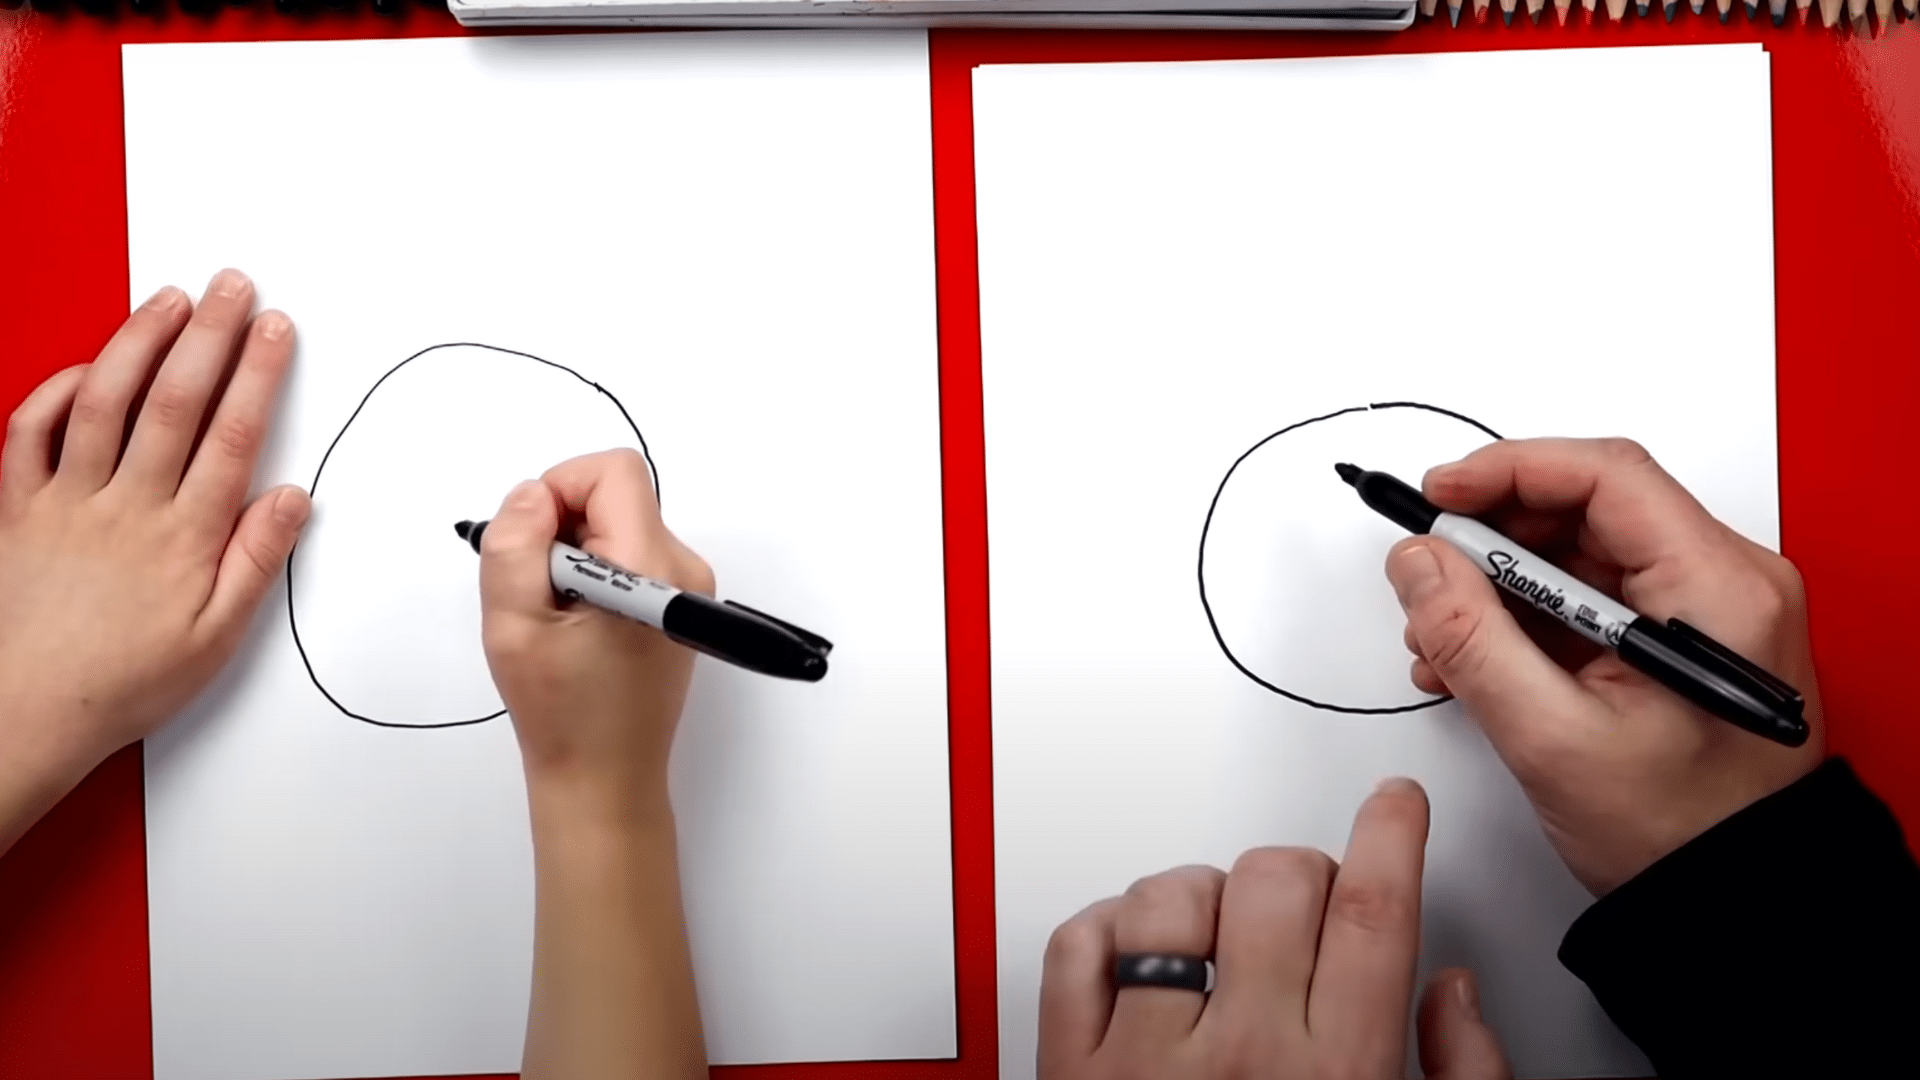
Start by drawing a large circle in the middle of your paper. This will serve as the main part of the fish. Don’t worry about perfection; just focus on making it big enough to add all the details.
From there, curve the sides of the circle and bring the top back around, connecting it smoothly at the top. This forms the shape of the fish’s body.
Step 2: Add the Fish’s Eye
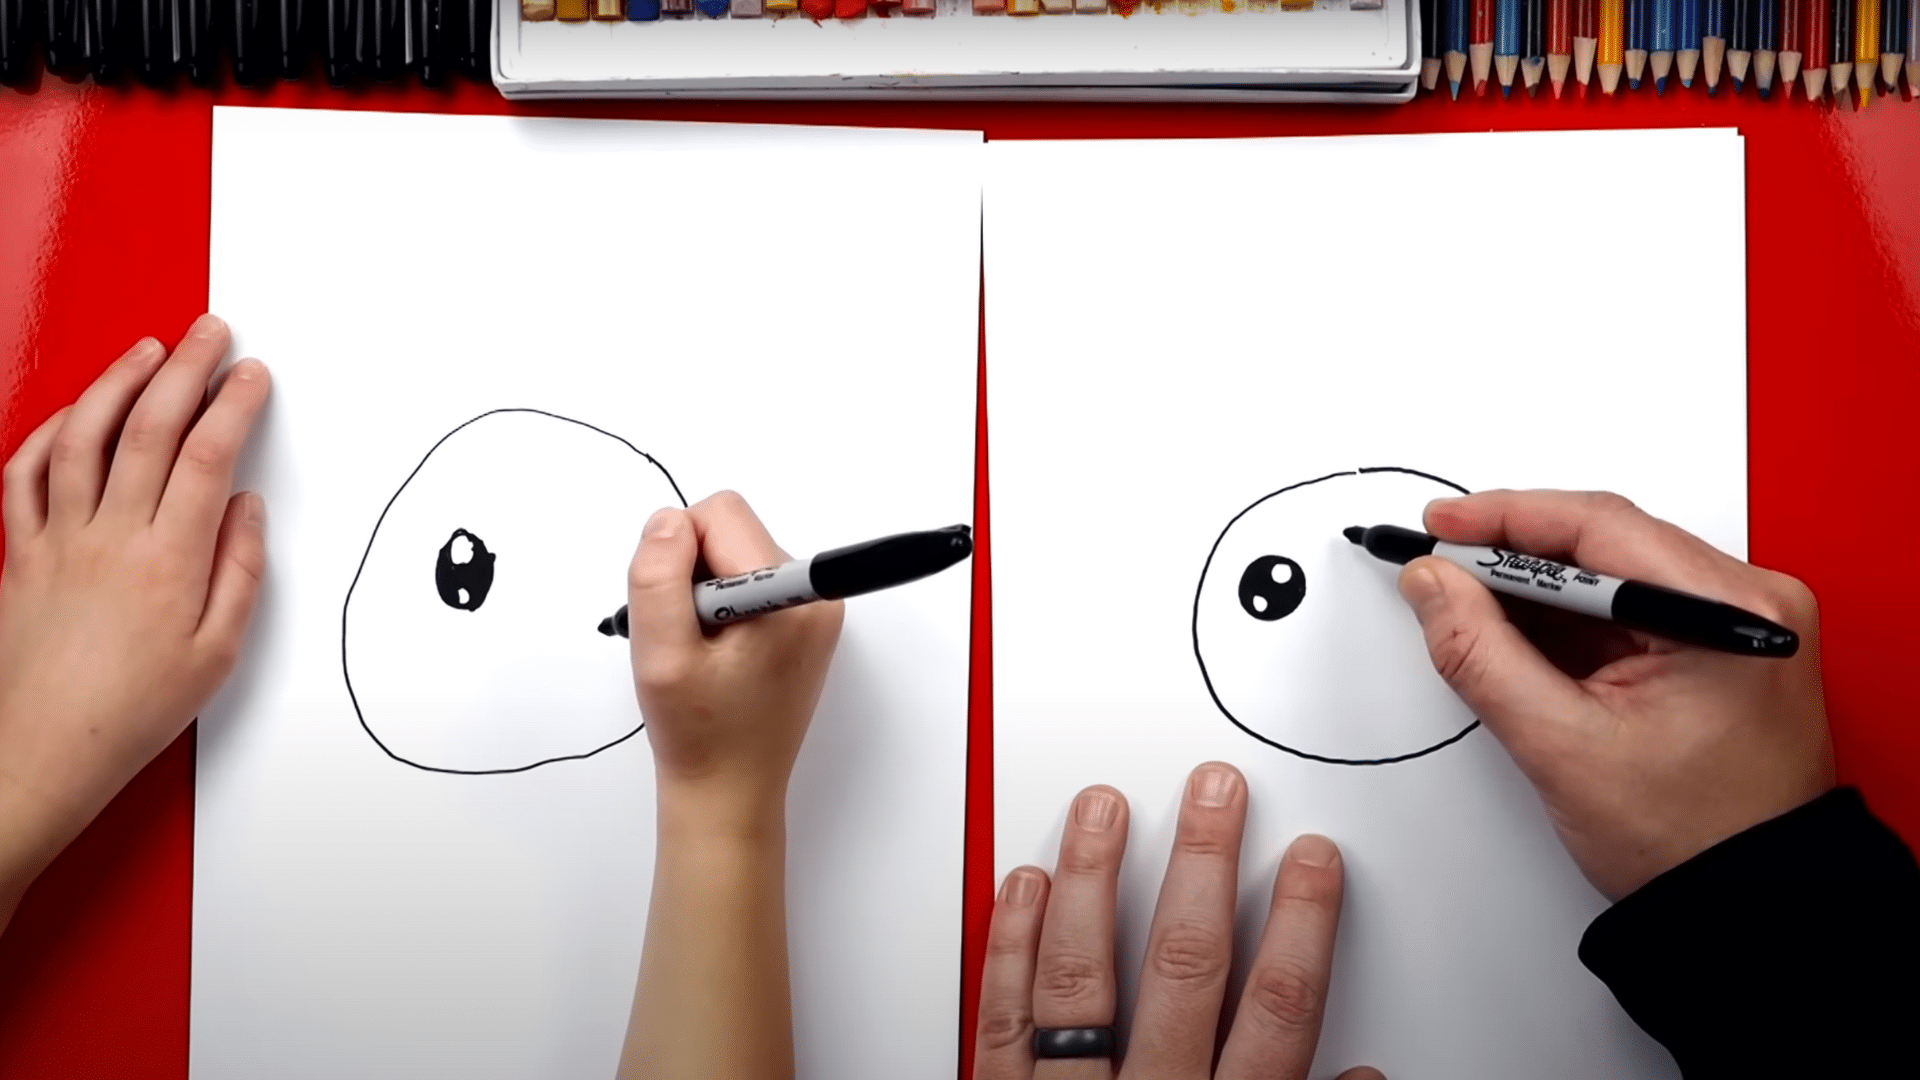
Now it’s time to give your fish some personality!
- Begin by drawing a small circle on the left side of the fish’s body, just above the middle.
- Inside this circle, draw a smaller circle near the top left for the iris.
- Draw an even smaller circle inside the iris at the bottom for the pupil.
- Leave the iris and pupil blank, as this will give your fish’s eye that shiny, lively look.
- Color in the larger circle of the eye, but make sure the smaller ones remain white.
With this step, your fish will begin to look alive, so take your time getting the eye just right!
Step 3: Draw the Gills
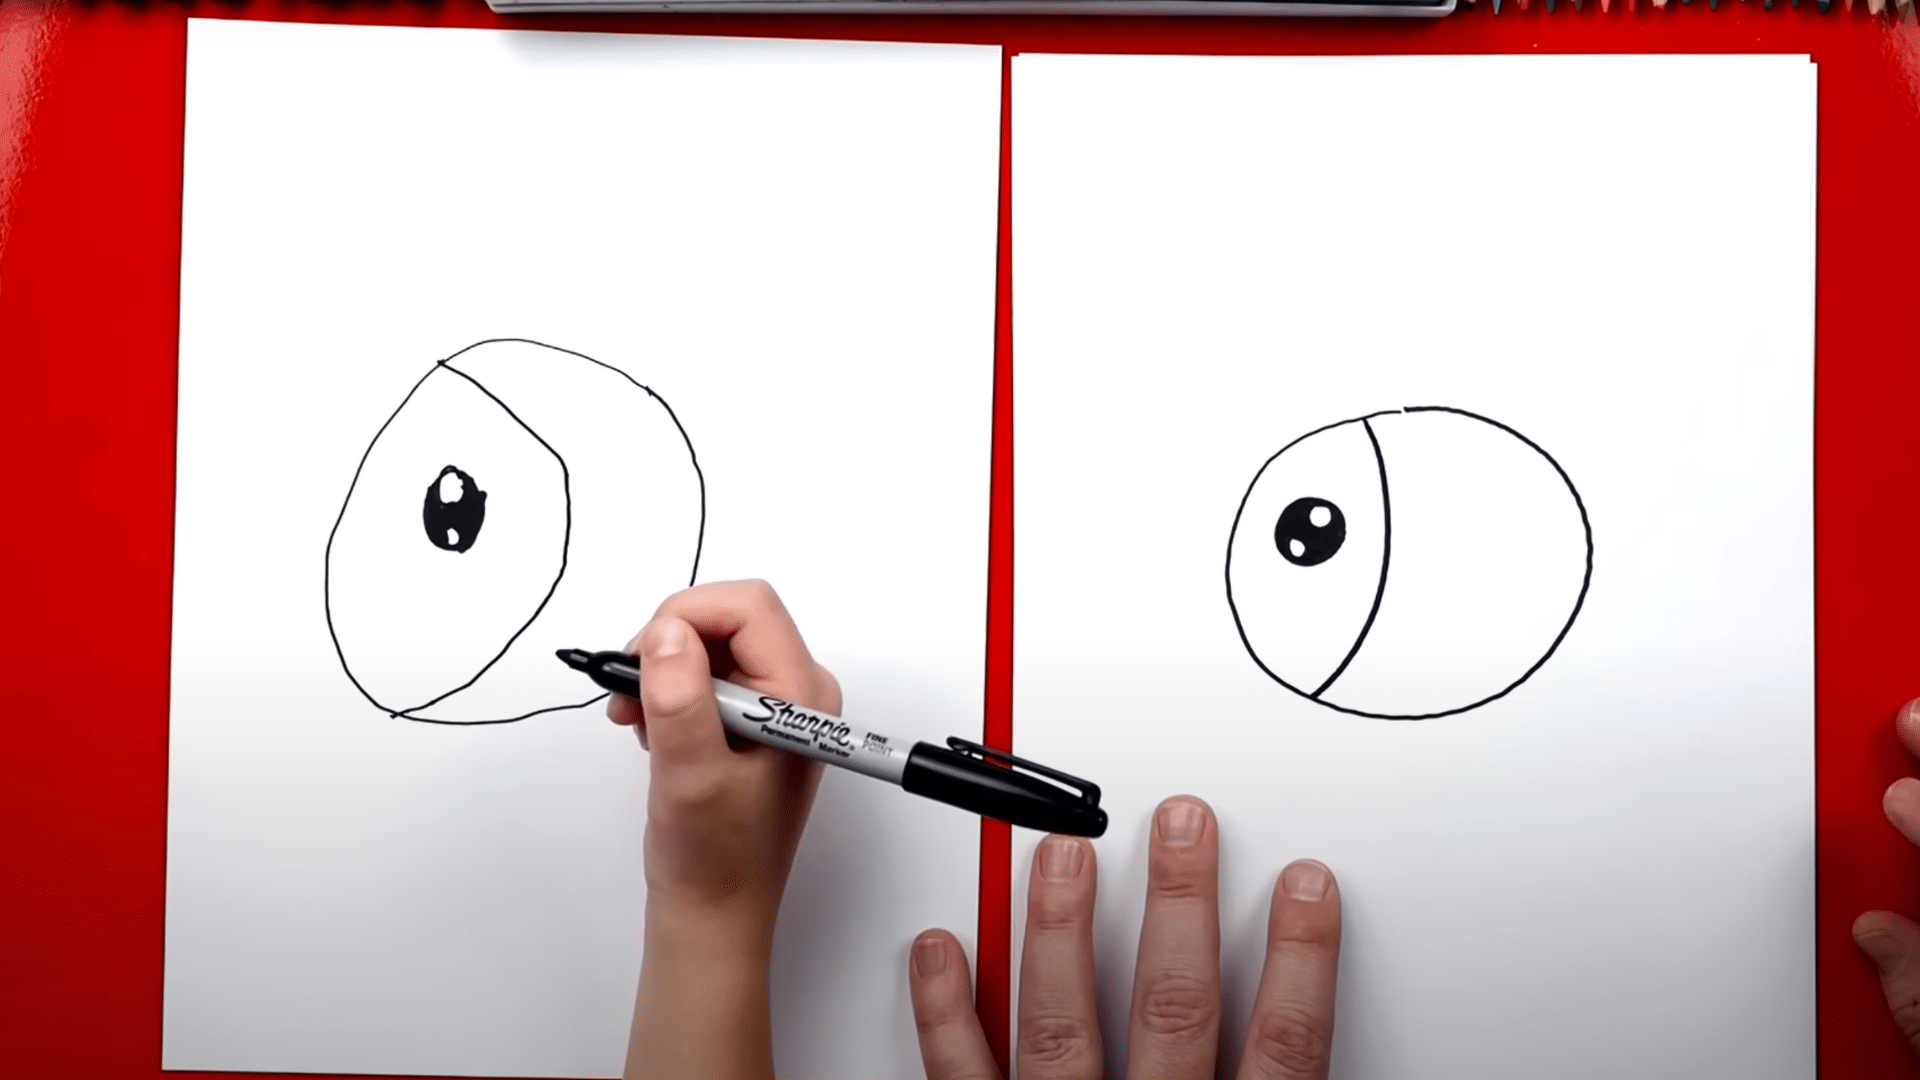
The gills will add an important detail to the side of your fish’s face. This step adds a natural look to your fish’s body and gives it a realistic touch.
- Start by drawing a curved line behind the fish’s eye, just above the middle of the body. This curve should go from the top of the fish’s head and curve downward.
- For added texture, you can draw two or three additional curved lines underneath the first one. These will represent the layers of gills.
- Ensure the lines aren’t too close to each other; leave space between them for a more natural appearance.
- Keep the curves smooth and gentle. The gills are gentle features of a fish’s anatomy, so this curve should reflect that softness.
By focusing on these gills, your fish will look much more life-like, and you’ll be adding a crucial element of detail to your drawing.
Step 4: Add the Scales
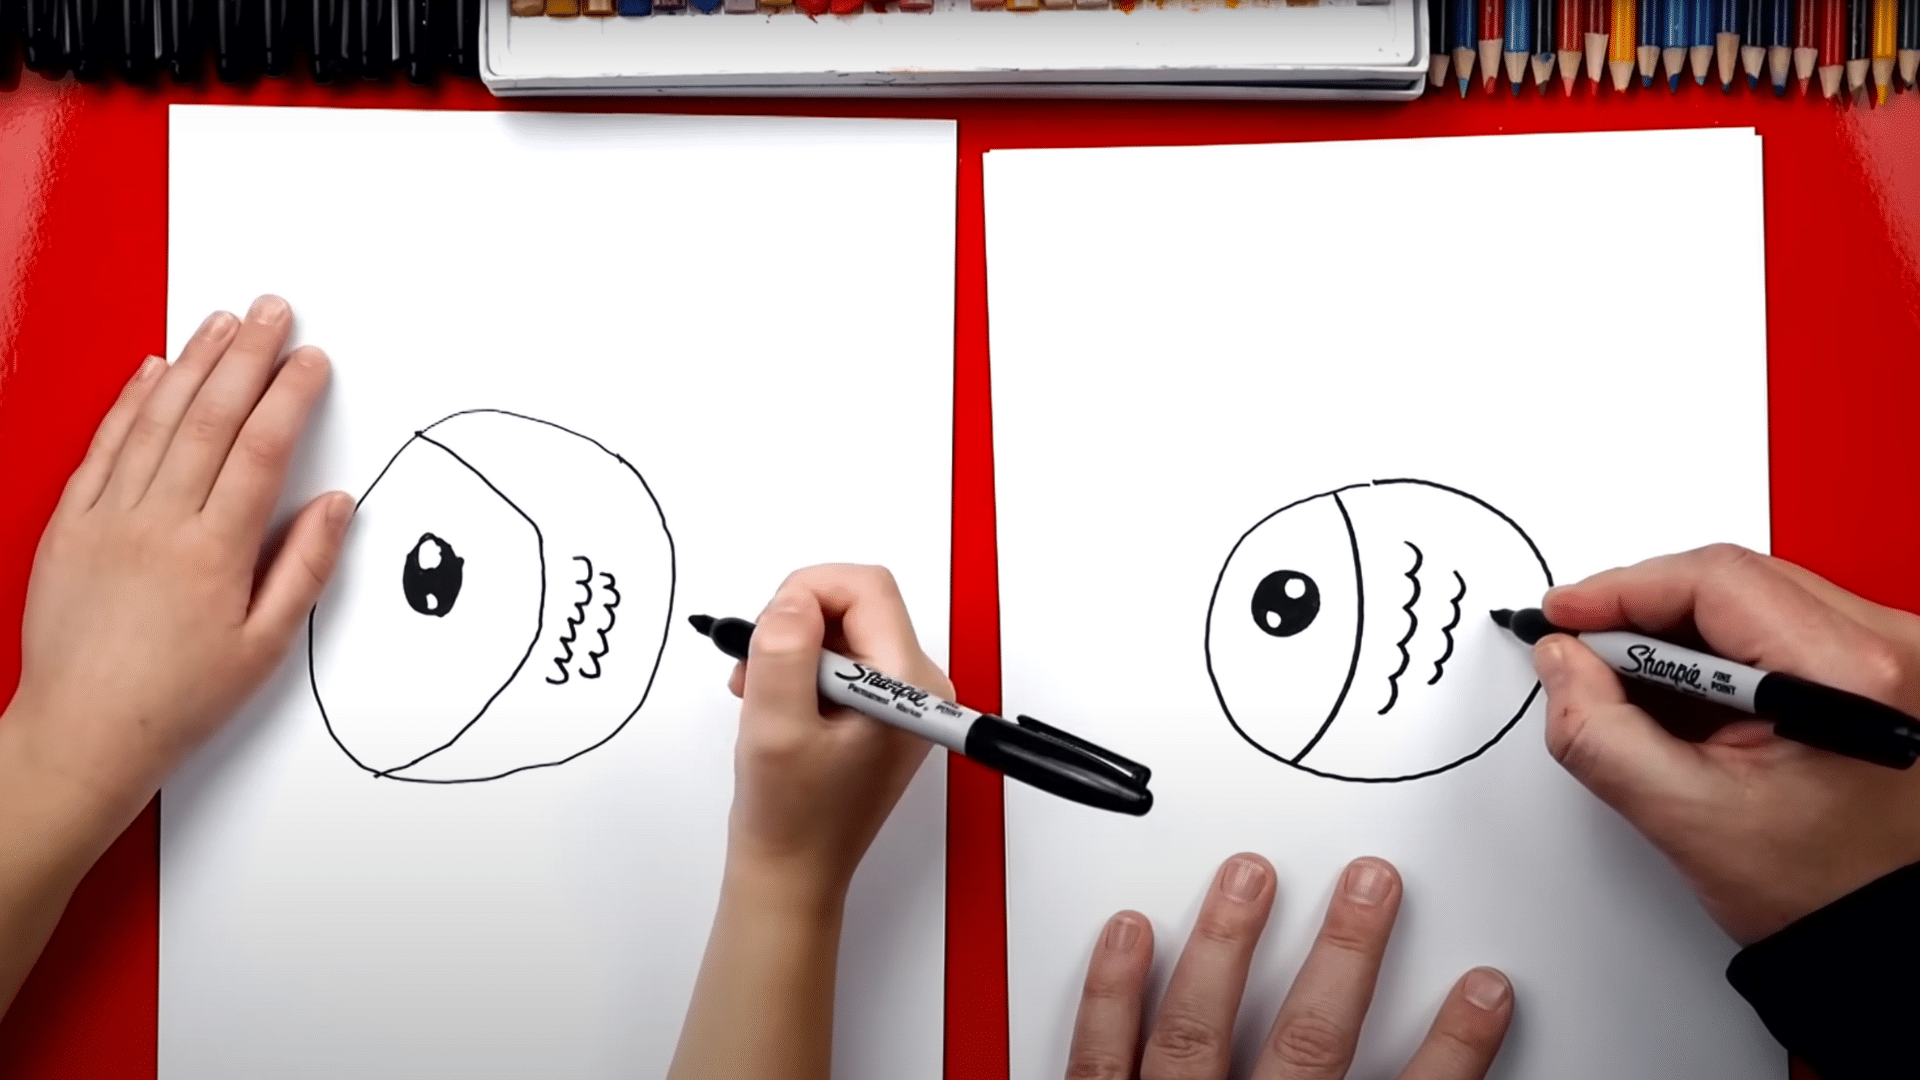
Draw several small, sideways “U” shapes along the fish’s body to create the scales. Start from the top of the fish and make each scale slightly smaller as you move toward the tail.
Don’t worry about them being perfectly aligned, just have fun and try to space them evenly.
Step 5: Draw the Tail and Fins
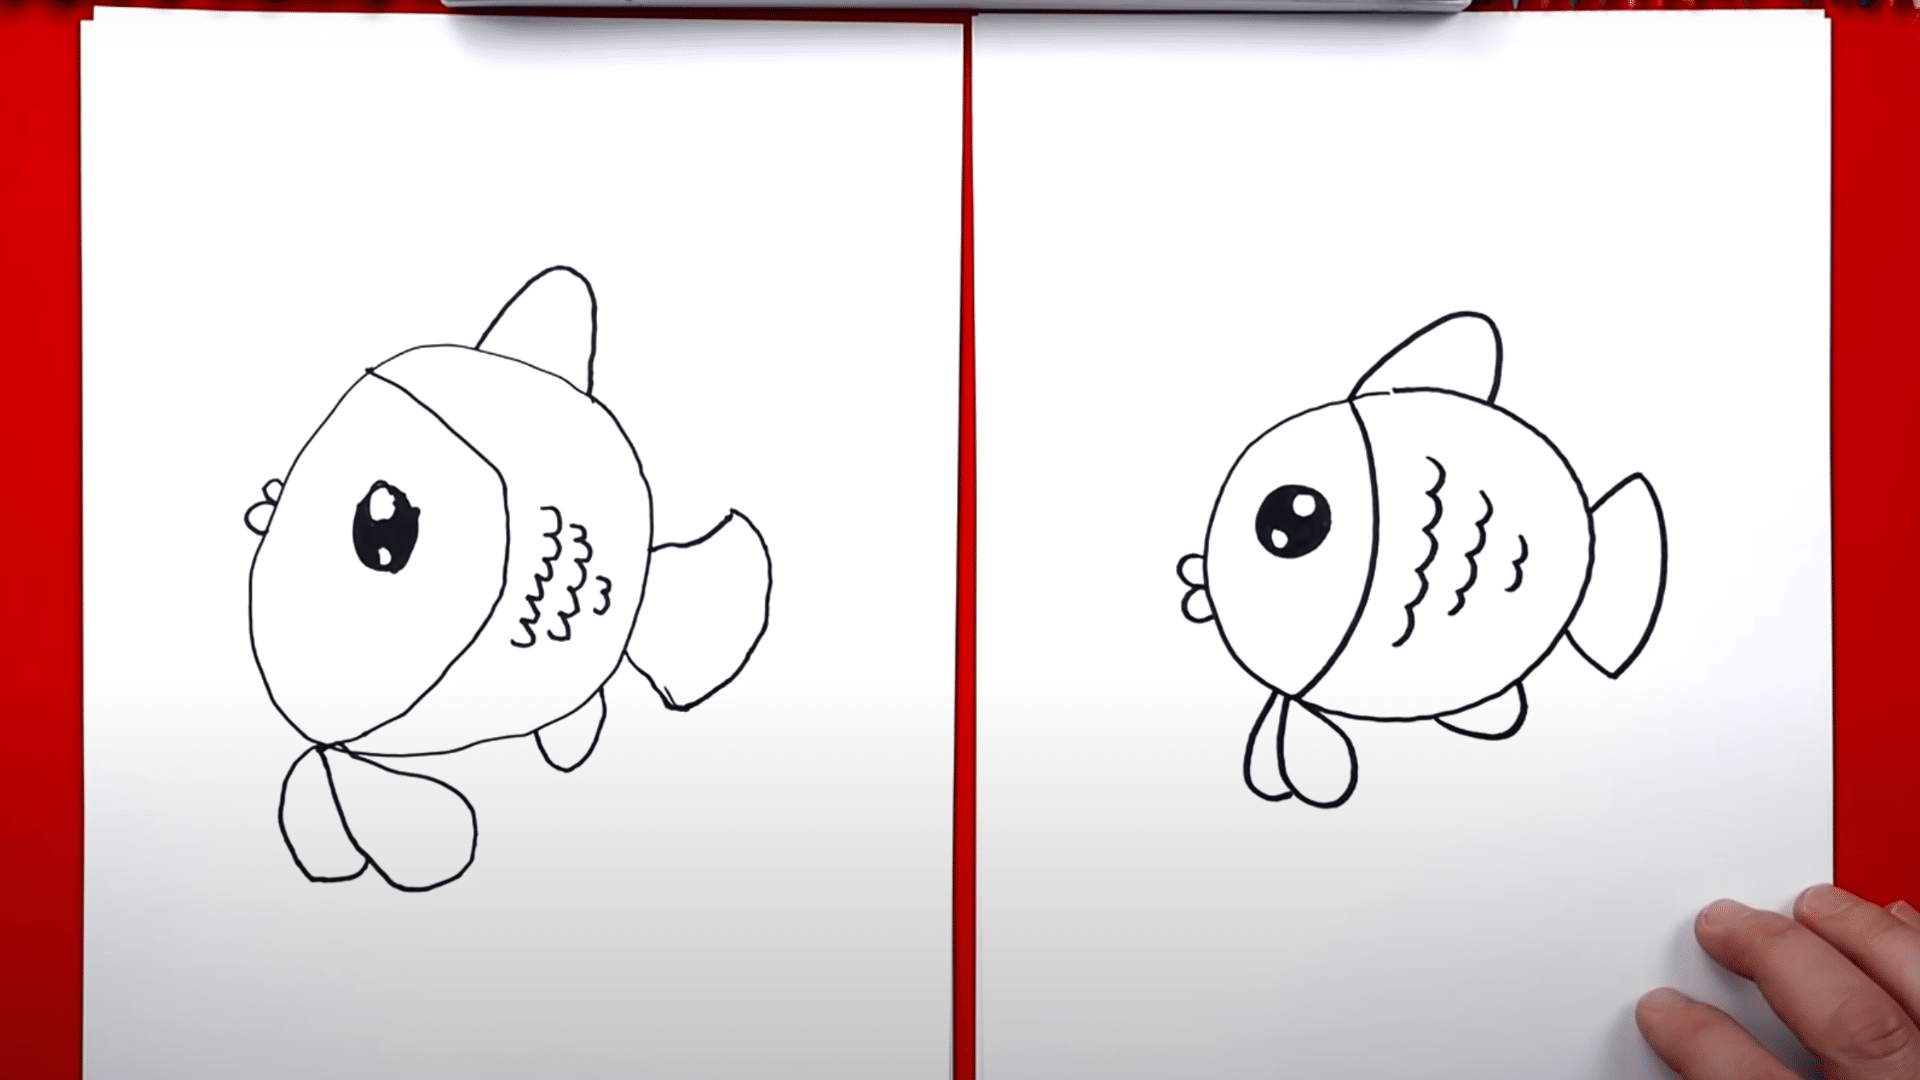
The tail and fins give your fish a sense of movement and balance. Here’s how to complete this step and make your fish look ready to swim:
- Tail: Draw two lines extending from the back of the fish’s body. One should go straight out, while the other curves downward. Connect the two lines at the end with a smooth, gentle curve. This will form the fish’s tail.
- Top Fin: On top of the fish’s body, draw a triangular shape resembling a shark fin. Start near the middle of the fish’s back, curve up, and then bring it back down into the body. This fin should resemble an upside-down “U” shape.
- Side Fins: Draw two smaller fins on the sides of the fish. These should look like raindrop shapes. Start by drawing a curved line that comes down and back up.
- Belly Fin: Finally, don’t forget the small fin beneath the fish’s belly. It should look like a tiny curve that comes down and then curves back up, placed just near the bottom of the fish.
By adding these fins and tail, you complete your fish’s anatomy, giving it the ability to swim and look much more dynamic.
Step 6: Color Your Fish
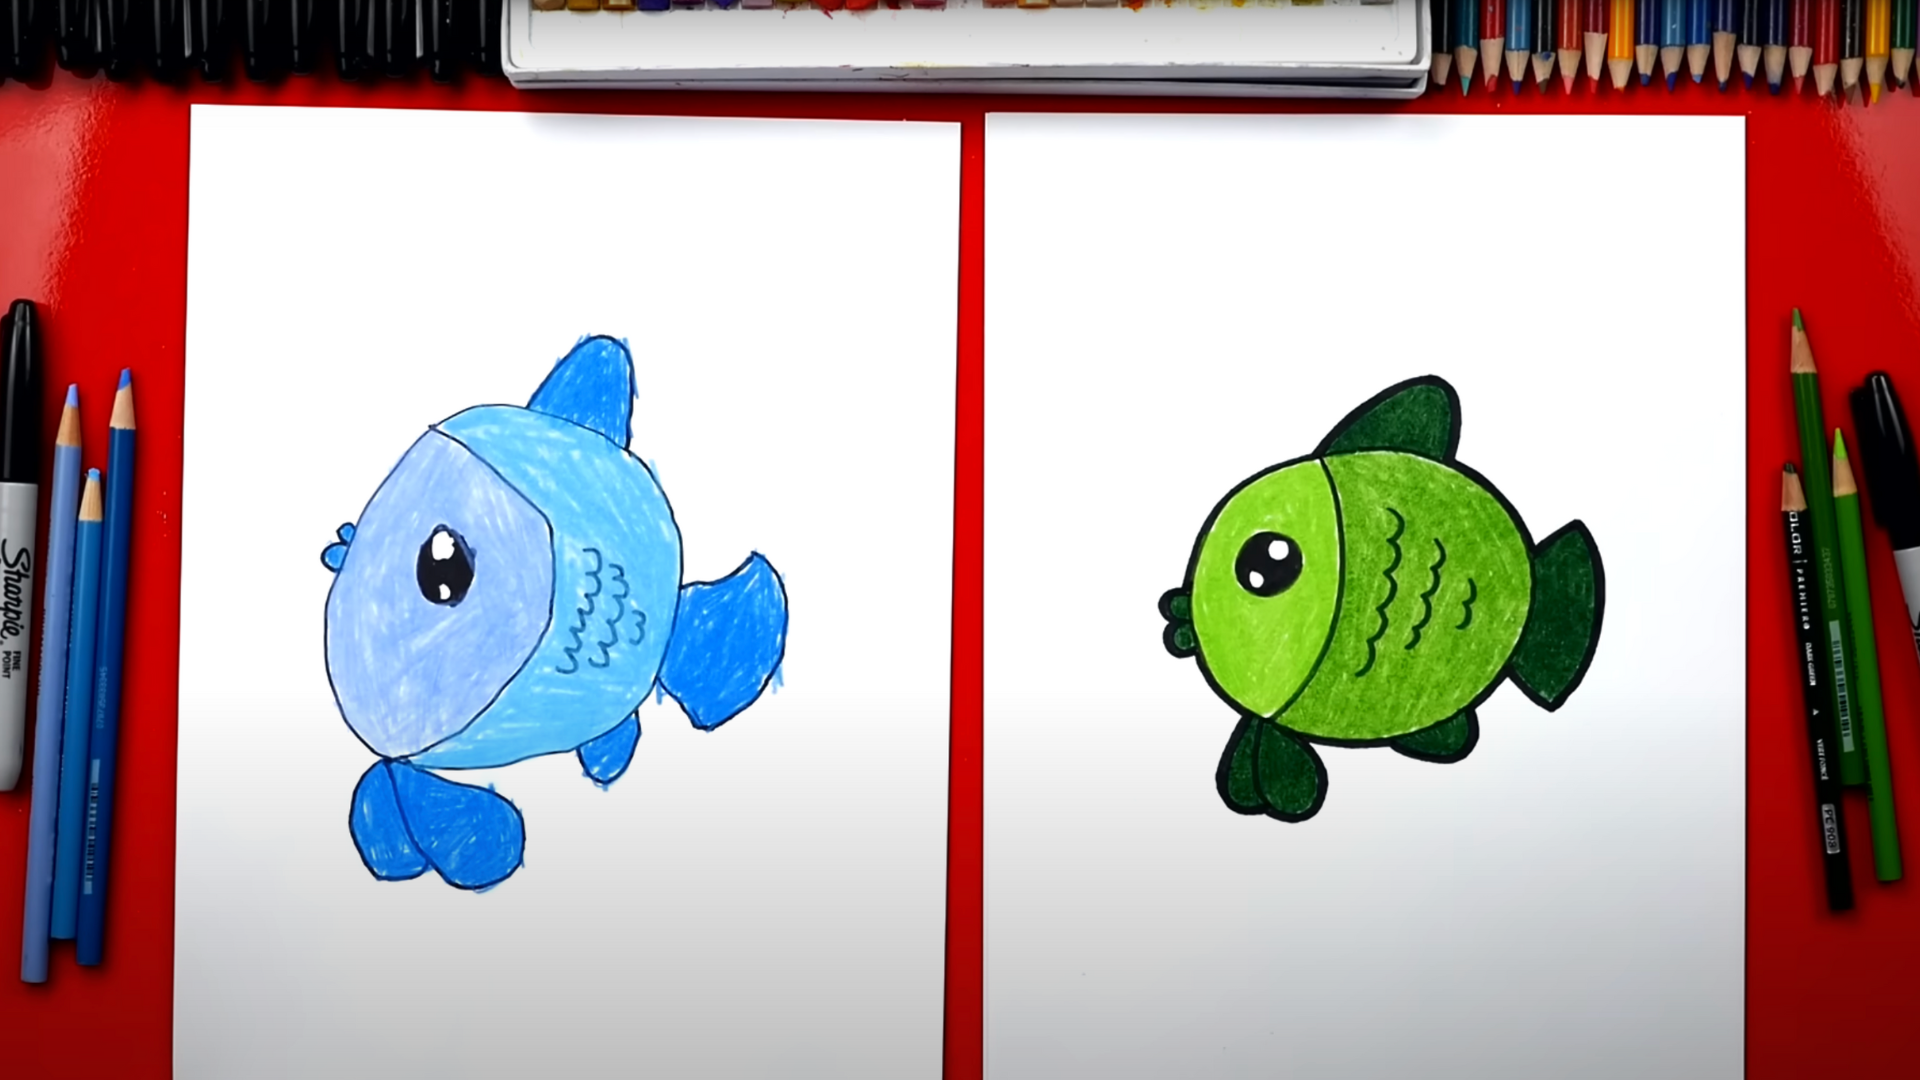
Now that your fish is drawn, it’s time to bring it to life with color! You can choose any colors you like, or use shades of blue, green, or even rainbow hues for a more creative look.
Try blending different shades to give it a realistic or lively effect.
With practice and patience, anyone can master how to draw a fish that looks lifelike and ready to swim off the page!
Perfecting Your Fish Drawing Skills: Tips and Tricks
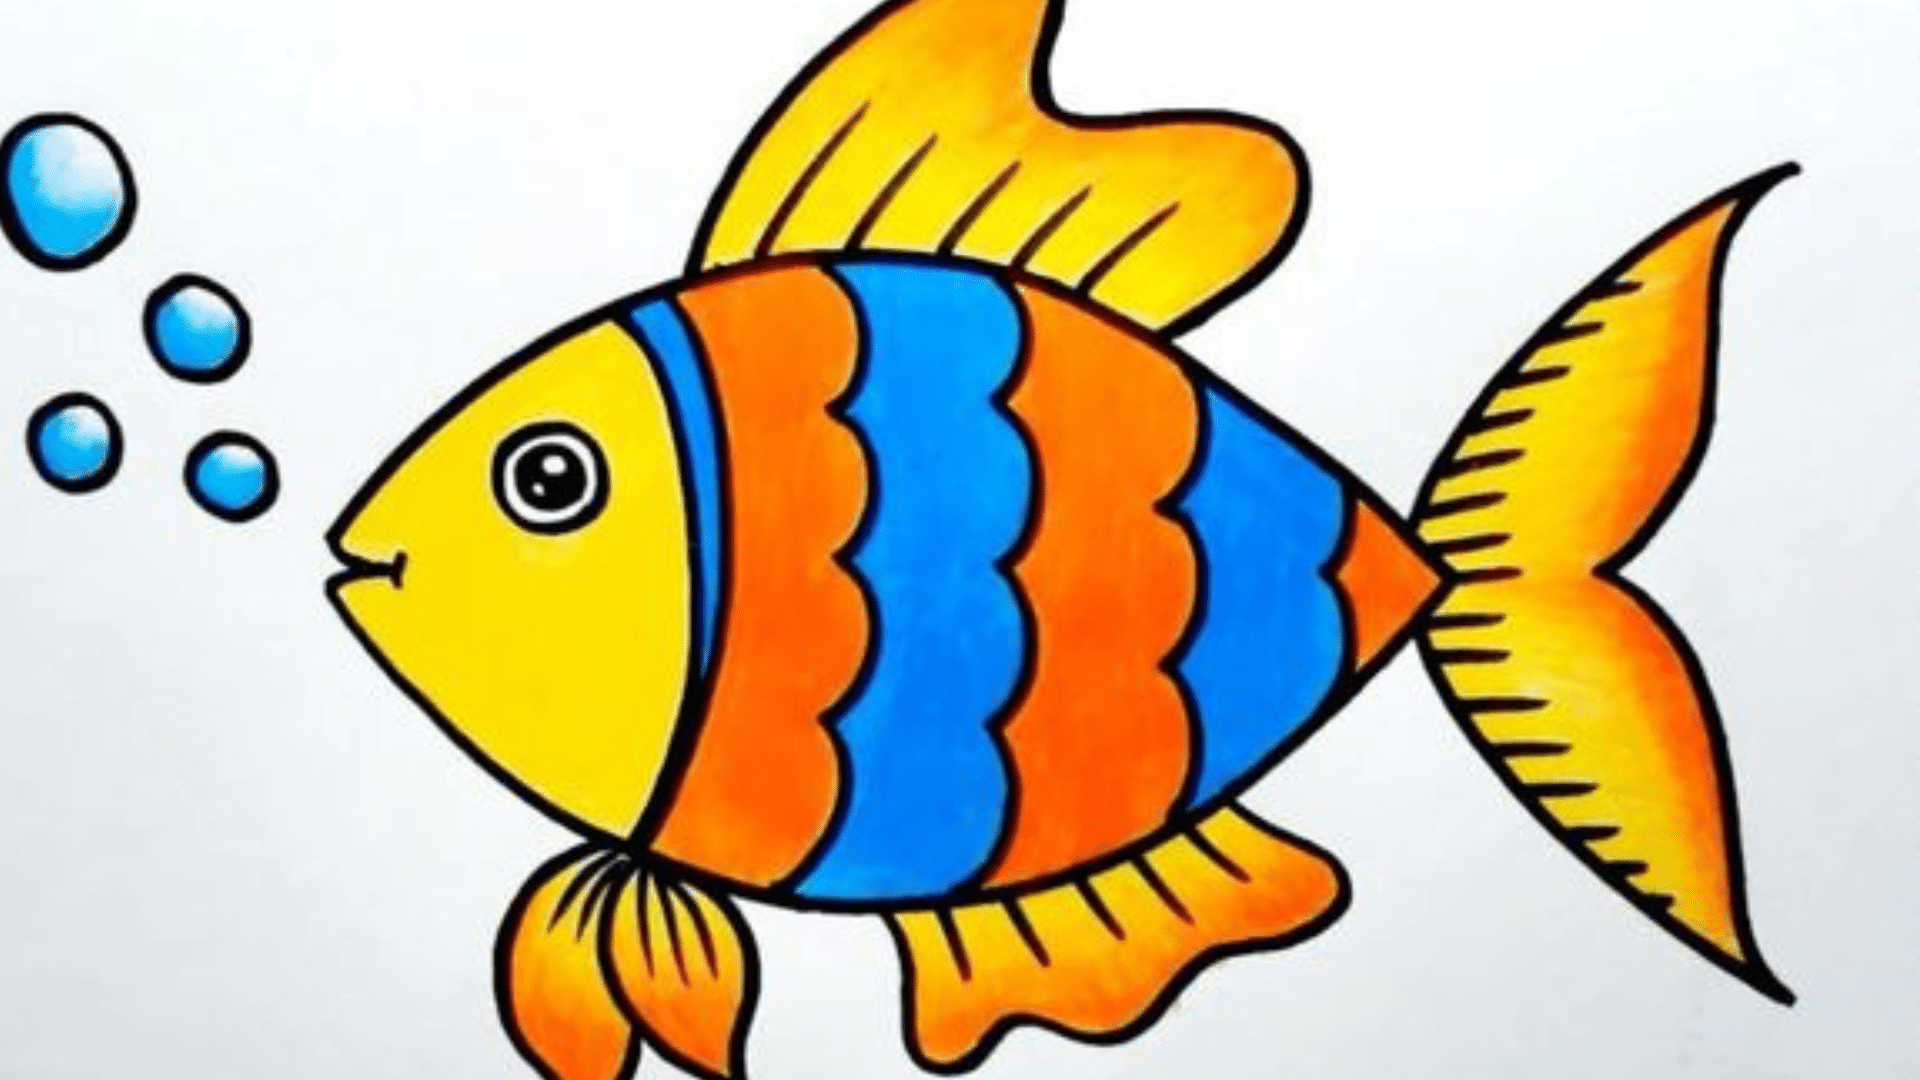
These five key tips will help anyone create better fish artwork with practice and focus:
- Start with basic forms: Begin each fish drawing with simple shapes like ovals and curves before adding any details to get the overall structure right.
- Study real fish: Look at photos or real fish in tanks to notice how their fins attach, how their scales’ pattern works, and how light hits their bodies.
- Use light pencil strokes: Press softly when making your first lines so you can easily adjust shapes without leaving marks that show through in your final work.
- Pay attention to eyes: The eyes bring a fish to life, so place them correctly and add a small dot of white to create the look of wetness and life.
- Practice smooth curves: Fish have very few straight lines, so train your hand to make flowing, smooth motions that capture their natural grace.
These focused tips will greatly improve how you approach how to draw a fish with each attempt.
Wrapping It Up
This guide offers all the basic steps needed for creating fish drawings that look real. The simple methods shared here work for artists at any skill level. The right supplies and a bit of practice make all the difference.
Fish drawing teaches useful art skills, from making curved lines to working with shapes and shadows. These skills help with drawing many other subjects, too.
Starting with basic shapes and building up to details gives anyone the chance to make art they feel good about. Even beginners can create fish drawings that they want to share.
Did this guide help with your fish drawings? Share your experience in the comments below. Tell us what worked best for you or what fish type you tried drawing first. Your comments might help other readers just starting their drawing expedition!


