Drawing fruit can be tricky, especially when it comes to capturing the subtle details of a blueberry.
I know how frustrating it can be to get the shape and texture just right. But don’t worry! I’ve got a simple method that’ll help you draw a realistic blueberry in no time.
In this guide, I’ll walk you through each step of the process, from sketching the basic shape to adding those finishing touches that bring your blueberry to life.
By the end, you’ll have the skills to create a beautiful blueberry drawing that looks good enough to eat!
Simple & Easy Steps to Draw a Blueberry
Step 1: Getting Started
Let’s start with the basics. To draw a blueberry, you’ll need a few simple tools.
- Grab some paper, a 2B and 4B pencil, an eraser, and colored pencils or markers in blue and green shades. If you want, you can also use a ruler for guides and a compass for circles, but these aren’t must-haves.
- Now, let’s set up your workspace. Find a flat surface with good lighting – natural light works best if you can get it. This will help you see all those tiny details and shades as you draw.
Here’s a Quick Tip: Before you start drawing, lightly mark the center of your page. This will help you position your blueberry just right. If you’re new to drawing freehand, don’t be shy about using a ruler to help align your shapes. It’s all about getting comfortable with the process.
Remember, the key is to keep things relaxed and have fun. Are you ready to start sketching?
Let’s move on to the next step!
Step 2: Initial Stages
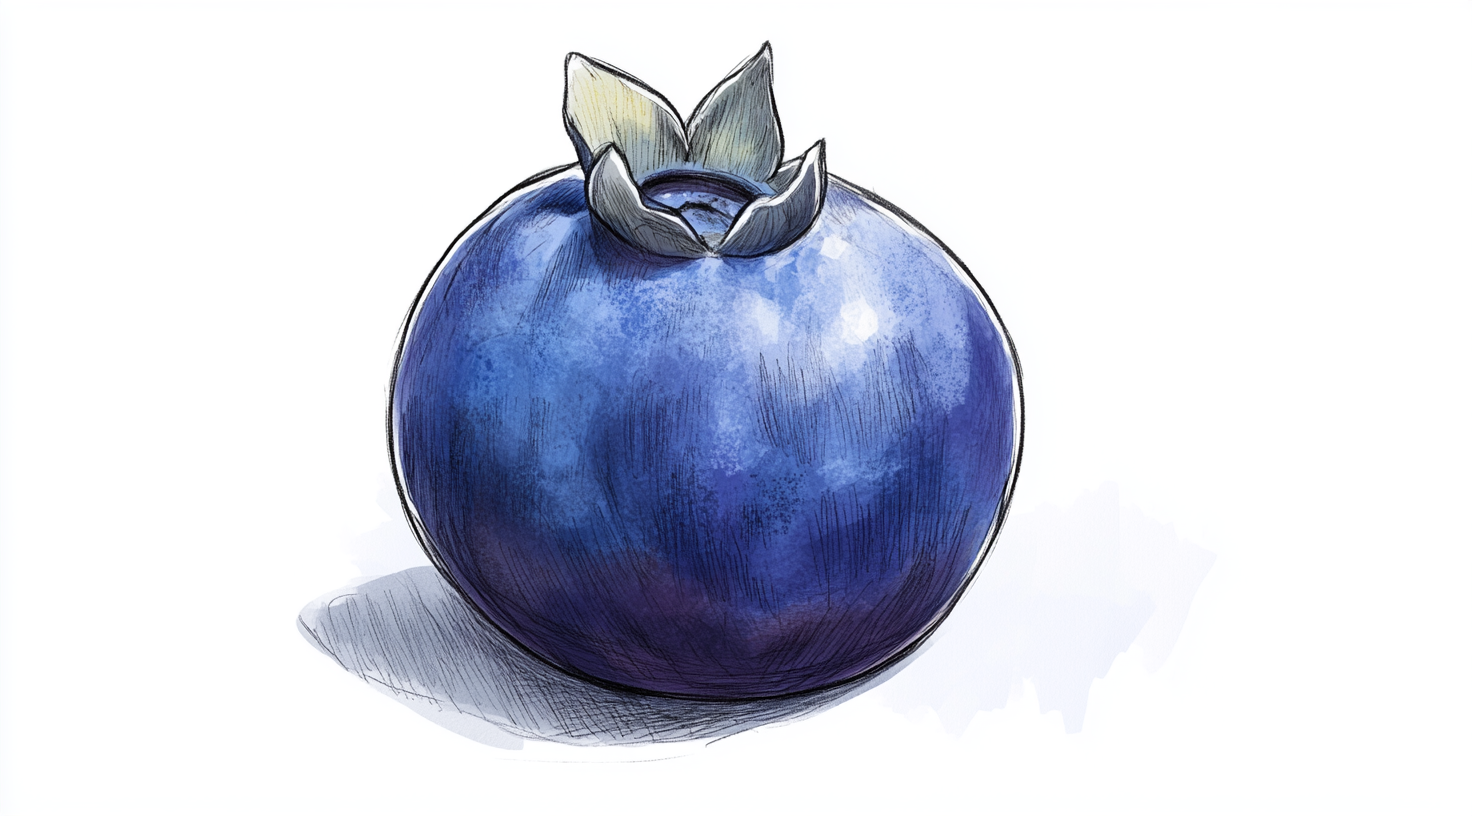
Now that we’re set up, let’s begin with the main shape of our blueberry. We aim for a slightly imperfect circle – nature isn’t about perfect shapes!
- Start by lightly sketching a circle for the main blueberry. Don’t worry if it’s not perfectly round; those little imperfections will make it look more natural.
- Next, let’s add the calyx – the crown-like part at the top of the berry. Sketch small triangular shapes around the top of your circle.
Here’s a Tip: Use a light pencil (2H if you have one) for these outlines. It’ll make erasing easier later if you need to adjust anything.
One Thing to Watch Out For: Don’t press too hard with your pencil. If you need to erase, hard lines can smudge the paper and make it tough to clean up.
Step 3: Intermediate Steps
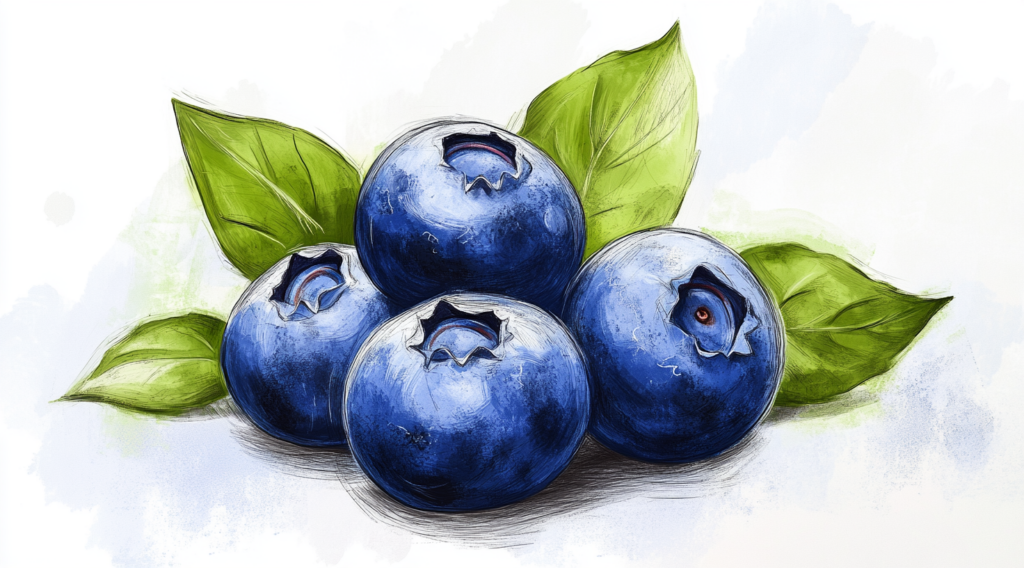
Now that we have our main berry let’s add some friends!
- We’ll draw two more blueberries slightly overlapping the first. Make these a bit oval-shaped to show different angles.
- Next, let’s add some leaves. Use long, curved lines that end in points to create leaf shapes around the blueberries. Try to place some leaves behind the berries to create a sense of depth.
- Let’s not forget about those calyxes! Add more detail to them by including small petal-like shapes around the center. Draw them from different angles to match the positions of your berries.
If something looks off, don’t worry! This is the time to make adjustments. Lightly erase and redraw any parts that don’t feel right. We’re still working with light lines, making changes easy.
Step 4: Final Touches
Great job getting this far! Now, it’s time to bring our blueberries to life with some color and shading.
- First, go over your outlines with a darker pencil or marker. This will define the shapes more clearly.
- Next, let’s add some light shading to the berries. Leave small areas white to show where light is hitting them—this will make them look round and shiny.
- For the leaves, use different shades of green. Don’t forget to add midribs (the main vein in the middle of the leaf) and smaller veins for extra detail.
- To make the berries pop, use blue and purple shades. Blend these colors carefully to create a 3D effect. If you’re using colored pencils, try layering different shades to create smooth transitions.
- Last but not least, use your eraser to clean up any smudges or extra pencil lines. This will give your drawing a polished look.
And there you have it! You’ve just drawn a beautiful bunch of blueberries. I hope you enjoyed the process and are happy with your creation. Remember, practice makes perfect, so keep drawing and have fun!
Important Tips for Better Blueberry Drawing
Let’s discuss some handy tips to improve your blueberry drawing.
- Start with Light Pencil Strokes: I always start with light pencil strokes when I’m drawing. It’s a great way to outline shapes without worrying about mistakes. If you press too hard at first, it’s tough to erase and can leave marks on your paper. As you get more confident with your shapes, you can darken the lines using a softer pencil.
- Use Reference Images: Having a real blueberry or a good photo to look at can really help. It lets you see all the little details like shadows and textures. I often use websites like Pinterest to find clear, high-quality images from which to work.
- Shading for Depth and Realism: To make your blueberries look more real, focus on shading. I start light and slowly build up darker areas. This helps make the berries look round instead of flat. You can use things like a paper stump or tissue to soften the edges between light and dark areas.
- Optimize Time with Pre-Sketches: Before I start on my final drawing, I like to do some quick sketches on a separate sheet. It helps me get used to the shapes and sizes. This saves time because I can practice without worrying about messing up my final piece.
- Enhancing with Color: When you’re adding color, try using different shades of blue and purple. You can even add a bit of red to make it look more natural. Using more than one color stops the drawing from looking flat and makes it pop.
- Resources and Tools for Better Results: If you want to improve your drawings, think about getting some special drawing tools. Things like blending stumps and erasers for fine details can make a big difference. You can also find lots of free tutorials online that can teach you cool techniques for shading and textures.
Remember, drawing is all about practice and having fun. Keep at it, and you’ll see your skills improve in no time!
Common Mistakes to Avoid When Drawing Blueberries
When I first started drawing blueberries, I made a few mistakes. Let me share them with you so you can avoid them in your own drawings.
- Mistake 1: Drawing Perfect Circles: I used to draw blueberries as perfect circles, but that made them look fake. Now, I aim for slightly uneven shapes. It looks more natural that way. I start with quick, loose strokes to get a more organic form.
- Mistake 2: Pressing Too Hard with the Pencil: At first, I pressed too hard when sketching. This made it hard to erase and left marks on the paper. Now, I use a light pencil and don’t press down much when I’m starting out. It takes practice, but it’s worth it.
- Mistake 3: Neglecting Shading: I once forgot to add proper shading, and my blueberries looked flat. Now, I build up shading bit by bit, focusing on where shadows would naturally fall. Looking at a real blueberry or a photo helps me get this right.
- Mistake 4: Overcomplicating the Calyx (Crown): I used to make the calyx (that’s the crown-like part at the top) too detailed. Now, I keep it simple with just a few quick triangle shapes. Remember, it’s a small part of the berry, so don’t stress over it too much.
- Mistake 5: Skipping Overlapping Techniques: When drawing multiple blueberries, I didn’t overlap them properly at first. This made them look flat. Now, I make sure to show one berry in front of another. It adds depth to the drawing.
- Mistake 6: Using One Color for Everything: I once used just one shade of blue for the whole berry. It looked dull and unrealistic. Now, I use different shades of blue and purple and even a bit of red. It makes the berries look more real and interesting.
- Mistake 7: Forgetting Leaf Details: I used to draw very simple leaves, which made the whole picture less interesting. Now, I pay attention to the veins in the leaves and how they curve. Looking at real leaves or good photos helps me get the details right.
Remember, everyone makes mistakes when learning to draw. The key is to keep practicing and learning from each drawing you make!
Conclusion
Lastly, drawing blueberries can be a fun and rewarding experience. We’ve covered the basics, from preparing your supplies to adding those final touches.
Remember, it’s okay to make mistakes – they’re part of the learning process. Keep practicing, and you’ll see your skills improve with each drawing.
Why not give it a try right now? Grab your pencils and paper, and start sketching. Don’t worry if your first attempt isn’t perfect. The more you draw, the better you’ll get.
I’d love to see your blueberry drawings! Feel free to share them in the comments below. And if you have any questions or need more tips, just ask.
Happy Drawing, Everyone!