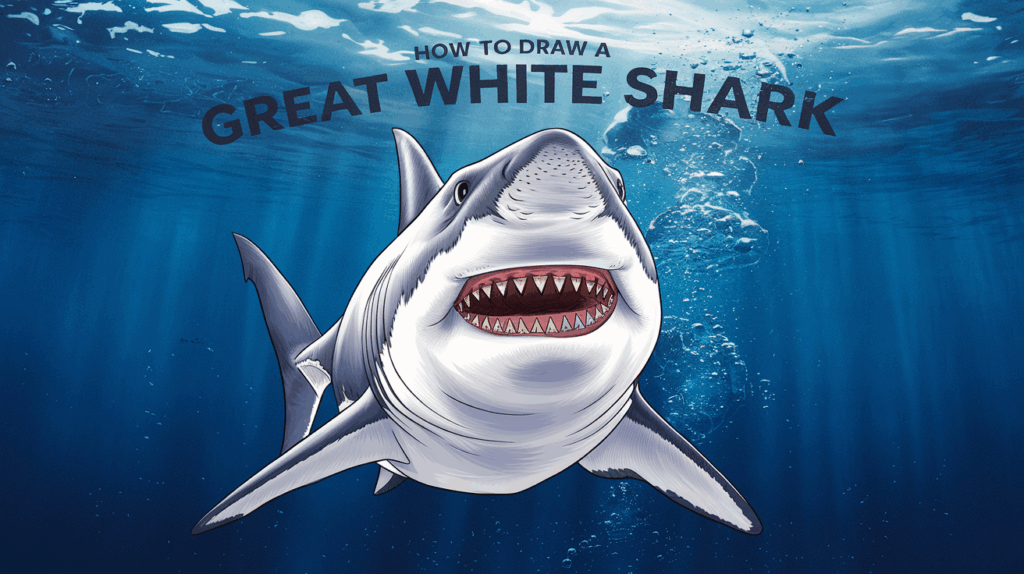
Many people want to capture the powerful image of a great white shark on paper. They often feel nervous about how to draw a great white shark because of its complex features. But the truth is, anyone can learn how to draw a great white shark with the right guidance.
This skill is easier to master than one might think. The step-by-step method for how to draw a great white shark breaks down the process into simple parts that build confidence as one goes along.
The good news is that drawing sharks can be fun and rewarding. Artists will soon create impressive artwork that shows off these amazing creatures in all their glory.
The shark drawing odyssey begins now, and that blank page will evolve into something special.
How to Draw a Great White Shark for Beginners
Learning to draw a great white shark might seem hard at first glance. Many beginners worry about getting the proportions right and capturing the essence of this ocean predator.
With a few simple tips and tricks, anyone can create a great-looking shark drawing. The key is to break down the process into manageable steps.
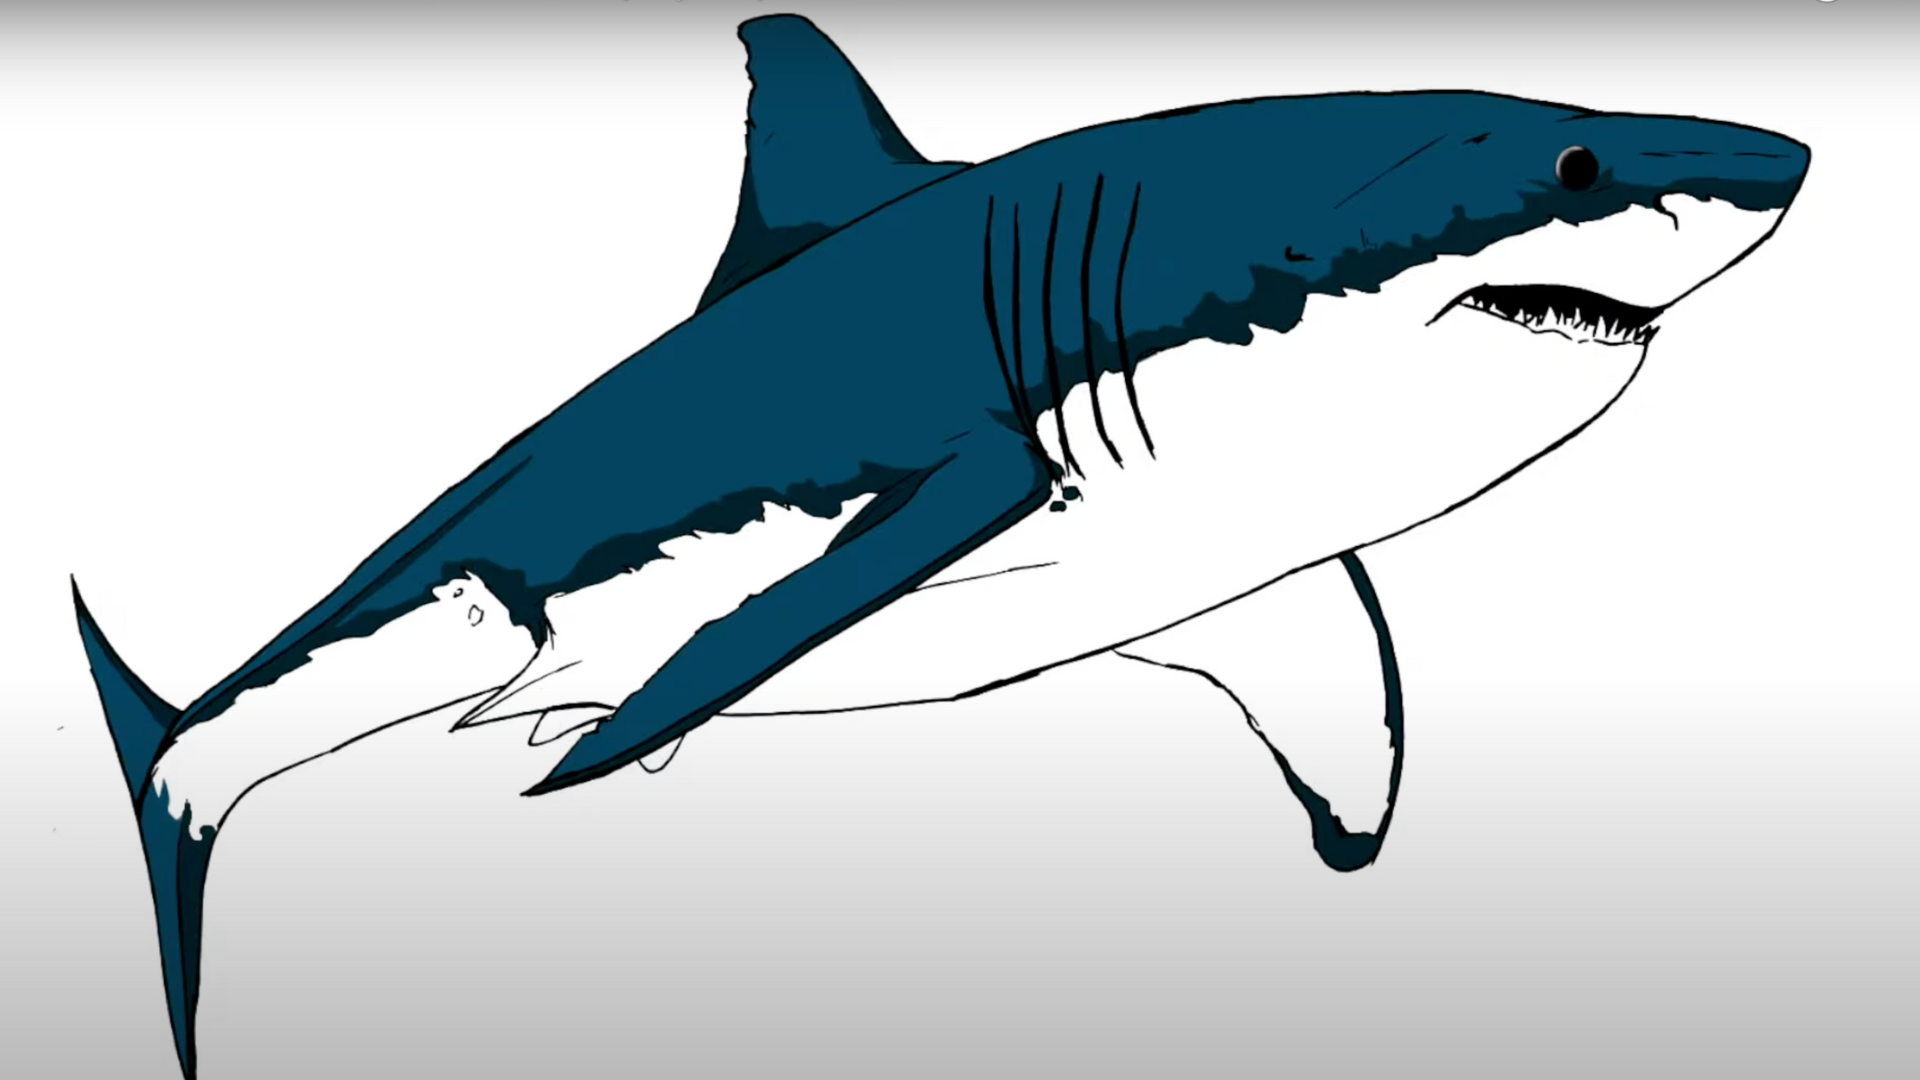
- Basic outline: Start with a long oval shape for the body and add a triangle for the nose. The oval serves as the main body while the triangle helps form the distinctive shark snout that great whites are known for.
- Fin placement: Add the dorsal fin on top as a triangle, and draw smaller triangles for the pectoral fins on the sides. The dorsal fin should be taller than the others and placed slightly back from the middle of the shark’s body.
- Tail shape: Create the tail with two curved triangles that form a crescent shape. The upper lobe of the tail should be slightly larger than the lower one to show the typical great white shark tail structure.
- Facial features: Add a small dot for the eye and draw the mouth line with a gentle curve. The eye should be placed near the front of the head, and the mouth should extend back with a slight downward curve.
- Texture details: Draw small lines along the body to show the texture of the skin. These lines can be short and spaced out to give the impression of the shark’s smooth but textured skin.
- Shading tips: Use light shading to give the shark depth, darker on top and lighter on the bottom. This natural coloration, called countershading, helps show the typical great white shark appearance.
Steps to Perfectly Sketch a Great White Shark
Drawing a great white shark can be an exciting and rewarding experience. Each step is broken down clearly, allowing you to work at your own pace. Follow along, and you’ll soon be able to draw a detailed and lifelike great white shark!
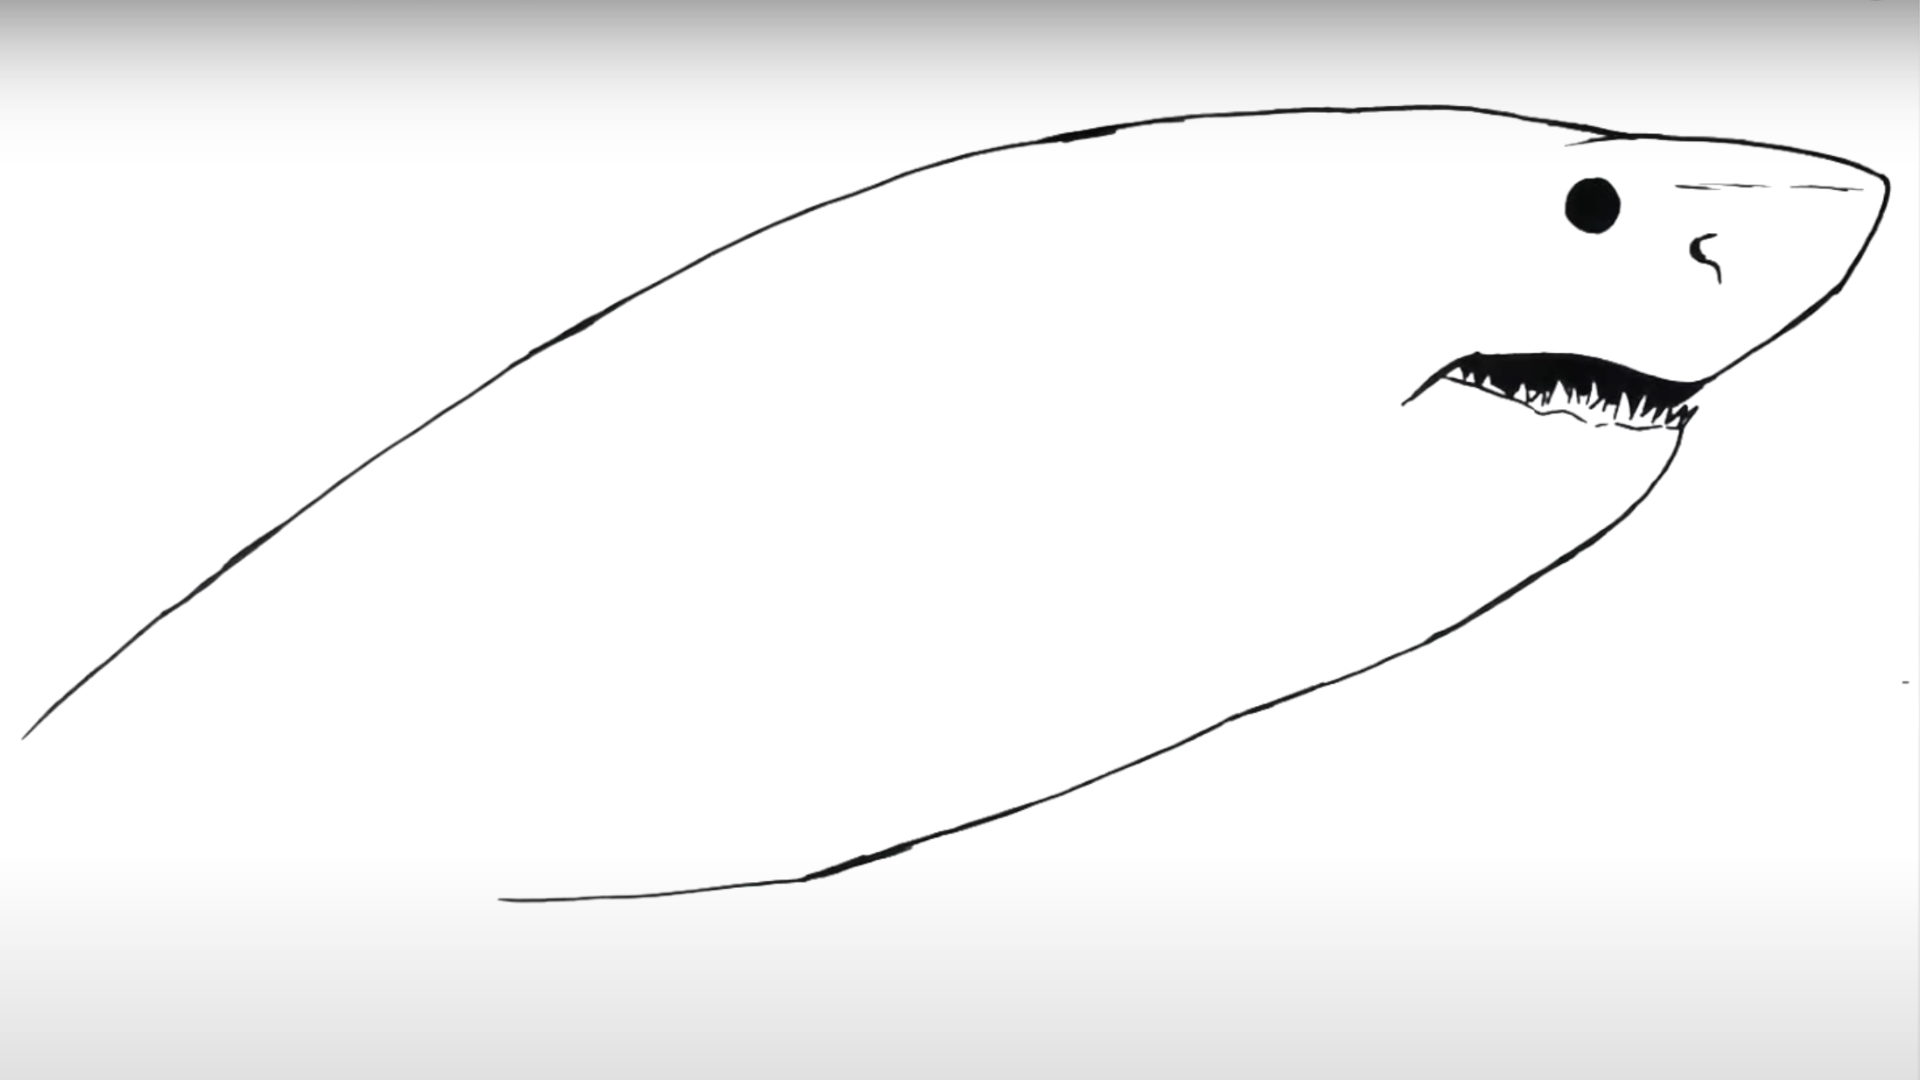
Step 1: Draw the Eye and Nose

Materials Required to Draw a Great White Shark:
| Material | Description |
|---|---|
| Pencils | For sketching the outline and details |
| Eraser | For corrections and refinements |
| Fine-tipped black marker | To define the lines and details |
| Colored pencils or markers | To add shading and color |
| Paper | Landscape orientation, standard size |
Start by drawing a small circle in the upper right corner of your paper to represent the shark’s eye. Color it in completely with black, leaving no shine.
From the eye, draw a pointed line upwards to create the shark’s nose. Curve the line around the bottom to form the outline of the mouth, which will eventually lead into the shark’s jaw.
Step 2: Outline the Shark’s Mouth and Teeth
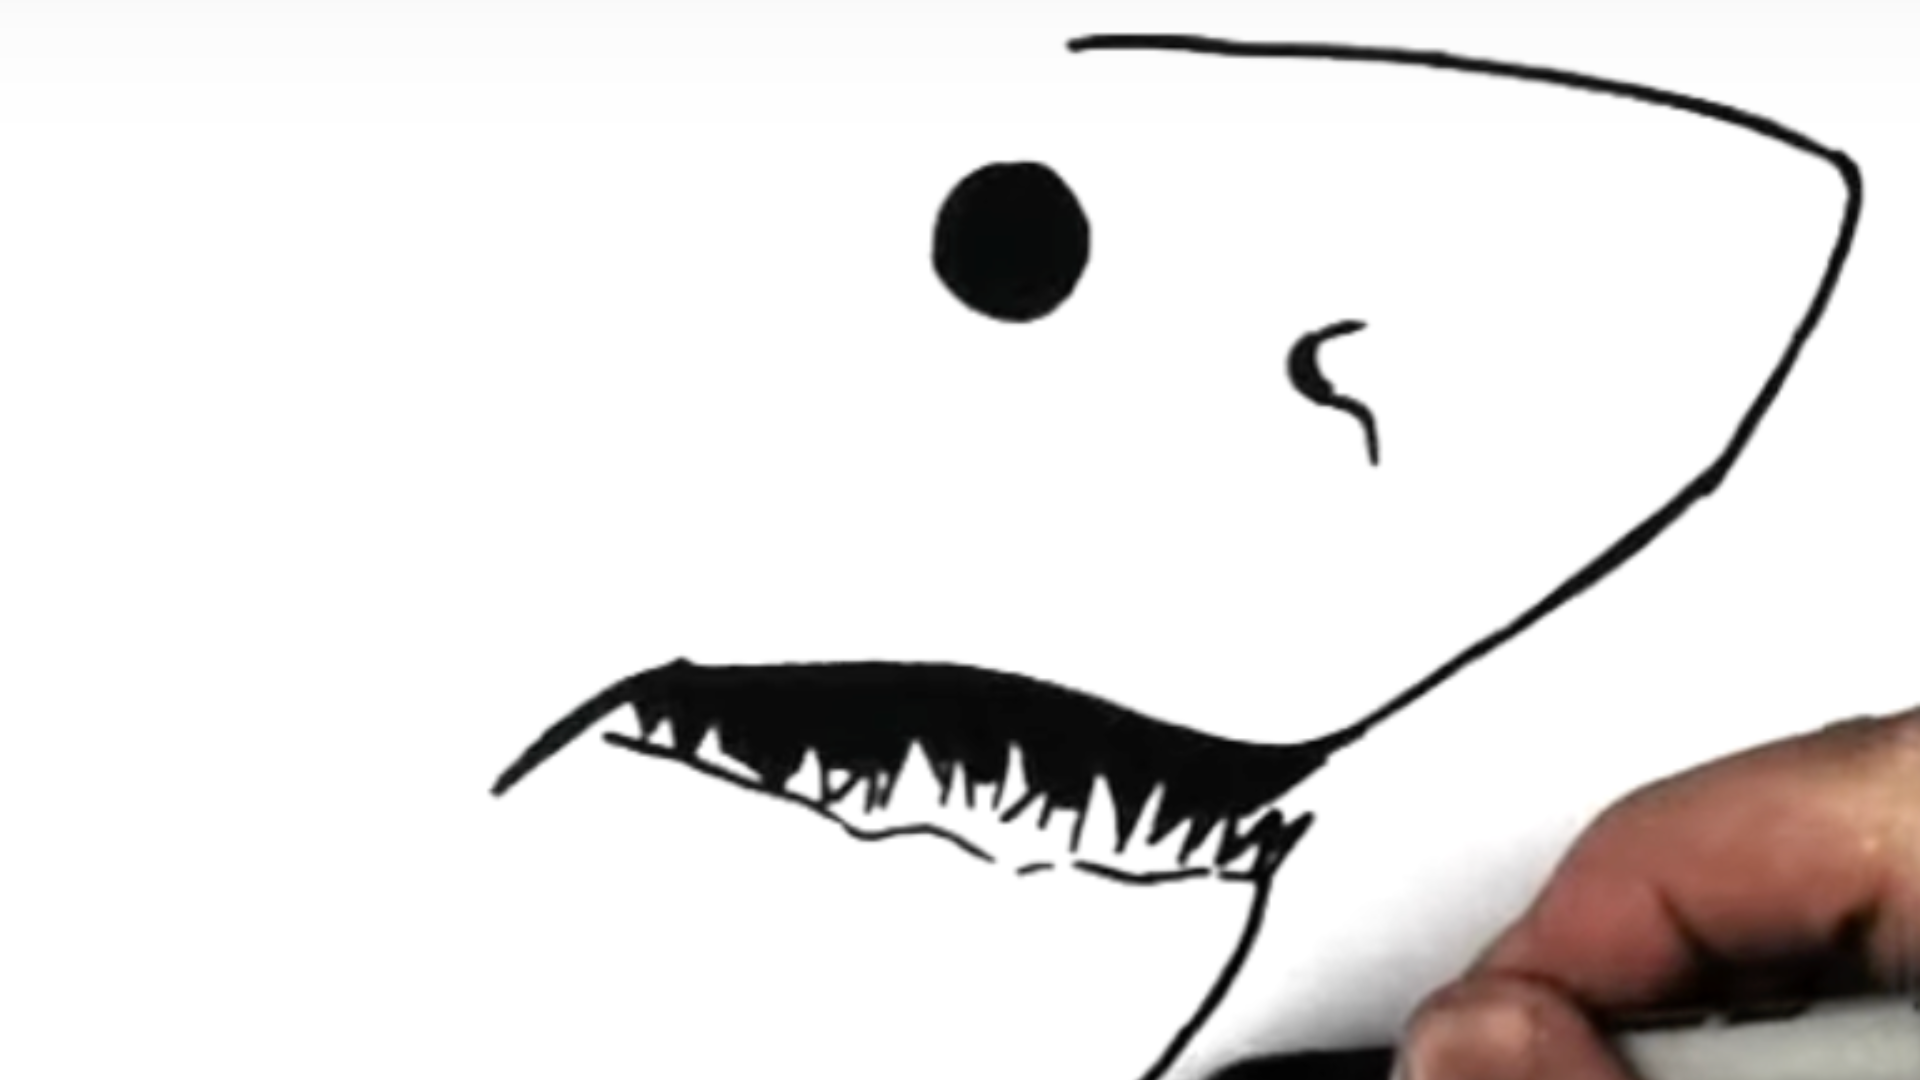
The shark’s mouth is a focal point of its menacing look, so give it careful attention. Start by outlining the curve of the upper lip and move down to draw rows of sharp teeth.
- Begin the mouth just below the nose, curving the line downward.
- Add rows of jagged teeth in varying directions for a natural look.
- Darken the inside of the mouth to create depth and make the teeth stand out.
- Include a gum line to give the mouth a more realistic appearance.
Step 3: Shape the Shark’s Body
In this perspective, you capture the shark swimming toward or away from the viewer at a slight angle, adding energy to the drawing. The shark’s body will be more dynamic, with the fin angles conveying swift motion.
- The body tapers as it moves toward the tail.
- Highlight the curved back and the shark’s signature dorsal fin.
- Add slight wave effects around the body to enhance the sense of speed.
Step 4: Draw the Fins
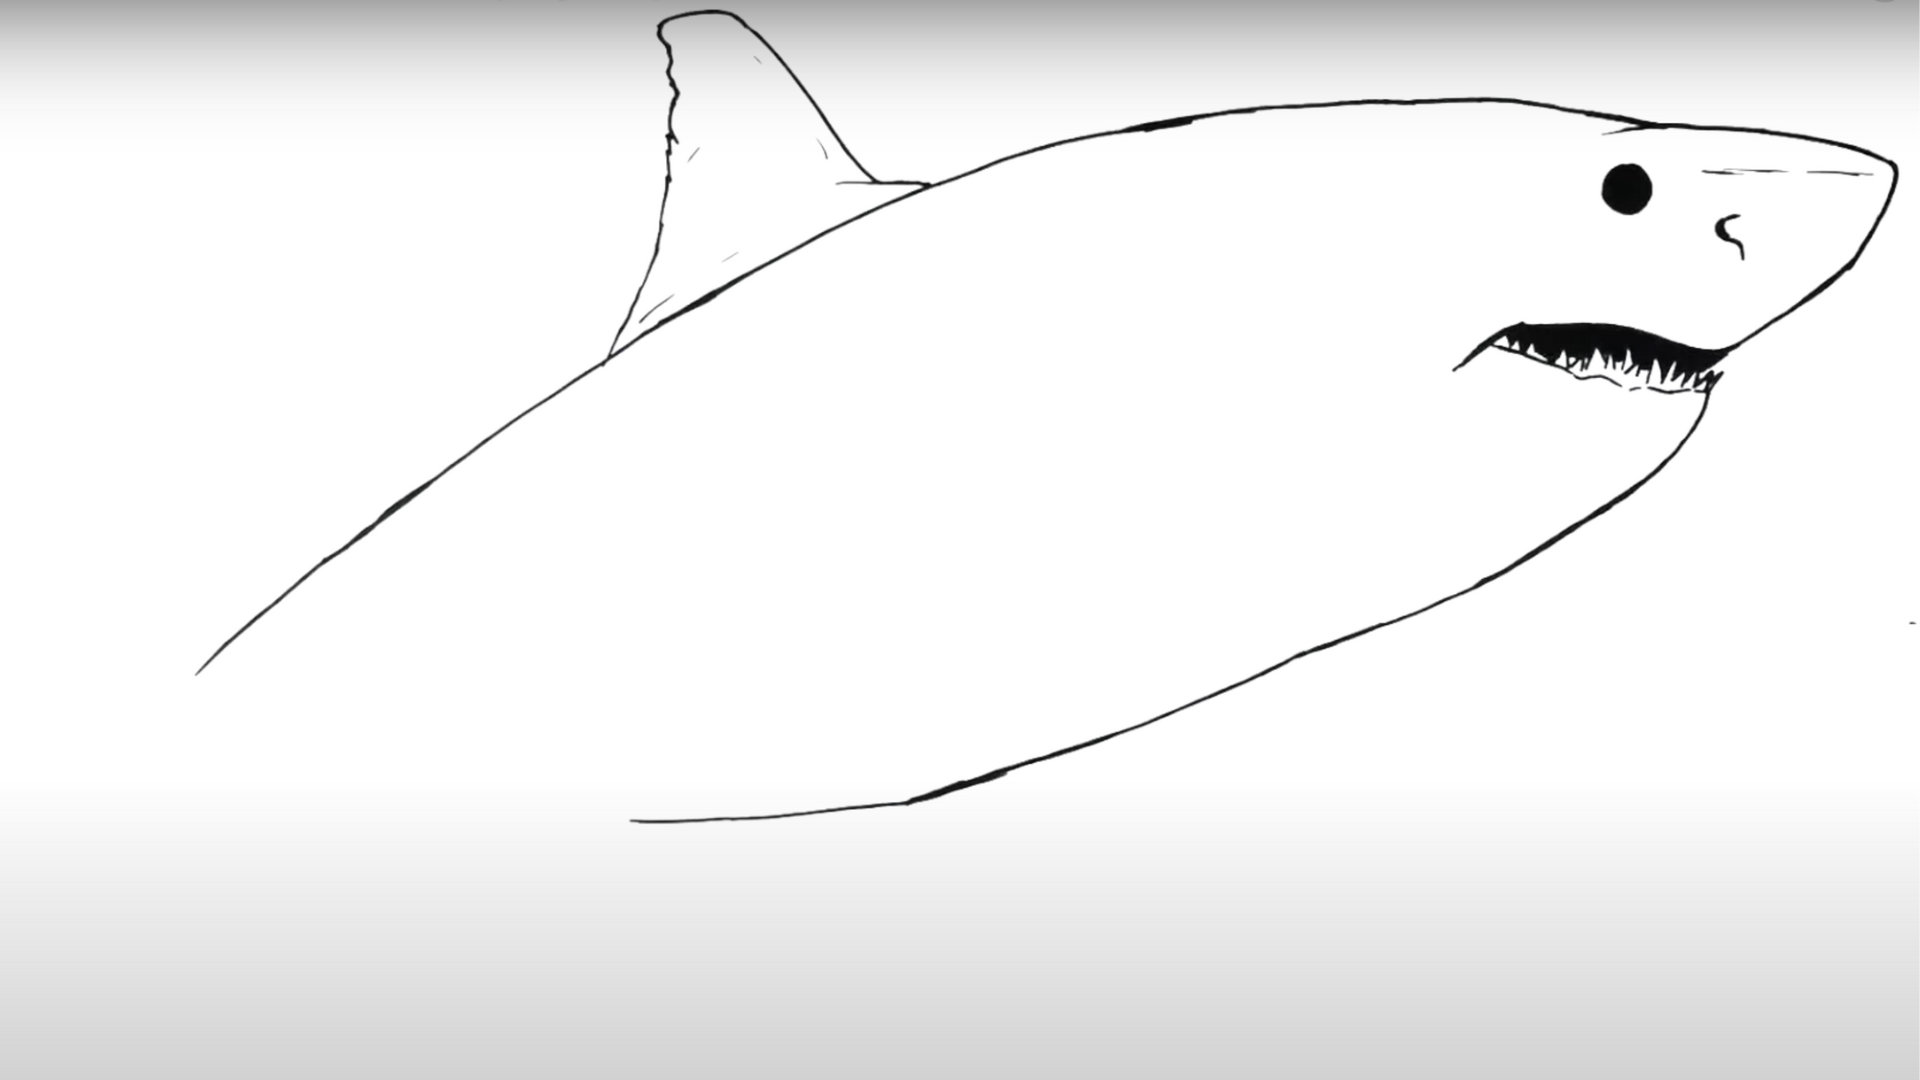
On the body, draw the large dorsal fin near the top center. It should start broad near the body and curve to a point. At the base of the body, draw a smaller fin.
Don’t forget the fins along the sides of the shark’s body. Ensure these fins have jagged edges to mimic the rough texture typical of shark fins.
Step 5: Sketch the Tail
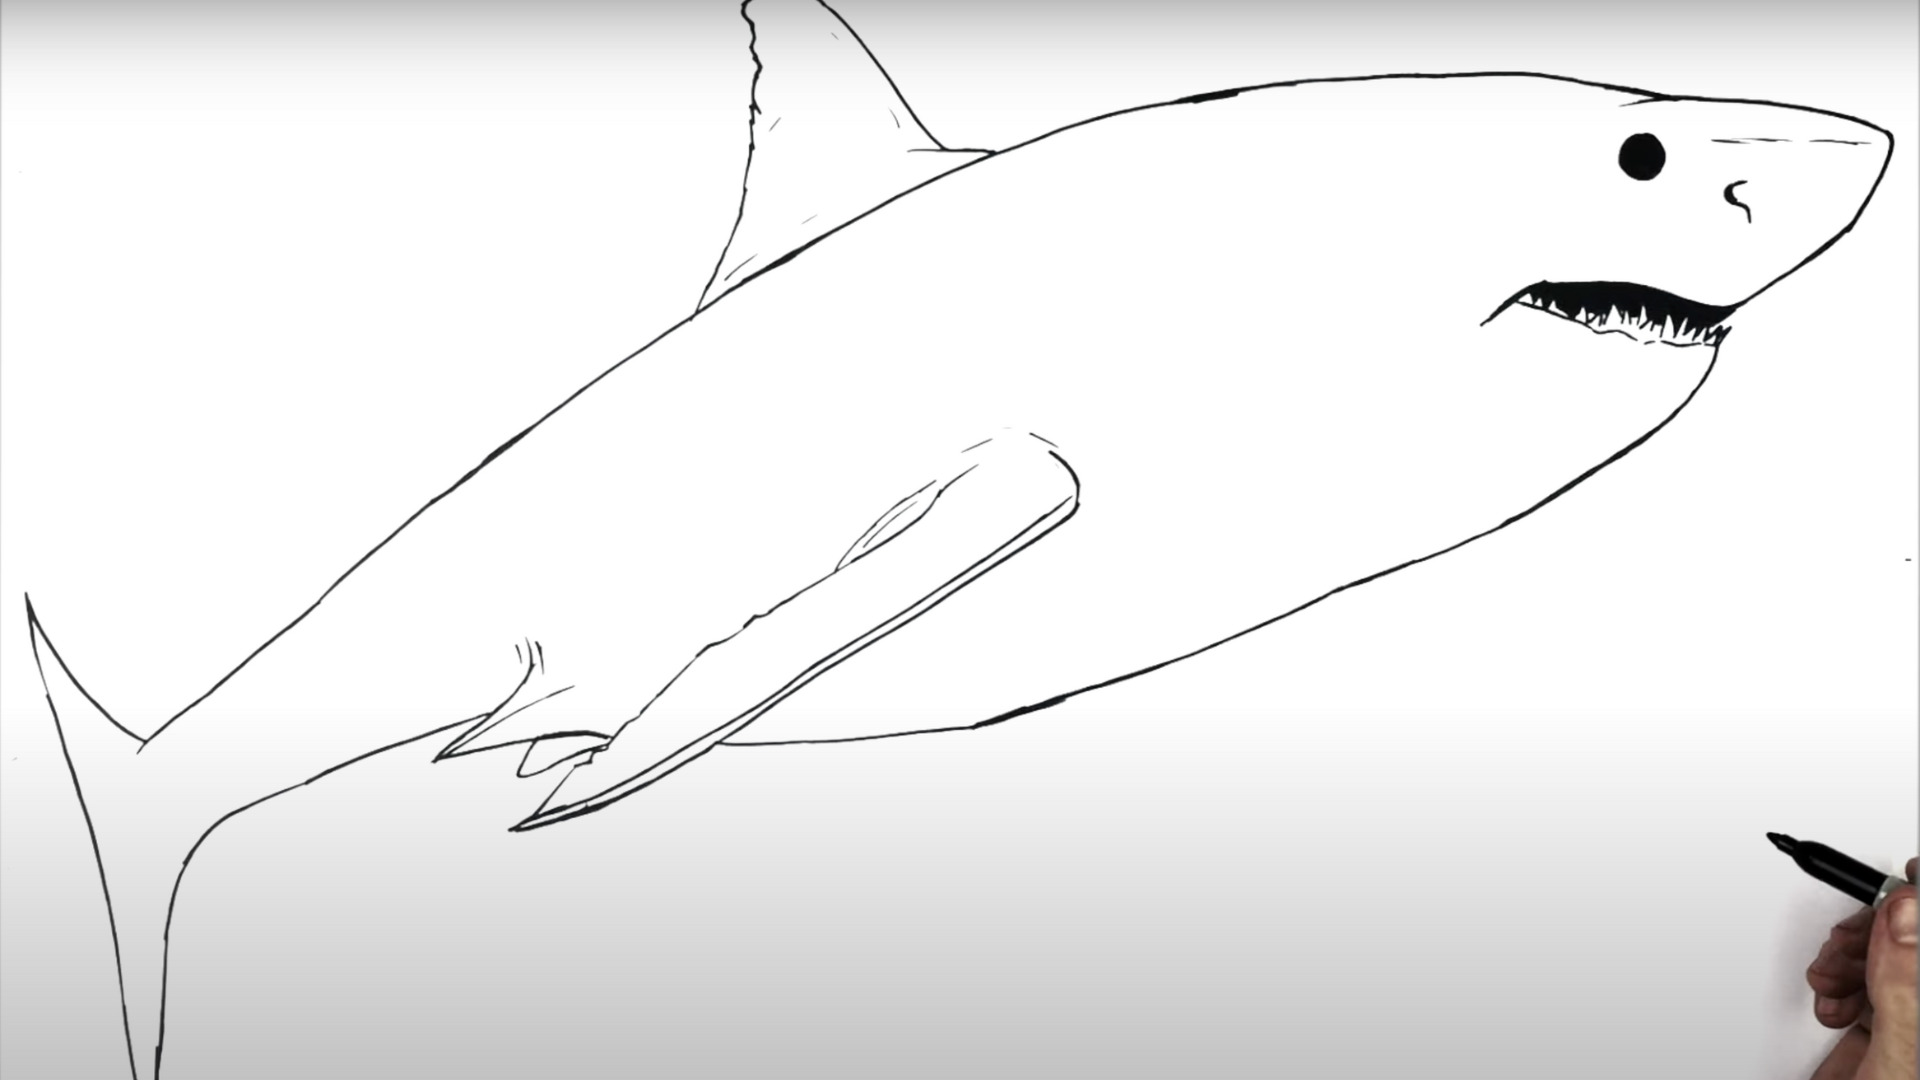
Draw a huge triangular form for the tail of the great white shark, making sure that the top is slightly curled.
The tail should be slightly angled to create the appearance of the shark swimming. The tail of the great white shark is long and widespread at the bottom.
Step 6: Add Texture and Details
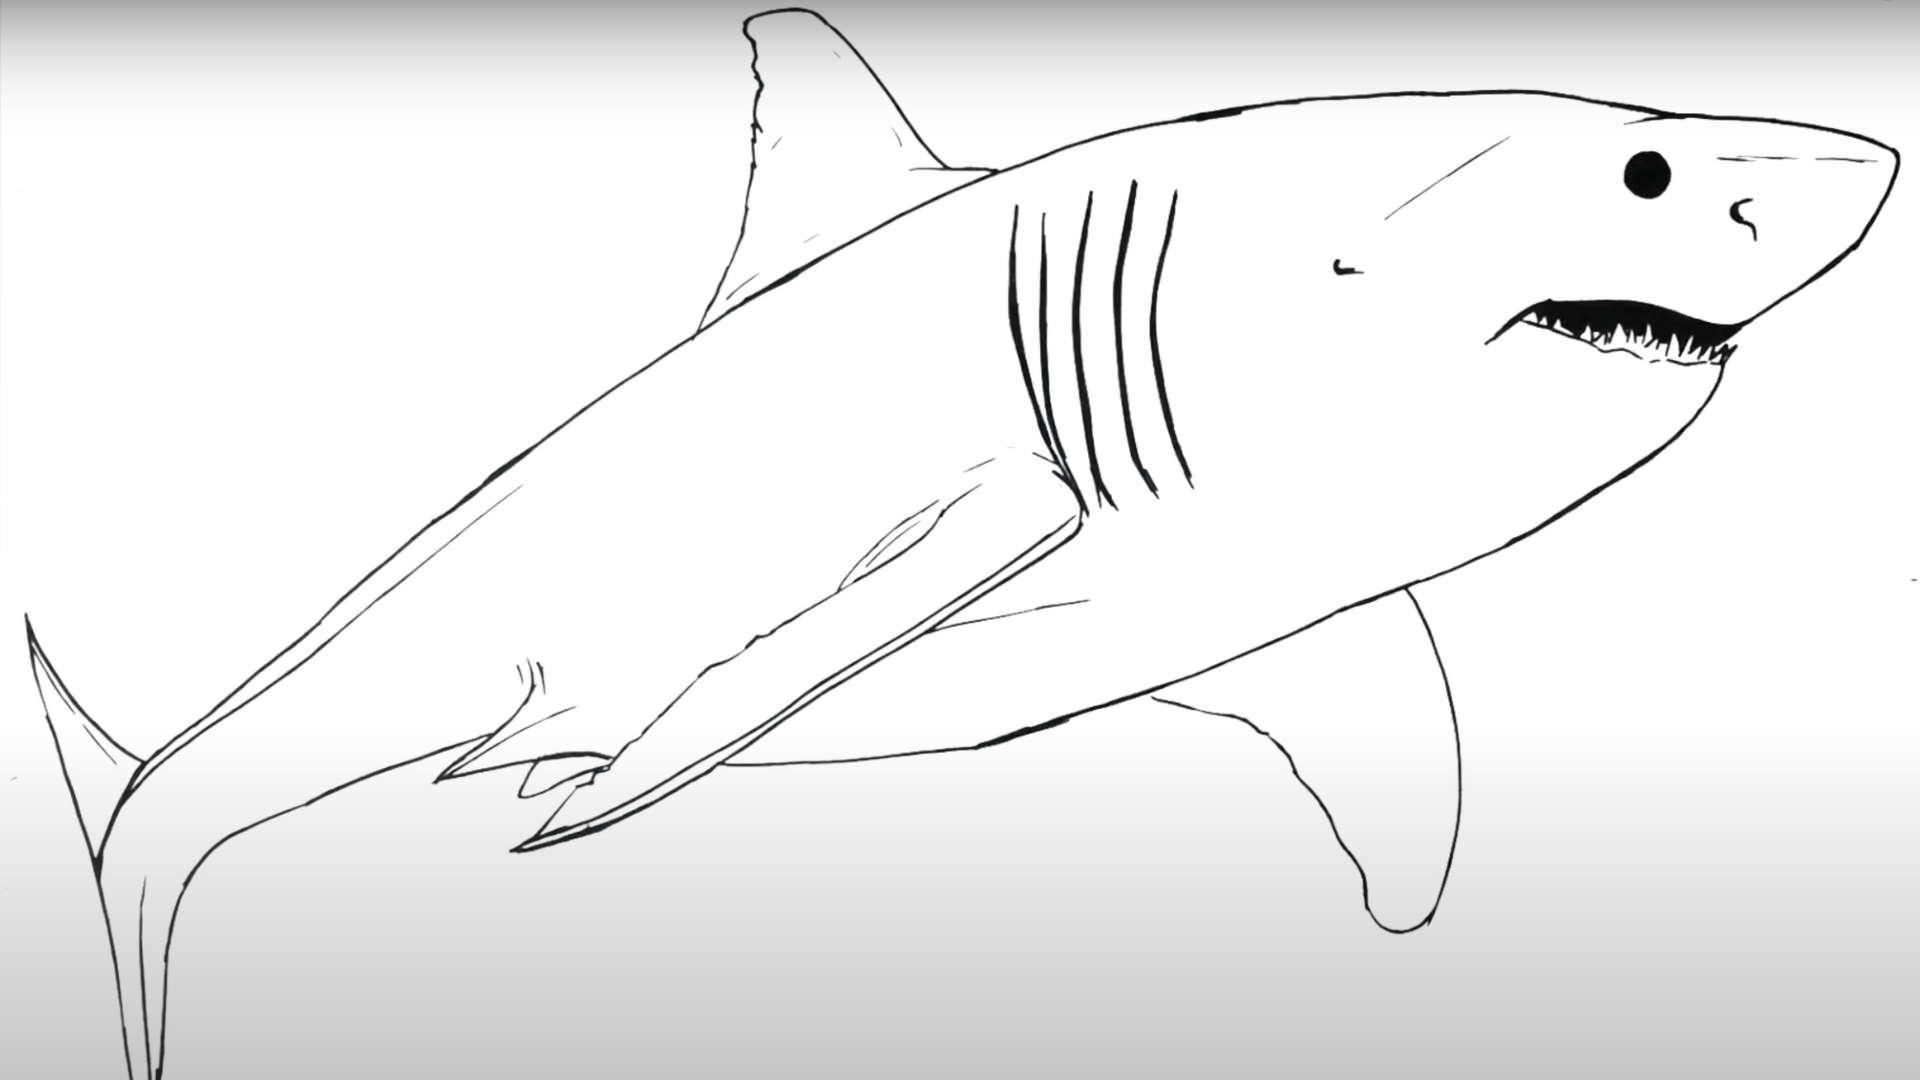
Add small lines along the shark’s back to show texture and muscle definition. These lines should flow from the head down toward the tail.
Draw the gills just behind the shark’s head. These should be three or four curved lines near the top of the body.
Step 7: Finalize with Shading and Color
Zoom in on specific shark features like the teeth, gills, or eye. This allows you to focus on intricate textures and sharp contrasts.
- Show the fine details in the shark’s scales.
- Focus on the gills and the patterns of the skin.
- Use shading techniques to highlight texture and depth, making the features stand out dramatically.
Pro Tips for Beginner Shark Artists
Drawing sharks takes practice, but a few expert tips can help beginners improve faster. Many new artists rush into details without setting up a good foundation first.
Taking time to learn some basic techniques can make a big difference in the final artwork. These suggestions will help new shark artists avoid common mistakes.
- Start simple: Begin with basic shark shapes before trying to draw a realistic great white shark. Simple shark outlines help build confidence and teach fundamental proportions that apply to more detailed work later.
- Use references: Look at photos of great white sharks from different angles to understand their structure. Good reference images show important details like fin placement, body curves, and facial features that make sharks look authentic.
- Practice proportions: Pay attention to the size relationships between the body, fins, and head of the shark. The body should be about five times longer than it is tall, with the dorsal fin placed slightly behind the midpoint of the back.
- Learn shark anatomy: Study how shark bodies work to draw them more accurately. Understanding the general structure helps artists place features correctly and create more lifelike sharks.
- Try different views: Practice drawing sharks from the side, front, and at angles to build skill. Each view presents different challenges and helps artists understand the full three-dimensional form of a great white shark.
- Focus on the eyes: Give special attention to the eye placement and expression. Shark eyes are often small but very important for giving the drawing character and making it look real.
- Start with pencil: Use light pencil lines that can be erased or adjusted as the drawing progresses. This allows for corrections without having to start over completely if something looks wrong
Creative Ways to Draw a Great White Shark
Drawing a great white shark can be more than just copying what you see in photos. Artists can use many creative approaches to make their shark drawings stand out from the crowd.
Here are some imaginative ways to draw a great white shark that go beyond the basic side-view sketch.
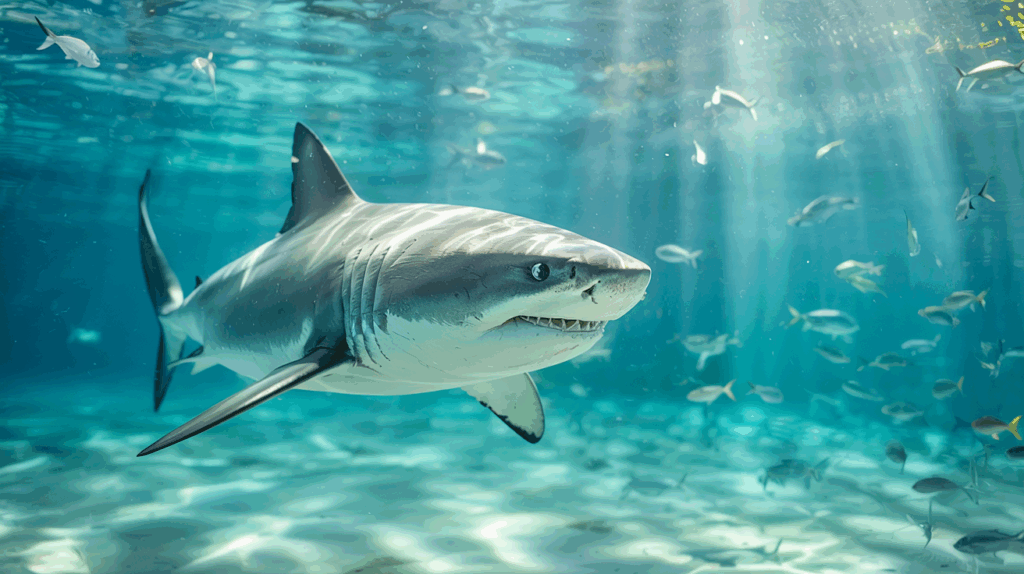
Underwater Scene
Close-Up Portrait
Light and Shadow Play
Conclusion
Drawing sharks becomes easier with practice and the right approach. This blog has shown several methods for how to draw a great white shark, from basic outlines to more creative interpretations. Anyone can create impressive shark artwork by following these step-by-step techniques.
The key points covered include starting with simple shapes, understanding shark anatomy, and trying different perspectives. These skills build upon each other and help artists develop their own style over time.
Learning how to draw a great white shark opens doors to creating other ocean creatures as well. The same principles apply to many marine animals. The satisfaction of completing a shark drawing makes the learning process worthwhile.
By applying these tips, even beginners can produce shark artwork they feel proud to display or share with others.