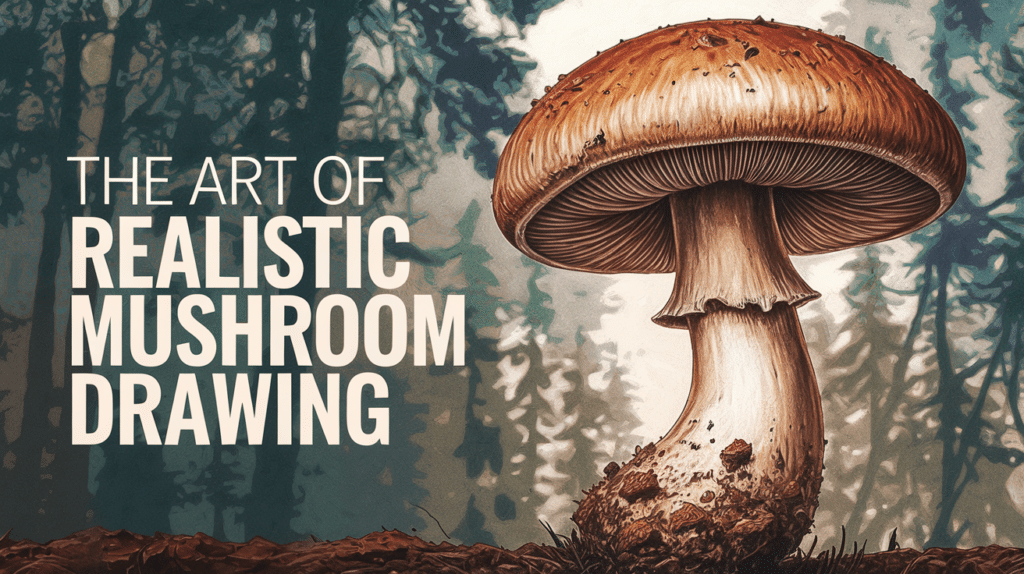
Want to learn how to create a realistic mushroom drawing that looks good enough to pick? Many artists struggle with capturing the unique shapes and textures of fungi in their artwork.
But here’s good news, you don’t need fancy equipment or years of training to make realistic mushroom drawings. With a few simple techniques and a bit of practice, anyone can draw mushrooms that appear three-dimensional and natural.
This step-by-step guide will show you exactly how to sketch, shade, and detail mushrooms that pop off the page. From basic outlines to advanced texturing methods, we’ll cover everything you need to create realistic mushroom drawings you’ll be proud to display.
Lifelike Mushroom Drawing Techniques for Beginners
Drawing mushrooms with a realistic touch doesn’t need to feel hard.
For beginners who want to try their hand at mushroom art, a few basic methods can make a big difference.
Start with Clear Shapes: Most mushrooms have two main parts, the cap and the stem. Begin with light pencil marks to outline these basic forms. Don’t press too hard at this stage.
Use Reference Images: Look at real mushrooms or photos as you work. Notice how the cap might curve or how the stem changes width. These small details add to the feeling of realism in your drawing.
Focus on Shading: Light often hits the top of the cap, making it brighter, while the underside stays darker. This contrast helps your mushroom look solid rather than flat.
Choose the Right Pencils: For beginners, it helps to use different pencil grades. Softer pencils (like 6B) work well for dark areas beneath the cap, while harder pencils (like HB) are good for light details and textures.
Add Texture Details: Try adding small spots, lines, or bumps to show the unique surface of your mushroom. These texture marks, when done with care, can evolve a simple drawing into something that looks almost real enough to touch.
Remember that practice improves skills. Your first mushroom drawing might not look perfect, but each attempt teaches you something new about creating realistic artwork.
How to Draw an Appealingly Realistic Mushroom Drawing
Step 1: Start with Basic Shapes
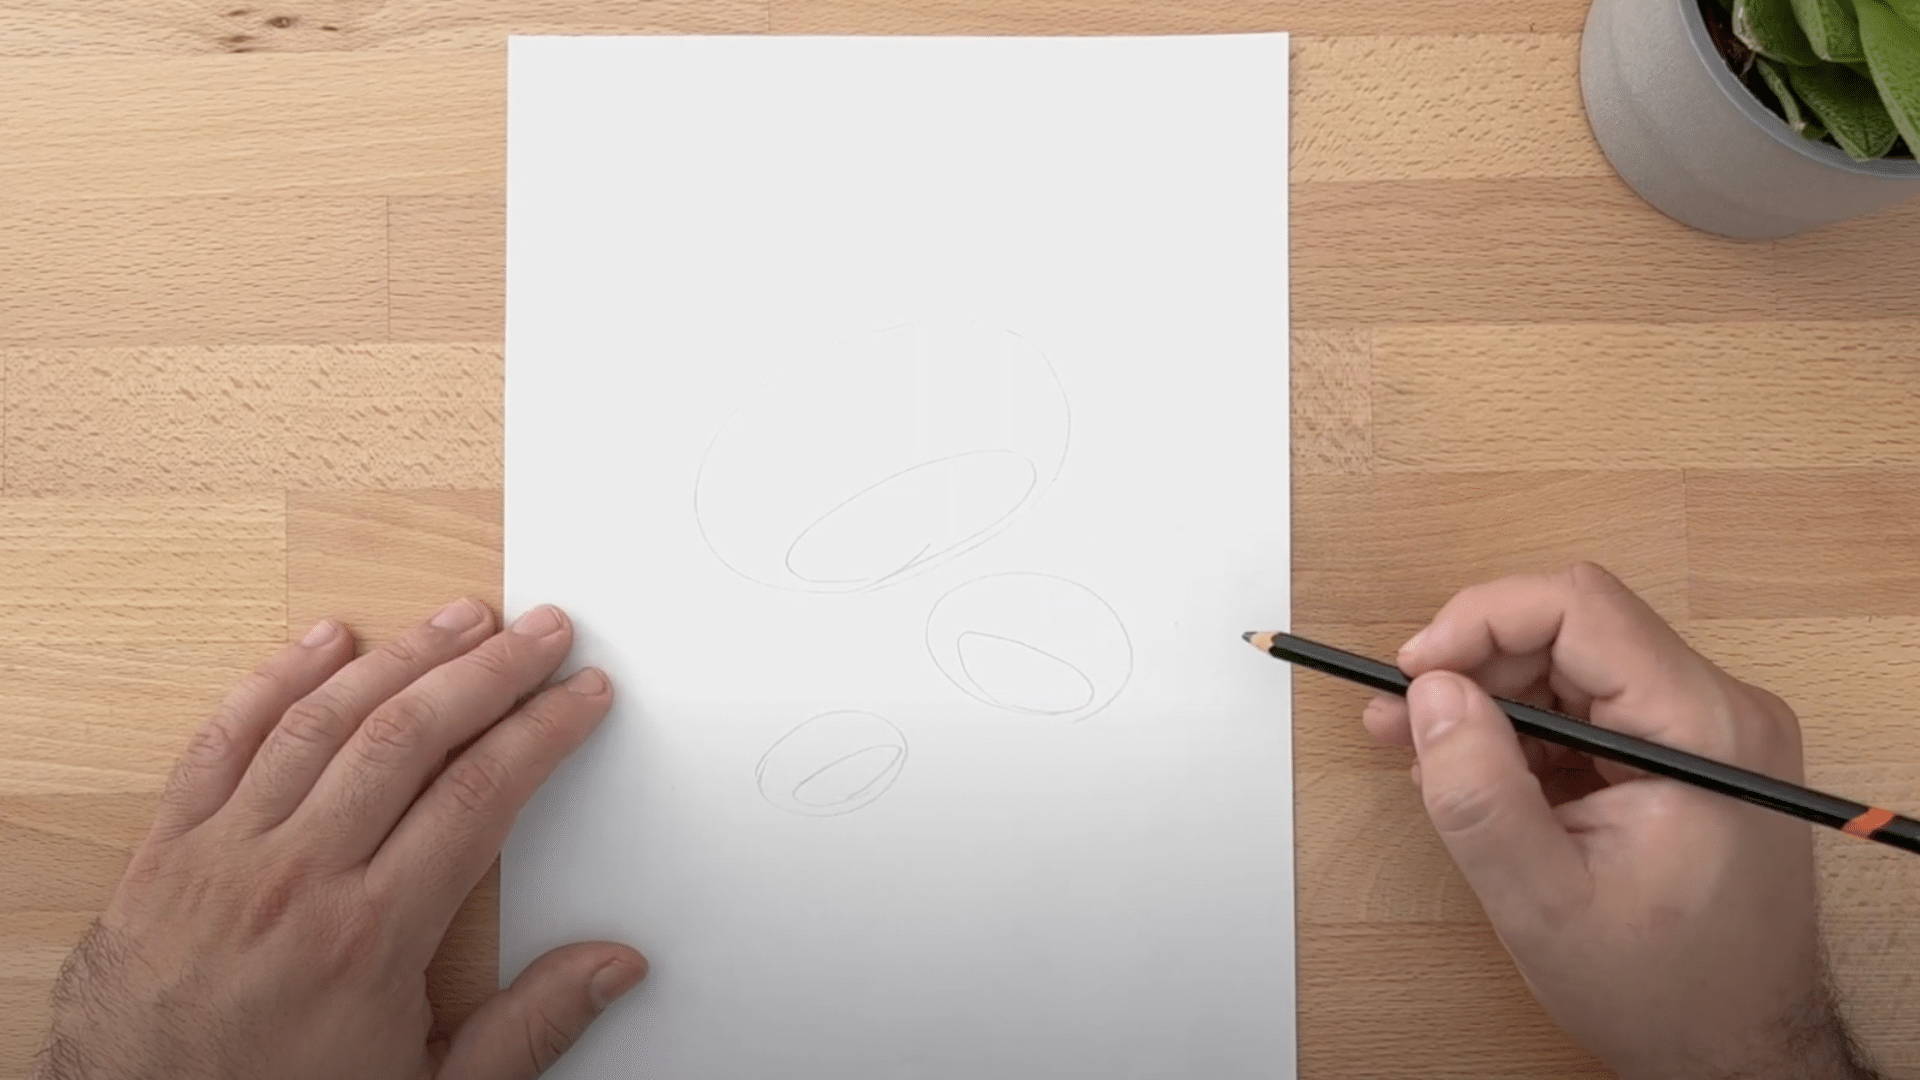
Begin by sketching the basic shapes of the mushroom caps using simple, rounded forms. Don’t limit yourself to drawing just one mushroom, create a cluster to make the scene more interesting.
Position them in such a way that gives a sense of perspective, as if viewed from above. Underneath each cap, add small circles to represent the base.
Step 2: Draw the Stalks
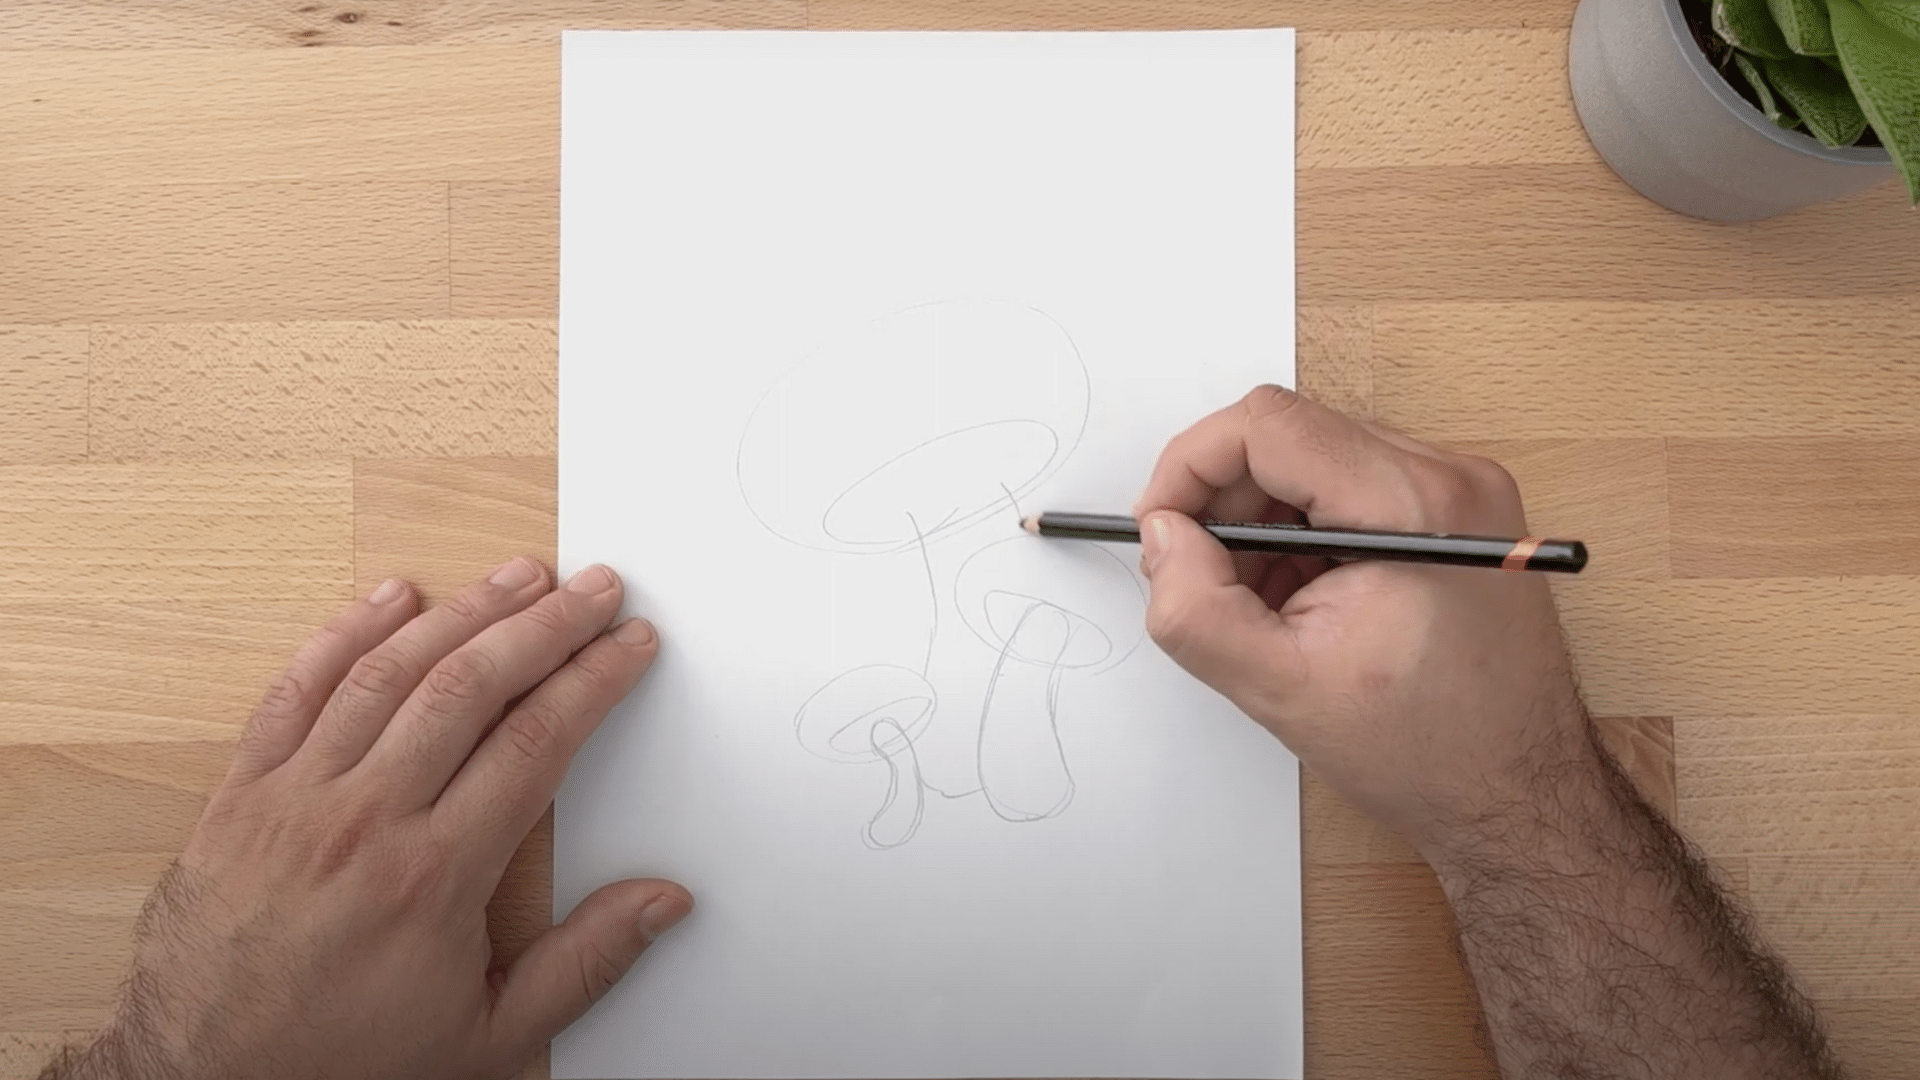
The stalks are an essential part of the mushroom’s structure. Start by drawing a smooth, elongated shape that tapers gently toward the base.
Make the stalks of the larger mushrooms thicker and more prominent, while the smaller mushrooms can have thinner stalks.
Ensure that the bottoms of the stalks align with the circles you drew for the base, creating a natural connection between the cap and stalk.
- Larger mushrooms: Thick, sturdy stalks.
- Smaller mushrooms: Thinner, delicate stalks.
- Add slight curvature for a more organic look.
Step 3: Refine the Shapes
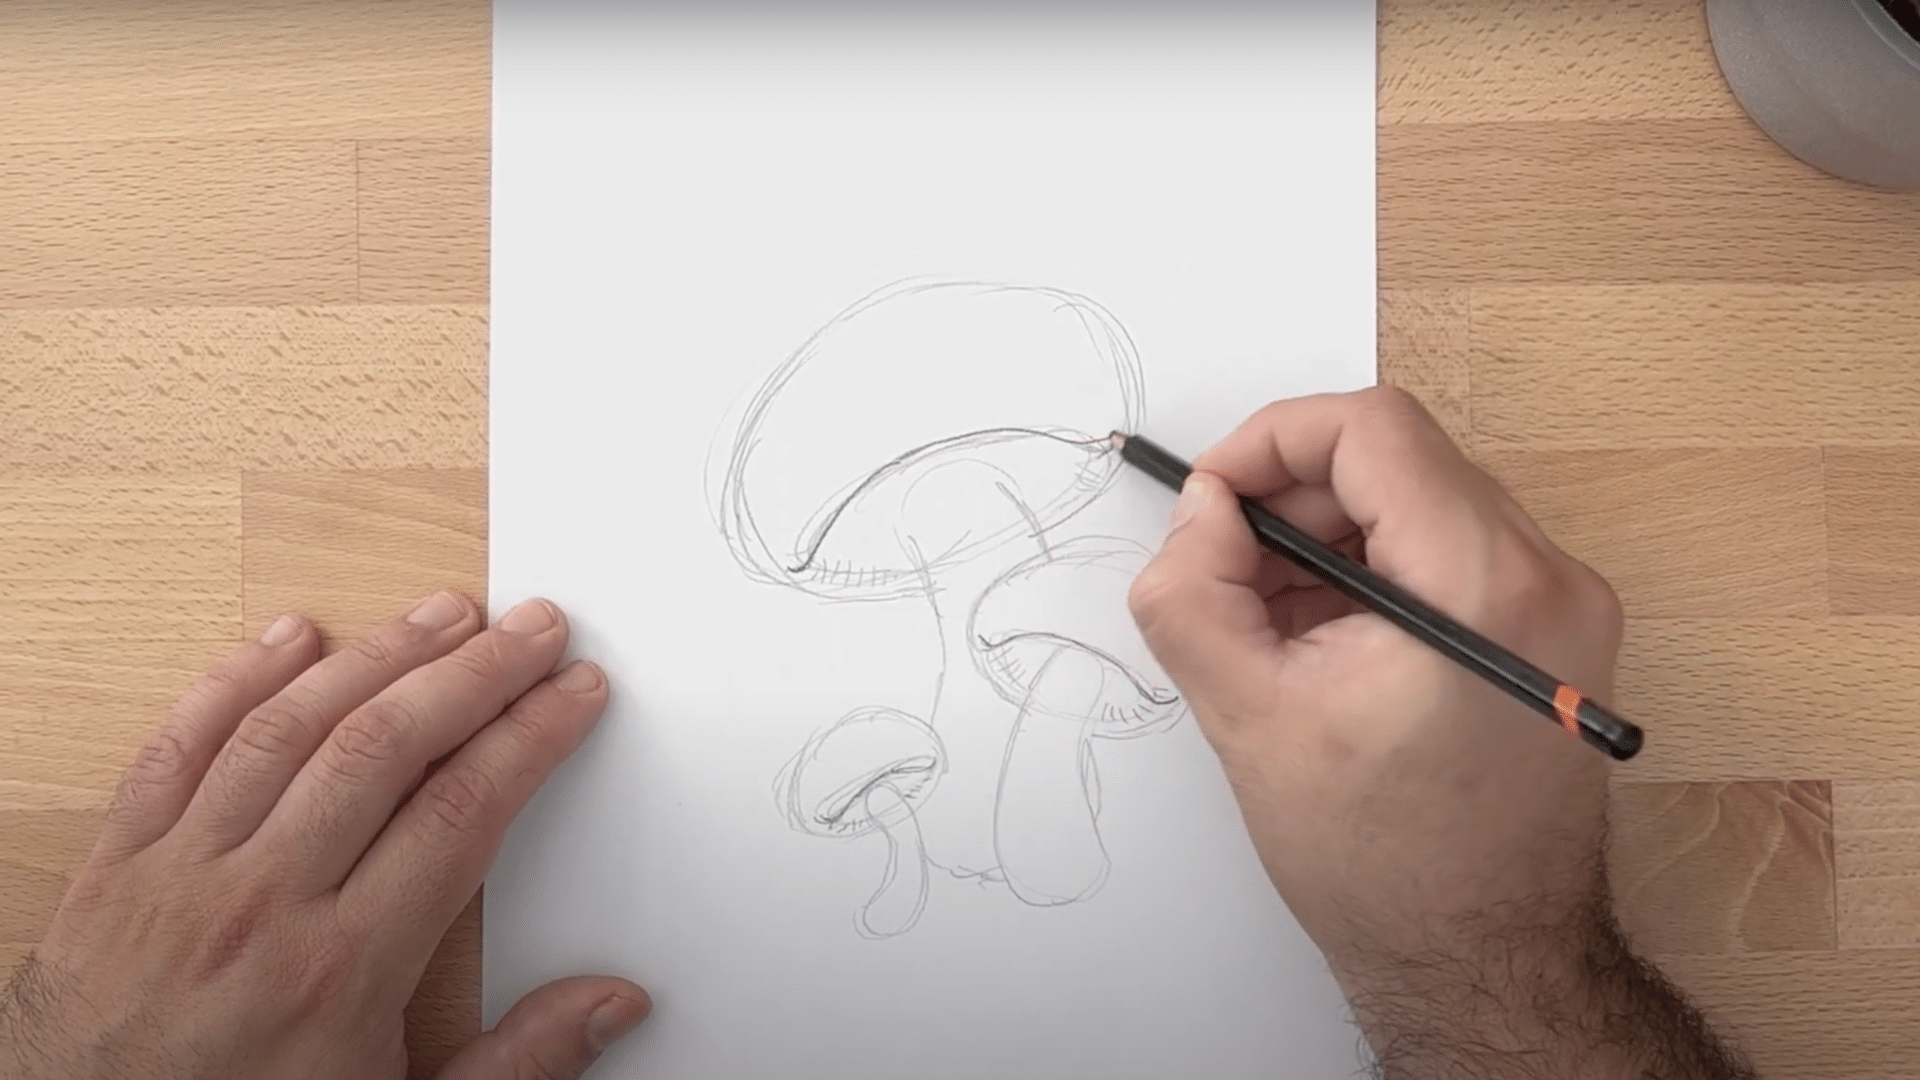
Once you have the basic shapes, go back and start refining them. Smooth out the curves of the caps and make them less geometric.
If you prefer a more irregular, organic look, feel free to adjust the shapes to match your vision. Play around with the perspective to ensure it feels natural.
Step 4: Add Details to the Bottom
Take a moment to focus on the base of the mushrooms. Add a small curve at the bottom edge of the circle to create a tapered look, mimicking the natural form of the mushroom.
This is where you start adding subtle details to give the mushrooms a realistic touch.
Step 5: Draw the Gills and Skirt
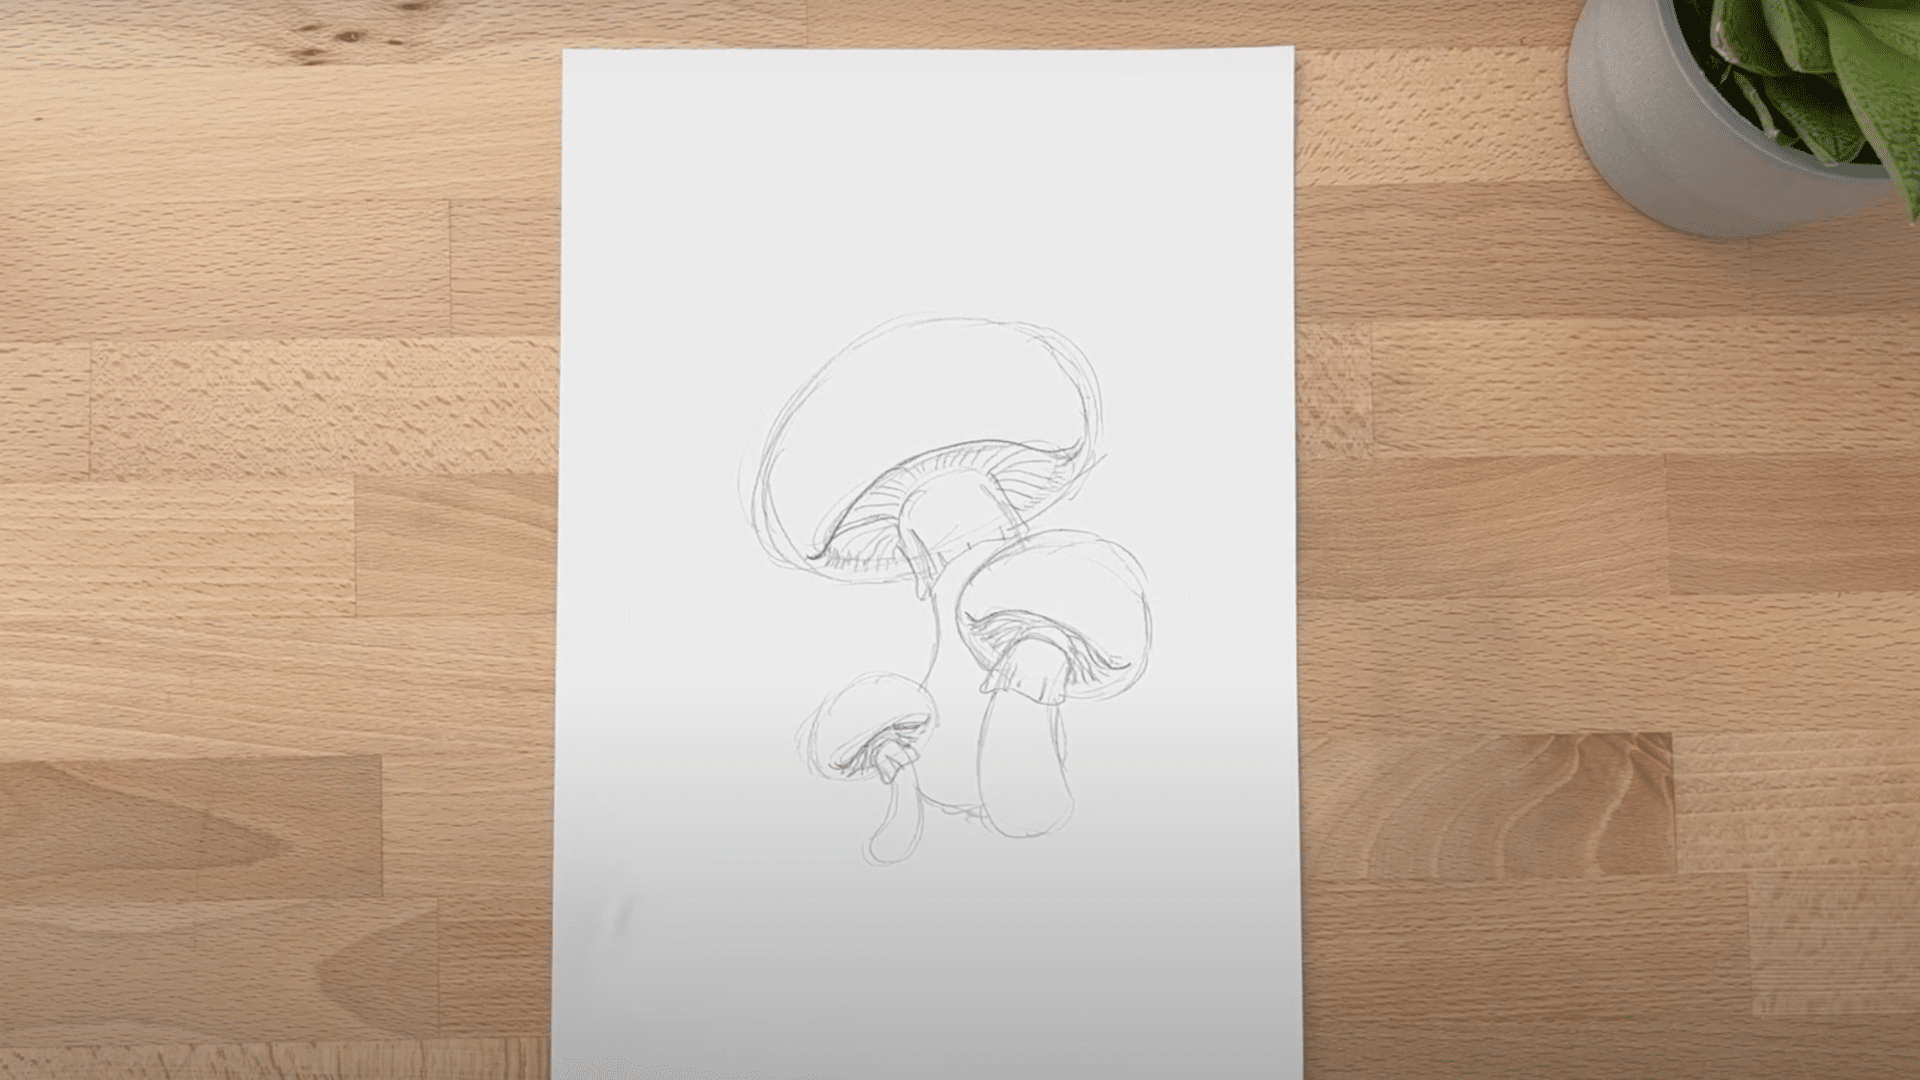
Next, focus on the interior of the mushroom, where the gills reside. These should appear concave, so make sure to curve the lines slightly inward for that realistic depth.
Mushrooms often have a fibrous, textured skirt at the base of the stalk. Use curved lines to give a light indication of this texture.
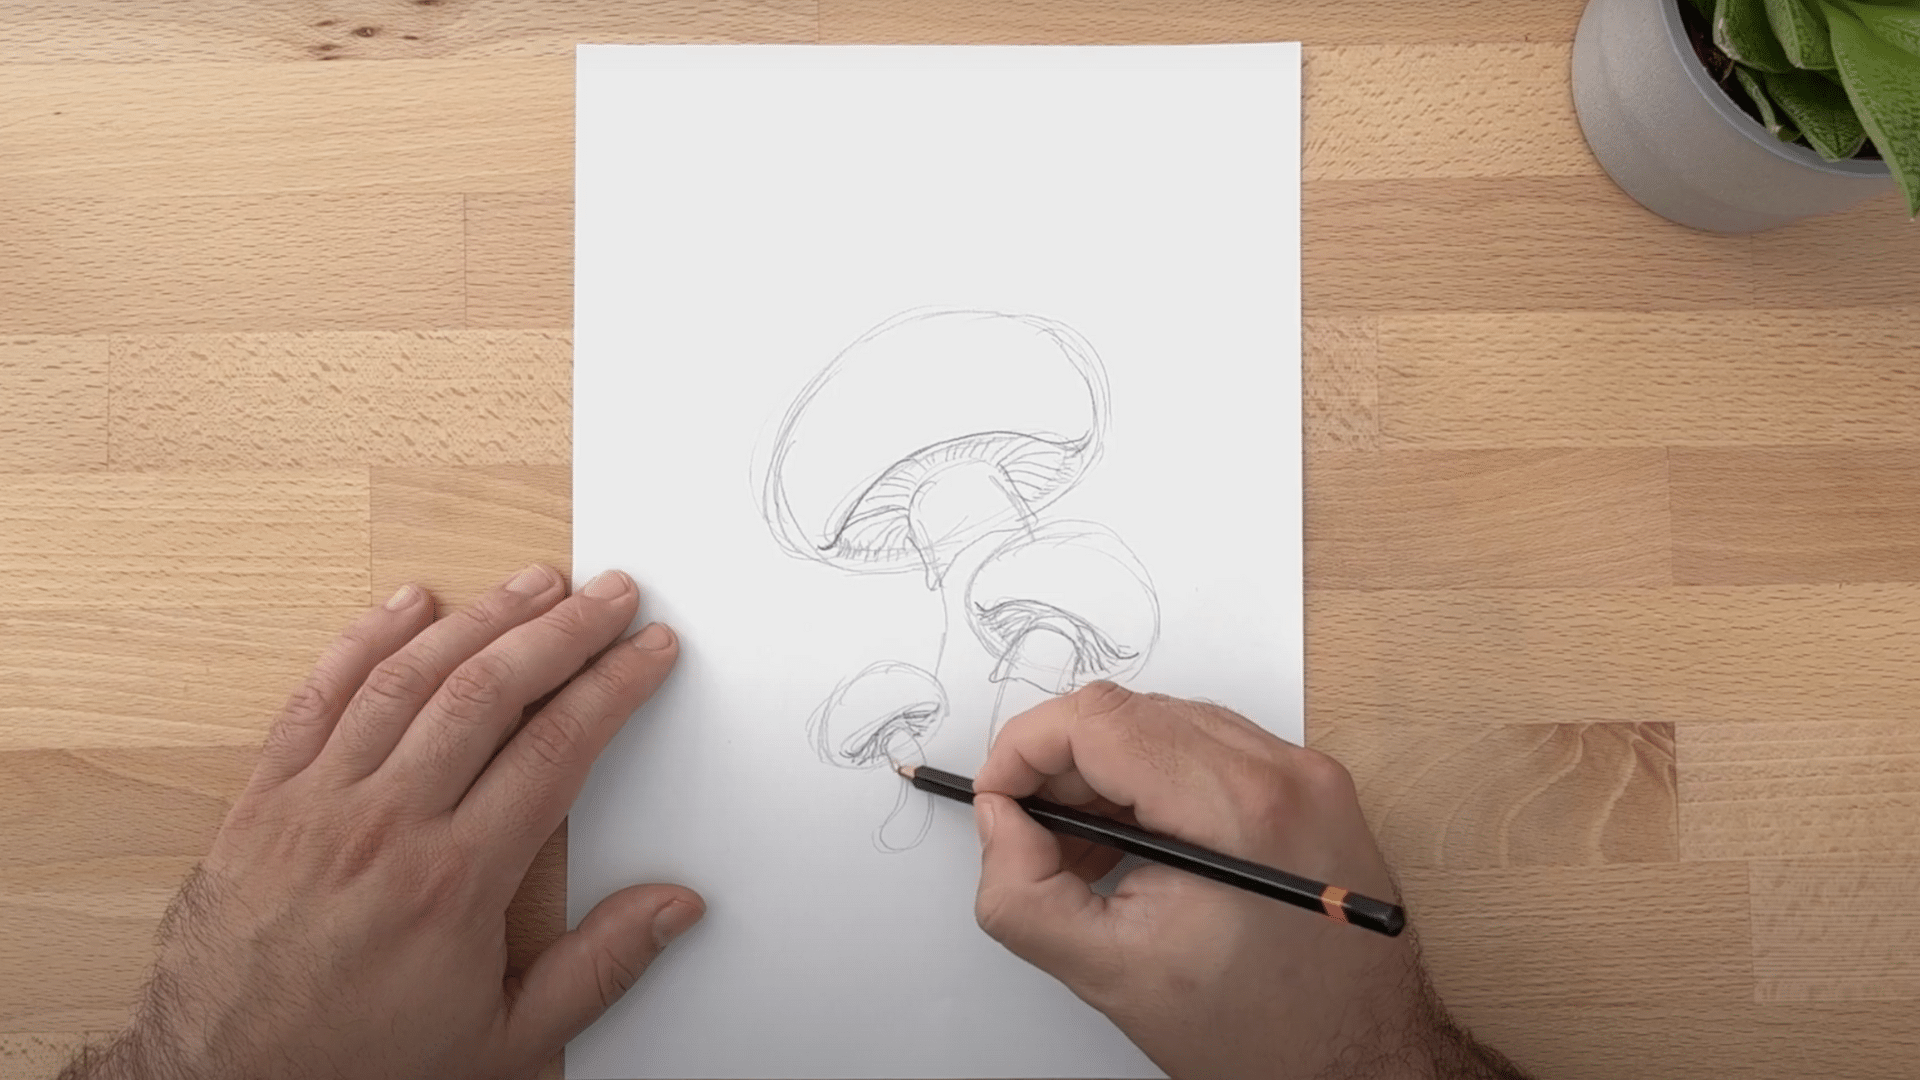
Step 6: Clean and Refine the Lines
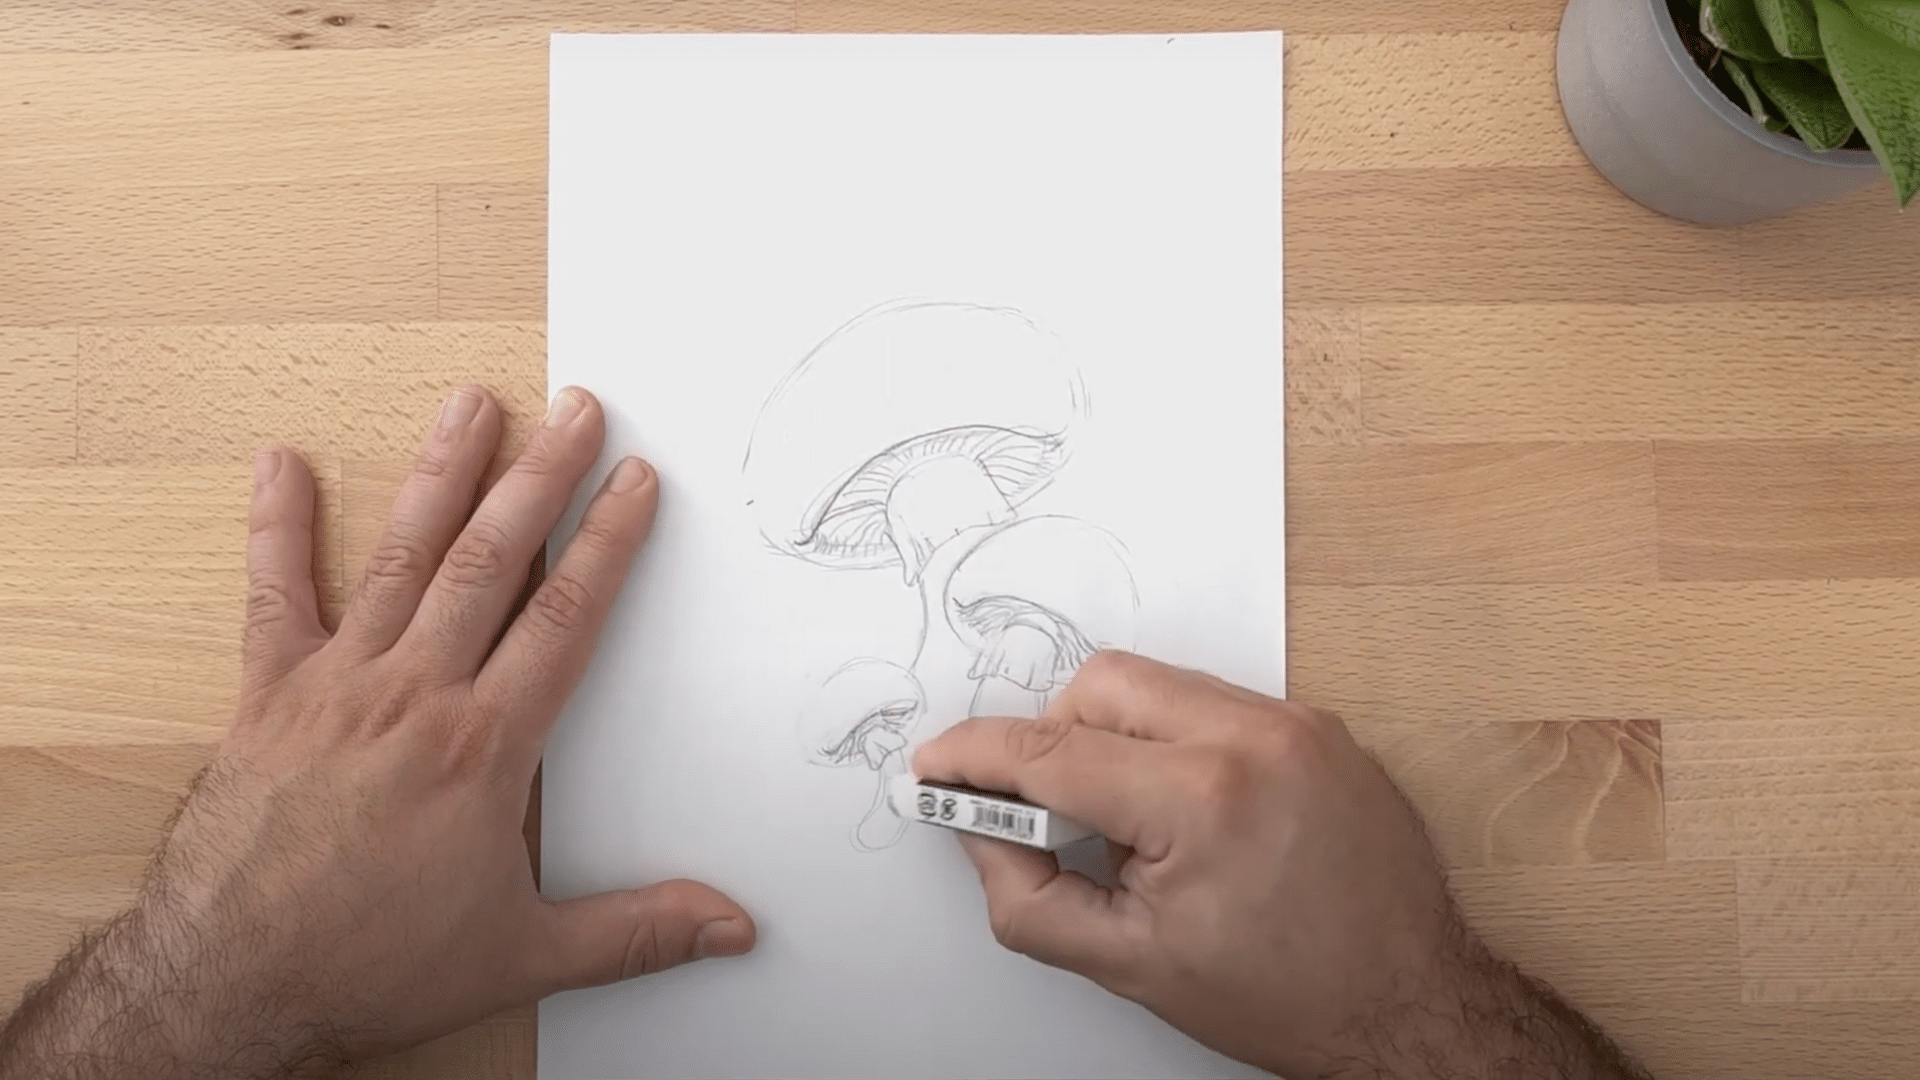
Once you’re satisfied with the basic shapes and details, it’s time to clean up your drawing for a polished look.
Start by gently erasing any extra construction lines or mistakes that distract from the main elements. Be careful not to erase the key outlines of the mushrooms, as you still want them to be visible.
Leave a faint trace of your original sketch to guide the next steps. After cleaning up, go over the drawing with firmer, deliberate strokes to enhance the key features, such as the edges of the stalks, caps, and gills.
- Erase stray or unnecessary lines.
- Maintain a faint trace of the sketch for reference.
- Use firmer lines to define the key details and shapes.
Step 7: Add Shading and Texture
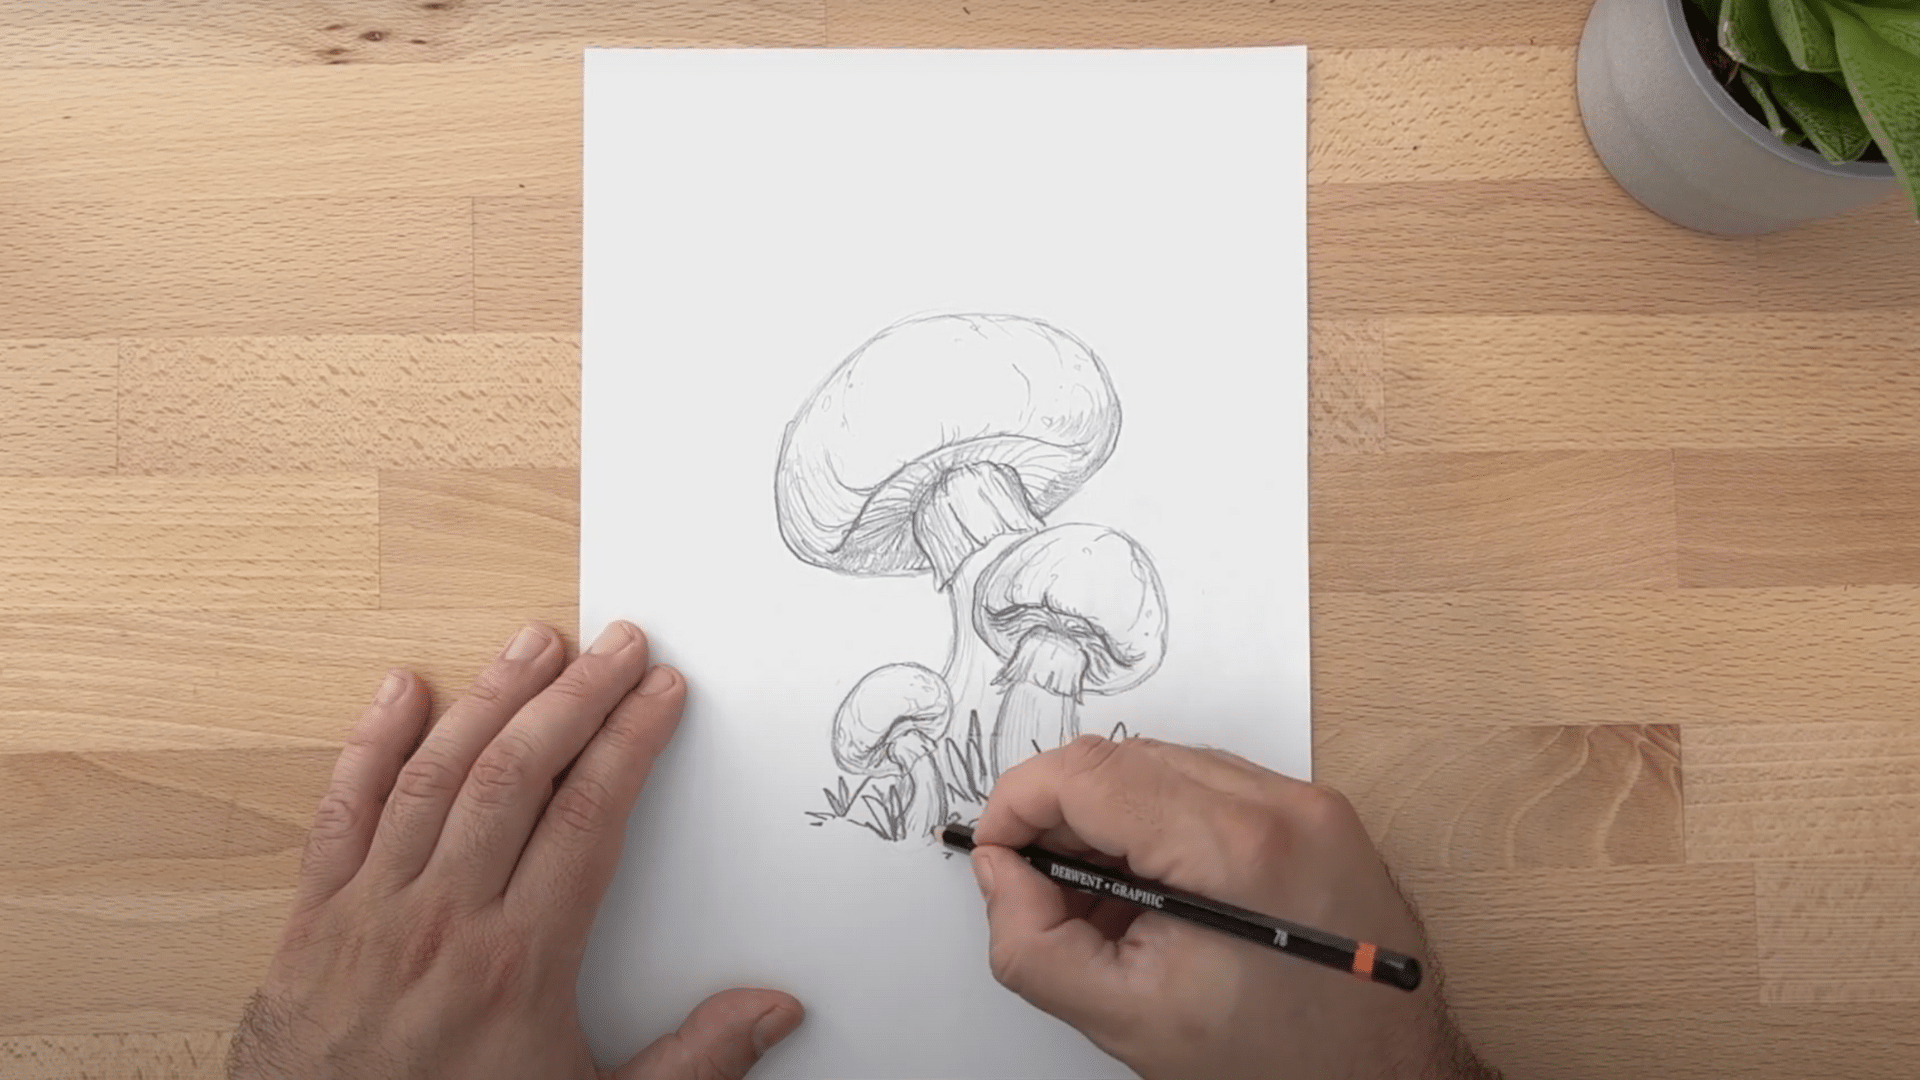
Now, it’s time to add shading to give the mushrooms volume. Focus on creating depth by adding shadows on the side of the mushrooms that would naturally be darker.
Experiment with light, smooth shading, and use small lines to add texture, especially on the stalks.
Enhance the shading where the gills curve and around the skirt to make the details pop.
Pro Tips for Shading Realistic Mushrooms
- Light Source Matters: I always start by deciding where the light comes from. This helps me know which parts of the mushroom will be bright and which will be in shadow.
- Cap Technique: The top of mushroom caps often has a slight shine. I add a small white highlight on one side, with darker tones on the opposite side.
- Stem Structure: Most stems are lighter at the top and grow darker toward the base. I use gradual shading to show this natural transition.
- Surface Texture: Many mushrooms have tiny lines or dots. I use small marks with my pencil to hint at these details without going overboard.
- Ground Connection: The spot where the mushroom meets the soil is usually the darkest area. I make this part extra dark to give the mushroom a sense of being grounded.
- Color Layering: I start with light colors and slowly build up to darker ones. This gives me more control than starting too dark right away.
- Value Contrast: I make sure to include both very light and very dark areas. This contrast makes mushrooms look more three-dimensional and real.
Innovative and Realistic Mushroom Art Concepts
Downward Close-up View
Mushroom Cluster
Mushroom with a Little Creature
Watercolor Mushrooms
Mushrooms in Different Stages
Conclusion
Creating realistic mushroom drawings takes practice, but the results can be rewarding. This blog has provided the fundamental techniques that artists need to capture the distinctive forms and textures of mushrooms on paper.
Understanding light, texture, and form allows artists to evolve simple outlines into lifelike representations.
The careful observation of real mushrooms combined with proper shading techniques creates depth that brings drawings to life.
Realistic mushroom drawing isn’t just about technical skill, it’s about patience and attention to detail. Each mushroom species offers unique characteristics to study and recreate.
The skills developed through mushroom illustration transfer to other natural subjects as well, building a foundation for botanical and nature artwork that continues to improve with each new drawing.