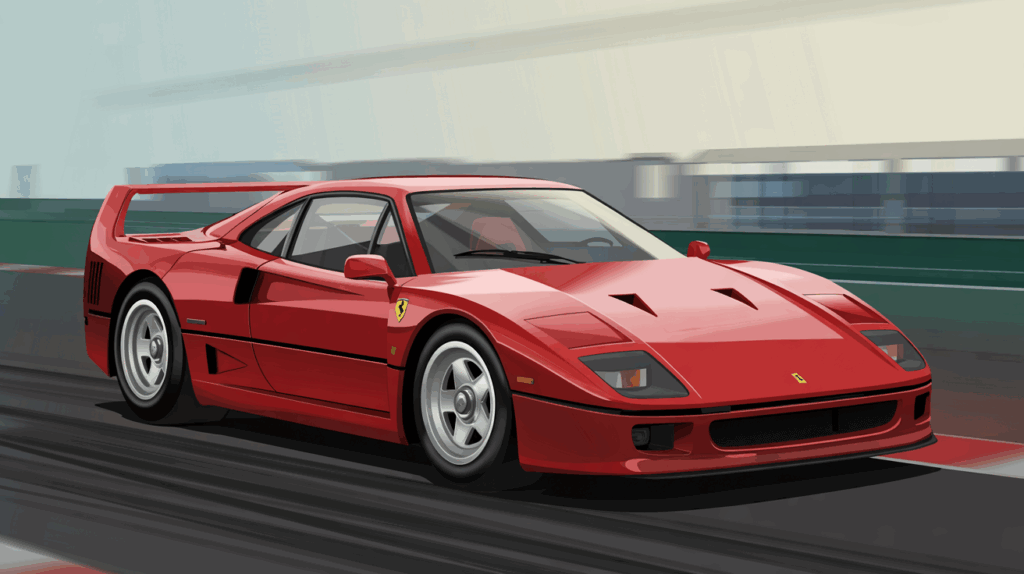
The Ferrari F40 stands as one of the most iconic sports cars ever made. Many artists want to capture its bold lines and aggressive stance on paper, but struggle with the details. Creating a lifelike Ferrari F40 drawing requires specific techniques that not everyone knows.
This blog offers step-by-step instructions for artists who want their car illustrations to look true to life. The methods shared here will help anyone improve their skills, regardless of experience level.
By following these simple tips, artists can evolve basic sketches into impressive artwork that showcases the vehicle’s distinctive features.
This article will walk through the entire process from initial outline to final details, making it possible for anyone to create a Ferrari F40 drawing they can be proud of.
Tips for an Easy Ferrari F40 Drawing
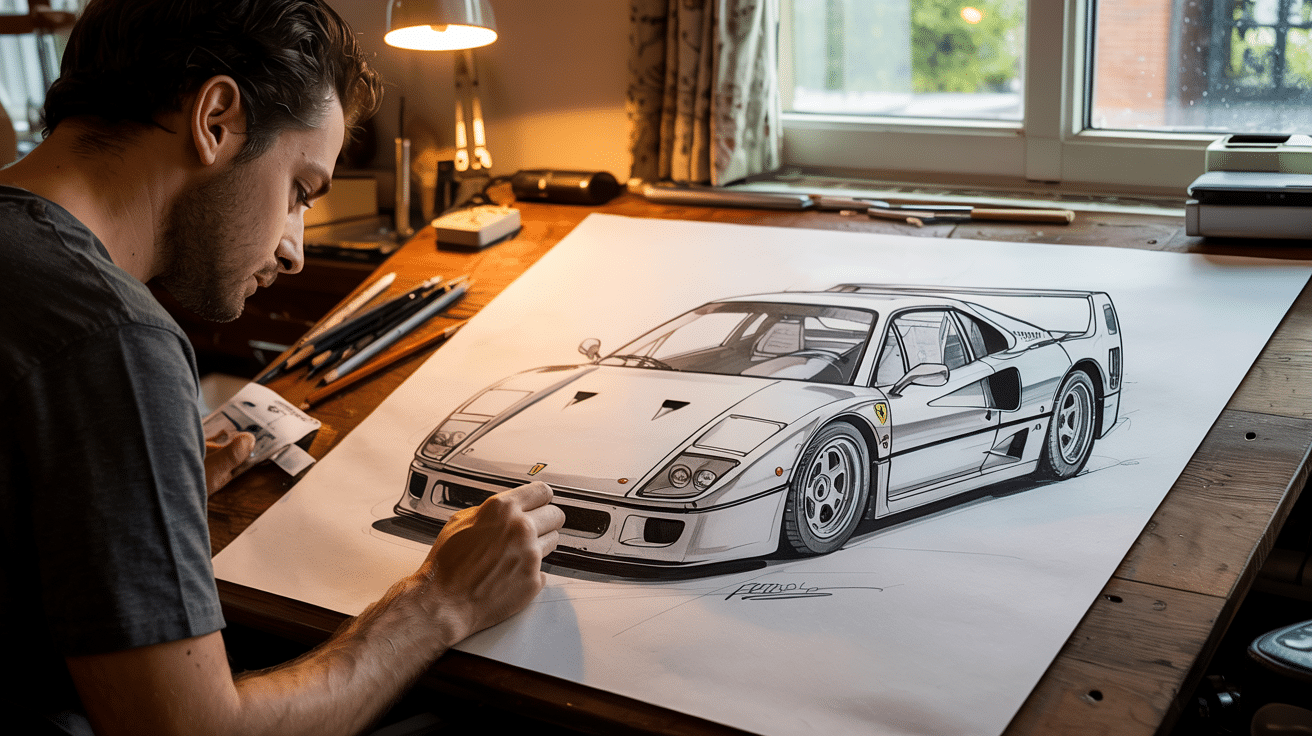
Creating a Ferrari F40 drawing may seem difficult at first glance. The iconic supercar has many complex curves and details that can overwhelm beginners.
However, breaking down the process into manageable steps makes it much easier. Artists can use simple techniques to capture the essence of this famous vehicle without getting lost in complications.
1. Basic outline: Start with the fundamental silhouette of the F40 using light pencil strokes. This creates a foundation for the drawing and helps establish proper proportions before adding any details to the car body.
2. Reference photos: Use multiple reference images from different angles when creating a Ferrari F40 drawing. This helps artists understand the three-dimensional form of the car and ensures accuracy in their representation.
3. Proportion guidelines: Draw horizontal and vertical guide lines to maintain correct proportions. These lines help artists place key features like the windshield, doors, and wheels in the right positions relative to each other.
4. Wheel detail: Focus on making the wheels round and properly sized in relation to the car body. Adding realistic tire treads and rim details can make a Ferrari F40 drawing look much more authentic and finished.
5. Light and shadow: Add shading to create depth and dimension in the drawing. Pay attention to where light would naturally hit the car’s surfaces and where shadows would form to give the Ferrari F40 a more realistic appearance.
6. Surface reflection: Include subtle reflections on the windows and glossy parts of the car. These small details add realism to a Ferrari F40 drawing and suggest the smooth, polished surfaces of the actual vehicle.
7. Signature details: Pay special attention to the F40’s distinctive features like the large rear spoiler, side air intakes, and iconic pop-up headlights. These elements are what make a Ferrari F40 drawing instantly recognizable to car enthusiasts.
Easy Ferrari F40 Drawing
To draw a lifelike Ferrari F40, it’s essential to break down the process into manageable steps. This approach ensures that every detail is captured, from the wheels to the body shape.
The car’s sleek design requires precision, but by focusing on the foundational structure and progressively adding details, anyone can create a stunning and accurate rendition.
Here’s how to bring your Ferrari F40 drawing to life:
Step 1: Start with the Wheels
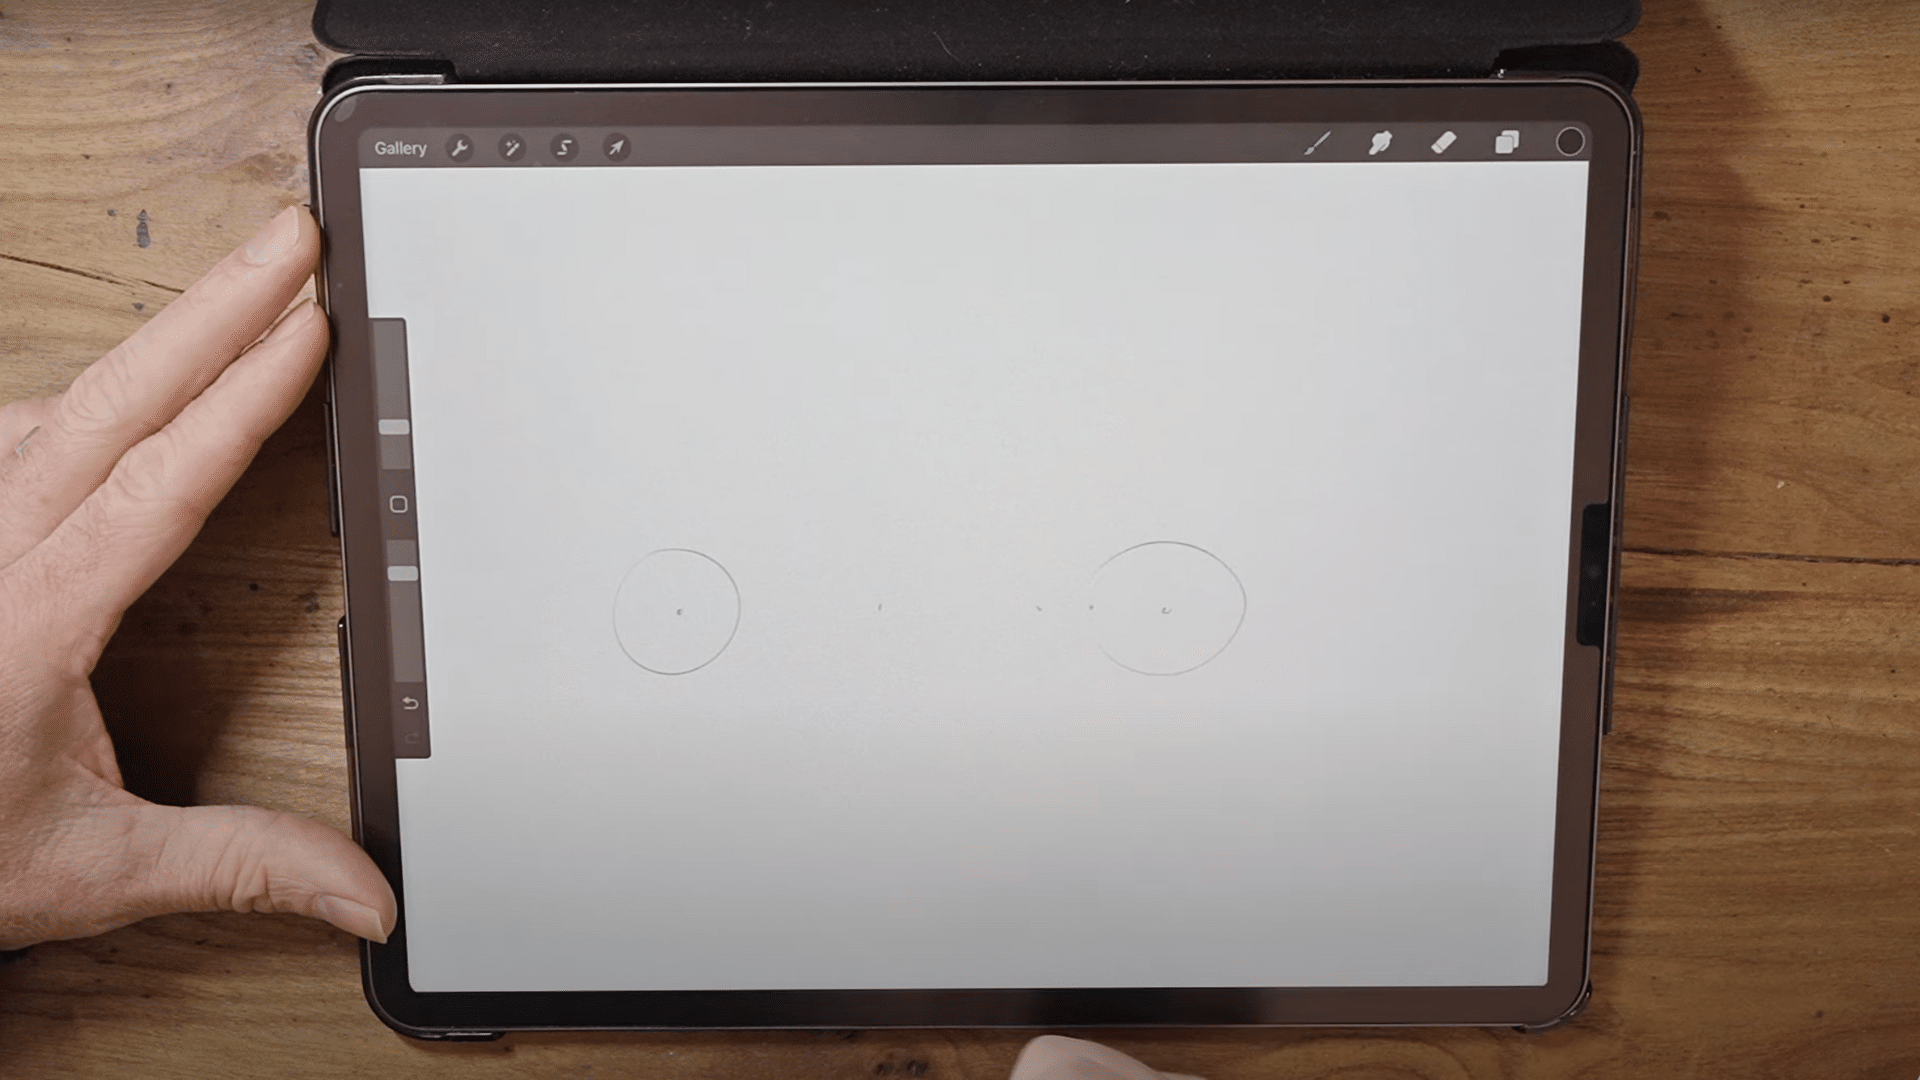
Begin the drawing by sketching the three wheels using a light pencil. You will need a ruler to help you maintain accurate proportions, and a compass can be useful to ensure the wheels are perfectly round.
These wheels will serve as a reference point for the rest of the design, so take your time to get them right. The first wheel should be positioned on the front left, followed by the second one further back.
For the third wheel, ensure it’s slightly larger to reflect the car’s rear tire. This method allows you to gauge the proportions and set the foundation for the vehicle’s body.
Step 2: Outline the Bottom of the Car
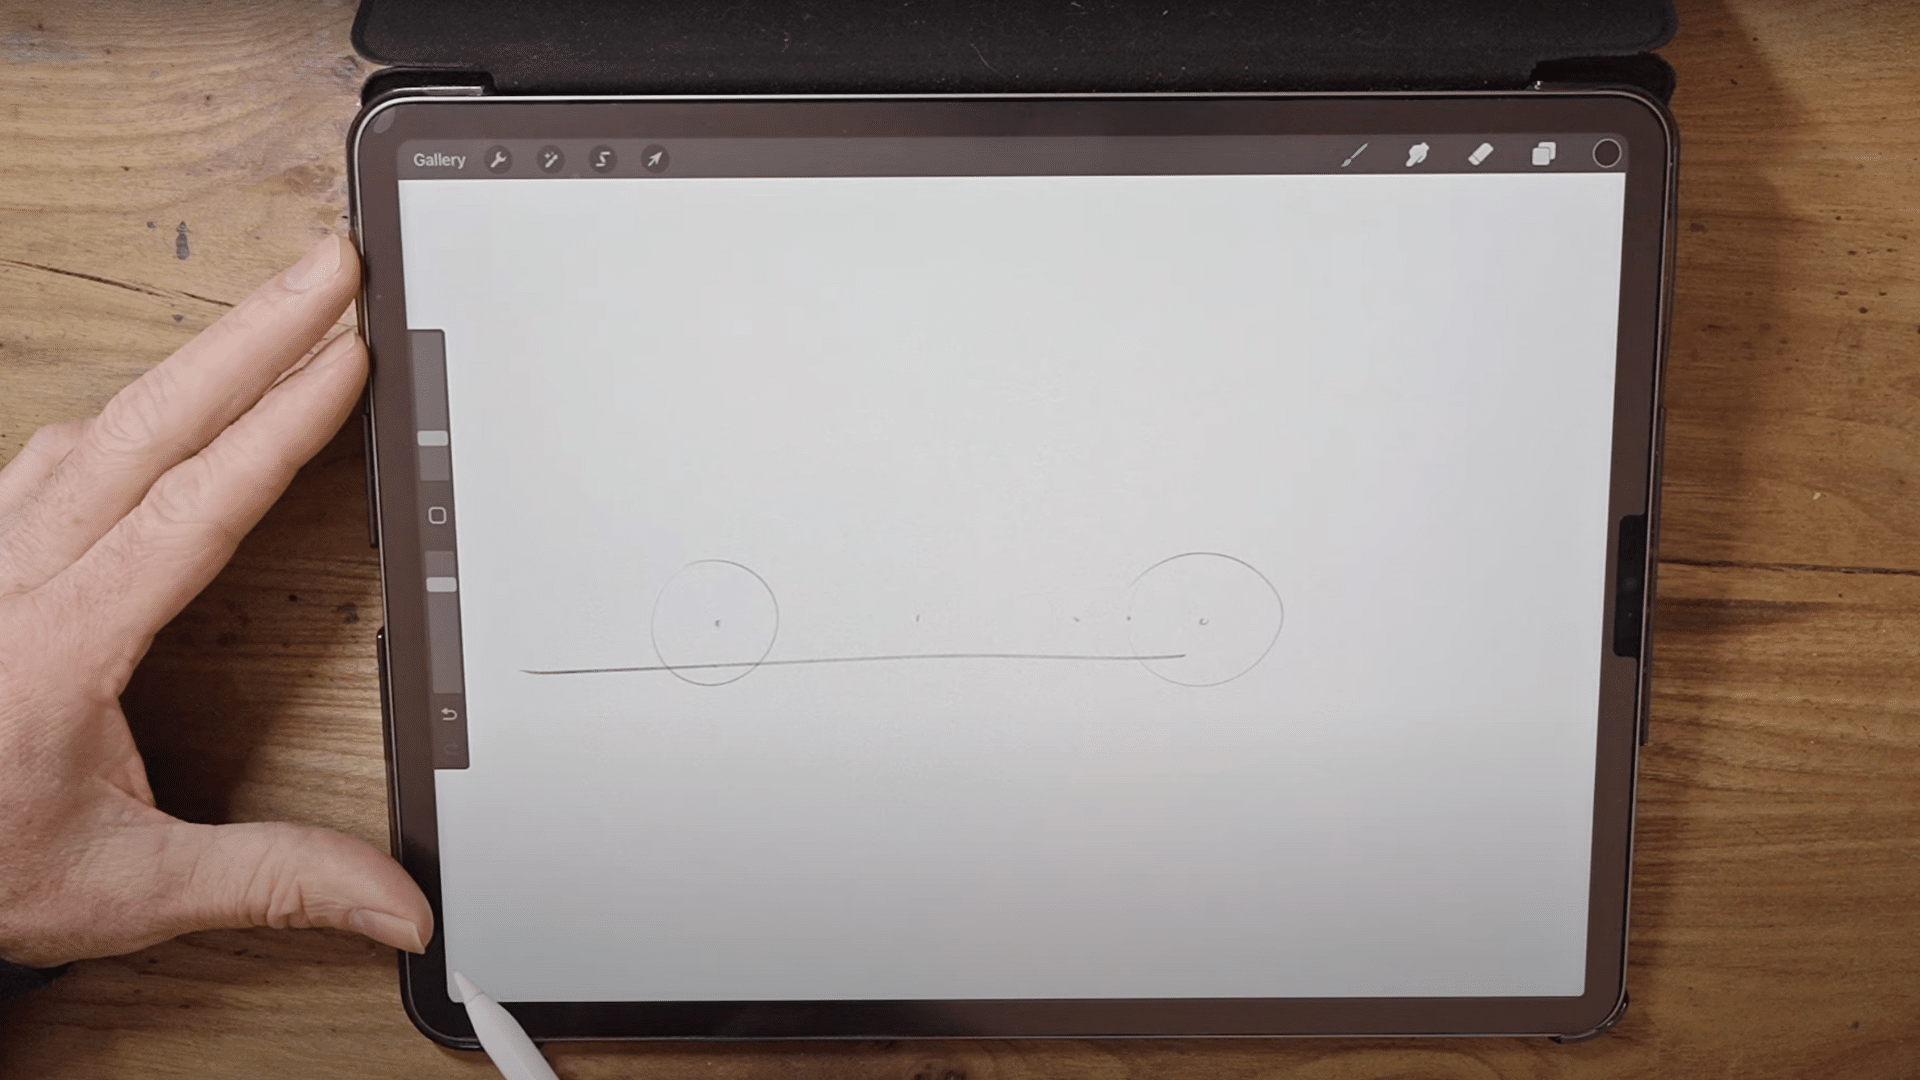
Once the wheels are in place, draw the bottom of the car, ensuring it remains flat and low to the ground. This should be about one-third of the way down from the center of the first wheel.
Keep this line as straight as possible, remembering that the Ferrari F40 has a long front overhang.
This step is crucial for establishing the car’s low-slung, aggressive appearance.
Step 3: Define the Car’s Length and Shape
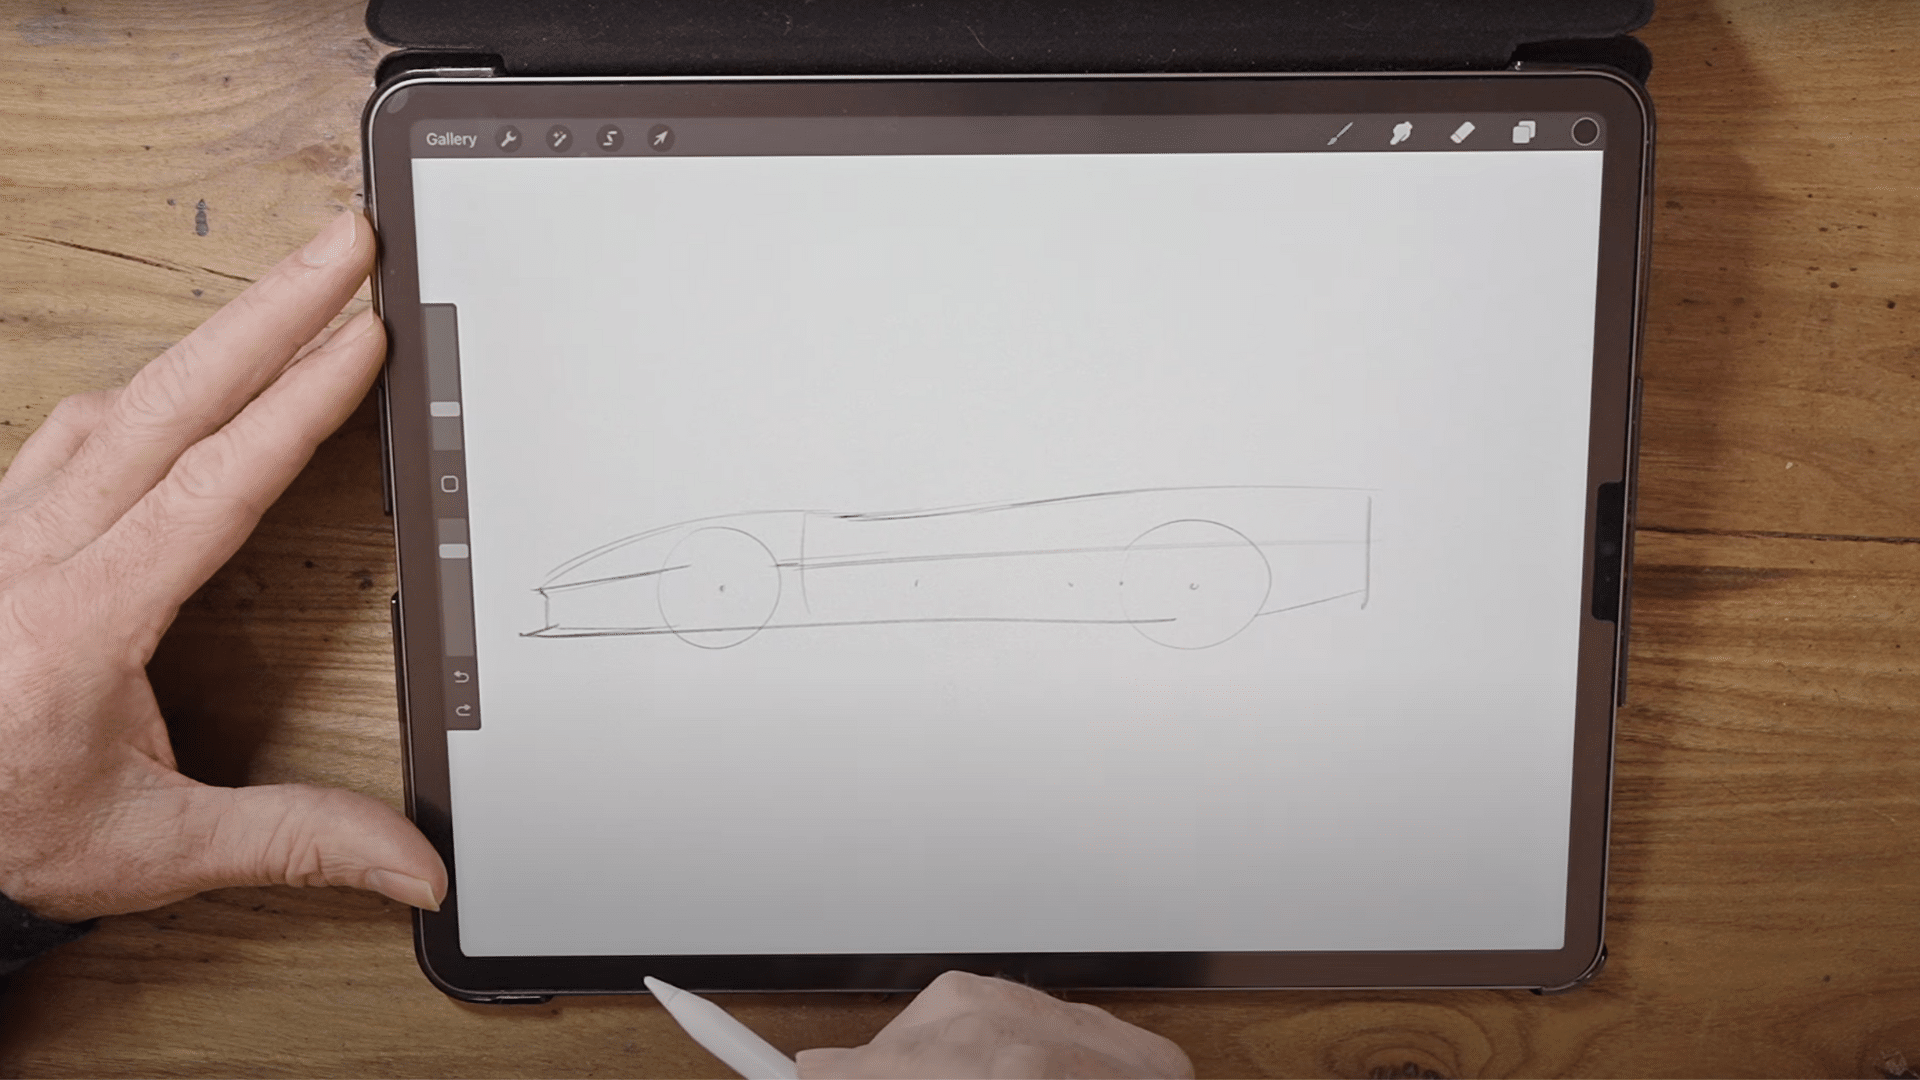
Now, outline the length of the car by extending lines that define the front and back ends. The front edge of the car should extend just beyond the first wheel, including the distinctive spoiler.
Next, extend a long straight line that tilts slightly upward and intersects with the back wheel. Mark the back edge of the car about three-quarters of the way from the third wheel, adding a vertical line to close the shape.
This step gives the car its basic elongated profile.
Step 4: Create the Curved Roofline and Window
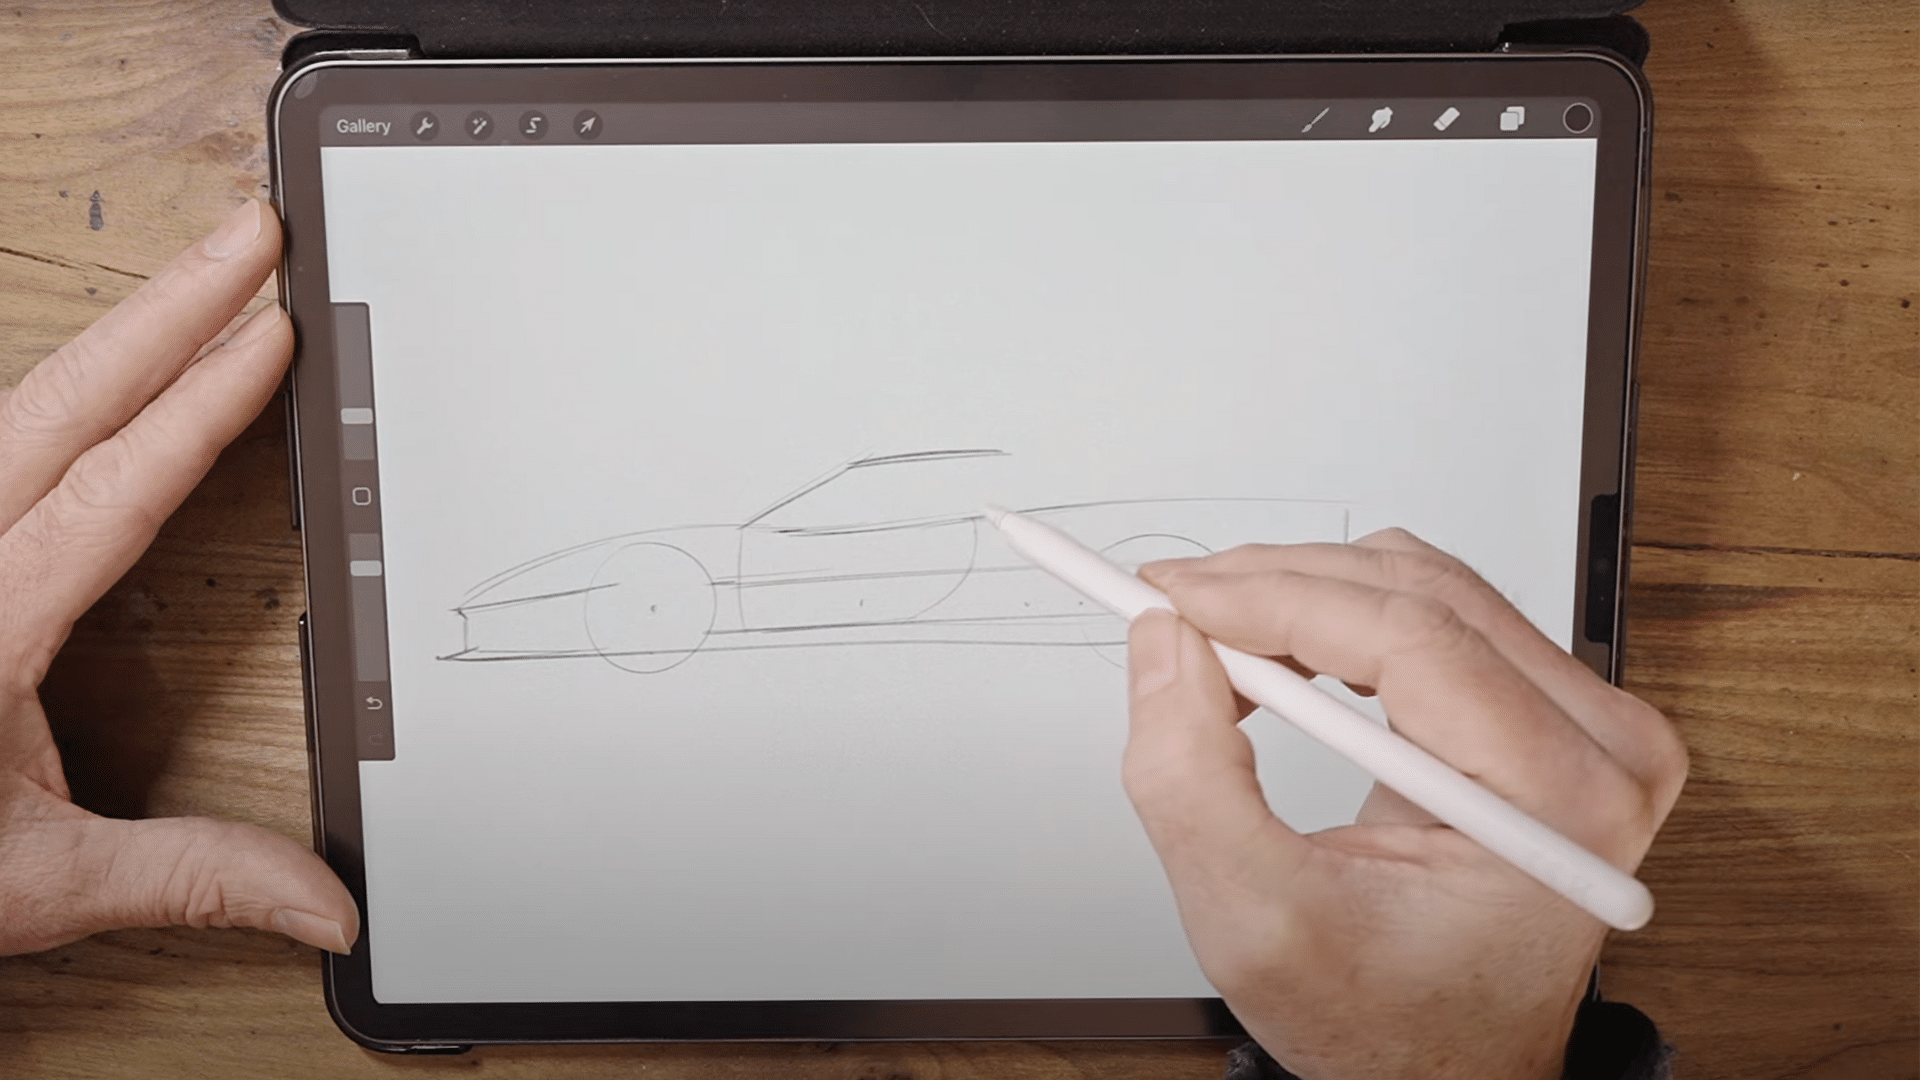
Draw the curving roofline of the Ferrari, starting from the front end and continuing towards the back. It should smoothly rise, especially just ahead of the back wheel.
Add the door’s curved edge near the front wheel, making sure to emphasize the sleek nature of the F40. The back window should slope slightly downward, aligning with the rear wheel to maintain fluidity in the design.
Step 5: Draw the Pillars and Additional Details
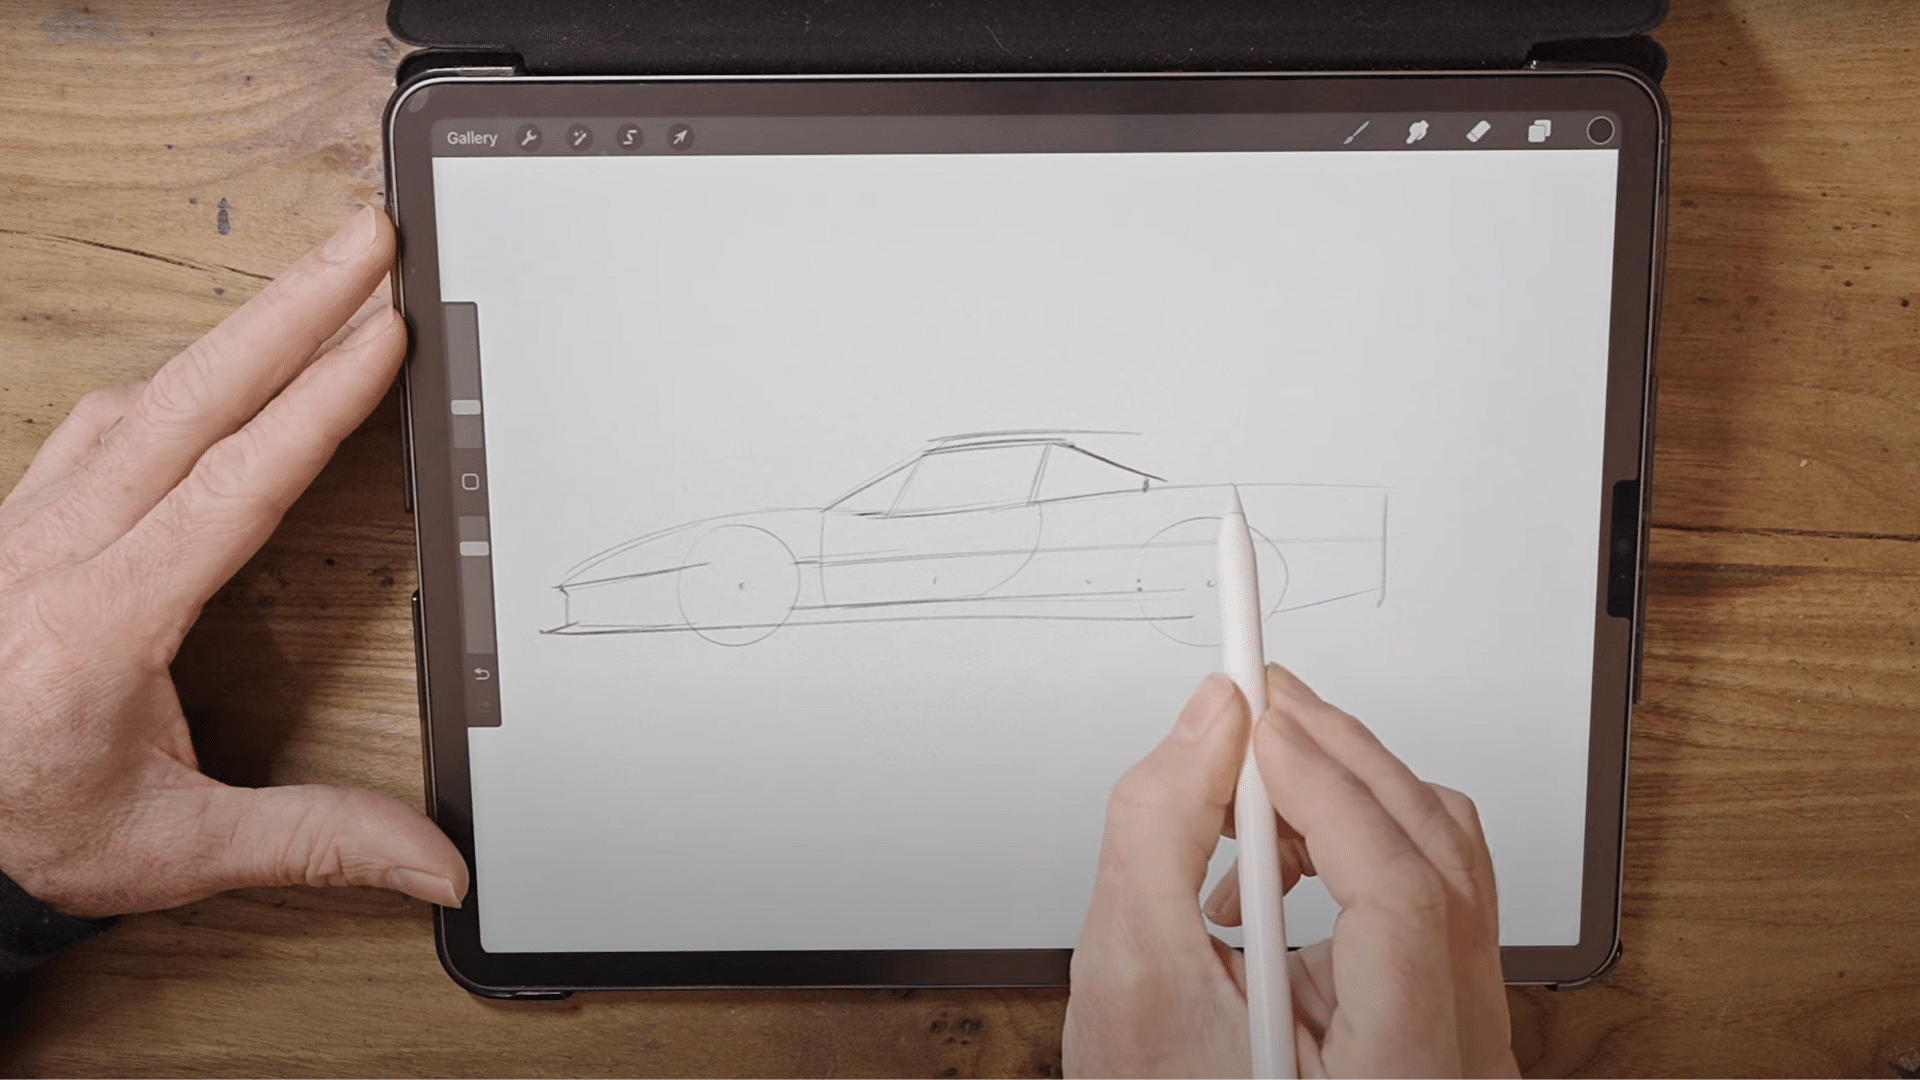
From the window, extend the pillar lines, ensuring that the roof’s thickness is captured. The C-pillar, which is wider at the bottom than the top, should be carefully drawn to integrate with the bodywork.
Add the rear window, ensuring it tapers toward the bottom. Remember, this window is important for showing off the car’s rear engine compartment, so its details must be accurate.
Don’t forget to sketch the outline of the side mirror and door.
Step 6: Sketch the Front and Rear Fenders
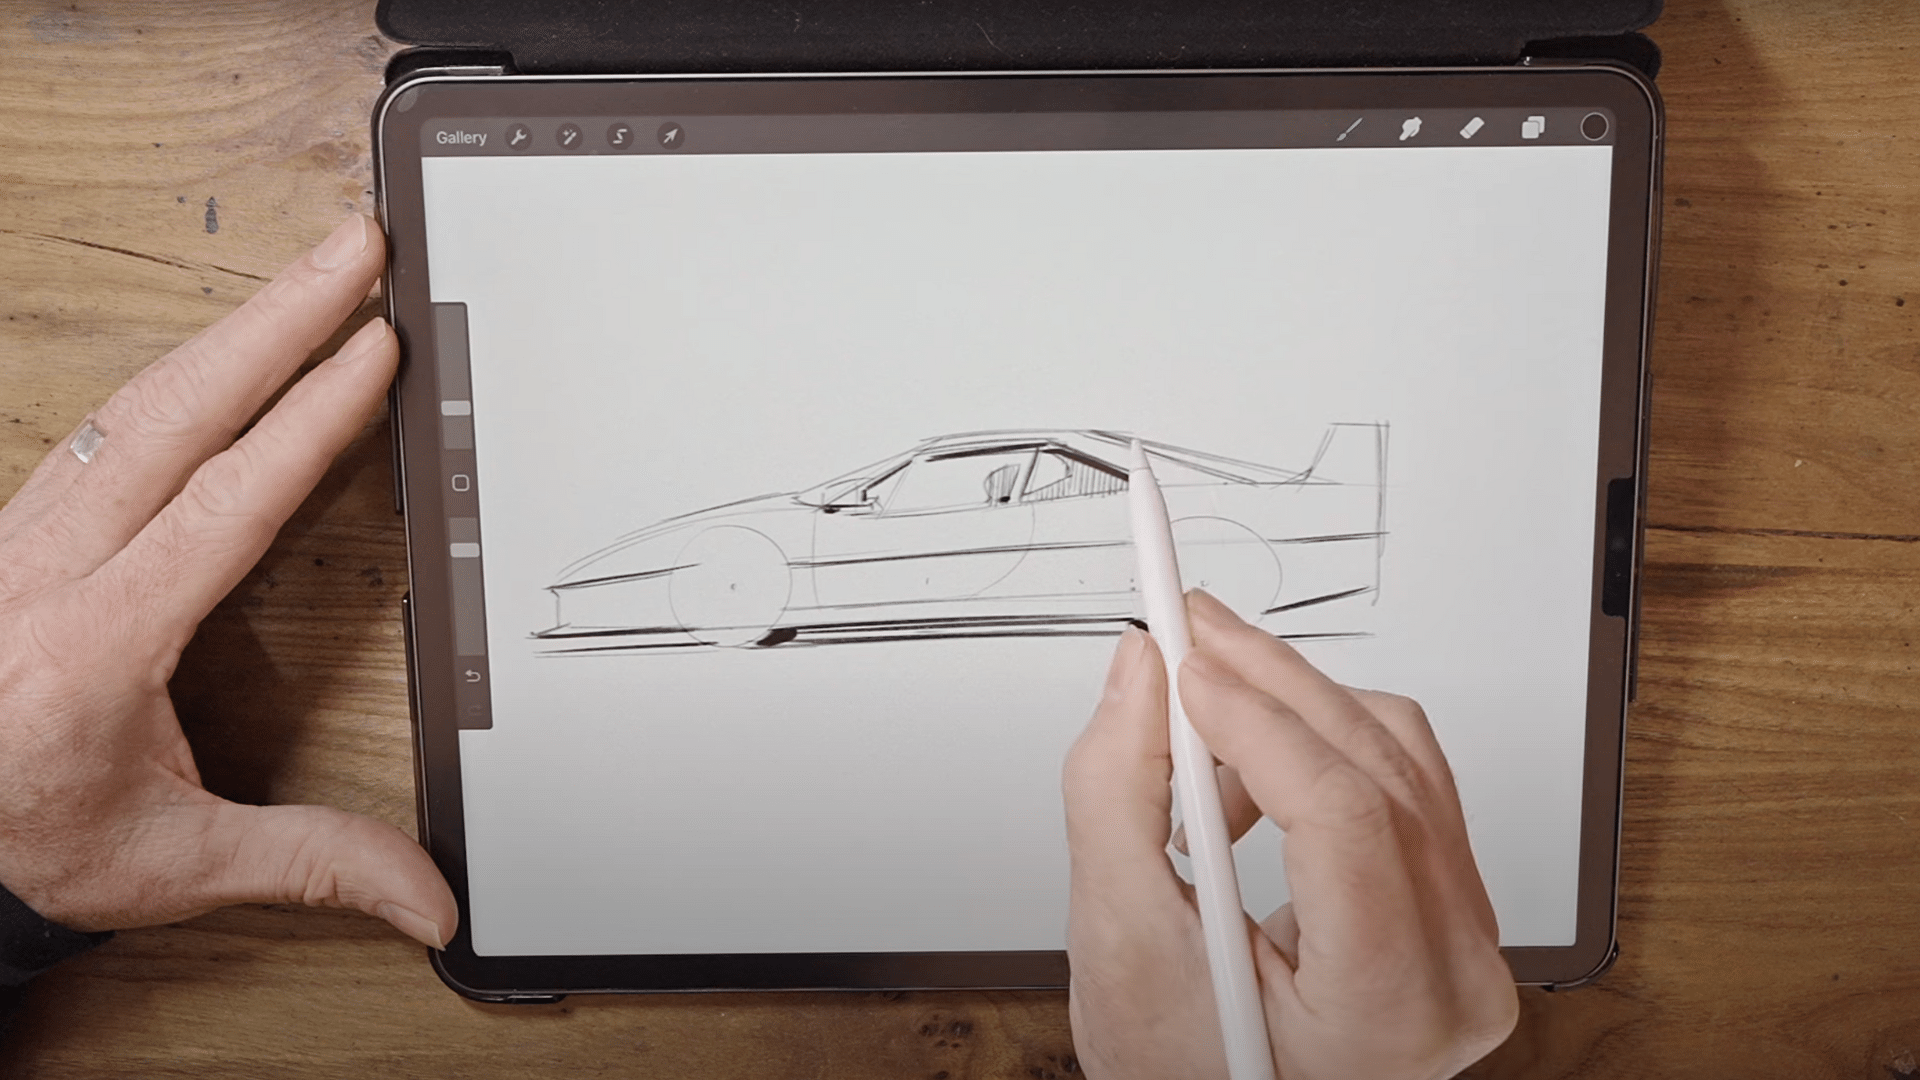
Once the basic body structure is defined, focus on the fenders. The front fender should arch over the front wheel, following the sleek and angular design of the Ferrari F40.
This curve should be subtle yet distinct, emphasizing the vehicle’s aggressive look. The rear fender, slightly larger due to the bigger rear tires, should seamlessly flow from the body. Ensure the curves are smooth and proportional, enhancing the car’s muscular appearance.
- Front fender: Slight curve over the front wheel
- Rear fender: Larger to accommodate bigger tires
Step 7: Add Final Shading and Details
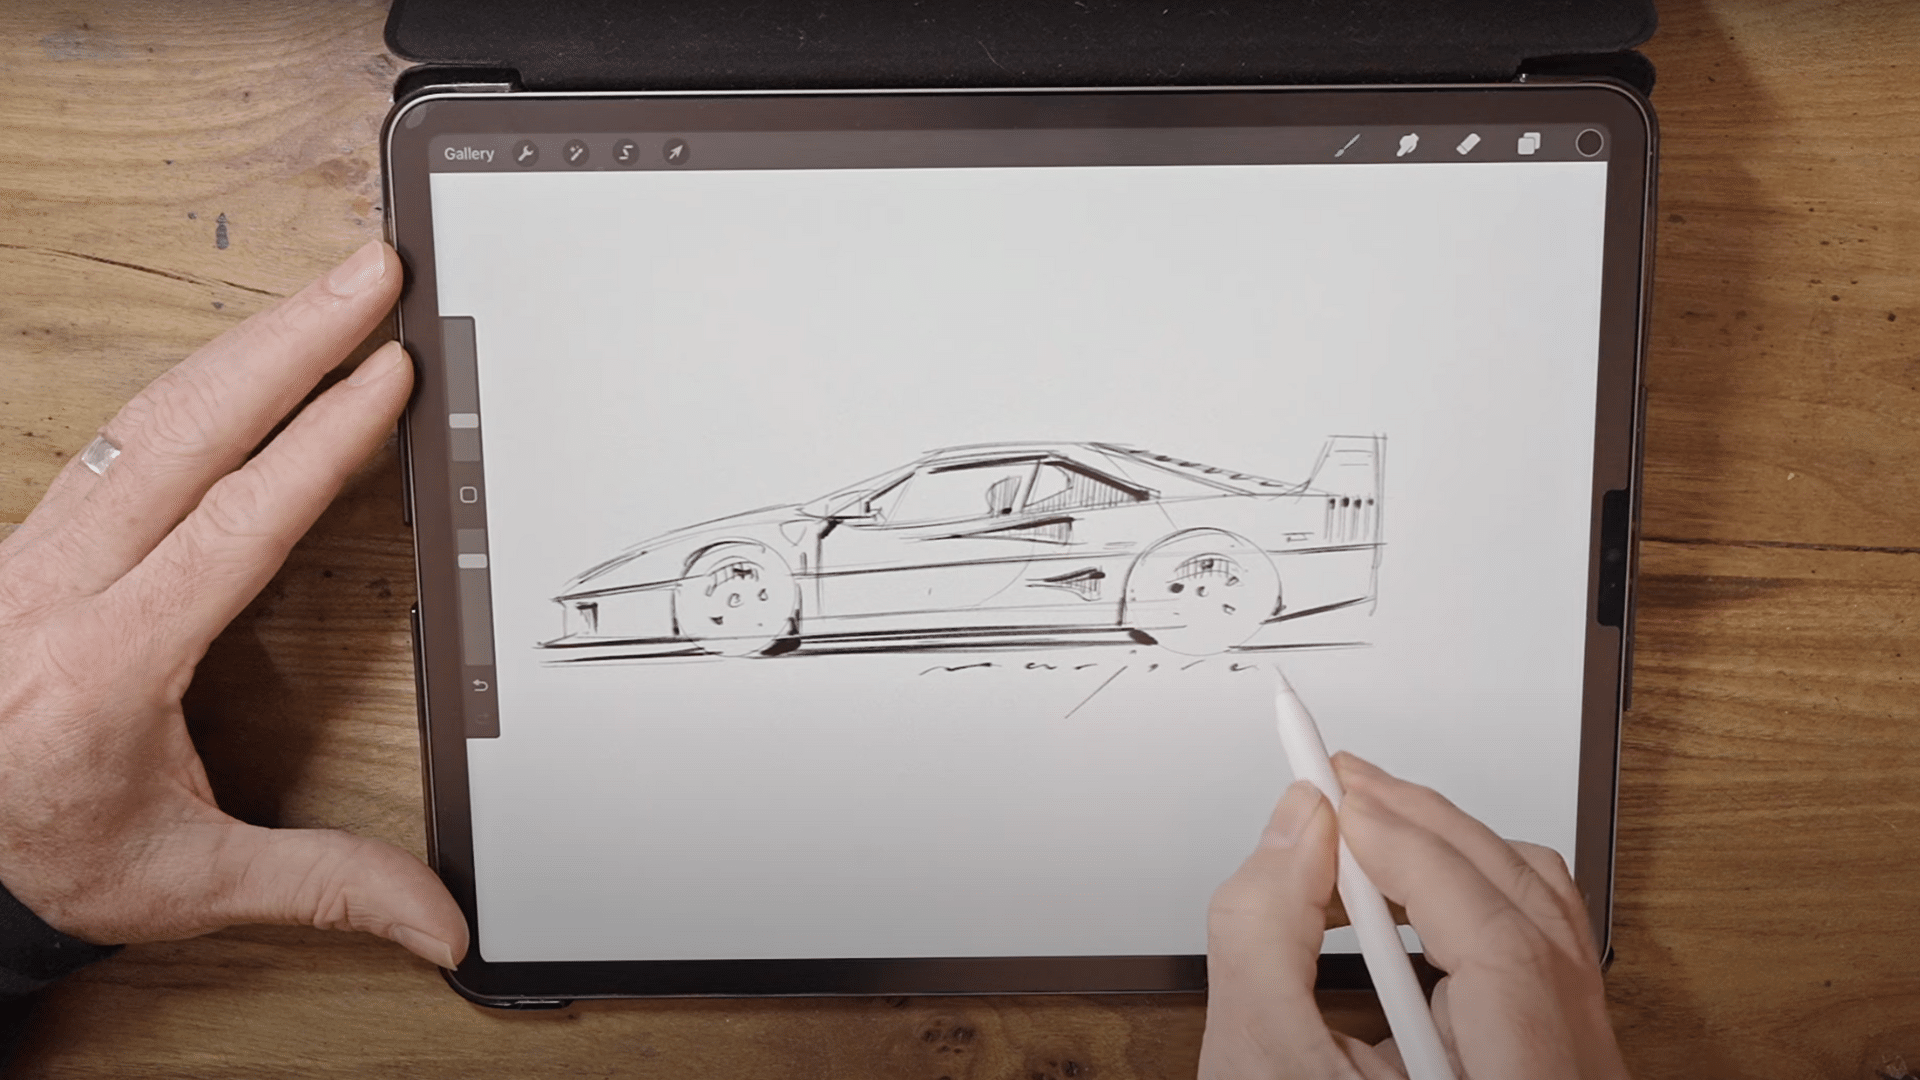
Shading and detailing are crucial for a lifelike finish. Add depth to the drawing by shading the areas beneath the car, including the underside and within the wheels.
Pay special attention to the shadow cast by the front spoiler and the space under the car’s body. Then, add finer details like the Ferrari badge, rear engine vents, and the distinct rear window shape.
- Darken areas under the car and inside the wheels
- Focus on shading the spoiler and underside for depth
- Add details such as the Ferrari badge and rear vents
- Lightly shade the rims and interior to give a 3D effect
Common Mistakes in Ferrari F40 Drawing to Avoid
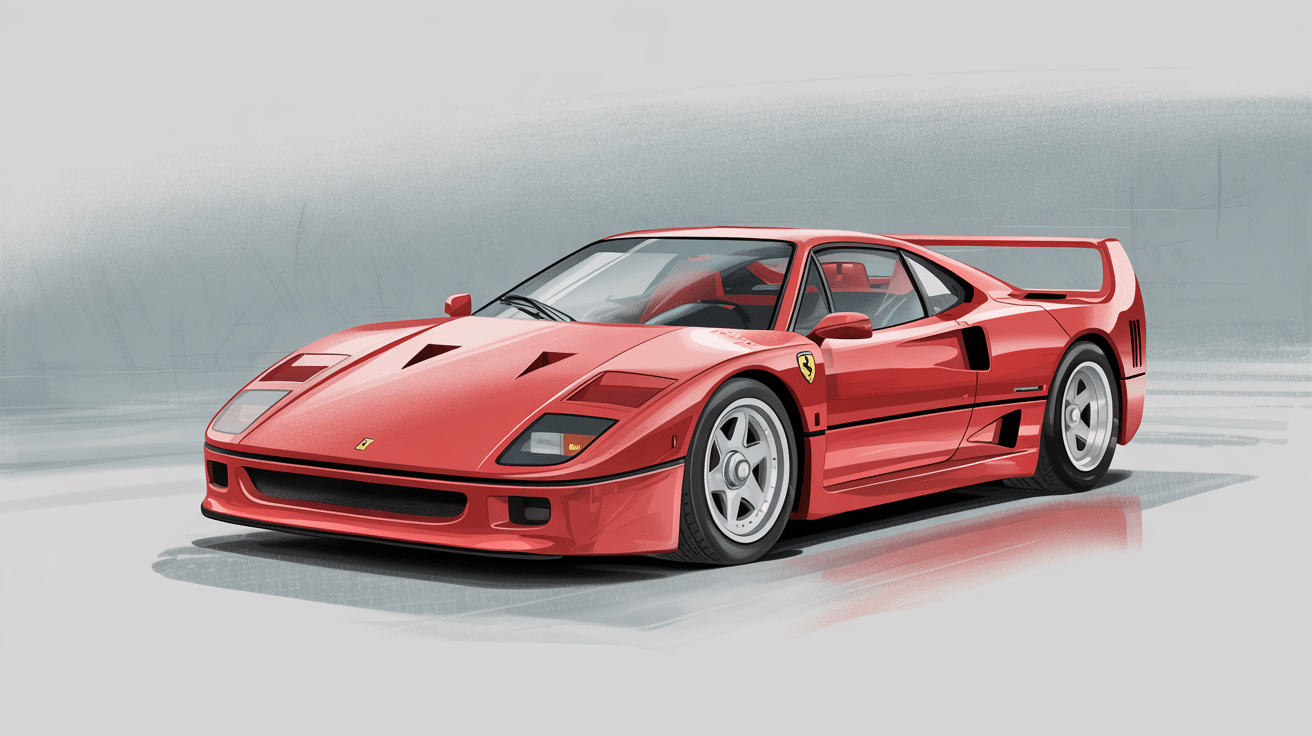
Many artists run into problems when trying to create car drawings. These common errors can make the final artwork look off or unrealistic.
Being aware of these mistakes beforehand can help artists create better representations of this iconic sports car.
- Incorrect proportions: Artists often draw the car too tall or too wide. The F40 has a low, wide stance that gives it a distinctive look. Getting the proportions wrong makes it lose its iconic silhouette and appear like a different model altogether.
- Missing key features: Some artists forget to include signature elements such as the triple exhaust pipes or the distinctive rear wing. These details are essential for anyone to identify the car correctly in a drawing.
- Poor perspective: Artists sometimes struggle with consistent perspective when drawing cars. This makes the vehicle look warped or unbalanced. Using guide lines and reference points helps maintain proper perspective throughout the entire drawing.
- Flat appearance: Many beginners create drawings that look two-dimensional. The F40 has complex curves and surfaces that require proper shading to show its form. Without good shading techniques, the drawing will lack depth and realism.
- Over-complicating details: Some artists try to include every tiny detail, which can make the drawing look cluttered. Focusing on the most important elements creates a cleaner, more effective drawing that captures the car’s essence.
- Inconsistent line work: Using lines of varying thickness without purpose creates a messy appearance. Thicker lines should define main outlines and forms, while thinner lines work better for details in the drawing.
- Unrealistic reflections: The F40 has many glossy surfaces that reflect light. Drawing these reflections incorrectly makes the car look plastic or fake. Studying how light interacts with car surfaces improves this aspect of the drawing significantly.
Summing Up
Ferrari F40 drawing takes practice and patience.
This iconic car has many complex features that make it both challenging and rewarding to draw. By following the steps in this blog, artists can avoid common mistakes and create more realistic artwork.
The tips provided help break down the process into manageable parts. Starting with basic shapes, focusing on proportions, and paying attention to key details all contribute to a successful F40 drawing.
Artists should remember that perfection comes with time. Each attempt improves skills and understanding of the car’s unique design elements.
What matters most is enjoying the process of creating art. With these techniques, anyone can produce a Ferrari F40 drawing that captures the spirit of this legendary sports car.


