Want to make a beautiful watercolor snowflake this winter? Many people think that creating art requires special skills or expensive tools. But that’s not true!
Watercolor snowflake art catches attention with its soft colors and winter charm.
It’s simple to make with basic supplies you likely already have at home. The process uses techniques that anyone can learn in minutes.
With this tutorial, you’ll learn how to create unique snowflake designs that can be used for cards, gifts, or home decor. Each piece turns out differently, making your artwork one of a kind.
Ready to try something fun that will impress your friends and family? Keep reading to find out exactly how to make these watercolor snowflakes with our step-by-step guide.
Essential Watercolor Painting Tips for Beginners
Starting with watercolor painting can feel tricky at first. The way water and paint flow together creates effects that might seem hard to control.
But with a few key tips, you’ll soon feel more comfortable with this beautiful medium. Here are some helpful pointers to make your snowflake painting experience smoother:
- Use cold-press watercolor paper for best results. It absorbs water well without warping too much.
- Start with less water than you think you need. You can always add more.
- Let each layer dry completely before adding another to prevent colors from mixing unintentionally.
- Practice making thin and thick lines with your brush to create varied effects.
- Keep a paper towel nearby to blot excess water or fix mistakes.
- Work from light to dark colors. It’s easier to add darker shades than to lighten them.
- Try different brush pressures to create various line weights and textures.
- Test your colors on a scrap piece of paper before applying them to your final work.
Creating Watercolor Snowflake: Easy Step-by-Step Tutorial
Creating watercolor snowflakes brings the magic of winter to your art projects. Below are the simple steps to follow to create this beautiful watercolor art.
Gather your materials first, then follow the easy technique outlined to bring these stunning snowflakes to life on paper.
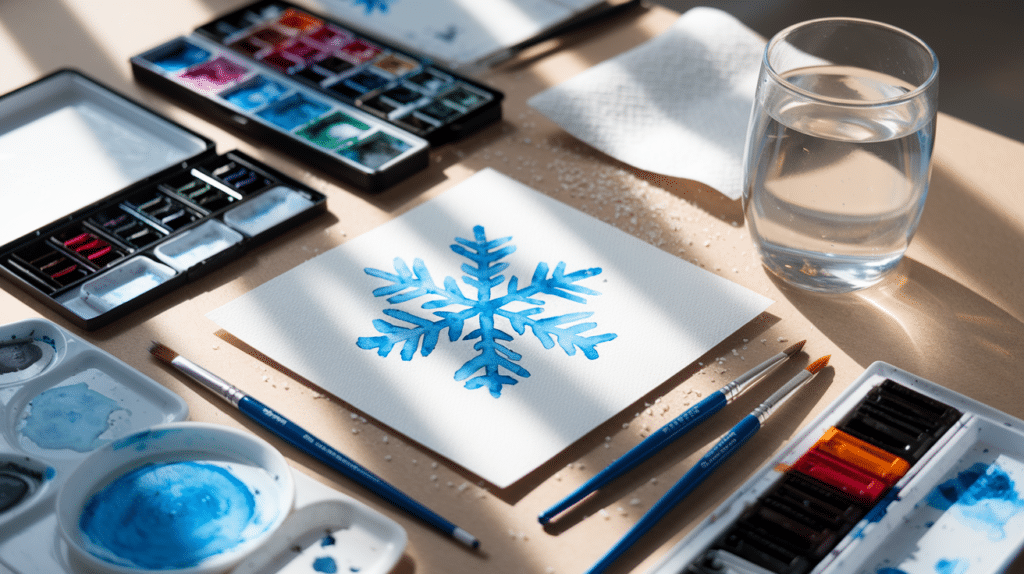
1. Preparation and Acquiring Materials
To begin your watercolor snowflake painting, ensure you have all the essential materials ready. A well-organized workspace with good lighting will help you work efficiently. Gather the following materials:
- Watercolor paper (preferably cold-pressed for texture)
- Watercolor paints (blue for the background and opaque white for the snowflakes)
- Brushes (a variety of sizes, including a fine-tipped brush for details)
- Clean water (for mixing and wetting the paper)
- Palette (for mixing colors)
- Paper towel (for blotting excess water and paint)
- Salt (optional, for adding texture effects)
With everything within reach, you’re ready to start creating!
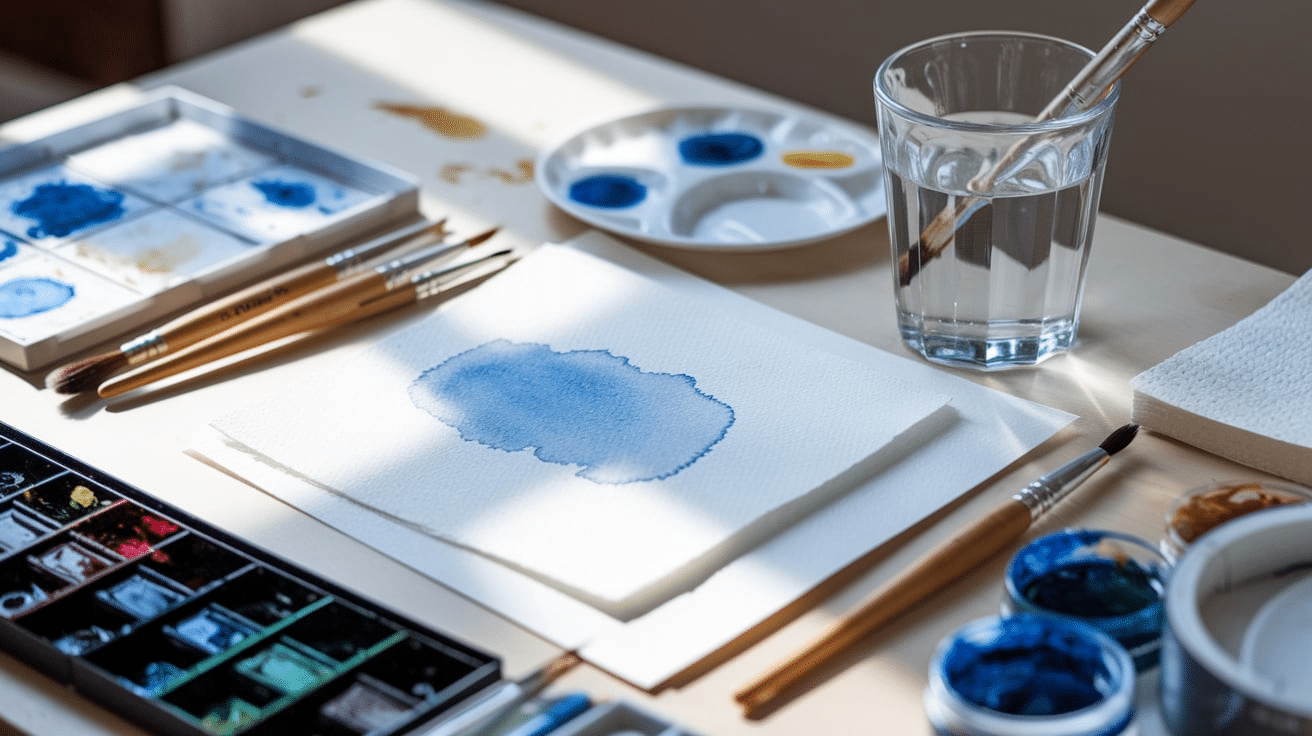
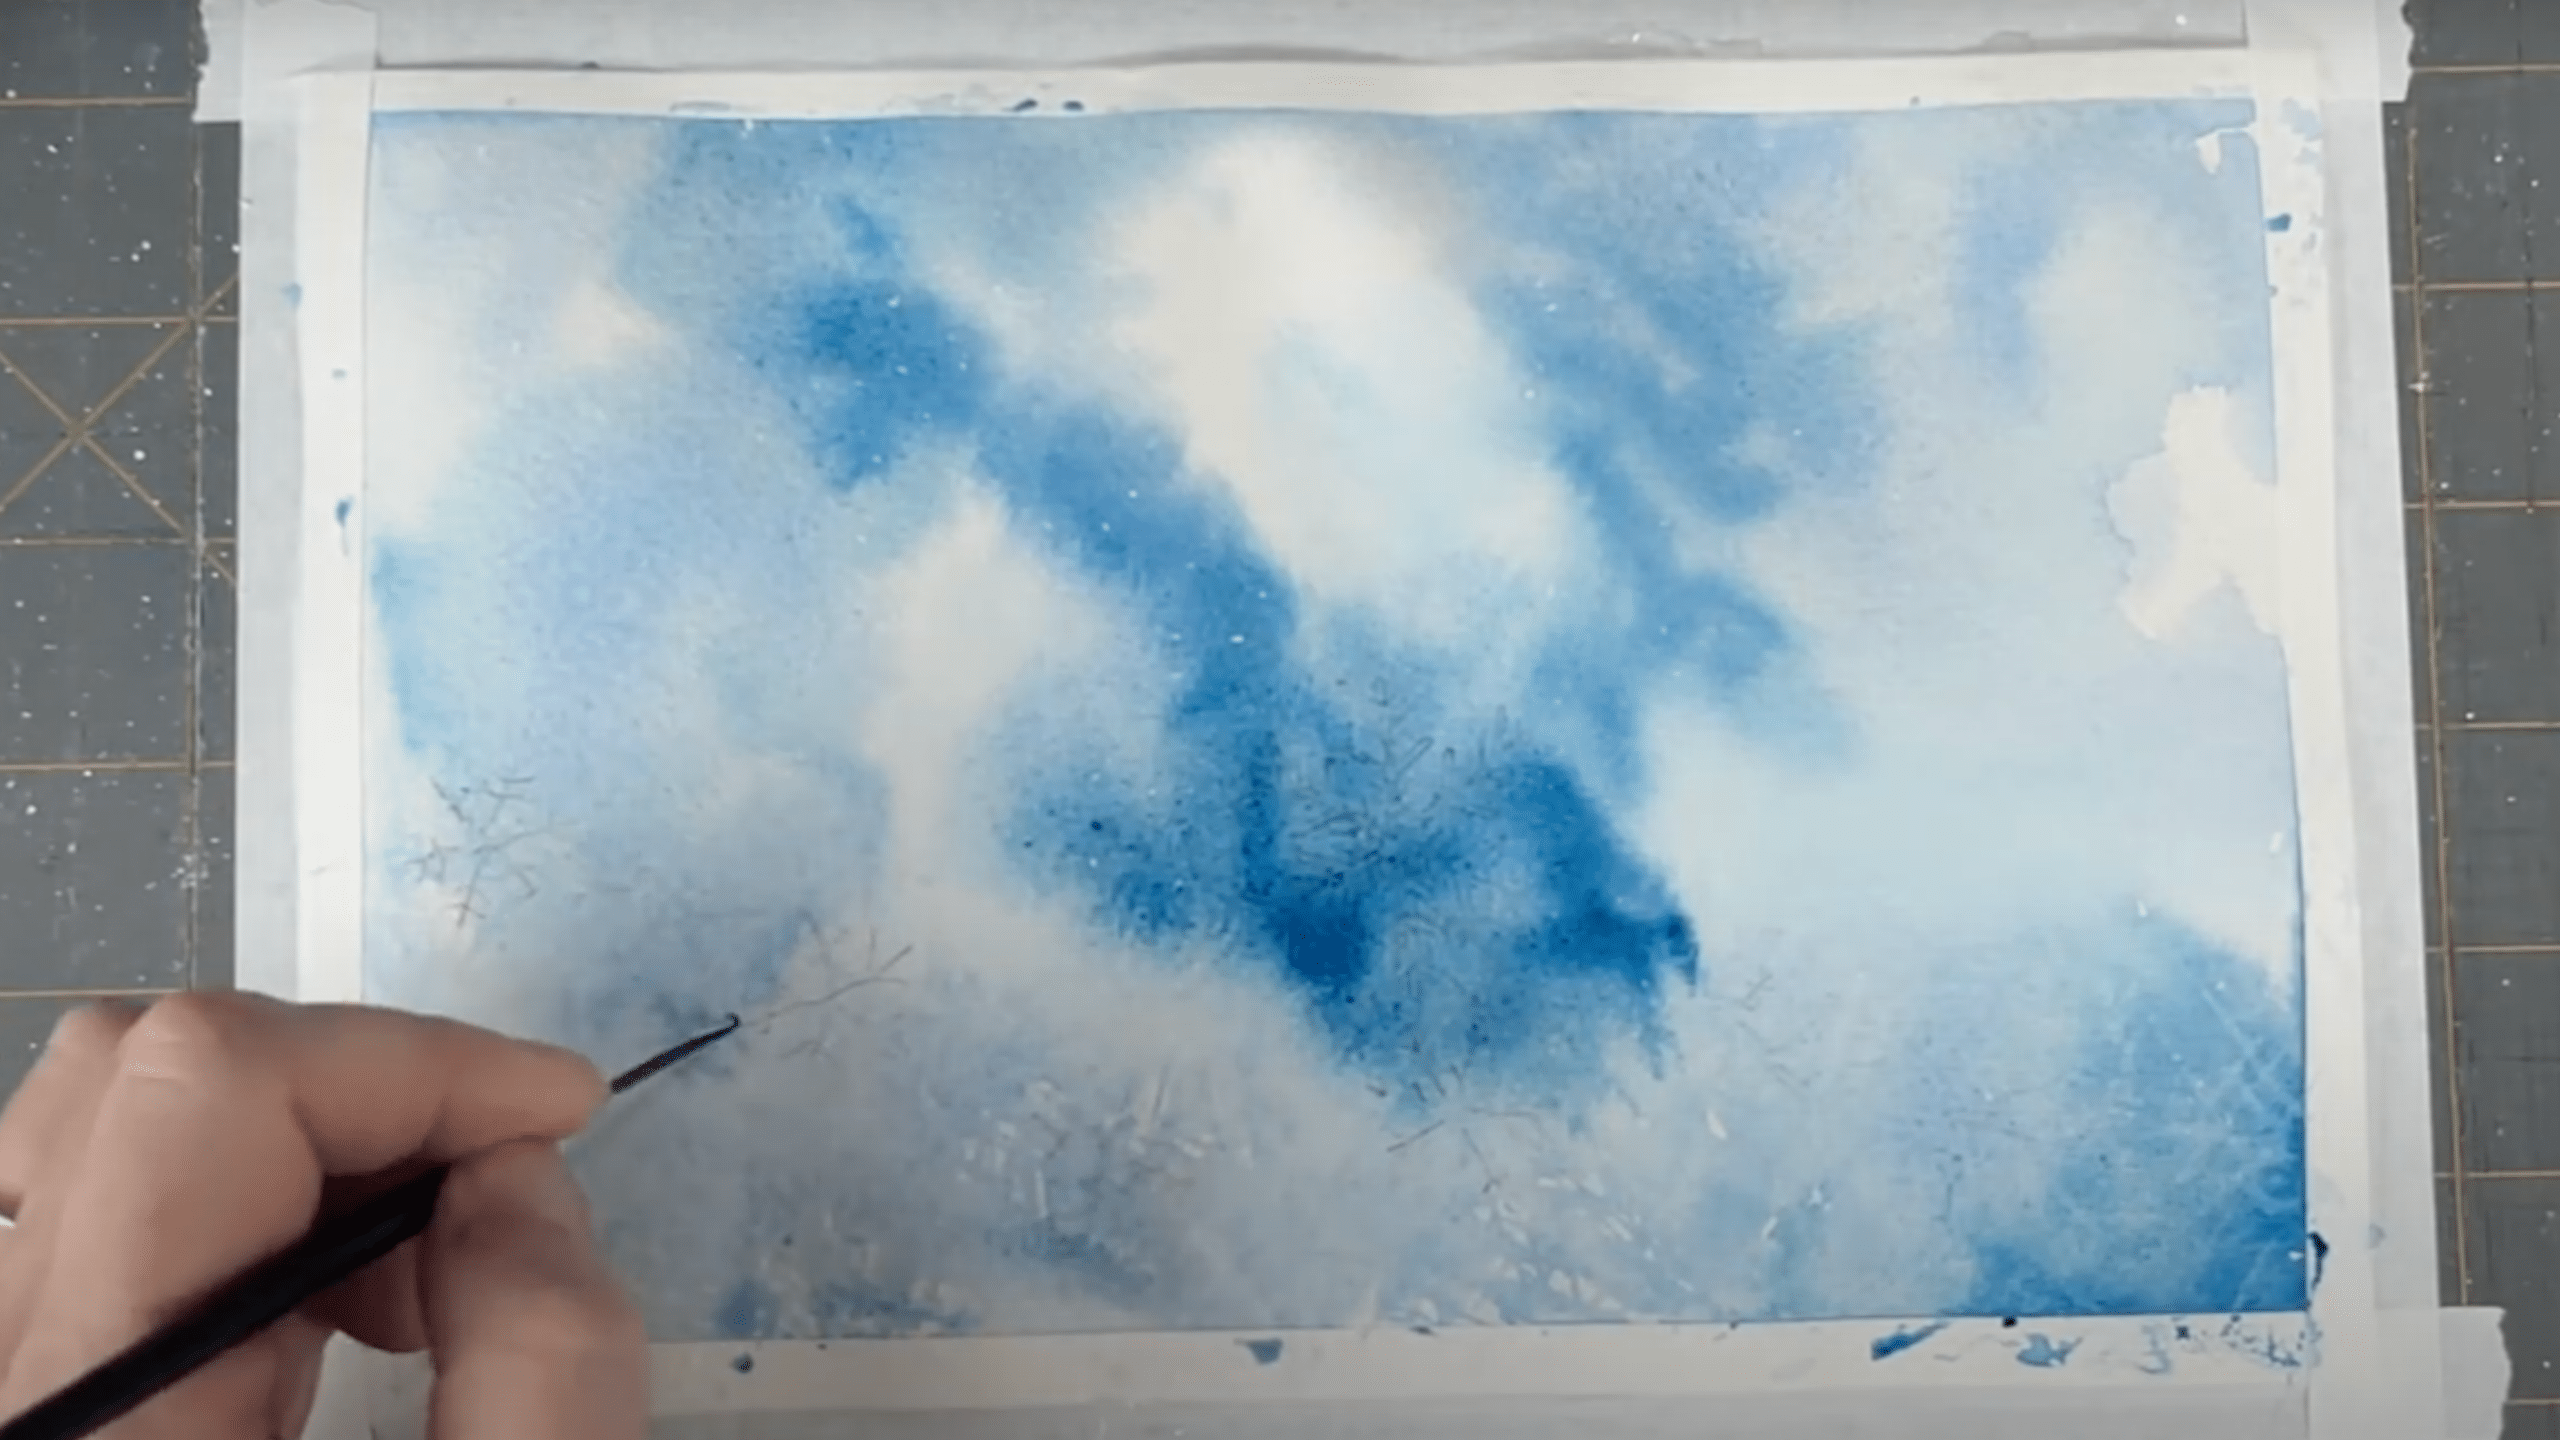
2. Creating the Background
Begin by wetting the paper with a clean brush. Then, mix your watercolor paints, using a combination of cobalt blue (a cool blue) and phthalo blue yellow shade (a warm blue).
Start applying these colors softly to the wet paper, allowing them to blend naturally, creating a smooth background. Don’t overwork the paint; you want a subtle gradient of color without harsh lines.
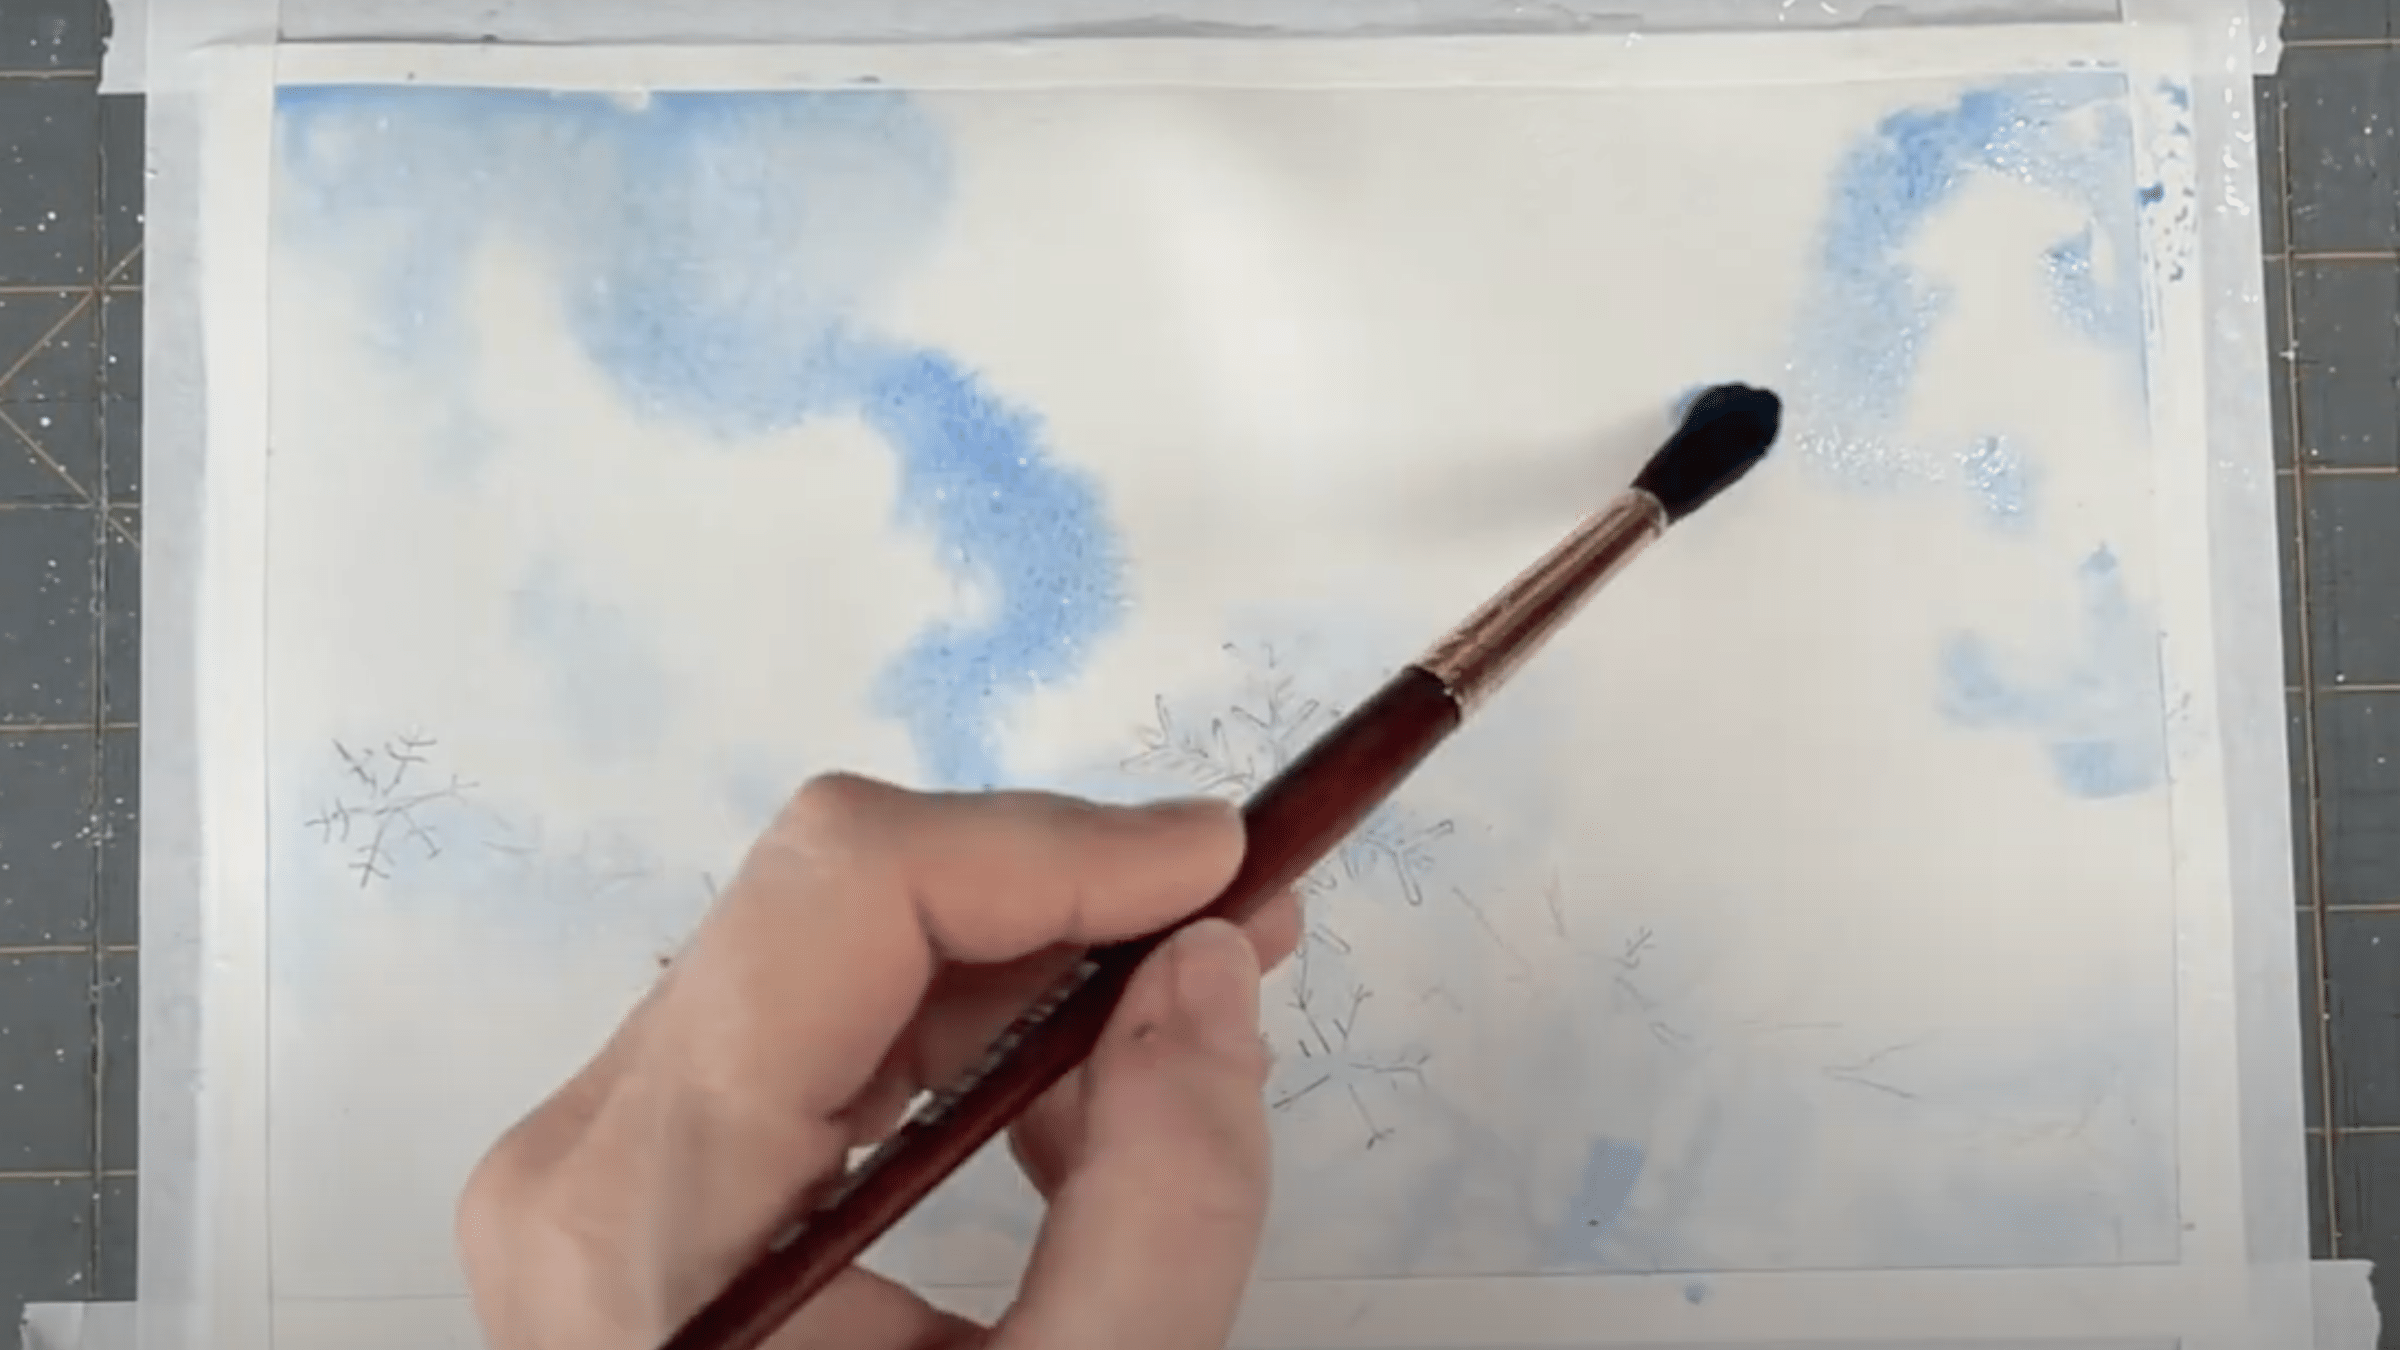
3. Adding Texture with Water
Once the background is laid down, take some clean water on your hand and gently splash it across the painted area. This will create random blooms, adding a textured effect to the background.
For more texture, you can also sprinkle some salt on the wet background to create additional effects, such as white spots and bursts of texture as the paint dries.
4. Sketching the Snowflakes
With a light pencil, sketch out the shape of the main snowflake in the center and a few smaller ones around it. Use angular, geometric lines to mimic the natural structure of snowflakes.
Keep the lines loose and organic. These are microscopic snowflakes, so the forms should not be perfectly symmetrical but rather give an impression of chaotic beauty.
5. Painting the Snowflakes
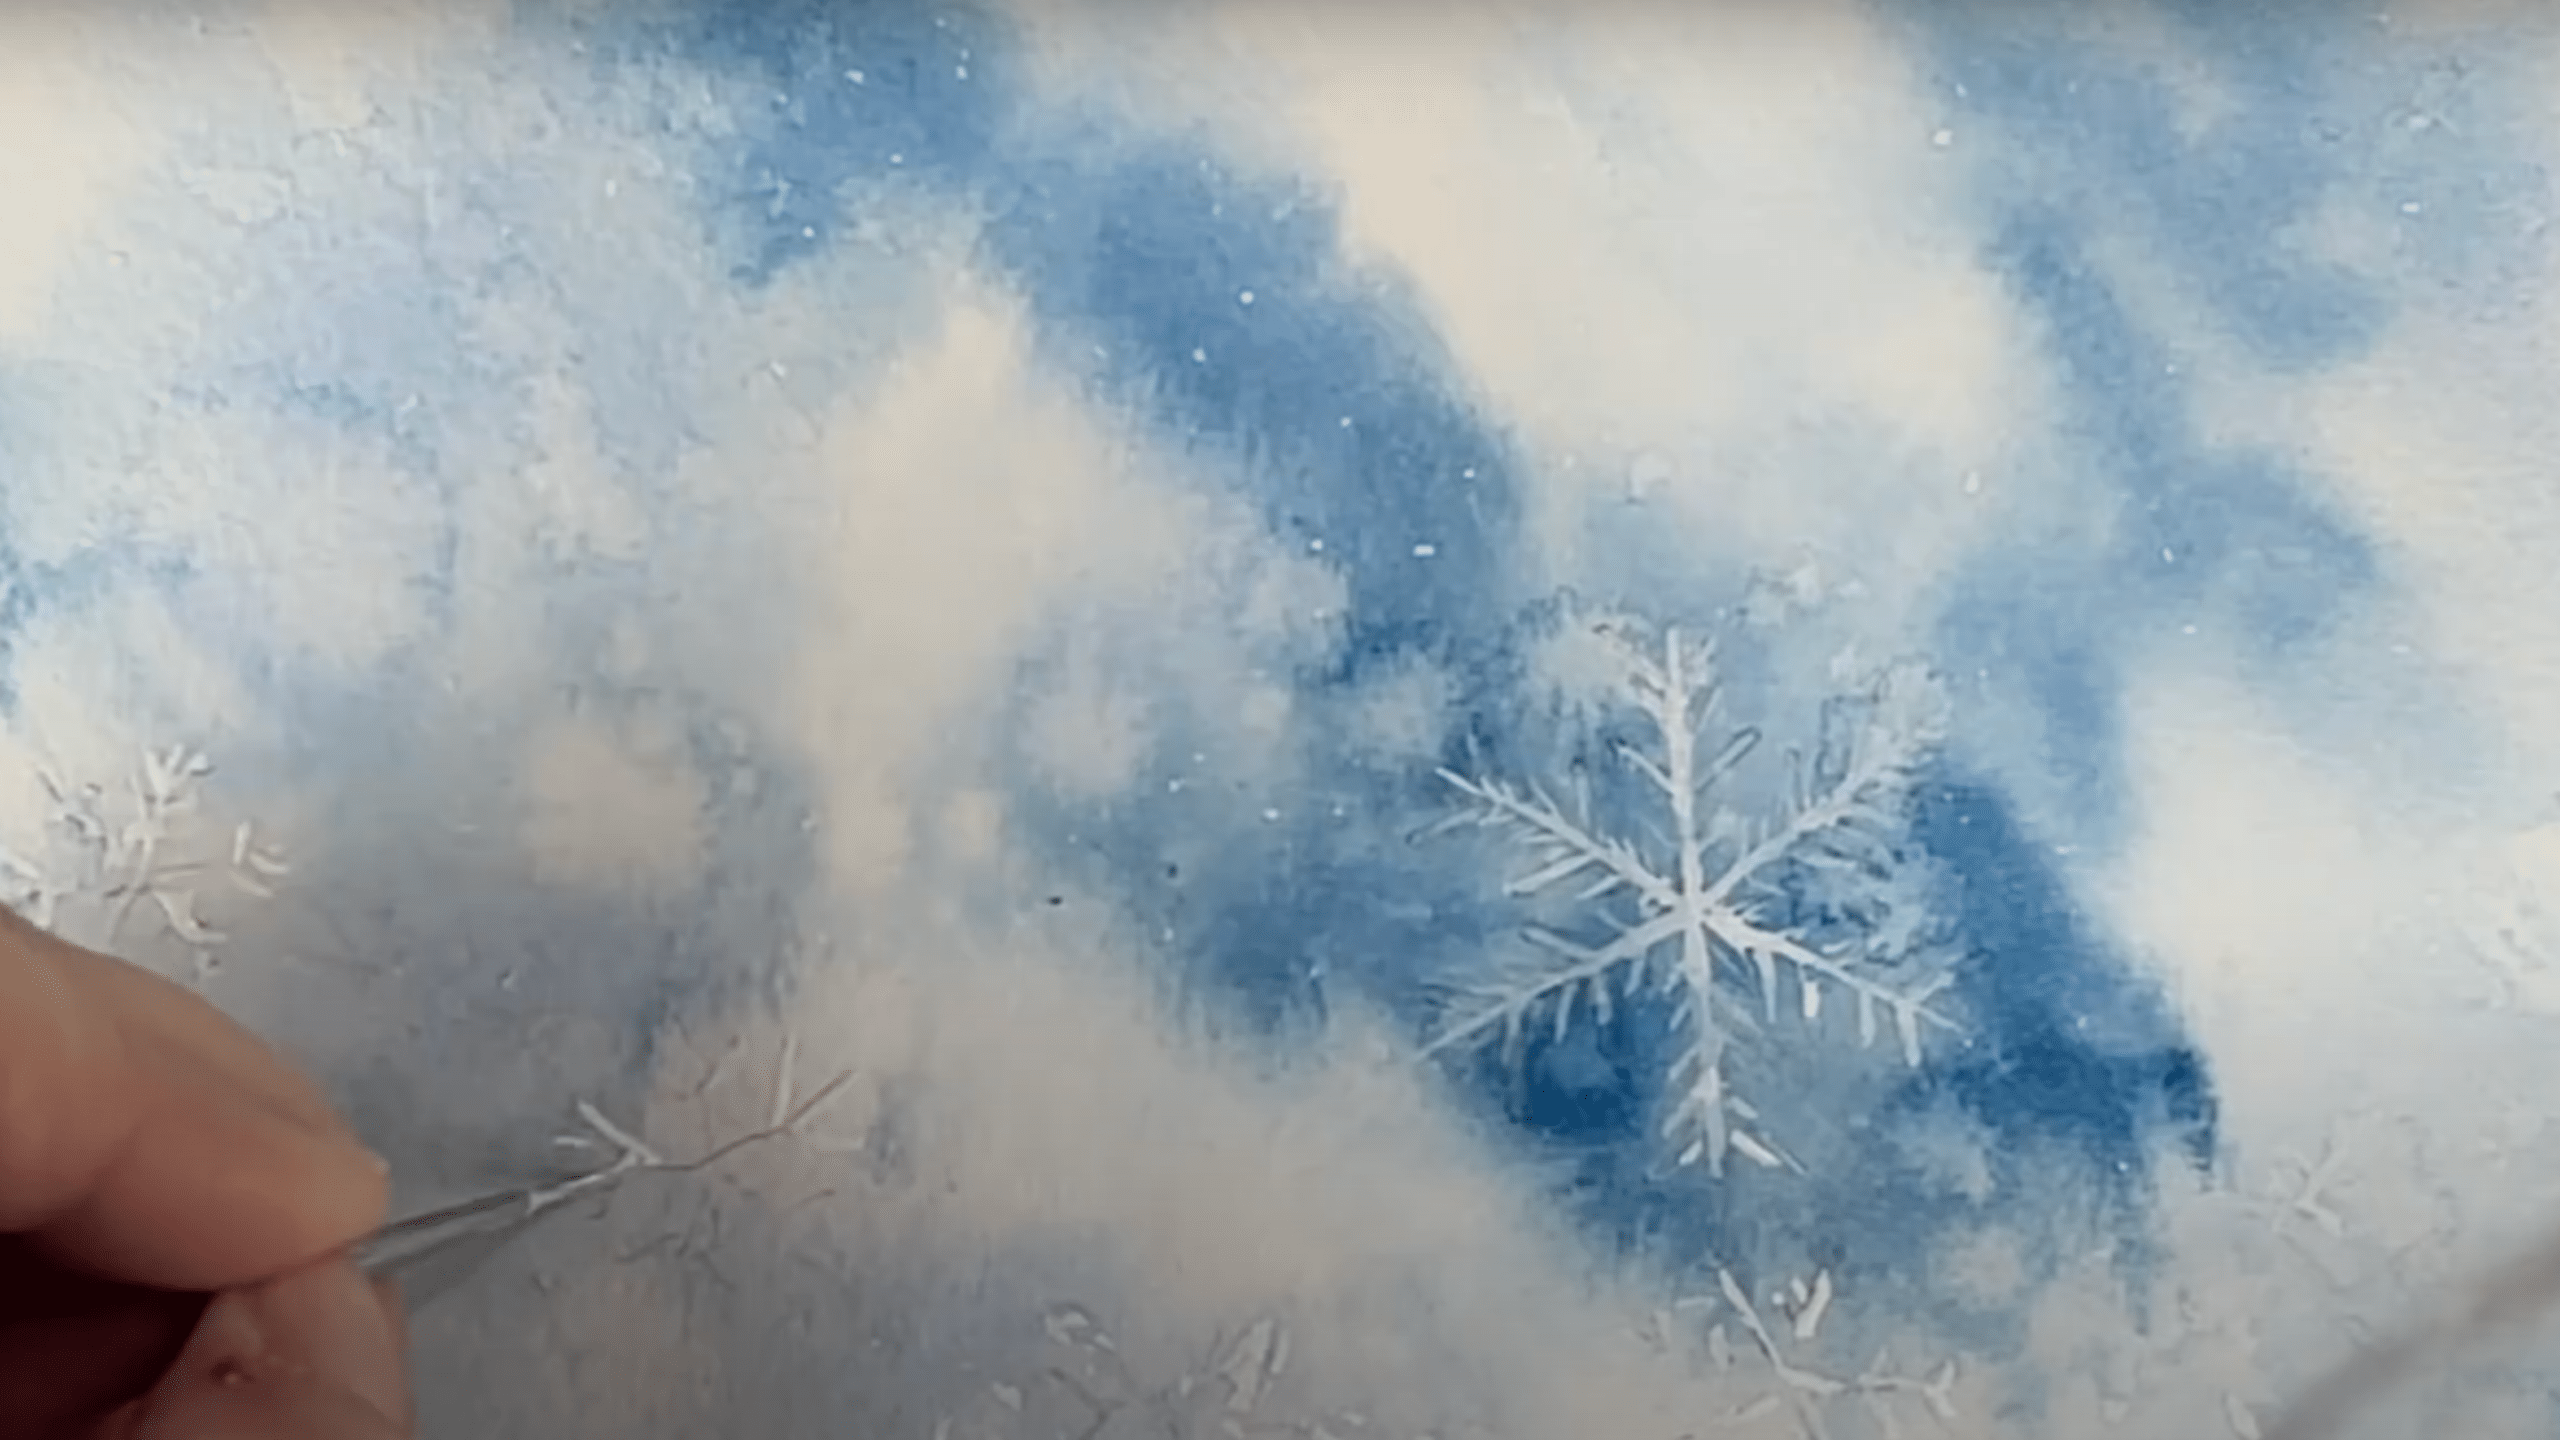
Once you’ve sketched the snowflake shapes, it’s time to bring them to life with your opaque white watercolor. Begin by mixing the paint with plenty of water to achieve a watery consistency.
This will help the snowflakes blend gently with the background while still maintaining their form. Follow these steps for painting:
- Fill in the snowflake shapes with a light wash of white, making sure they are visible against the blue background.
- Vary the opacity by using more concentrated white in certain areas, creating contrast and depth.
- Leave some areas lighter for a soft, delicate look while darkening other areas for a more defined structure.
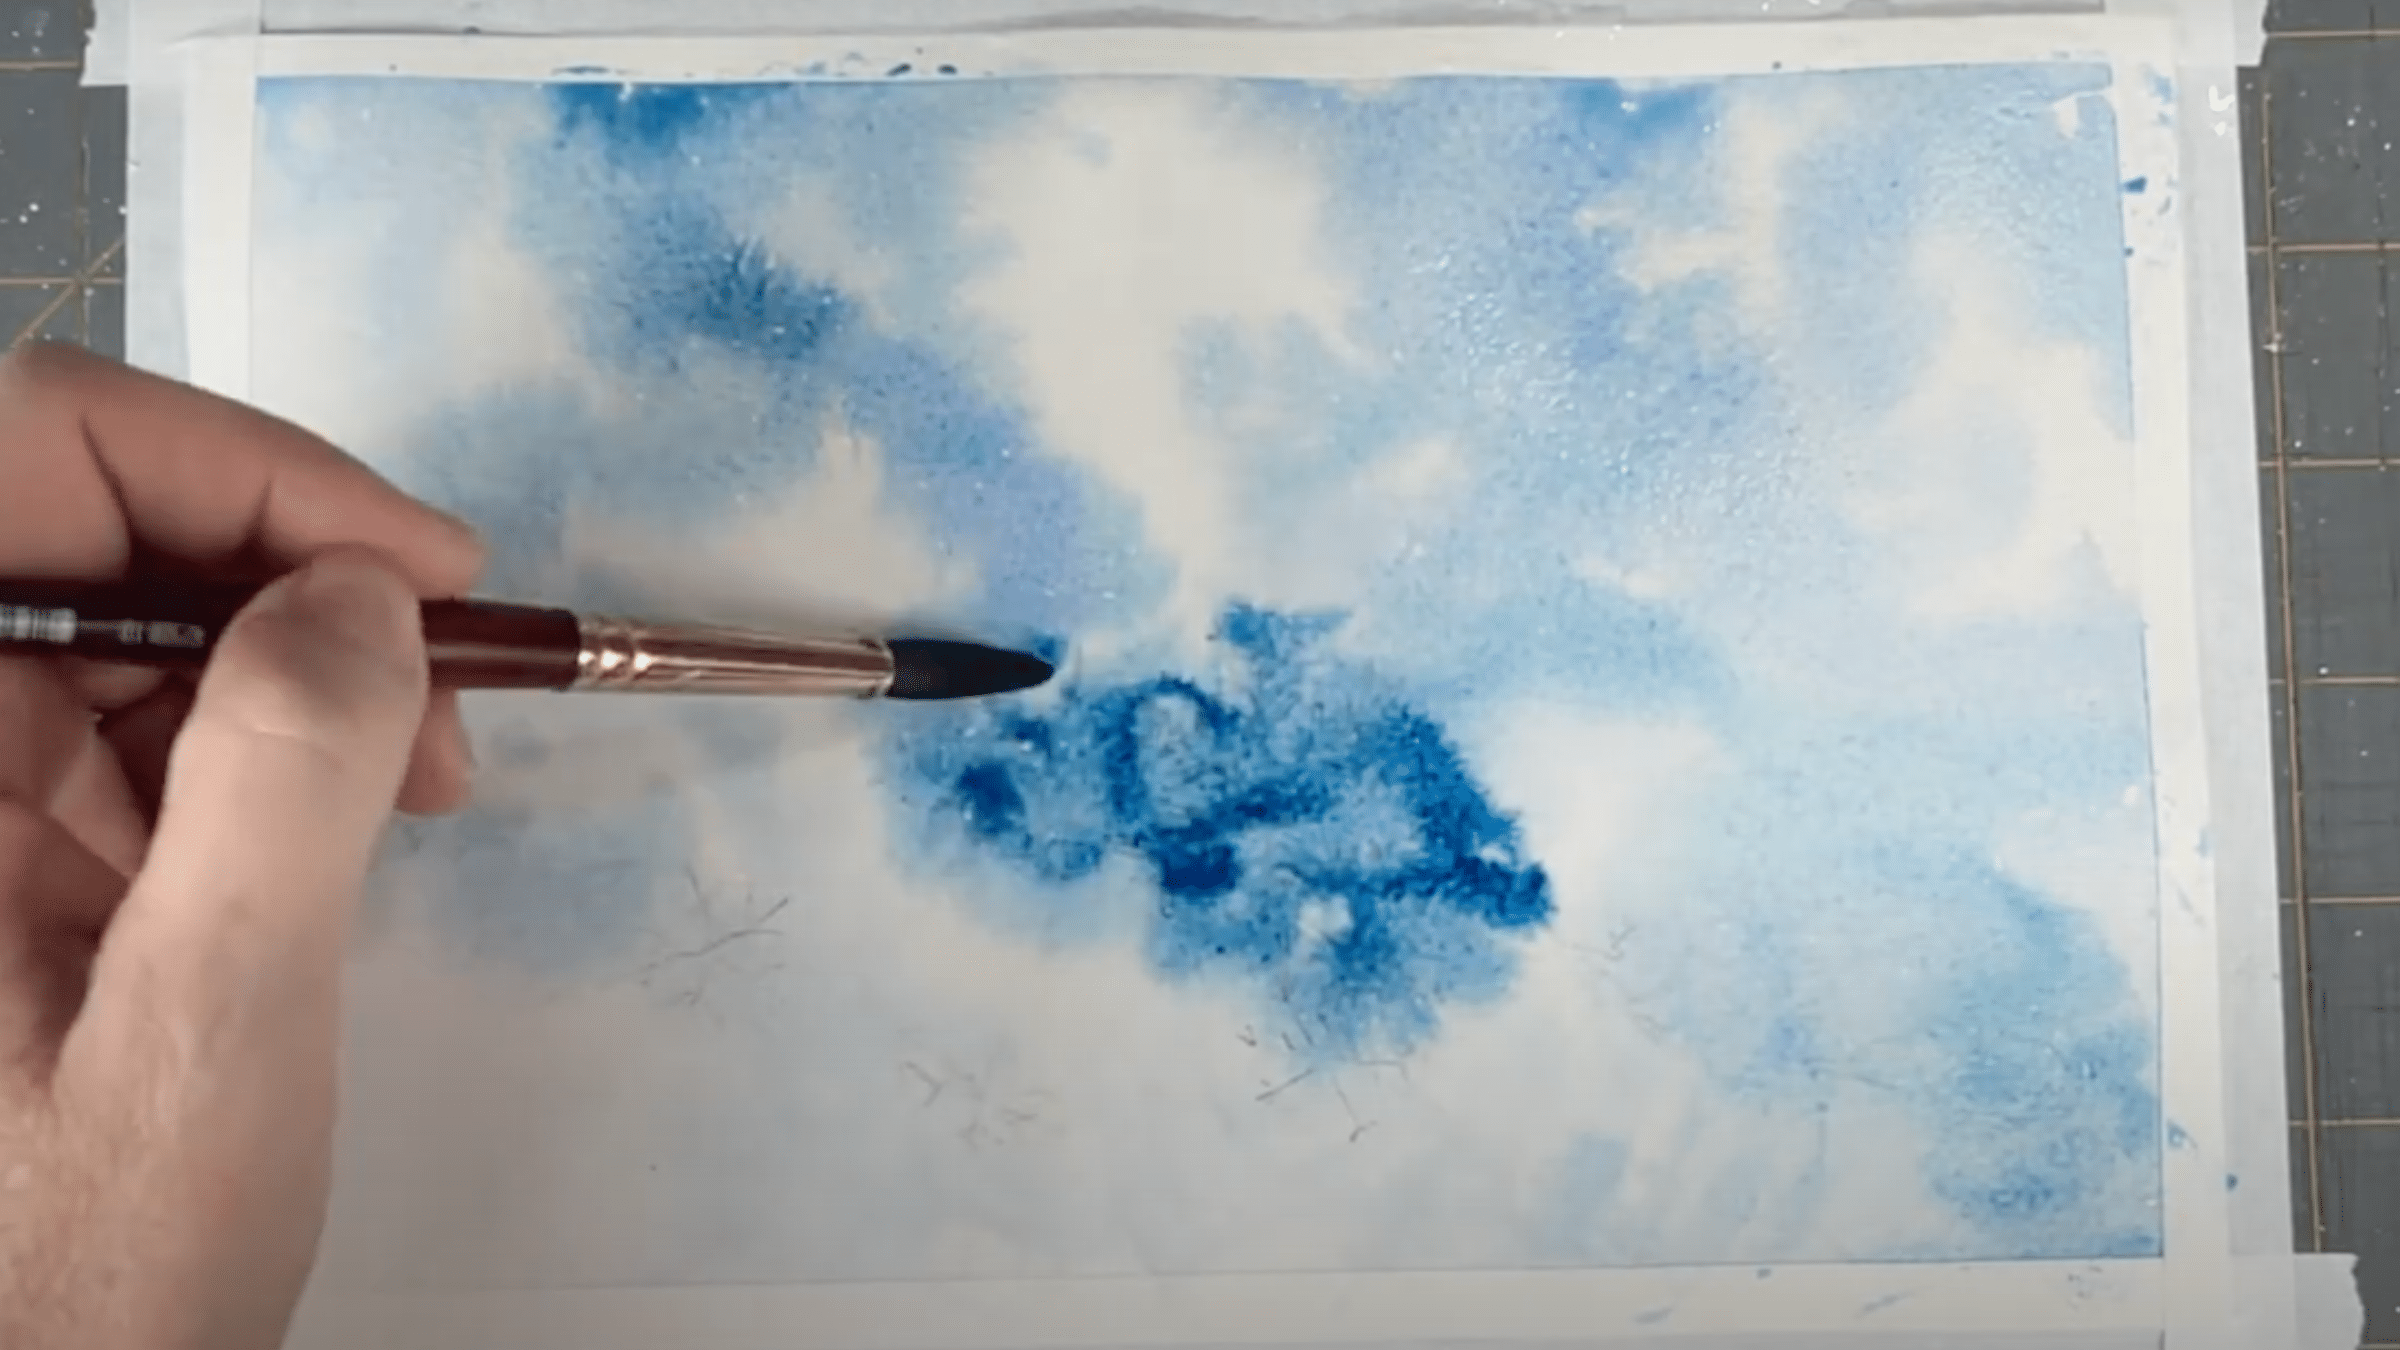
6. Intensifying the Snowflakes
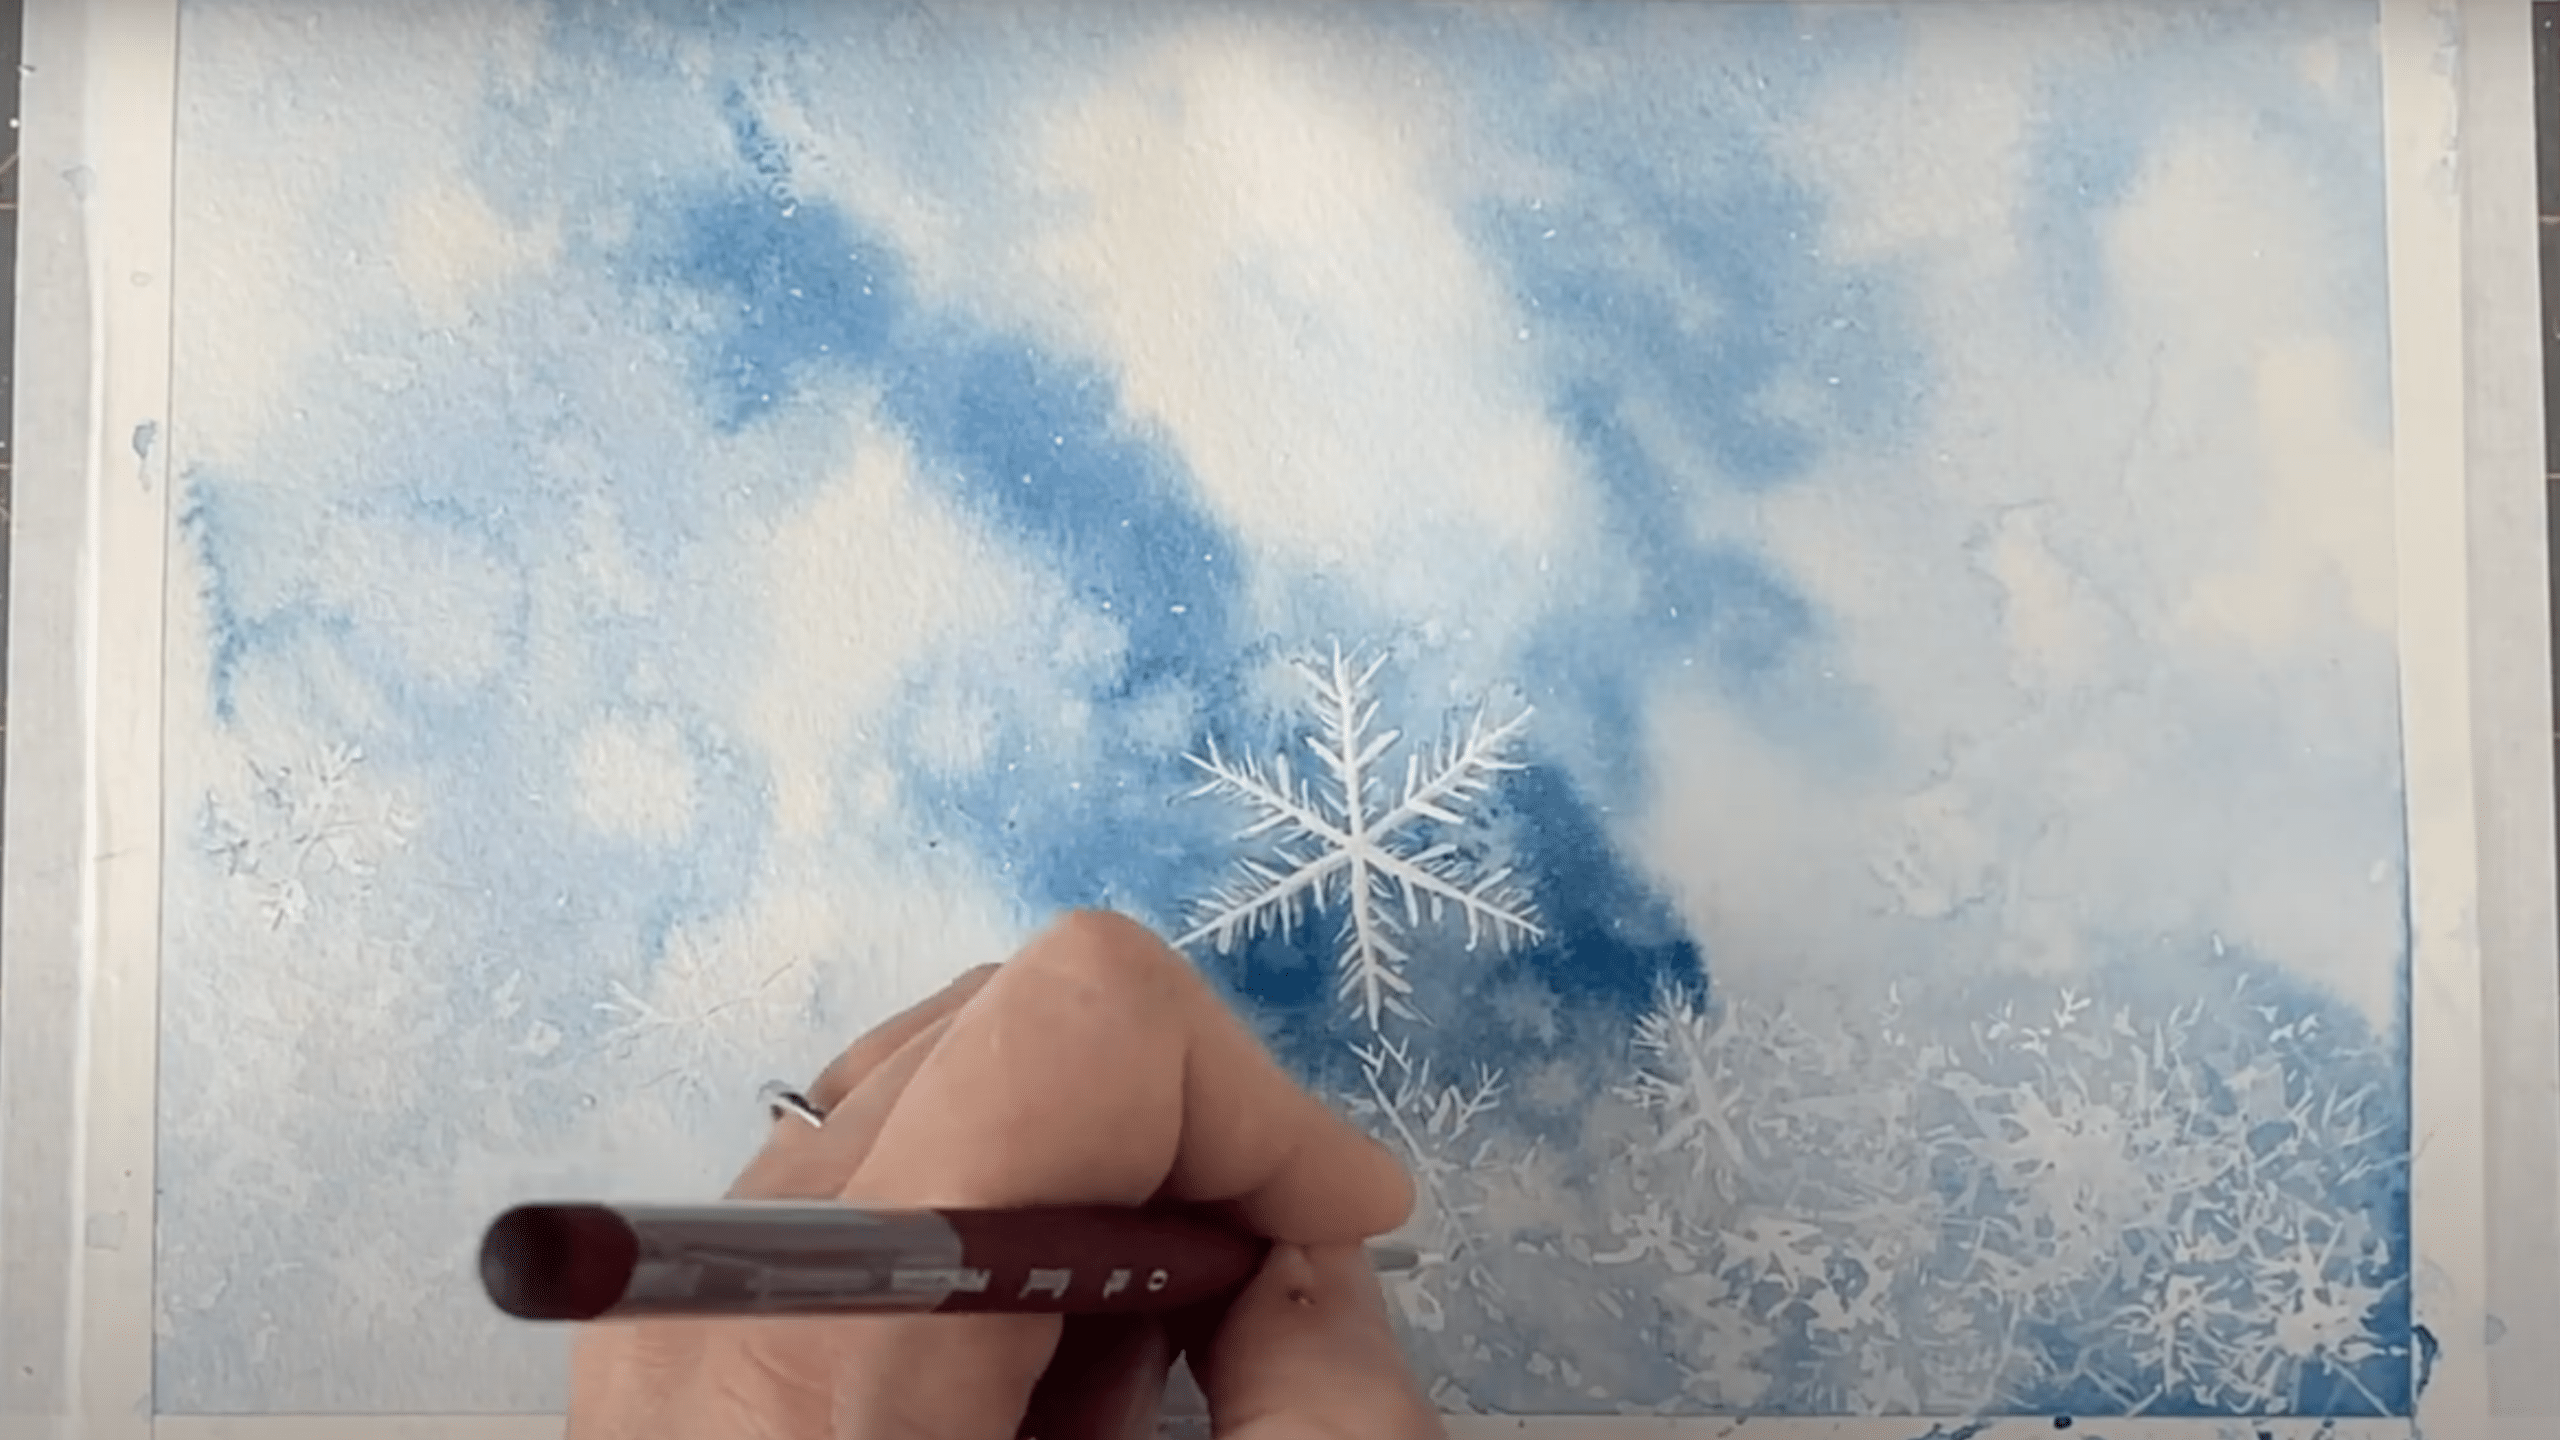
Go back over the snowflakes with a darker consistency of white paint. This will add depth and dimension to the snowflakes.
Use small, short brush strokes in different directions to mimic the sharp angles of the snowflake branches.
You can also paint more subtle snowflake shapes on the edges of the paper to create a sense of layering and depth.
7. Final Touches and Refinements
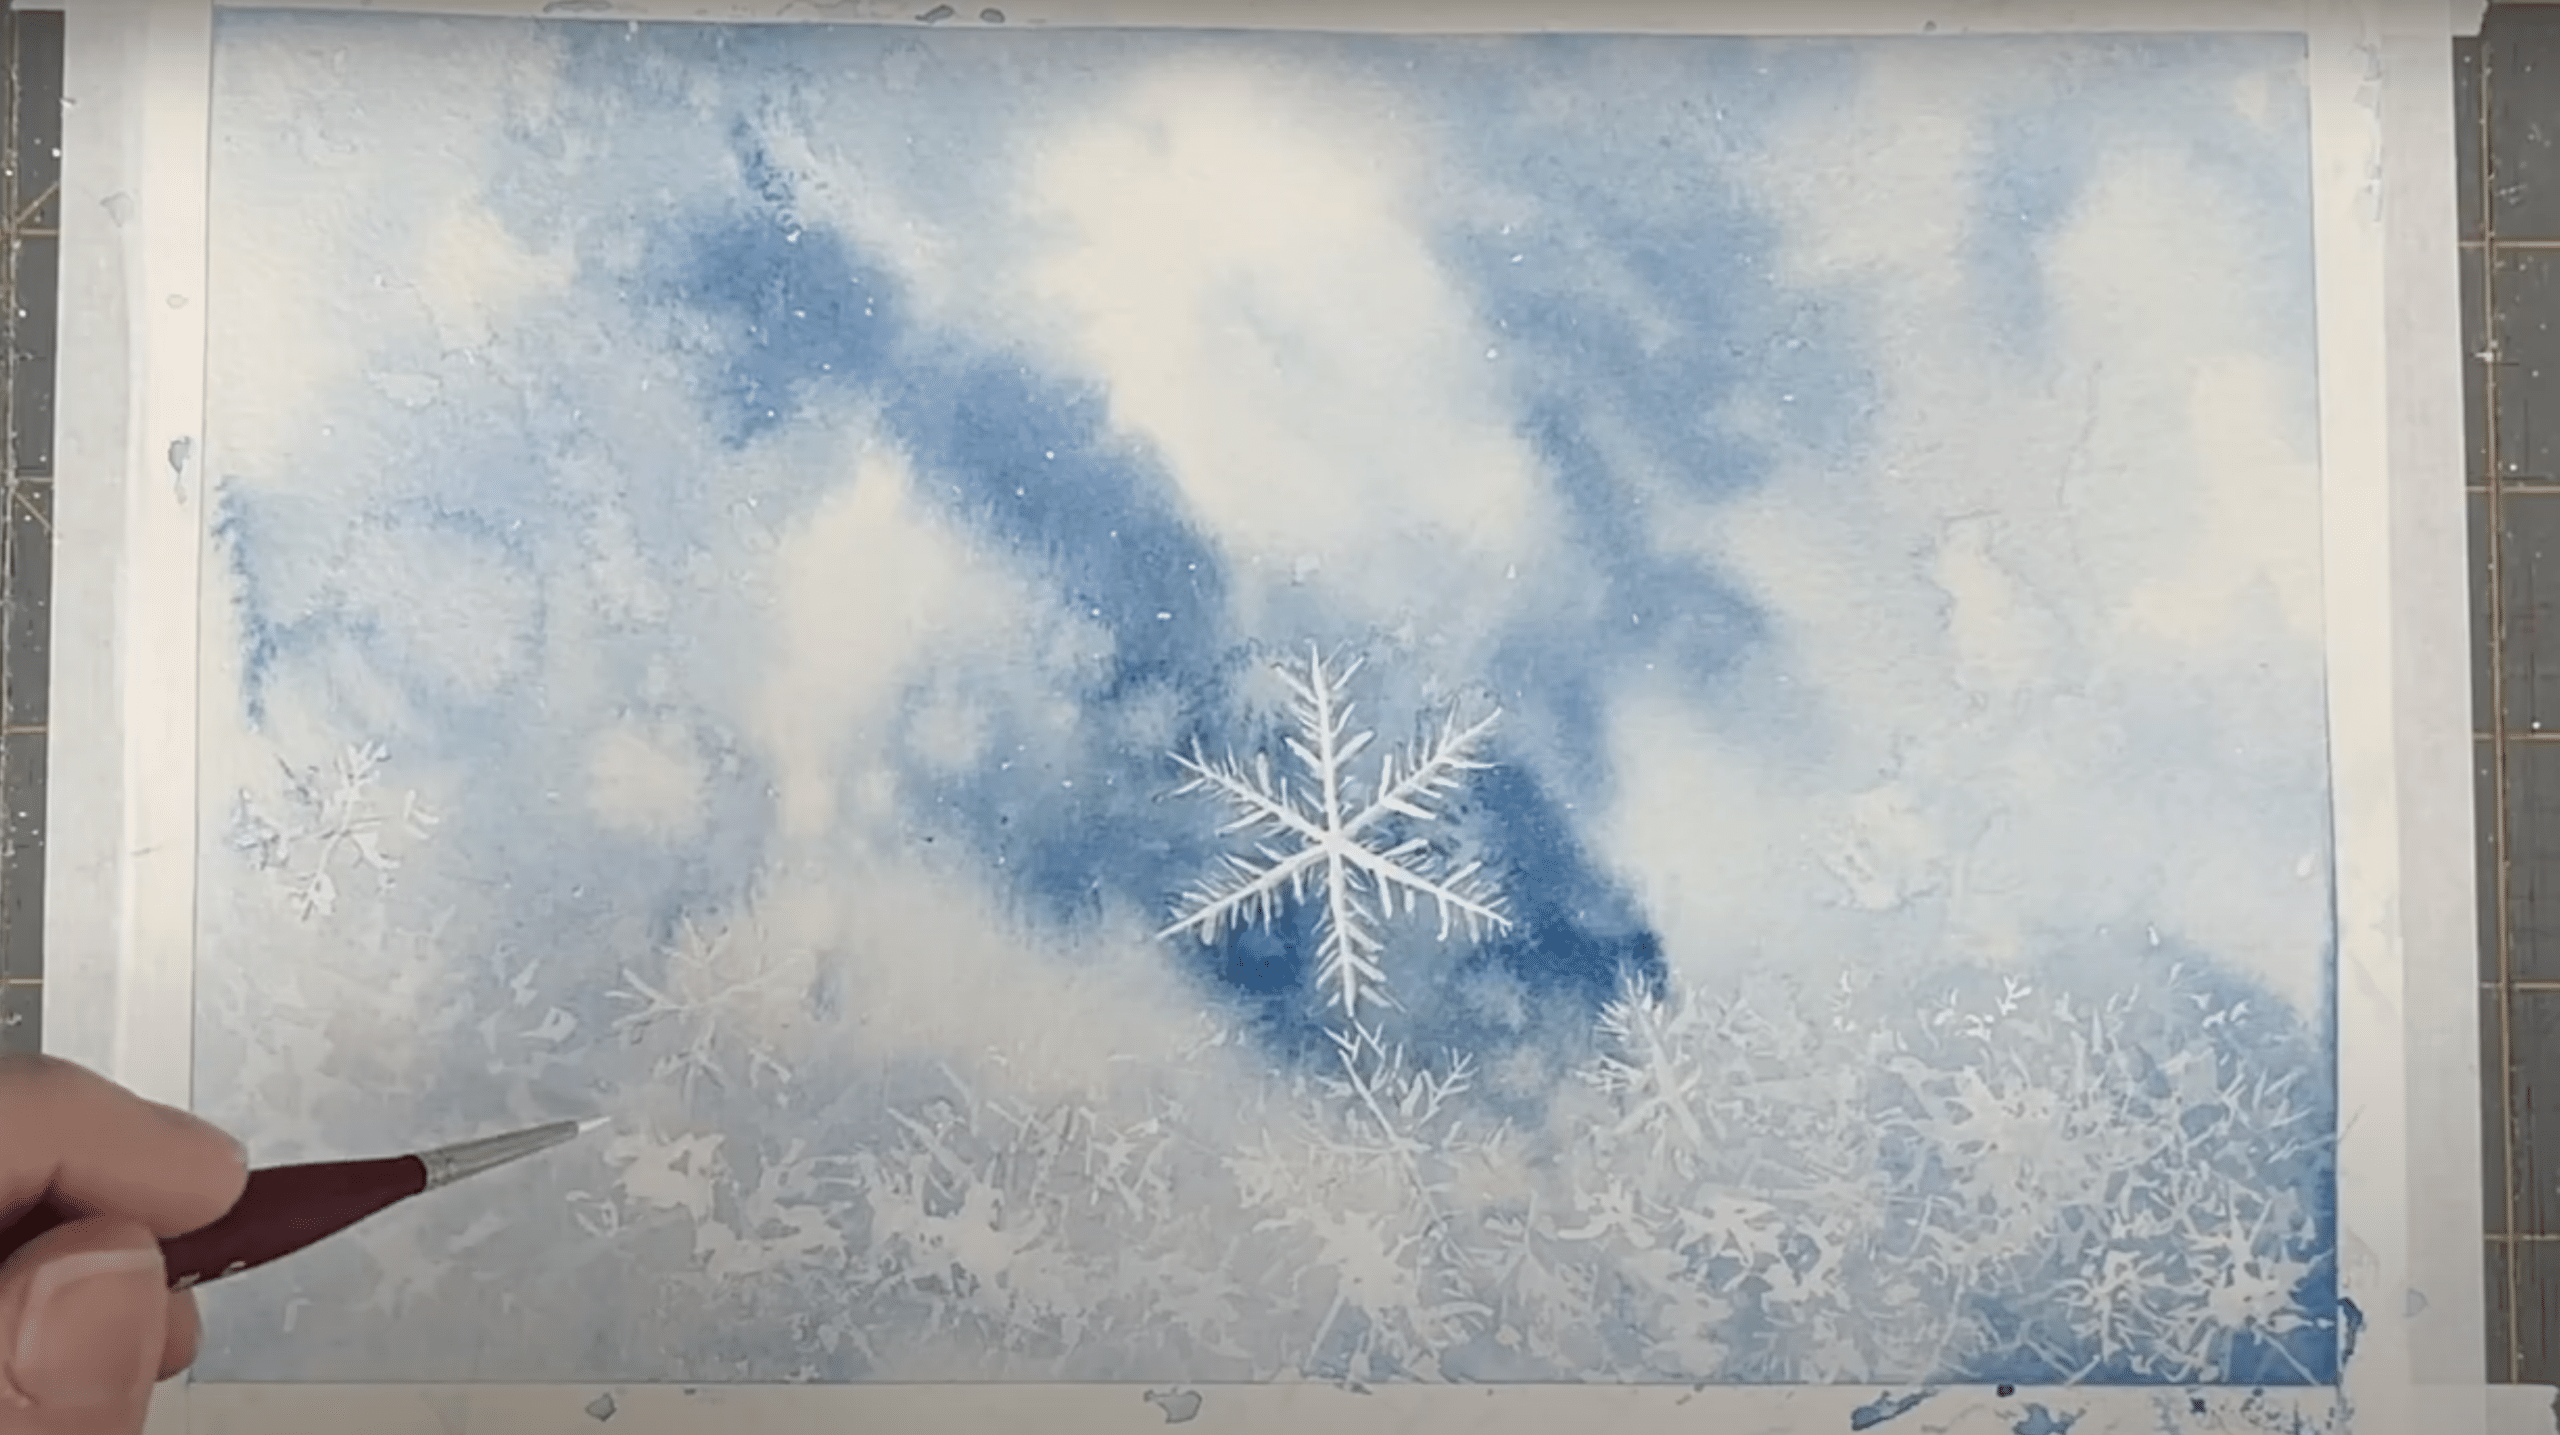
Once the snowflakes are dry, refine the painting by adding more contrast.
Darken the edges of the main snowflake to make it pop. Use small, delicate brushstrokes to suggest the presence of smaller snowflakes and angles around the central design.
Take a moment to assess the overall composition. The key is to keep the painting subtle and light, with the snowflakes appearing naturally layered, just like they do in nature.
Creative Watercolor Snowflake Designs to Try
Now that you’ve learned the basic techniques, it’s time to find different snowflake designs you can create. Each pattern offers a unique look and feel for your winter artwork.
Let’s see a few designs that range from simple to more detailed so you can choose based on your comfort level or mood. Let’s look at some exciting options to inspire your next watercolor session:
Stunning Winter Watercolor Snowflake
Graceful Dangling Watercolor Snowflakes
Watercolor snowflakes festive background
Handcrafted Watercolor Snowflake Card Inspiration
Blue Winter Watercolor Snowflake Poster
Creative Watercolor and Salt Technique Painting Idea
Key Takeaways
Creating beautiful watercolor snowflakes brings joy to winter art projects. The techniques we’ve covered help turn simple supplies into charming seasonal artwork.
While it may take a few tries to get your snowflakes just right, each attempt builds your skills and confidence.
We found essential tips for working with watercolors and various snowflake designs to try.
Remember that practice leads to improvement, and even imperfect snowflakes can look stunning in their own unique way. The skills you’ve learned here will help with many other watercolor projects too.
Why not start with a simple design and gradually move to more complex patterns as you gain confidence? Your watercolor snowflakes will make perfect decorations, gifts, or greeting cards this winter season.
What watercolor snowflake design will you try first? Share your creations in the comments below!