People stop and stare at roses, wishing they could capture their beauty on paper. Many artists feel stuck when trying to draw these complex flowers. Learning how to draw a rose can feel hard at first glance. But the good news is that anyone can learn with the right steps.
This blog post will show readers the simple way to draw roses at any stage – from tight buds to full blooms. They’ll learn basic shapes that make up roses and how to add details that bring them to life.
By following along with these tips, soon anyone will be creating roses that look real enough to smell. Readers can start their rose drawing today and watch their skills grow.
Beginners Tips on How to Draw a Rose
Drawing roses can seem hard for new artists. Many people think roses have too many details. However, with a few simple tips, anyone can learn how to draw a rose well.
These tips will help beginners feel more confident when they start their first rose drawing.
1. Start with basic shapes: Artists should begin with simple circles and ovals to form the core of the rose. These shapes create the foundation that will guide the rest of the drawing process.
2. Layer the petals: Each petal should overlap the one before it. Starting from the center and working outward helps create the natural look of a rose in bloom.
3. Pay attention to curves: Rose petals have gentle curves rather than sharp angles. Using soft, flowing lines will make the drawing look more natural and less stiff.
4. Use light strokes first: Beginning with light pencil strokes allows for easier corrections. Artists can then add darker, more defined lines once they feel happy with the basic shape.
5. Remember the leaves: The stem and leaves add balance to the rose drawing. Including at least one leaf can make the rose look complete and realistic.
Simple Steps to Draw a Beautiful Rose
Drawing a rose might feel tricky at first, but with a little patience and guidance, it becomes a relaxing and rewarding experience.
This step-by-step process is perfect for anyone looking to draw a rose that’s both beautiful and beginner-friendly.
Materials Required:
| Item | Purpose |
|---|---|
| Pencil | For light sketching and adjusting lines during the drawing |
| Eraser | To refine shapes and clean up any extra marks |
| Black Marker | For defining the final outline and adding bold structure |
| Canson Marker Paper | Prevents ink bleeding and protects the drawing surface |
| Red and Green Markers | Used to color in the petals and leaves with vibrancy |
| Dark Red and Green Markers | Adds shading and depth to make the rose appear 3D |
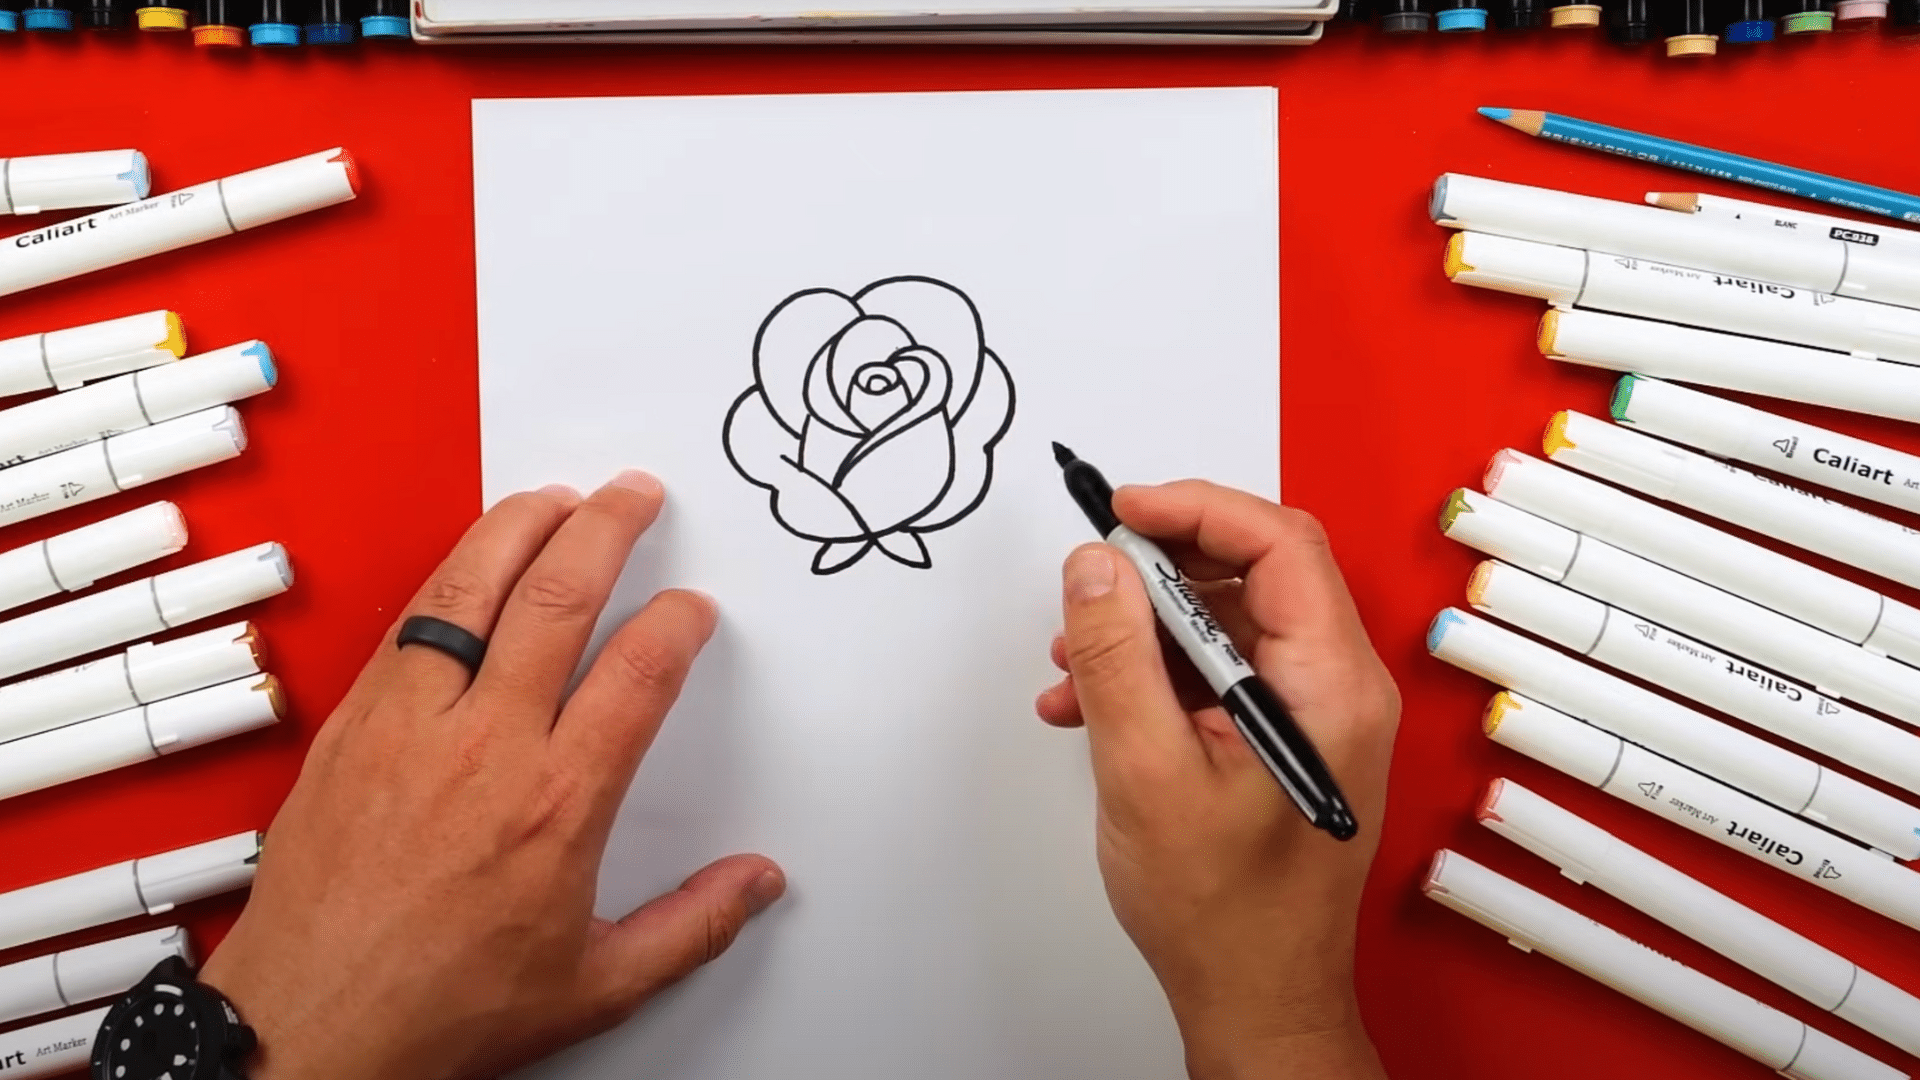
Step 1: Draw the Center Spiral
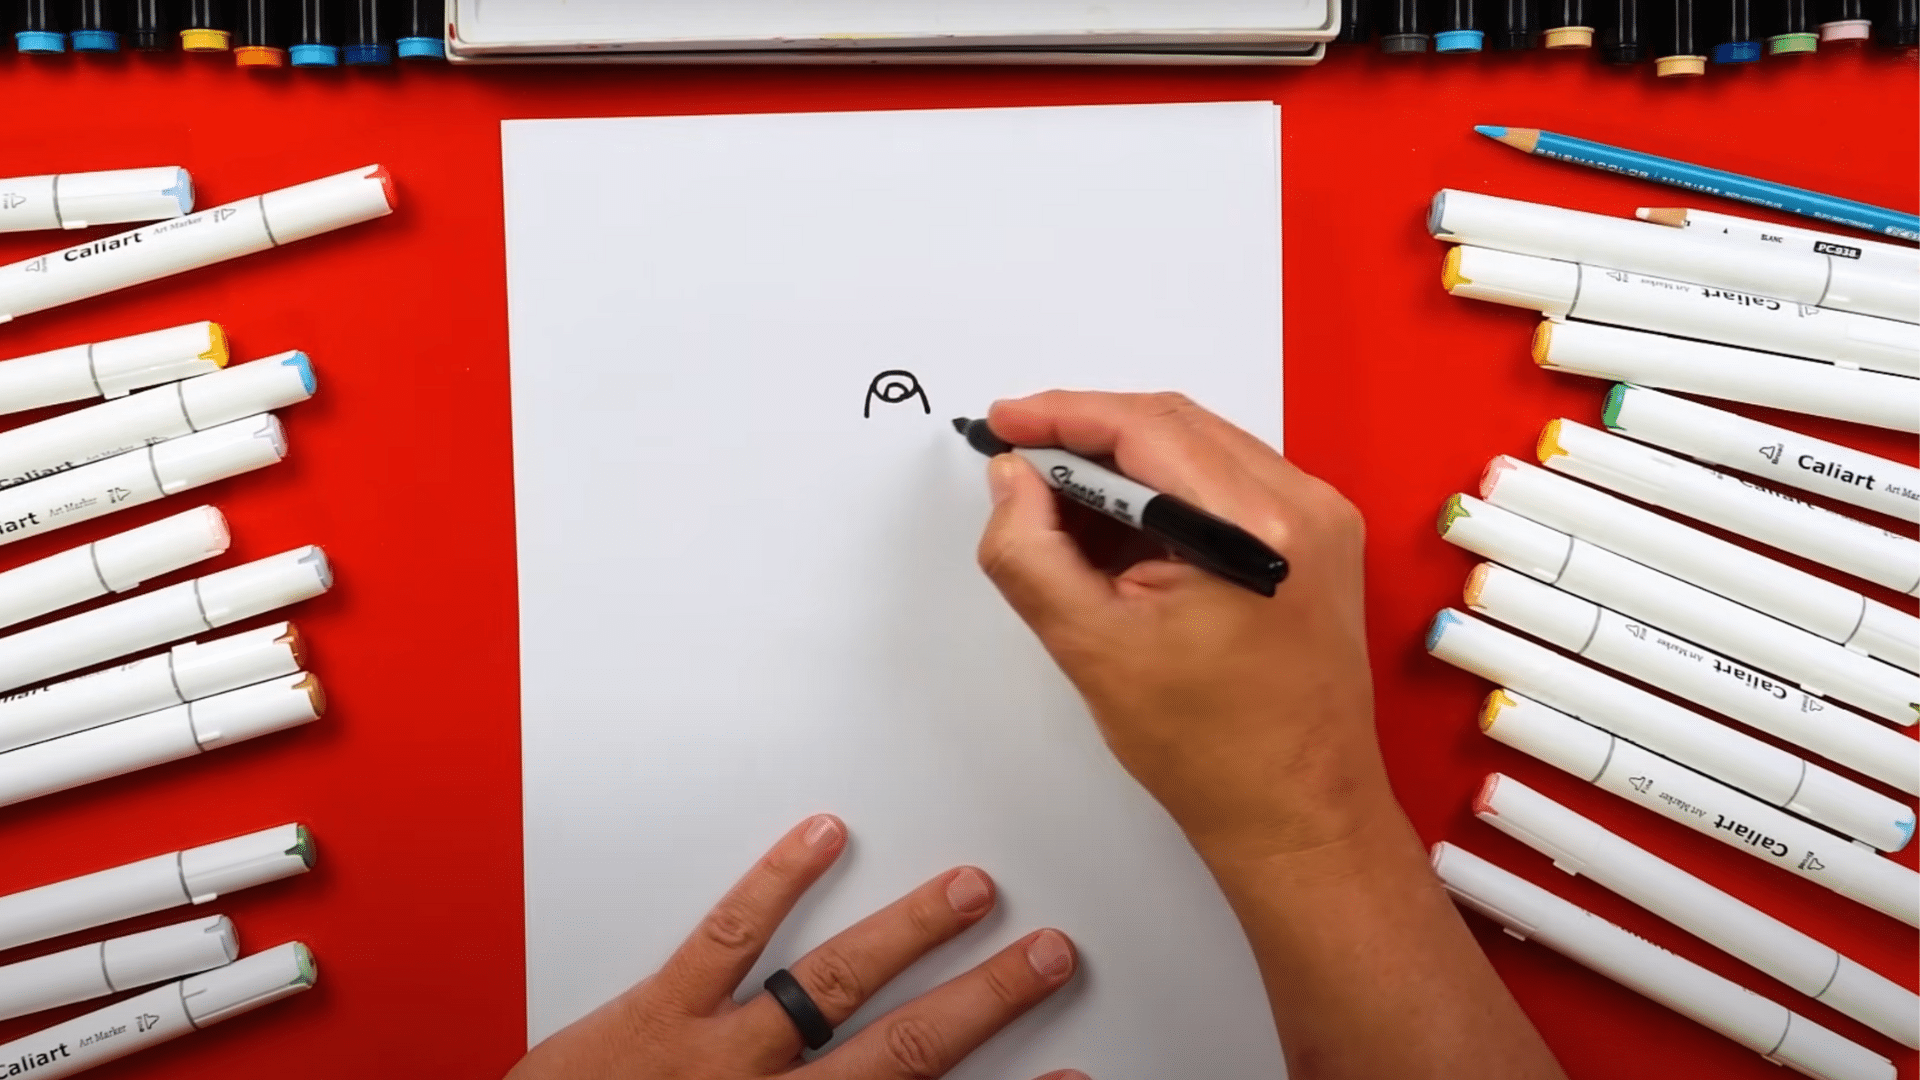
To begin, the artist should place the spiral near the top center of the paper. This spiral will form the heart of the rose and gives the drawing its central structure.
It should start with a small circular motion and then gradually widen before connecting back to the starting point. The goal here is not precision, but rather establishing a simple, flowing motion that feels natural to the hand.
Step 2: Add the First Inner Petal
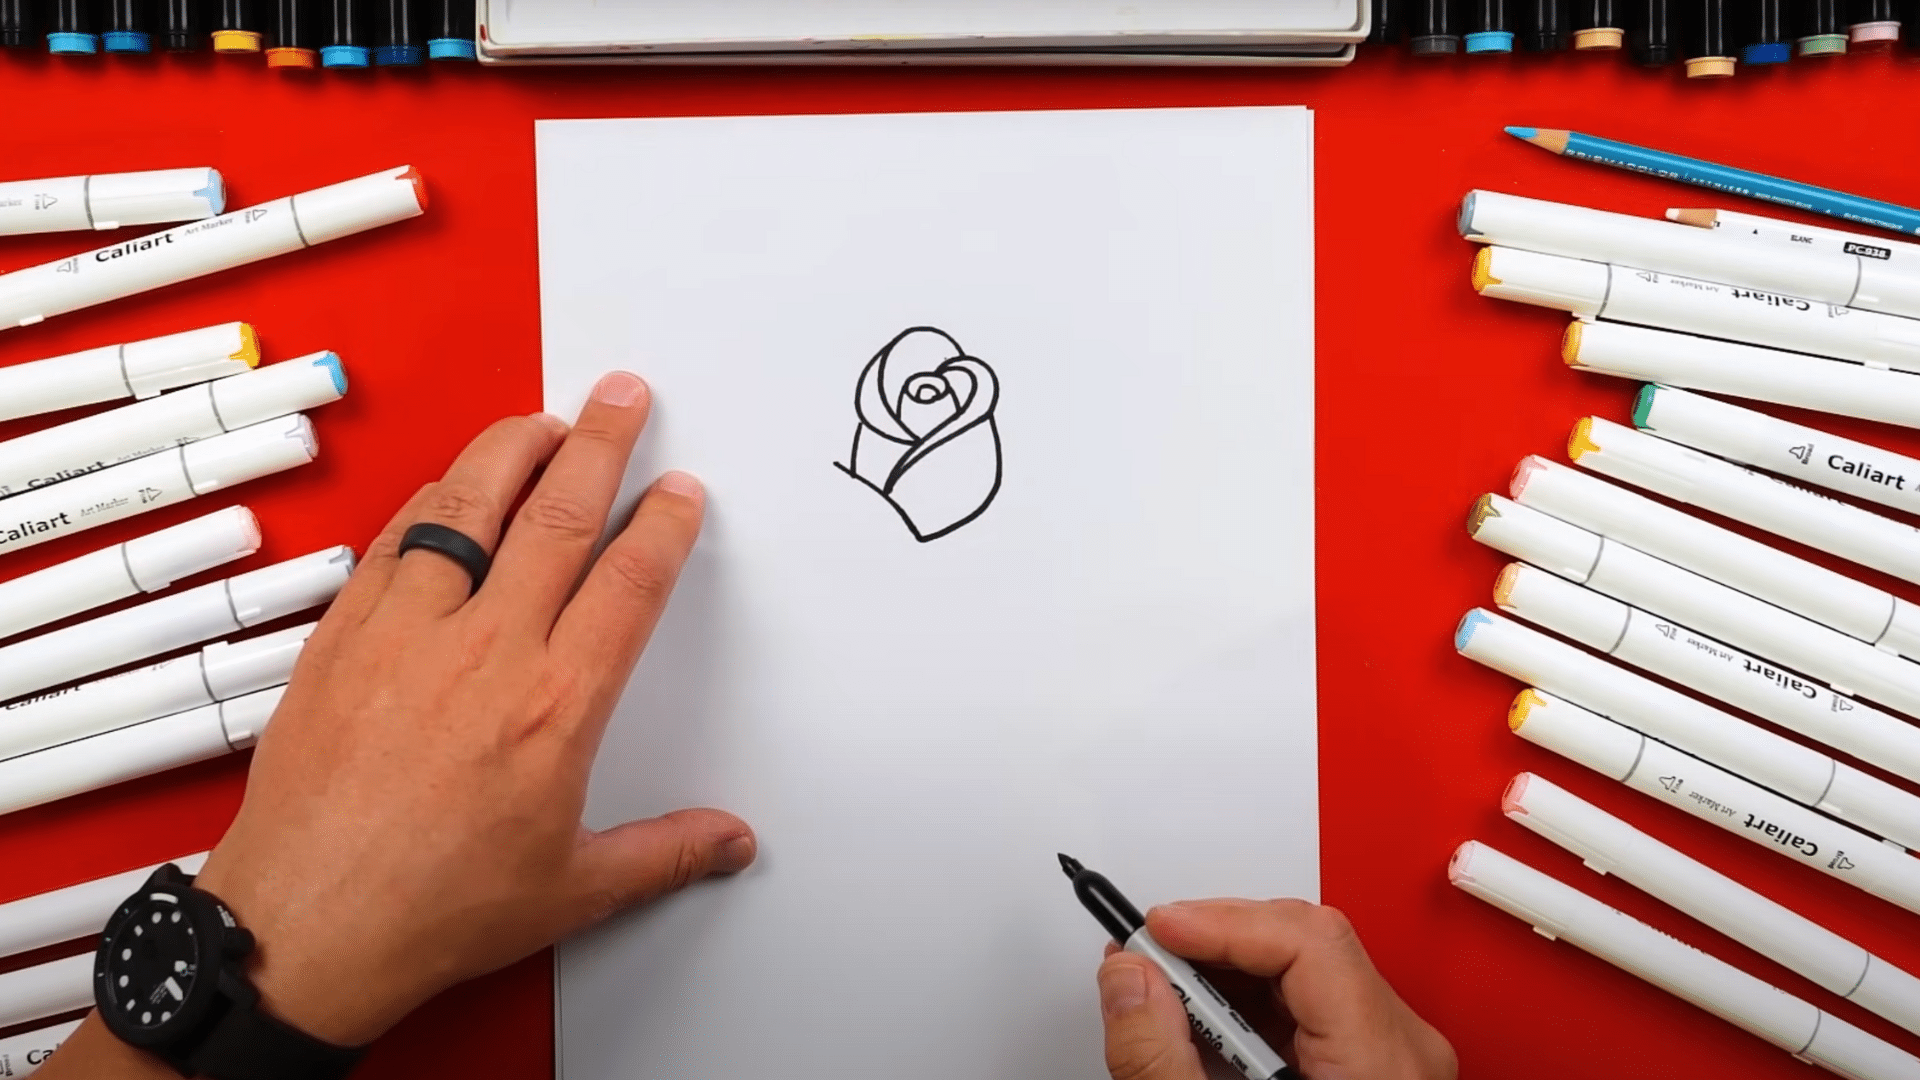
After finishing the spiral, the artist should move on to drawing the first inner petal. This step begins to shape the rose and adds dimension to the center. The petal should gently fold away from the spiral, giving the appearance of a rosebud beginning to bloom. To achieve this:
- Start at the bottom center of the spiral.
- Draw a curved line that flows downward, almost like a gentle hook.
- Keep the curve subtle and rounded to maintain a natural look.
- This line should taper slightly as it reaches its end, mimicking a soft petal fold
Step 3: Create Side Petals
With the center petal in place, the rose can now start to open up. Side petals help define the body of the rose and make it feel more full and lifelike. They should curve outward in a way that frames the central spiral.
- Begin on each side of the inner petal, just outside the spiral.
- Sketch two elongated, swooping curves that bow out and then gently curve back in.
- Let them extend slightly lower than the inner petal for depth.
- These side petals should appear soft and organic, like they’re slowly unfolding.
Step 4: Build the Outer Petals
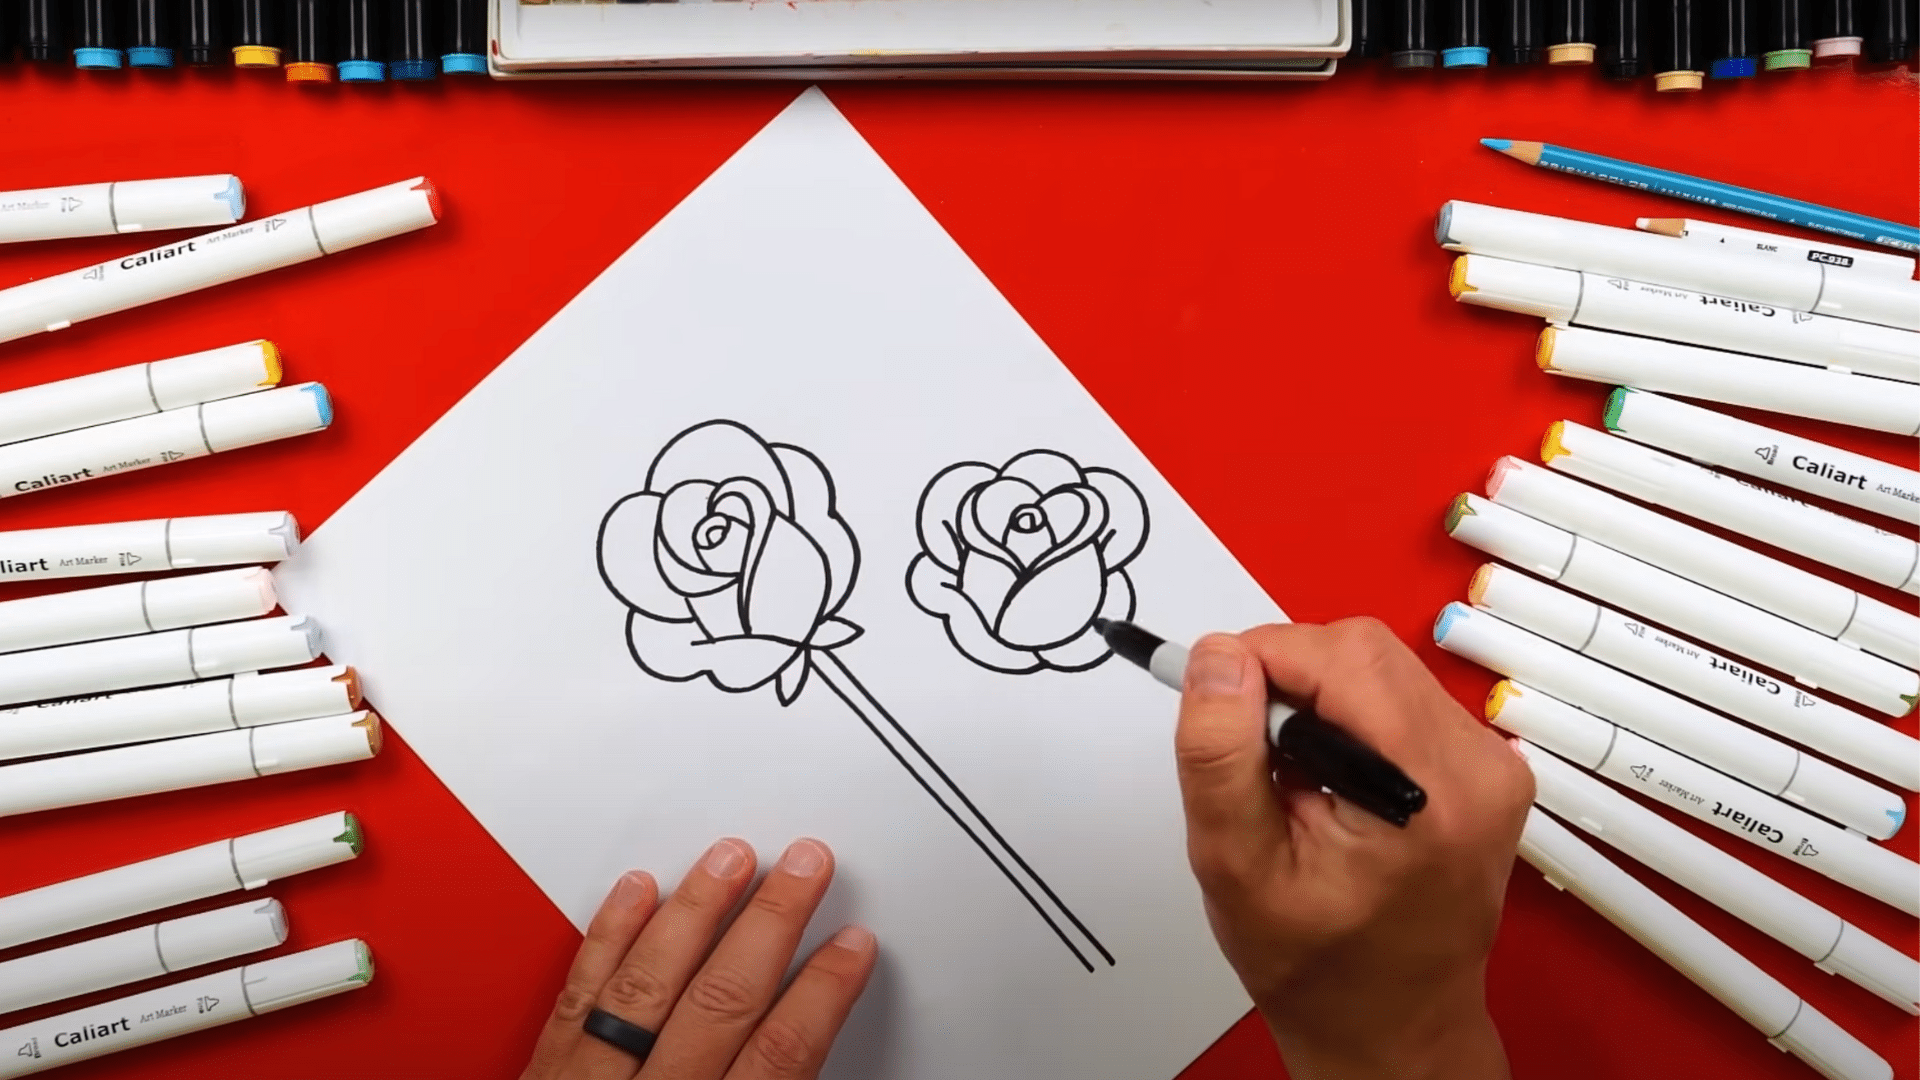
The artist should now return to the top of the rose and draw a larger outer petal on the right side. This petal should sweep down in a gentle S-curve before connecting back to the rose.
A similar curve can then be mirrored on the left side to keep the rose balanced. These larger petals begin to form the outer bloom and add volume to the drawing.
Step 5: Extend the Petals Outward
To continue building the rose, more petals should be added around the existing structure. These can be larger and more dramatic, curving out further before tapering back toward the center.
The key is to vary the size and direction slightly so the rose looks more natural. Even small changes in angle can make the flower appear more lifelike and dynamic.
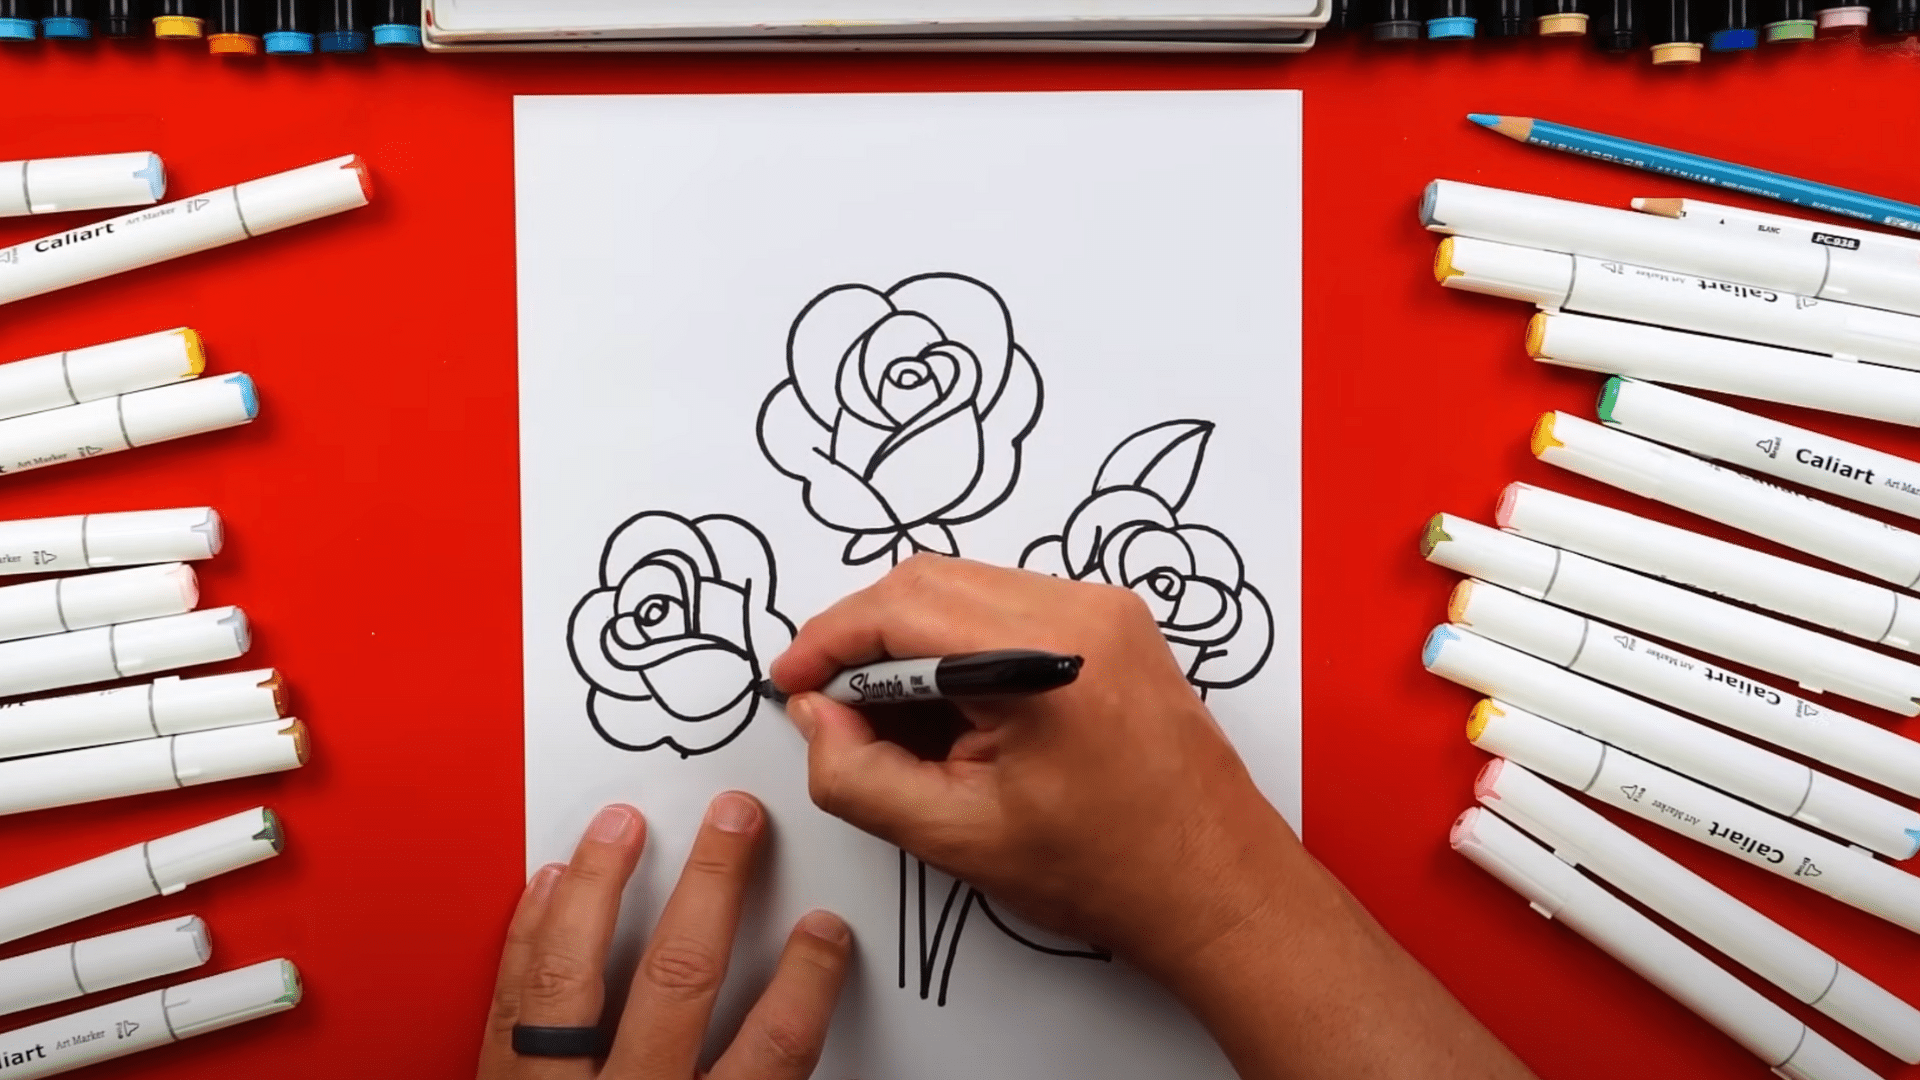
Step 6: Draw the Stem and Leaves
From the bottom of the rose, the artist should sketch two slightly curved parallel lines to form the stem. Then, simple leaves can be added on either side using long ovals with pointed tips.
A vein running through the center of each leaf helps add detail. This step grounds the rose and adds a touch of realism to the overall piece.
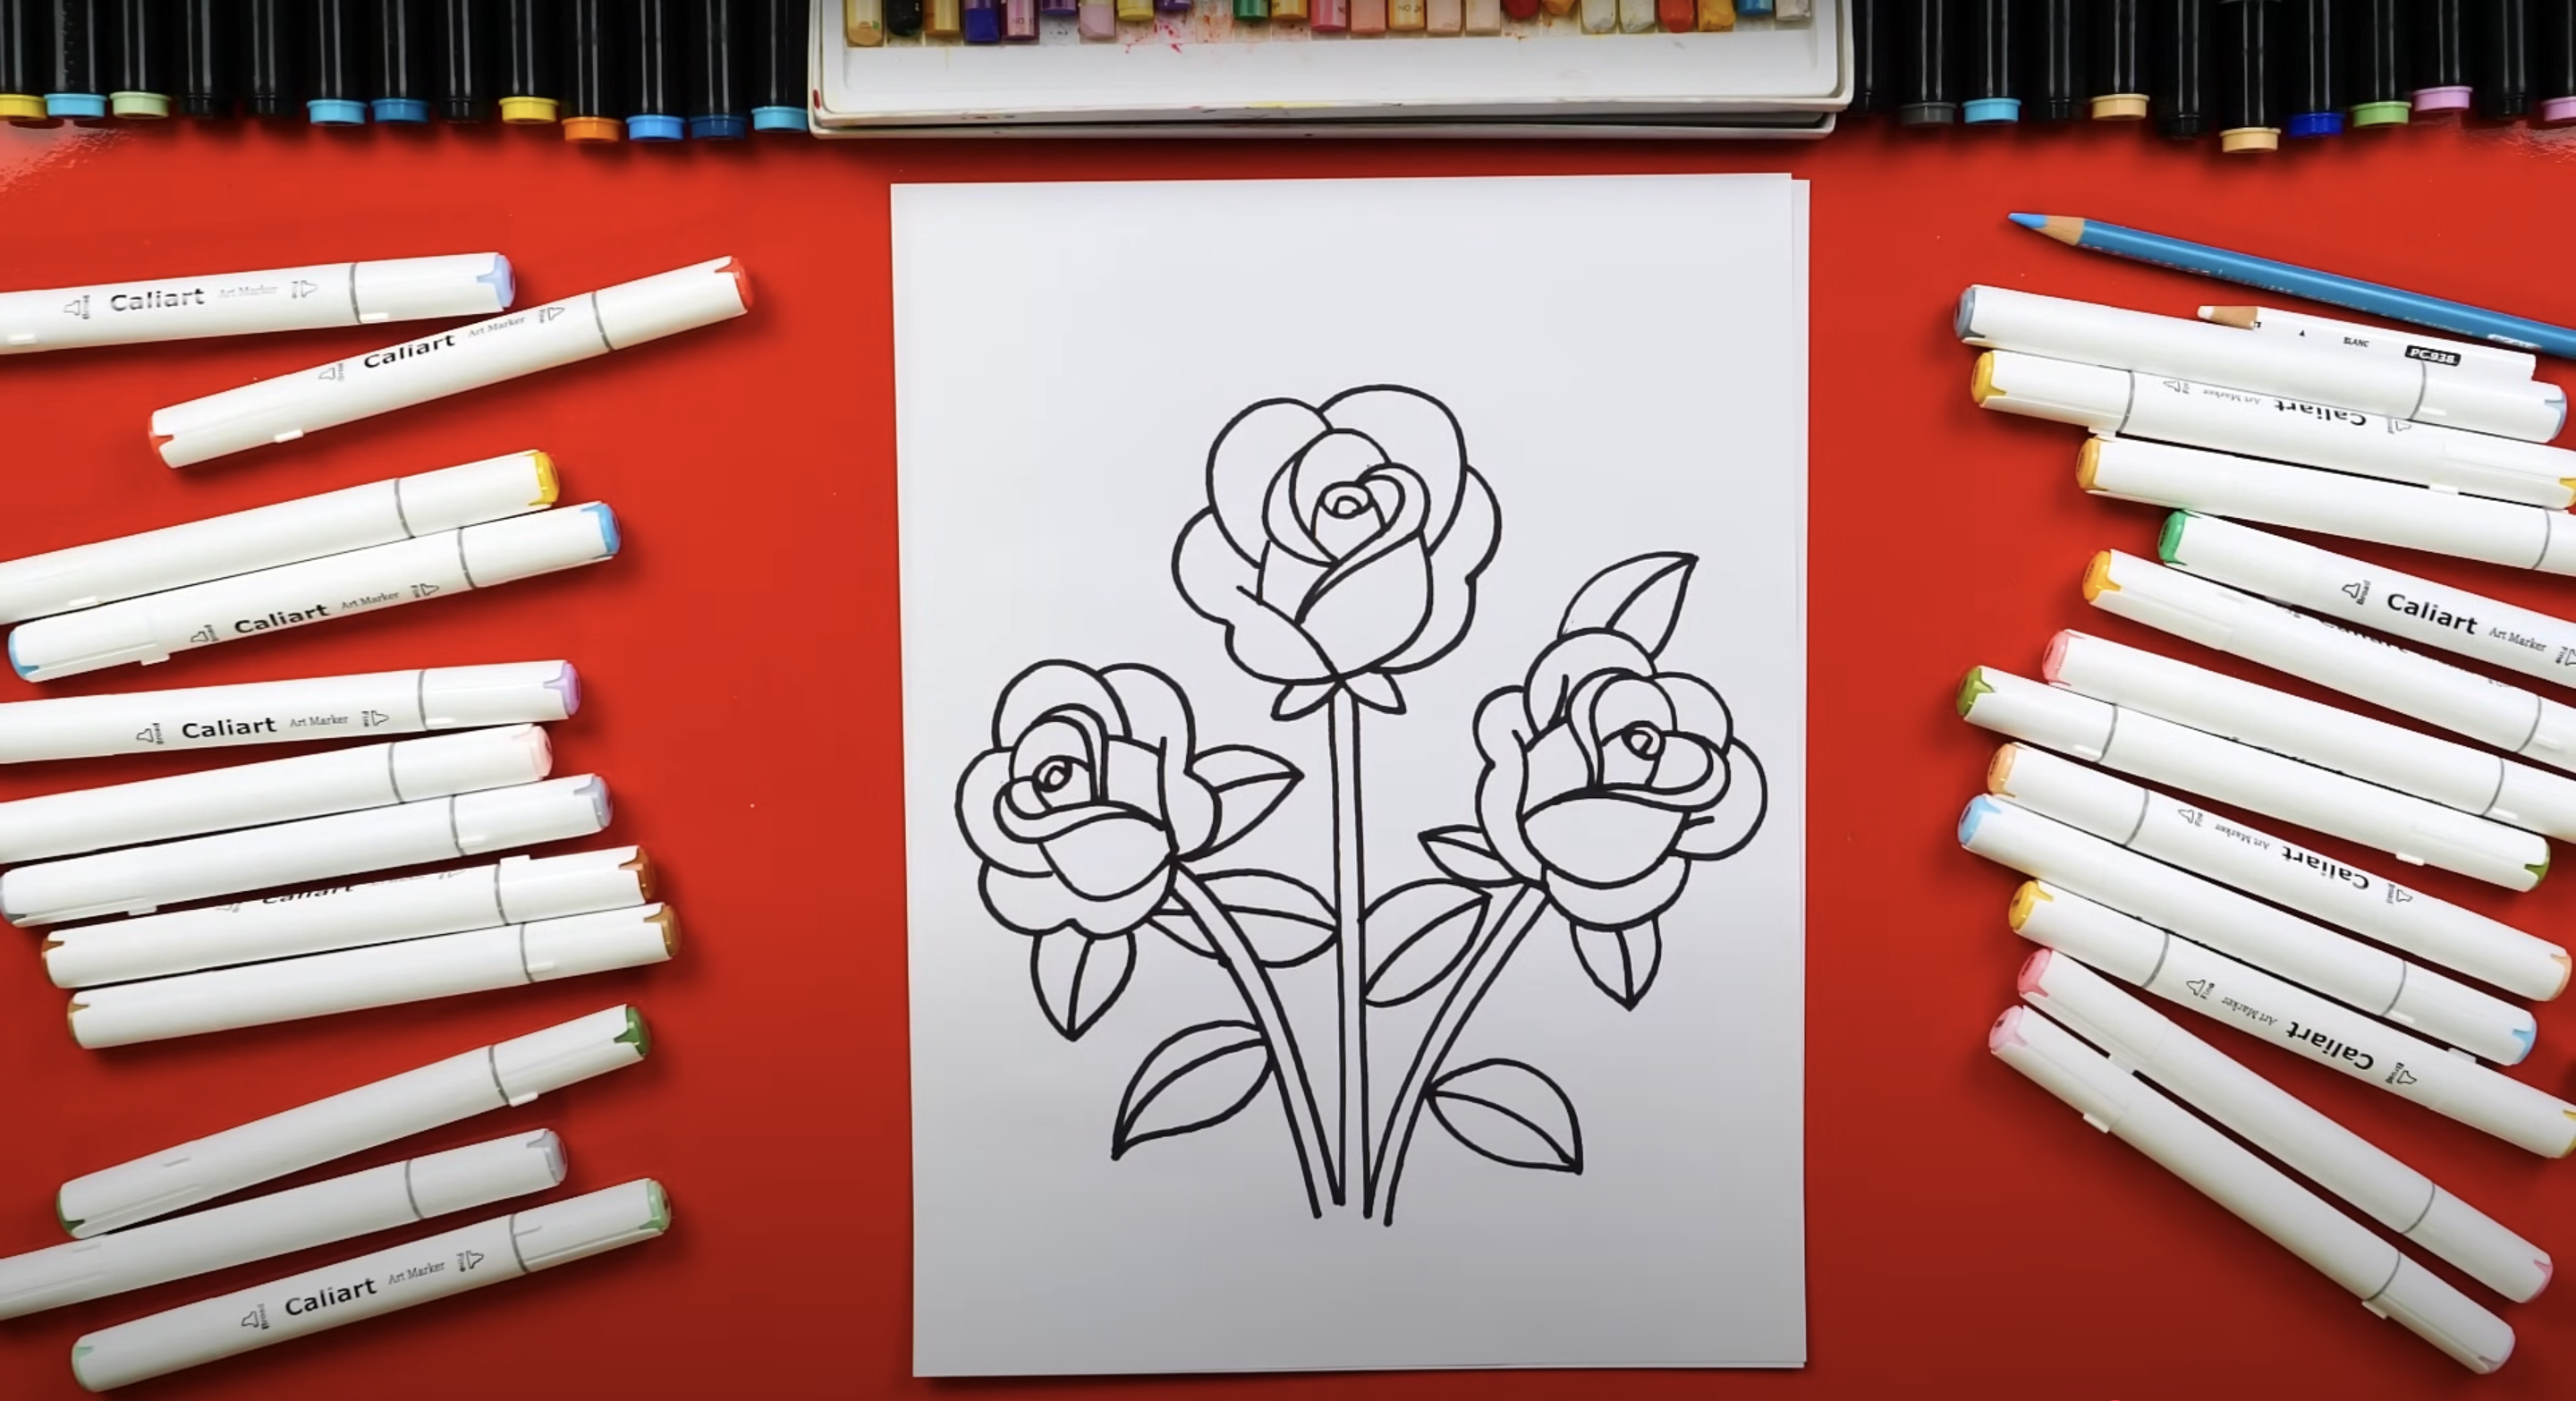
Step 7: Add Shading and Extra Details
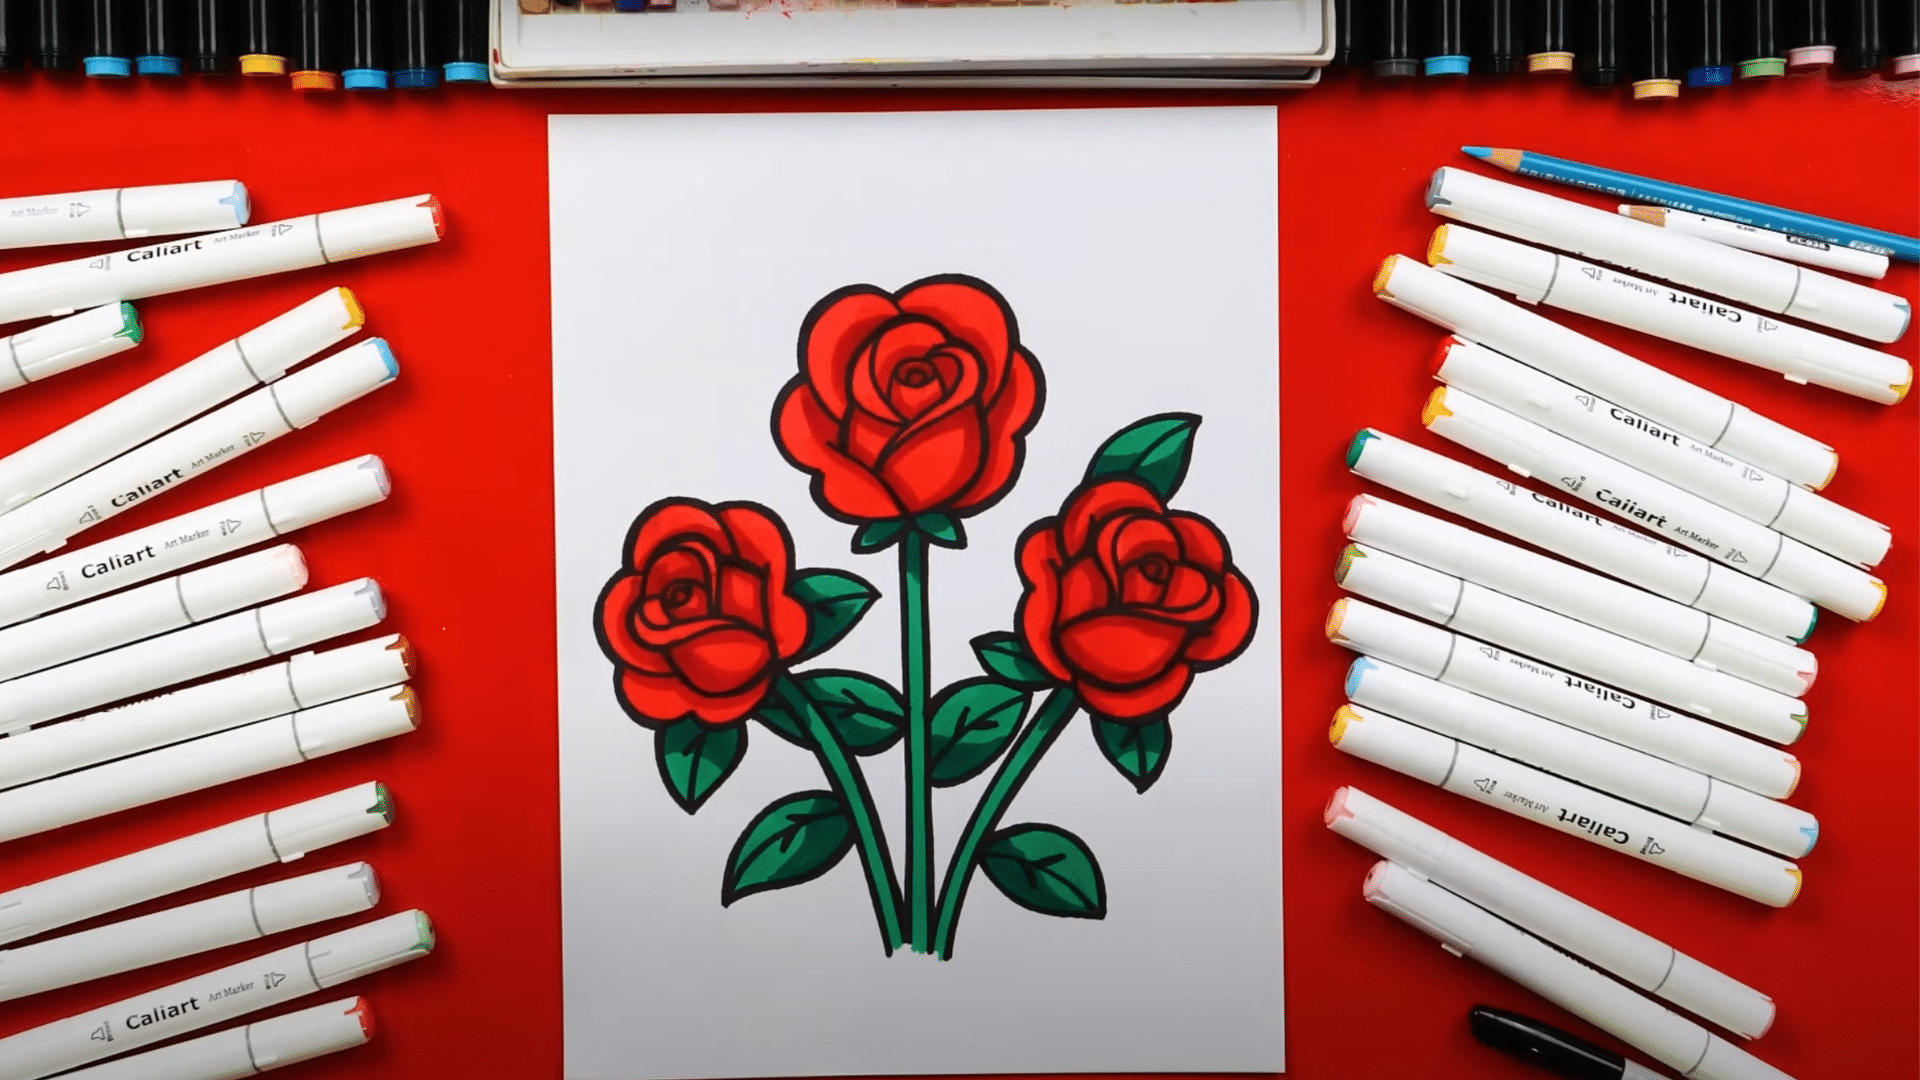
To bring the rose to life, shadows can be added using darker tones of red and green. These shadows should be placed under overlapping petals and near the folds to create a three-dimensional look.
The center of the rose can also be darkened slightly to give it more depth. Adding gentle shading to the leaves and stem enhances the drawing and makes it feel more complete.
Techniques for Drawing Roses Perfectly
Artists often find roses challenging to draw even after mastering the basics. Getting the right curves and proportions can take practice for many people.
The complex arrangement of petals might seem confusing at first to those learning. These techniques will help artists create more realistic and beautiful roses in their artwork.
- Observe real roses: Looking at actual roses or clear photographs helps artists understand their structure. Noticing how light falls on the petals and creates shadows can improve the depth in drawings.
- Sketch the center first: The center of a rose forms a tight spiral that becomes the focal point. Getting this part right helps the rest of the drawing fall into place naturally.
- Draw from different angles: Practicing roses from various viewpoints builds better understanding of their form. Top views, side profiles, and partially open buds all require different approaches.
- Use reference lines: Light guide lines can help maintain proper proportions and petal placement. These can be erased later after the main details are in place.
- Vary petal shapes: Outer petals are typically larger and more open than inner ones. Creating this variation adds realism and dimension to the final drawing.
- Pay attention to spacing: The way petals space out from the center follows a natural pattern. Artists should note how each layer of petals sits slightly offset from the one below it.
- Add texture details: Real roses have subtle textures on their petals. Adding light lines or small dots can suggest these textures without making the drawing too busy.
- Consider the lighting: Where light hits the rose affects how the whole flower looks. Placing shadows on the right parts of the petals makes the rose look more three-dimensional and realistic.
Creative Ways to Shade Your Rose Drawings
Shading brings life to rose drawings and makes them look more real. Without good shading, even well-drawn roses can look flat and plain.
The right shading techniques can add depth, texture, and feeling to flower art. Here are some creative ways artists can shade their rose drawings to make them stand out.
Cross-Hatching
Stippling
Gradient Shading
Contour Shading
Textured Shading
Layered Shading
Conclusion
Learning how to draw a rose takes time and practice, but the results are worth the effort. Anyone can create beautiful rose drawings by starting with simple shapes and building up to more complex details.
The key steps include forming the basic structure, layering petals carefully, and adding thoughtful shading. Artists who practice these techniques will see their skills improve with each attempt. Roses have captivated artists for centuries because of their perfect blend of structure and beauty.
When artists apply these shading and drawing methods, they can capture not just the appearance of a rose but also its feeling and character.
With these tips in mind, artists can now approach rose drawing with more confidence and skill, ready to create flowers that seem to bloom right on the page.