Want to draw horses? Many people struggle when trying to sketch horses. The flowing mane, the strong limbs, and the right proportions seem too hard to get right.
The frustration of erasing and starting over leaves many beginners giving up before they see results.
Here’s a fact most art teachers won’t tell you: horse drawings don’t need to be complex. With just a few basic shapes and lines, anyone can create a good simple pencil horse drawing without years of practice or special tools.
This guide breaks down the step-by-step process that makes horse drawing simple and fun for beginners.
Ready to learn how to turn simple circles and lines into a beautiful horse drawing? Let’s get started with mastering simple pencil horse drawing techniques!
Step-By-Step Guide to Draw a Simple Pencil Horse Drawing
Drawing a horse may seem hard at first, but when broken down into simple steps, it becomes much easier.
This guide walks you through the process from start to finish, using basic shapes that anyone can follow. Let’s begin with what you’ll need before putting pencil to paper.
1. Gather Your Drawing Materials
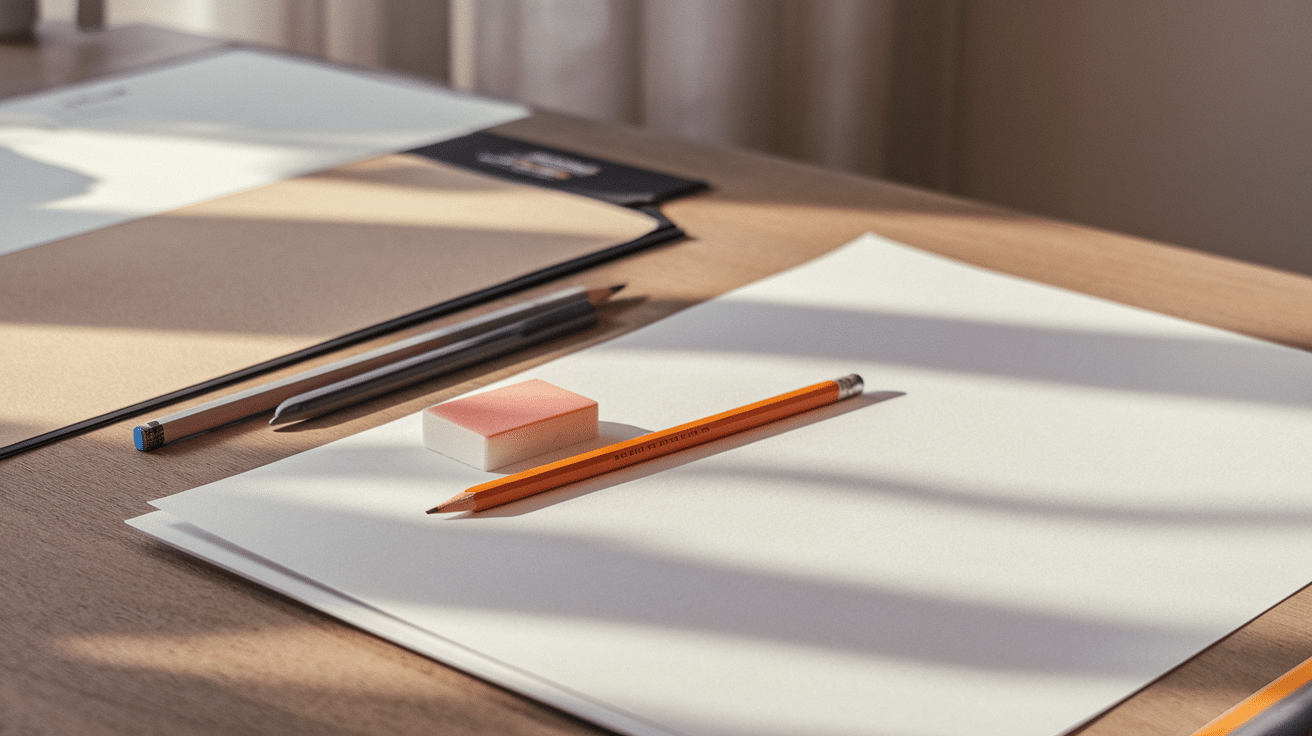
Before diving into your simple pencil horse drawing, take a moment to prepare your space and tools. A well-organized setup not only makes the process smoother but also more enjoyable. Here’s what you’ll need:
-
Pencil: Preferably a 4B for rich, smooth shading, but any pencil can work.
-
Eraser: A soft eraser for clean corrections and highlighting.
-
Sharpener: Keep your pencil tip fine for detailing.
-
Paper: Choose smooth, good-quality drawing paper.
-
Workspace: A quiet, well-lit area with a comfortable surface to draw on.
Having everything within reach helps keep your creative flow uninterrupted.
2. Sketch the Basic Body Shapes
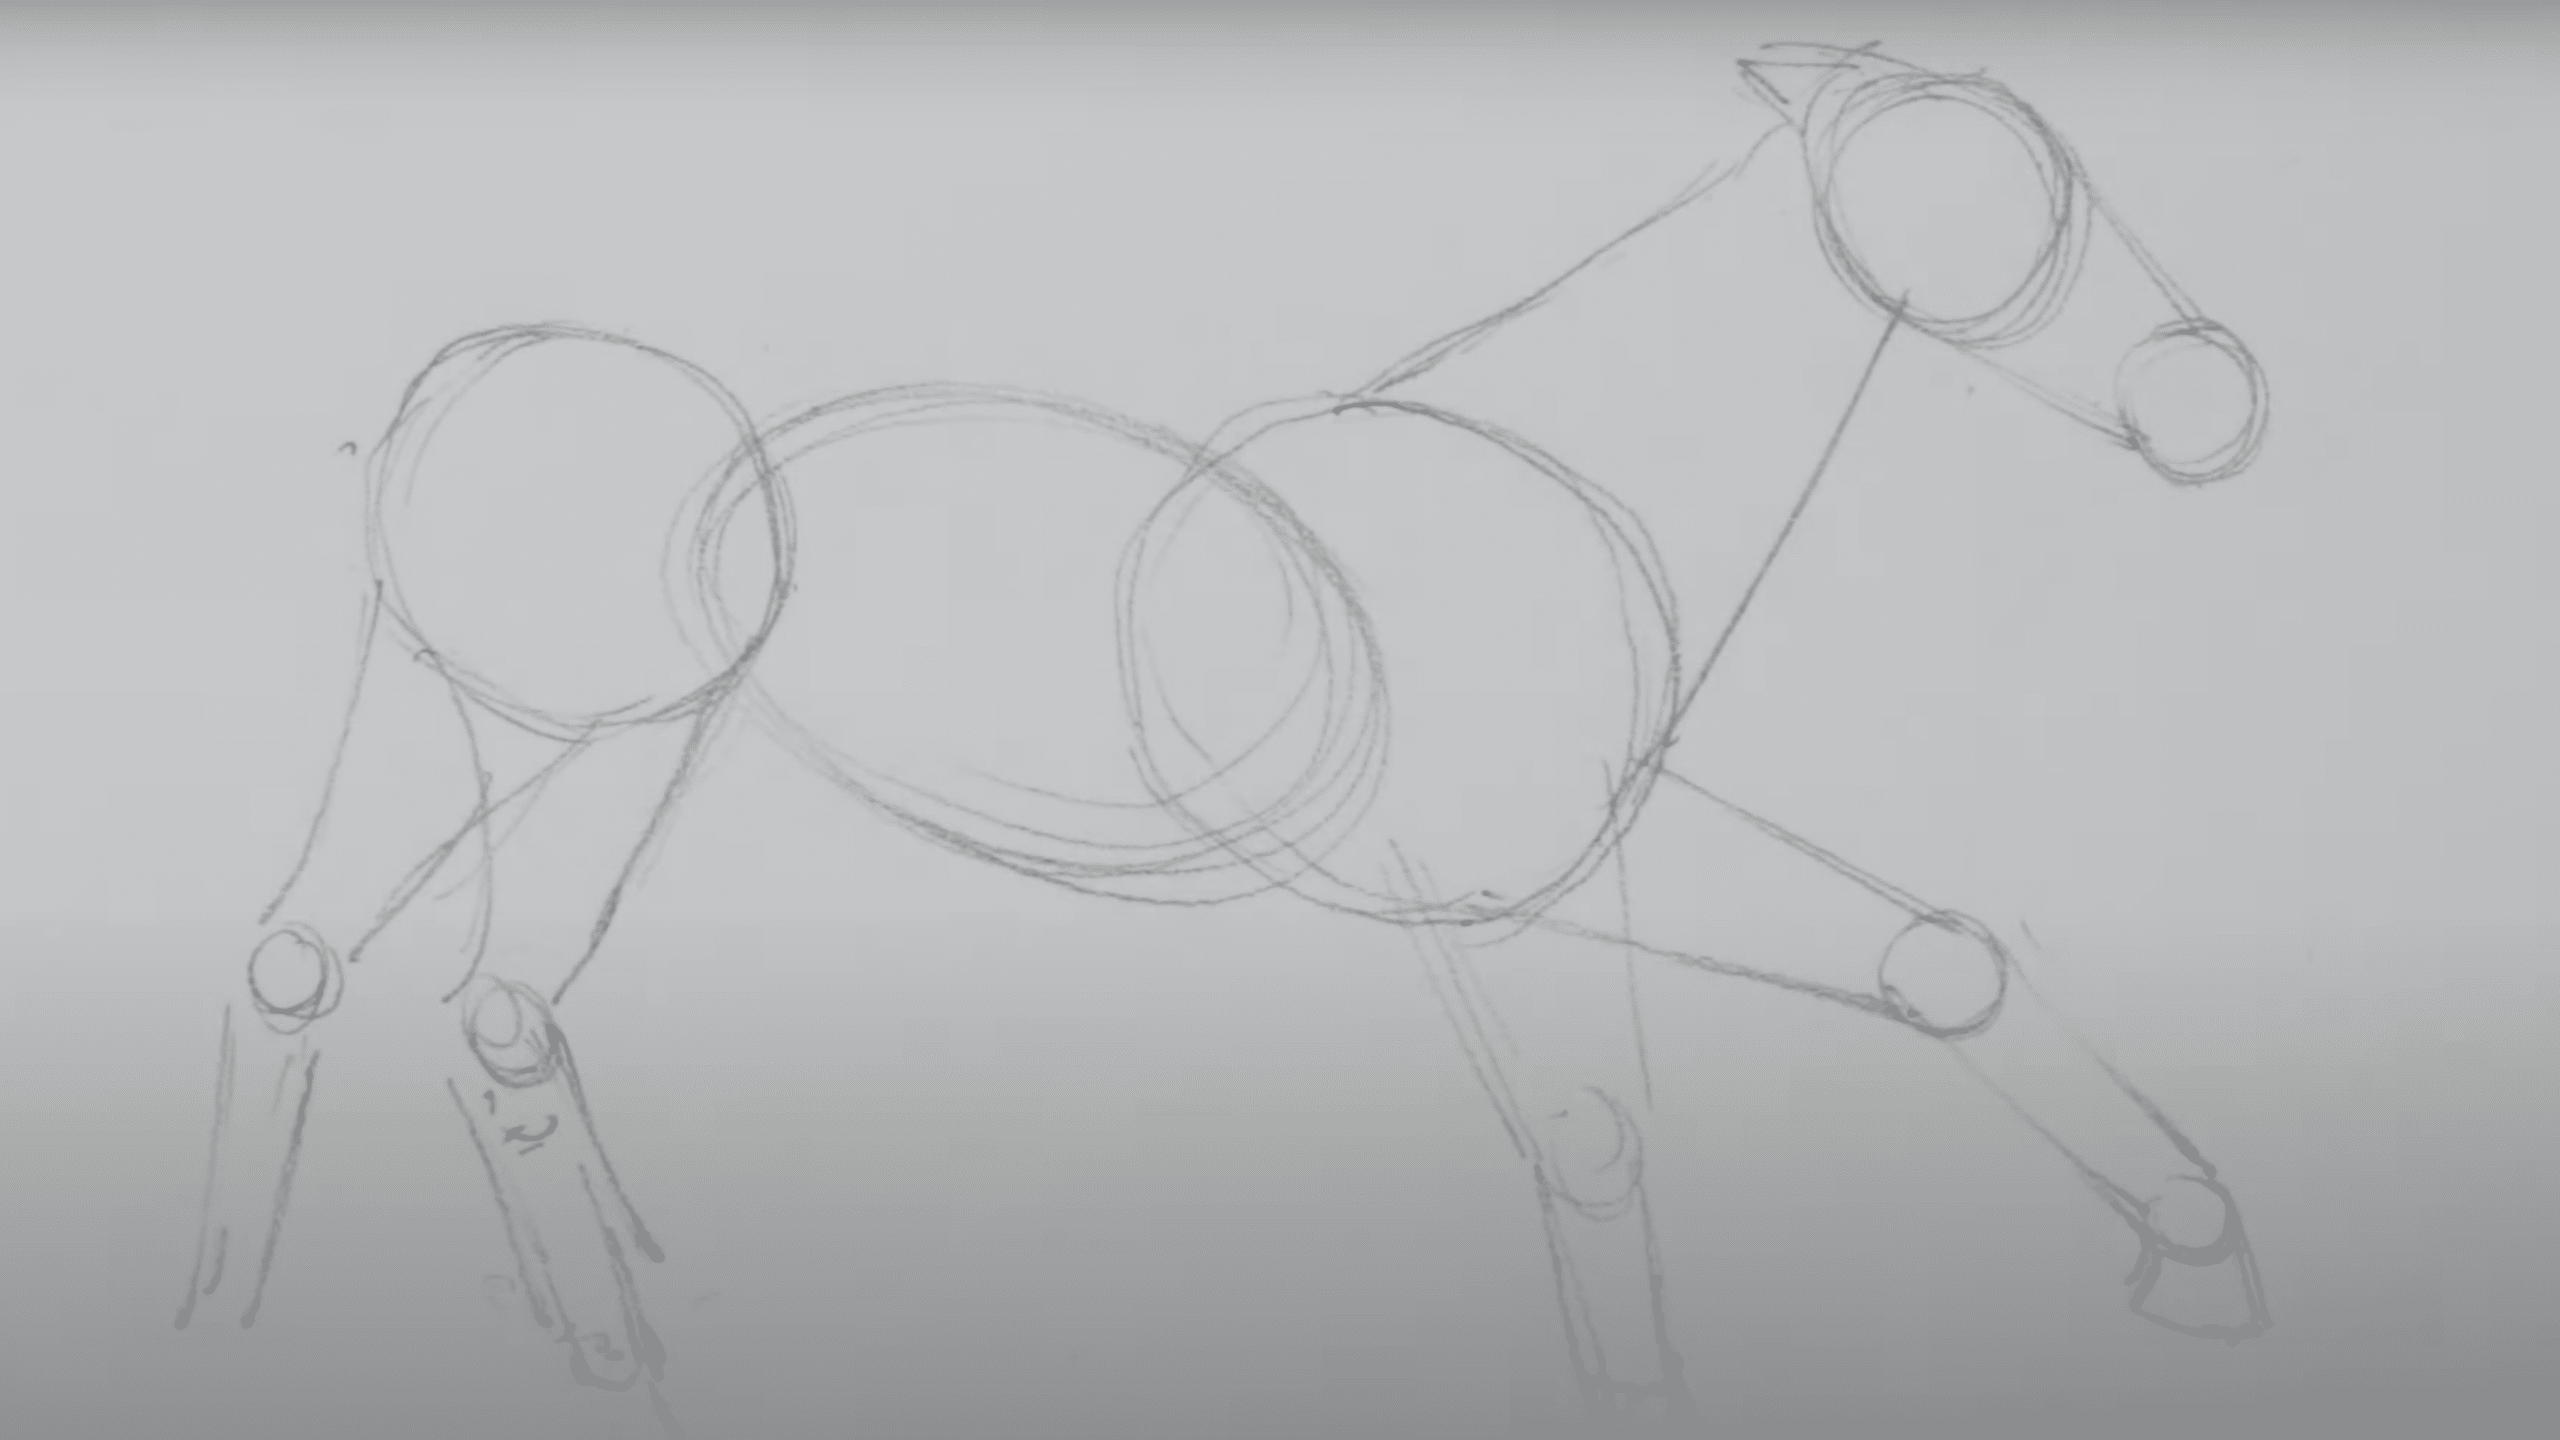
Start by drawing a large, rough circle for the front of the horse’s body. Next, draw a slightly smaller circle to the left, this will represent the back of the body.
Between these two, sketch a large oval to bridge the gap; this oval will help you define the torso shape. Don’t worry about perfection, these are just building blocks.
3. Form the Neck and Head Structure
From the front circle, draw two slightly curved lines extending upward and rightward for the neck.
At the top of this neck, sketch a smaller circle for the head, and then a tiny one at its tip for the mouth area. Connect the head and mouth circles with short lines to shape the horse’s face.
4. Outline the Front Legs
Now it’s time to create the front legs. Start with a circle where the knee would go, connected to the body by two lines. Add a smaller circle below that for the lower leg, again joined by two narrow lines.
Finish it with a wedge-like shape for the hoof. Repeat this process for the second front leg, either angled or straight down for a grounded look.
5. Sketch the Back Legs and Tail Guide

For the hind legs, mirror the process of the front legs using circle segments for joints. These legs often bend forward at the lower part, so give them a more dynamic curve.
Align them based on the knee height of the front legs to maintain balance. You can also add simple marks or lines to indicate where the ears and tail will be placed.
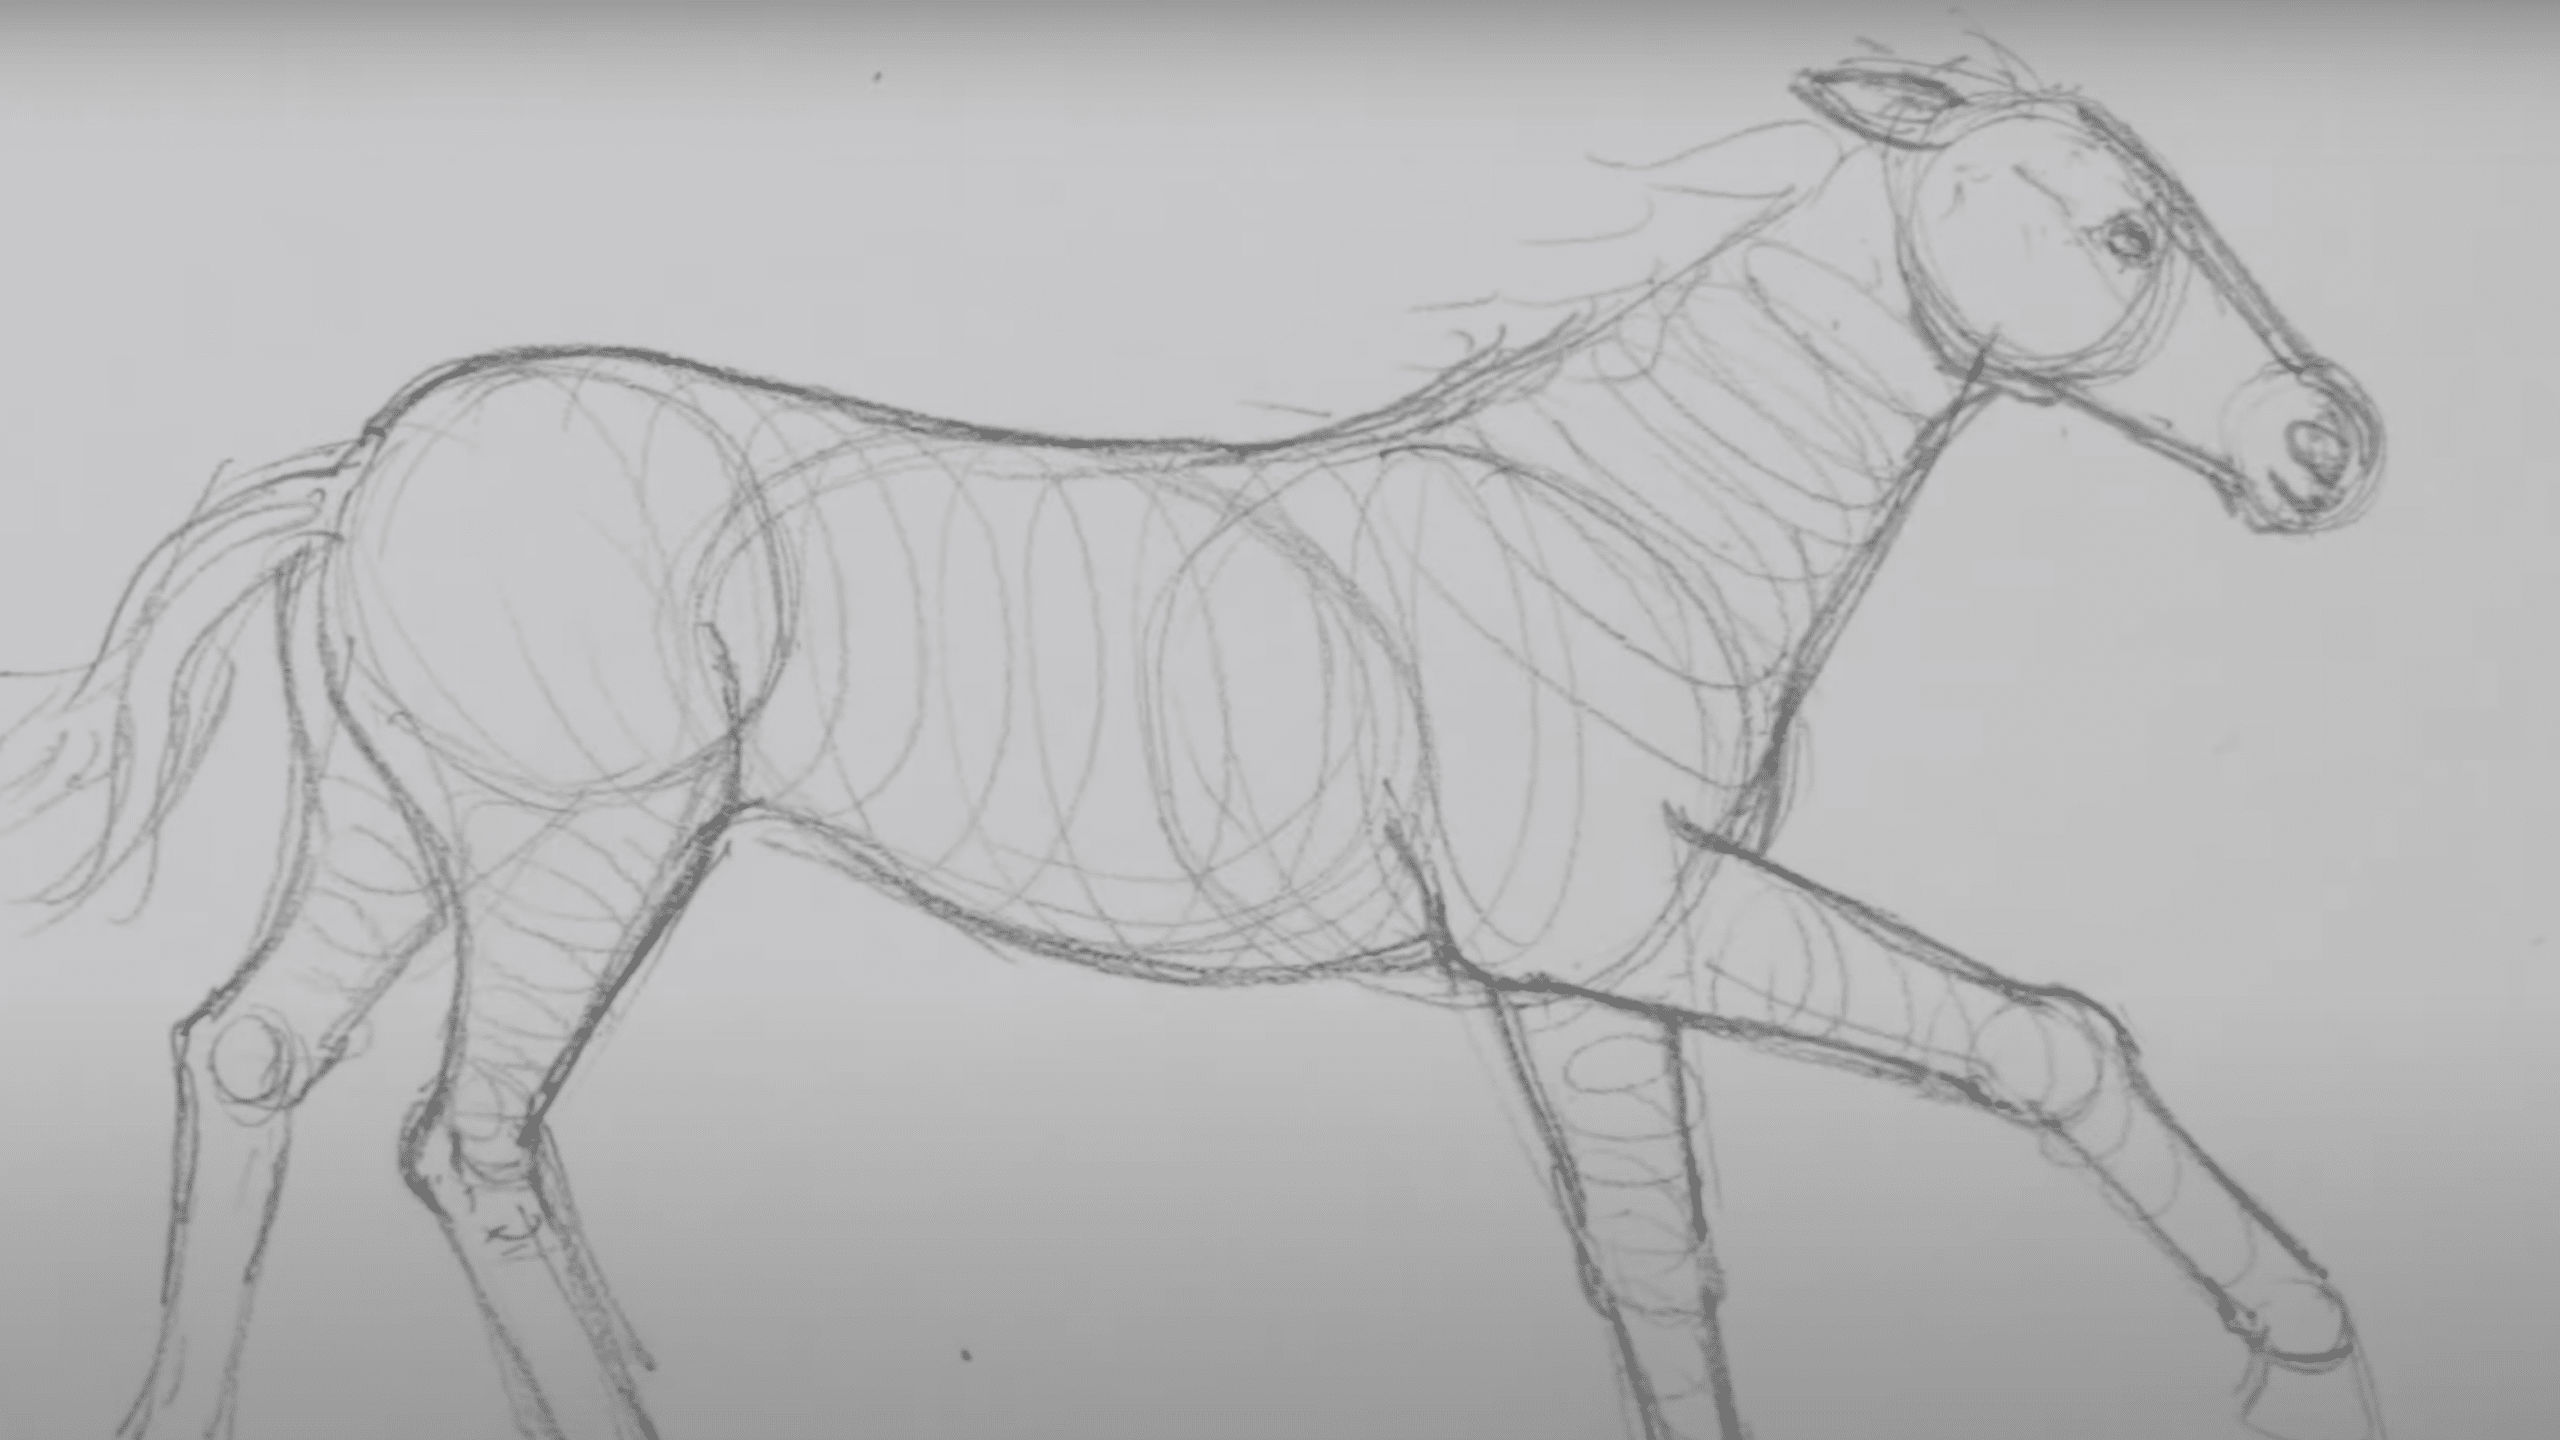
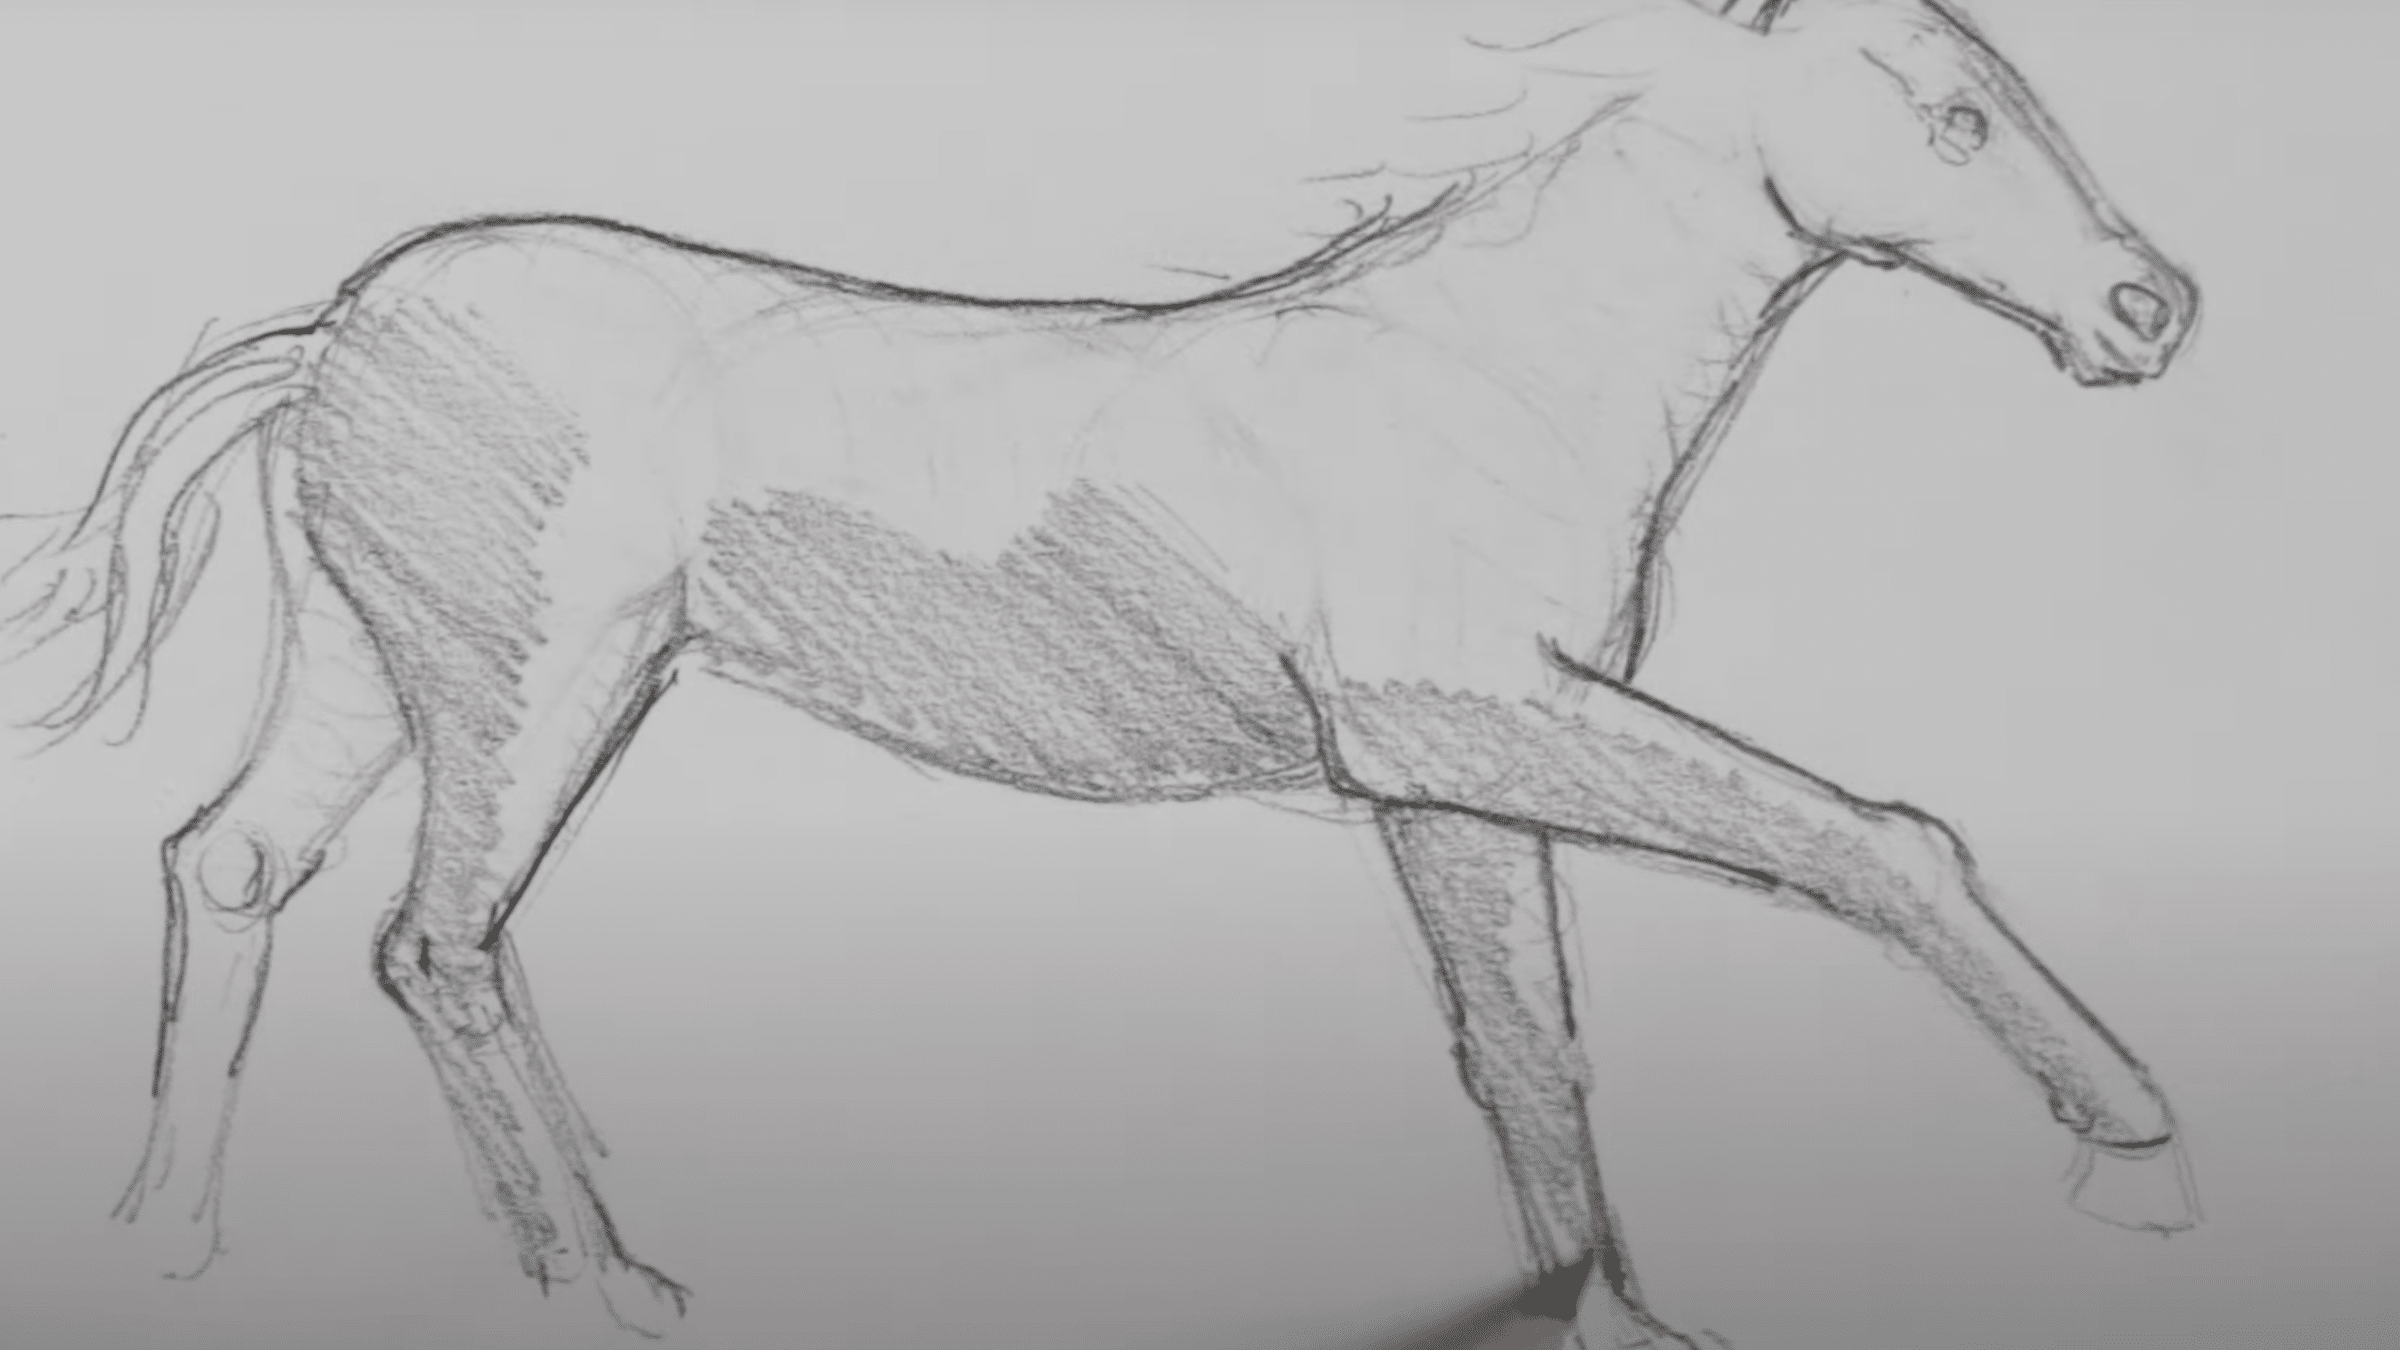
6. Refine the Shapes and Add Details
Now that you’ve established the basic structure, it’s time to refine your drawing. Smooth out the rough lines and use the initial shapes to guide the natural curves of the horse’s body.
Focus on capturing the balance between its power and elegance.
-
Muscle Definition: Add light spirals or flowing lines to indicate the muscle structure.
-
Facial Details: Gently sketch in the eye, nostril, and mouth for expression.
-
Refining Curves: Keep the lines fluid; this is your chance to adjust proportions and add life to your drawing.
At this stage, keep everything flexible, allowing adjustments to maintain the horse’s natural movement.
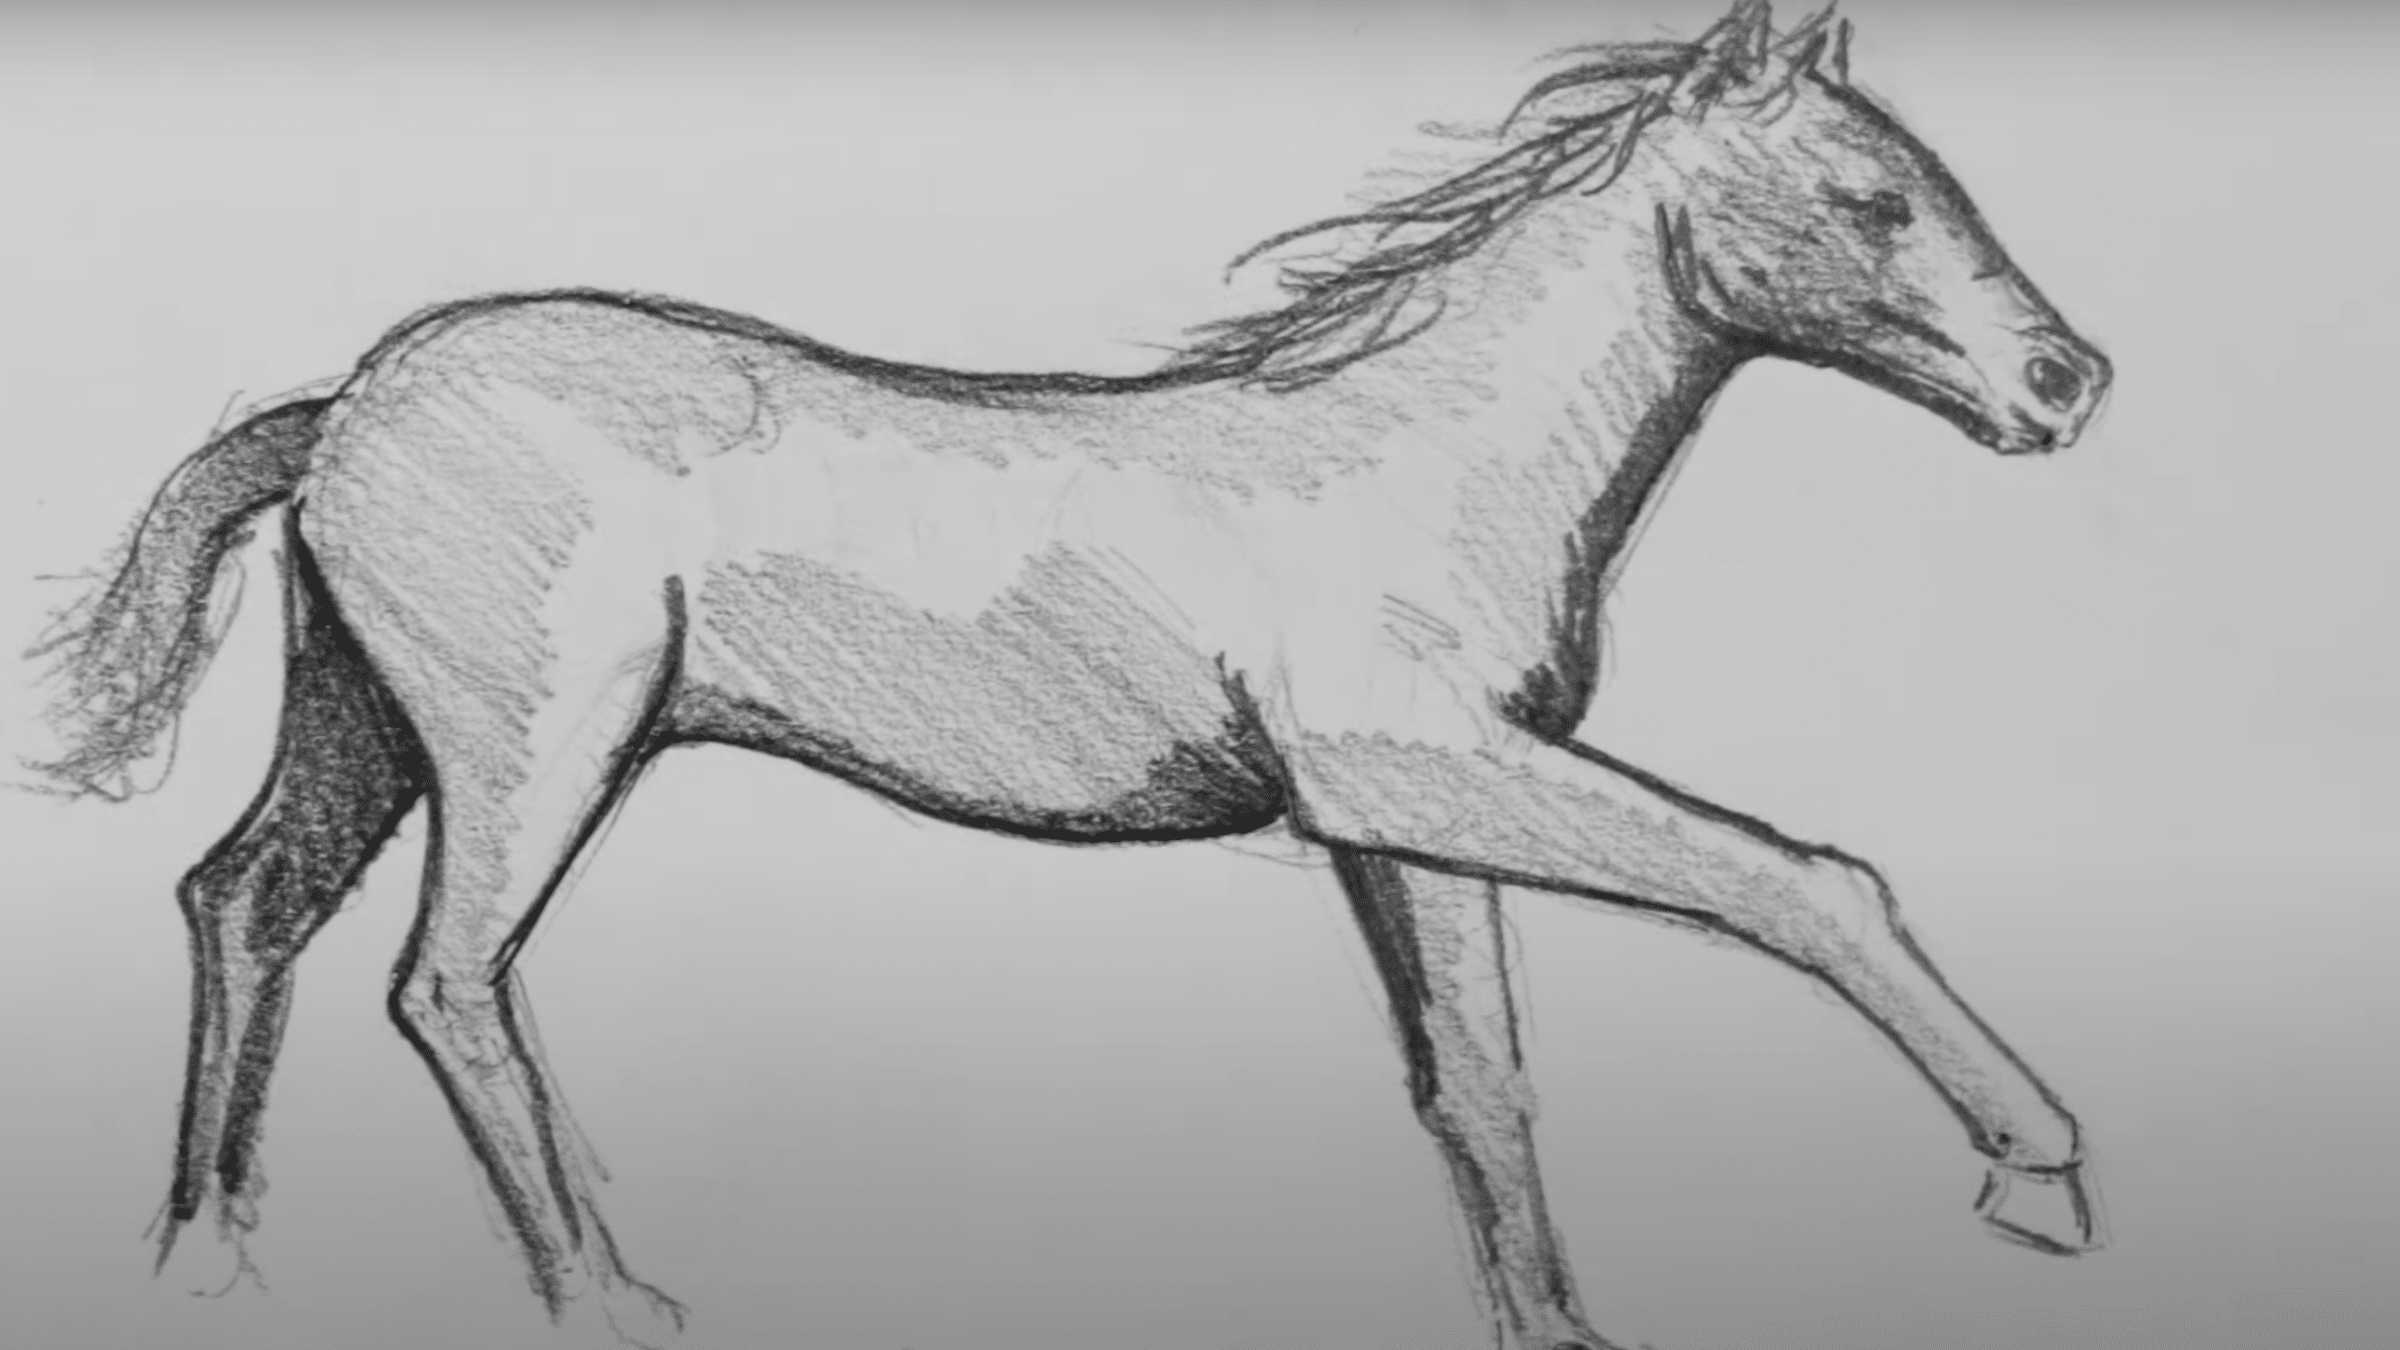
7. Erase, Adjust, and Add Shading
Erase any extra lines you no longer need and fine-tune your shapes. Don’t hesitate to redraw certain areas for better proportion.
Once satisfied with your outline, begin shading to add depth, use darker tones to show shadows and leave some lighter areas to suggest reflected light. You can even use an eraser for highlights to make your drawing pop.
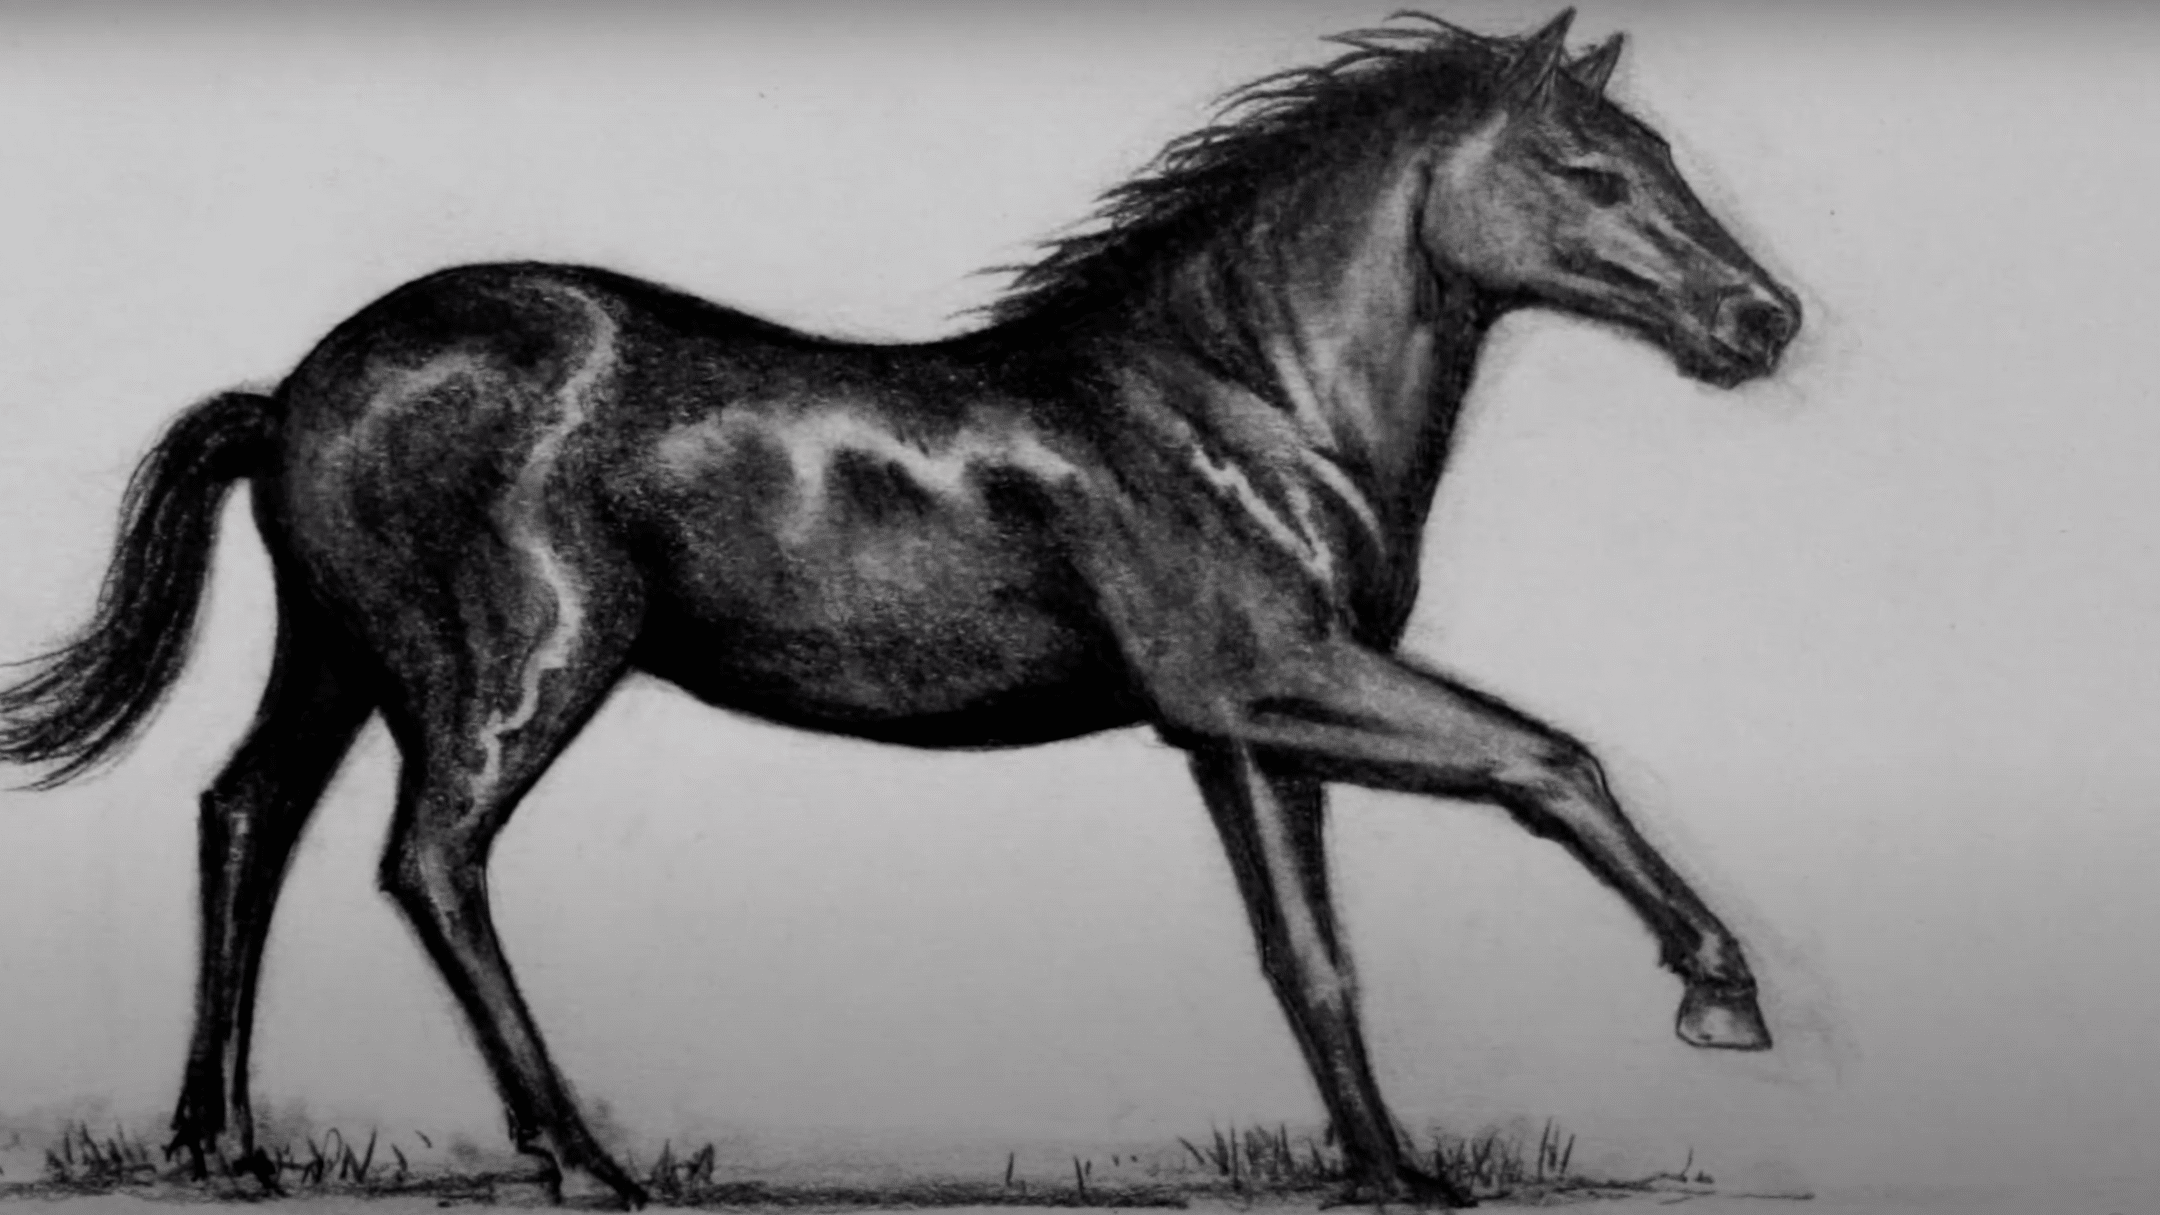
Shading Like a Pro: Expert Techniques for Realistic Drawings
Shading brings life to flat drawings and adds depth. With the right techniques, you can change your sketches into realistic artwork.
Here are some pro tips to help you master shading:
- Start with light strokes first. You can always darken later, but erasing dark marks is tough.
- Use the side of your pencil for smooth, even shading on large areas.
- Try cross-hatching (lines that cross each other) for texture.
- Pay attention to your light source. Shadows fall away from light.
- Look for at least three tones in your subject: light, medium, and dark.
- Practice the pressure scale: make a line that goes from barely visible to dark black.
- Blend with your finger, a tissue, or a blending stump for smooth effects.
- Leave white spaces for highlights; don’t shade every part of your drawing.
- Use an eraser to pull out highlights from shaded areas.
- Take breaks and look at your work from a distance to spot uneven shading.
Remember, good shading isn’t about perfection; it’s about creating the illusion of form. With practice, your horse drawings will go from flat to full of life.
Inspiring Drawing Ideas for Easy Pencil Horse Sketches
Looking for fresh ideas to practice your horse drawing skills? These ideas will help you progress from basic outlines to more detailed works while keeping the process simple and enjoyable.
Let’s find some approachable concepts for your next drawing session.
Simple Horse Drawing with Fine Lines
Pencil Horse Portrait with Smooth Blending
Easy Pencil Horse Drawing
Running Horse Pencil Sketch
Sketch of a Walking Horse
Pencil Sketch of a Rearing Horse
Line Sketch of a Standing Horse
Wrapping Up
Drawing horses isn’t as hard as it first appears. With the right techniques and a step-by-step approach, anyone can create a beautiful horse sketch.
In this guide, we’ve covered the basics, from gathering materials to shading techniques and design ideas for simple pencil horse drawing.
Remember that practice makes progress. Each time you draw, you’ll notice improvements in your work.
The most important thing is to enjoy the process and be patient with yourself as you learn.
What was your biggest challenge when drawing horses? Share your experience in the comments below, or post your horse sketches for feedback from our community. We’d love to see your progress!