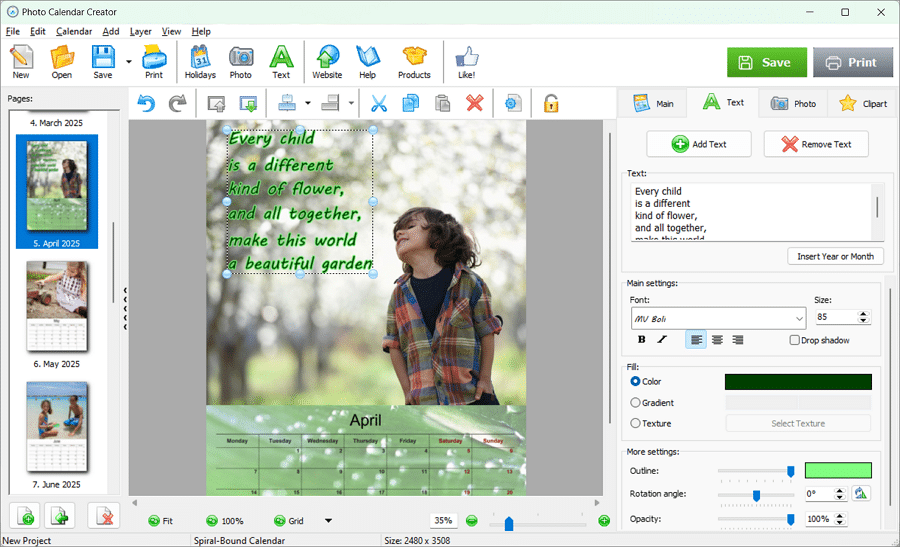
Looking for a special Christmas gift that’s meaningful and personal? Or maybe you’d love to brighten up your home with the pictures featuring your children’s best moments? A custom photo calendar is the perfect way to do just that! Imagine flipping through the months and being greeted by your kids’ smiles, funny faces, or milestone moments. It’s a unique, heartfelt gift that’s bound to make any parent or grandparent’s year a little brighter.
There are a lot of creative platforms you can use beyond this one, especially if you’re looking for printed postcards with metallic foil for business opportunities.
With Photo Calendar Creator, you can design your own calendar filled with favorite family photos and personalized dates. Plus, it’s super easy to use – even if you’re new to creating custom gifts! Read on and see for yourself.
Step-by-Step Guide: Making a Custom Calendar with Photo Calendar Creator
Ready to start? Follow this step-by-step guide to create a calendar full of memories!
1. Download and Install Photo Calendar Creator
First, download the free trial version of Photo Calendar Creator from the official website photo-calendar-software.com. It’s quick and easy, and you’ll be set up in minutes. Once installed, open the program to start your project.
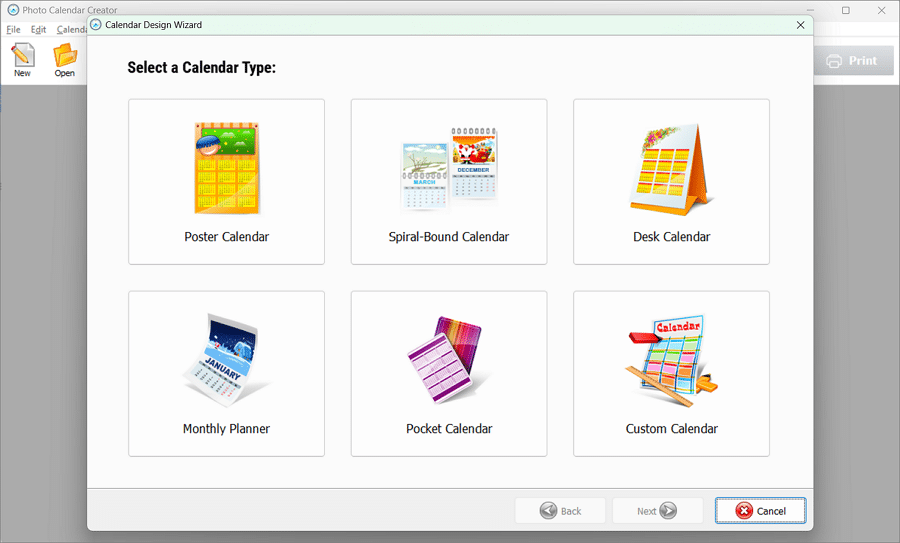
2. Choose Your Calendar Type
Photo Calendar Creator offers different types of calendars: wall, desk, pocket, or planner. Decide which one you’d like. For example, a wall calendar is great for home decor, while a desk calendar could adorn your office.
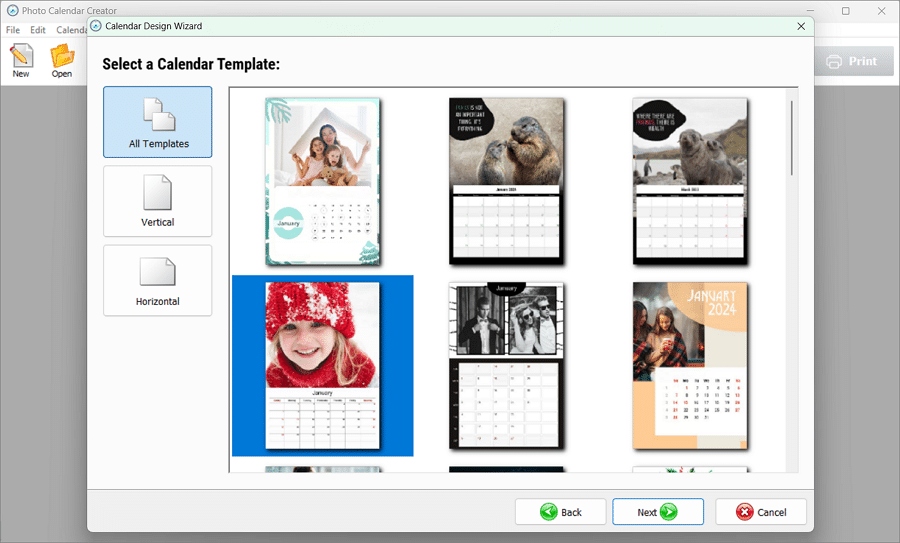
3. Select a Template
Next, browse the template library. Choose one that fits your style – maybe something bright and cheerful for a playful touch, or a classic design for a timeless look. The templates come with preset layouts for each month, but you can edit the month styles later if you wish to – every element of a template is fully customizable!
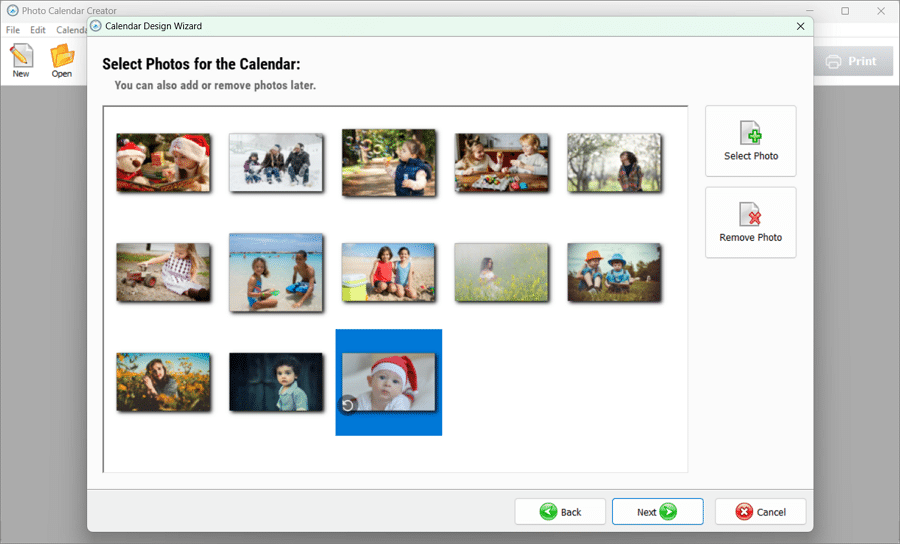
4. Upload Your Photos
Now for the fun part! Select the best photos of your kids from your computer. Choose one photo per month, or create a collage with multiple images. Make sure to use high-resolution photos for the best print quality.
5. Add Custom Dates
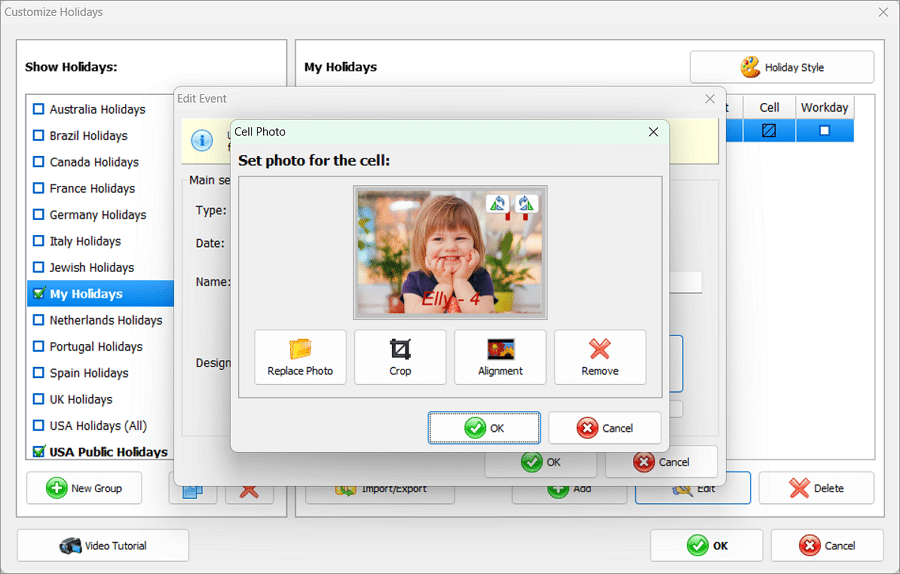
Make the calendar extra special by marking important dates. You can type in birthdays, anniversaries, or even fun family events planned for the next year. To do so, click on the Customize Holidays button. There, you can tick as many national holidays groups as you wish, as well as add your own holidays. Add photos for the corresponding cells to mark your kids’ and other family members’ birthdays.
6. Choose Backgrounds and Colors
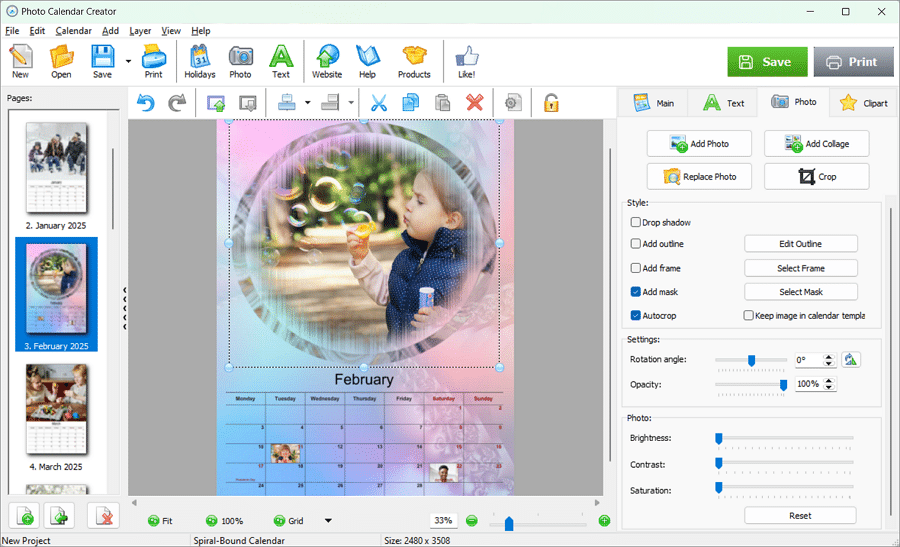
Photo Calendar Creator lets you play around with backgrounds, patterns, and colors. You can match the color scheme to your photos or go for a unique design each month. Browse the built-in library or add your own photos as a background, try using frames or masks to highlight your pictures – experiment different combinations and see which one makes your photos pop!
7. Add Some Quotations and Clipart
To make your calendar even more personal and meaningful, you can add text to some pages: quotations, short poems or just a few words to comment on the photo. Under the Text tab, you can easily set the font, the color, the size and other parameters of your caption. To add an extra touch of cheerfulness, choose some clipart images from the program’s collection.
8. Print or Save Your Calendar
Once you’re happy with the result, you can either save the file as JPG or PDF or print it directly from the program. Choose a high-quality printer and sturdy paper if you’re printing at home. Alternatively, you can take the file to a local print shop for a professional finish.

Tips for Making a Great Custom Photo Calendar
As you can see, creating a custom calendar can be a lot of fun, and these extra tips will help make sure it turns out even better:
- Pick a Theme: Choose a theme, like “Family Adventures,” “Funny Faces,” or “Milestones” to tie each month together. A theme adds a nice touch and makes the calendar feel more cohesive.
- Use Seasonal Photos: Match your photos with the seasons. For example, a snowy photo for January, a sunny beach pic for July, and a cozy Halloween costume shot for October. It makes the calendar feel even more connected to the year.
- Add Fun Captions: Write short, cute captions for each photo. It could be a funny memory, a milestone, or even a favorite quote from your child. This gives a little context and adds personality to each page.
- Keep It Simple: Sometimes, less is more. Don’t overcrowd the pages with too many elements. Let the photos be the star of each month.
- Plan Ahead: If you’re making this as a holiday gift, start early so you have plenty of time for printing and assembly. You don’t want to rush such a meaningful gift!
Final Thoughts
A custom photo calendar is a wonderful way to celebrate your kids and create a keepsake that will be cherished all year long. Whether it’s for yourself or as a thoughtful gift, making a calendar with Photo Calendar Creator is simple, fun, and personal. Just a few clicks, and you’ll have a beautiful calendar filled with moments that make you smile every time you check the date. Follow the link below to find more ideas and tips on how to make your own calendar hassle free.

