Want to try a slime that feels different from the usual?
Cloud slime offers a fun twist on the classic gooey craft. This special type of slime falls from your hands like soft snow, creating a gentle cascade effect that’s both fun to watch and play with.
The texture feels somewhat like kinetic sand but with that stretchy slime quality kids and adults enjoy.
In this complete post, you’ll learn what cloud slime is, how it’s different from fluffy slime, and get easy step-by-step instructions to make your own. Plus, find fun ways to add colors, scents, and textures for a totally unique slime experience!
The process is quick, and the results will keep hands busy for hours. From understanding the perfect “drizzle” to proper storage techniques, you’ll have all you need to create this satisfying sensory craft.
Let’s jump into this simple project that’s perfect for rainy days, play dates, or just because!
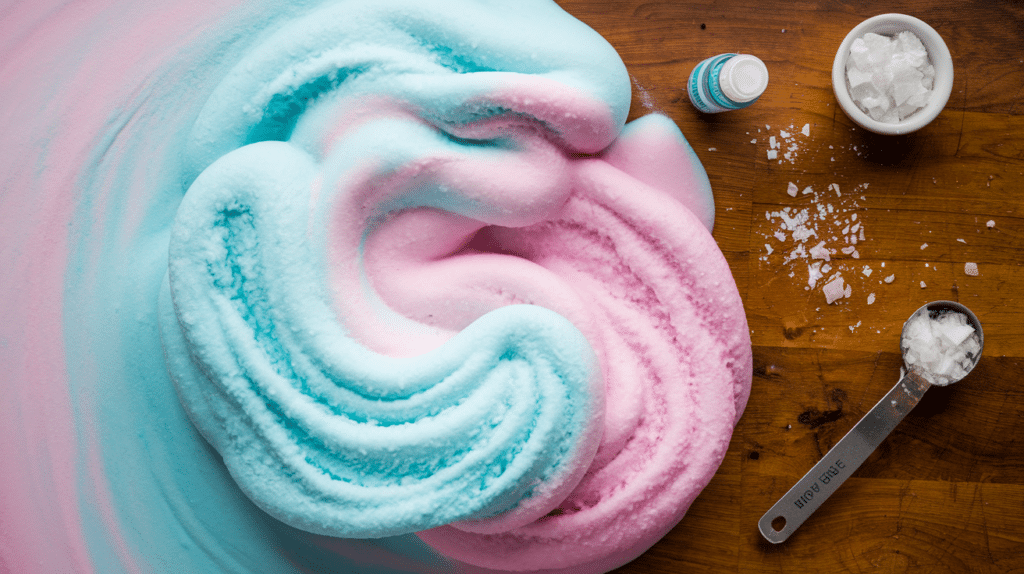
What Exactly Is Cloud Slime?
Cloud slime stands out from regular slime with its unique texture and movement. When you hold cloud slime in your hands and let it go, it doesn’t pour like water.
Instead, it falls slowly, similar to snow dropping from the sky. This soft, fluffy slime has a feel that reminds many people of kinetic sand but maintains the stretch that makes slime so fun to play with.
The special texture comes from adding fake snow powder to regular slime. When you pull it apart, it creates a slow-motion drizzle effect that’s oddly satisfying to watch.
This makes cloud slime a hit with both kids and adults who enjoy tactile crafts.
What’s the Difference Between Fluffy Slime and Cloud Slime?
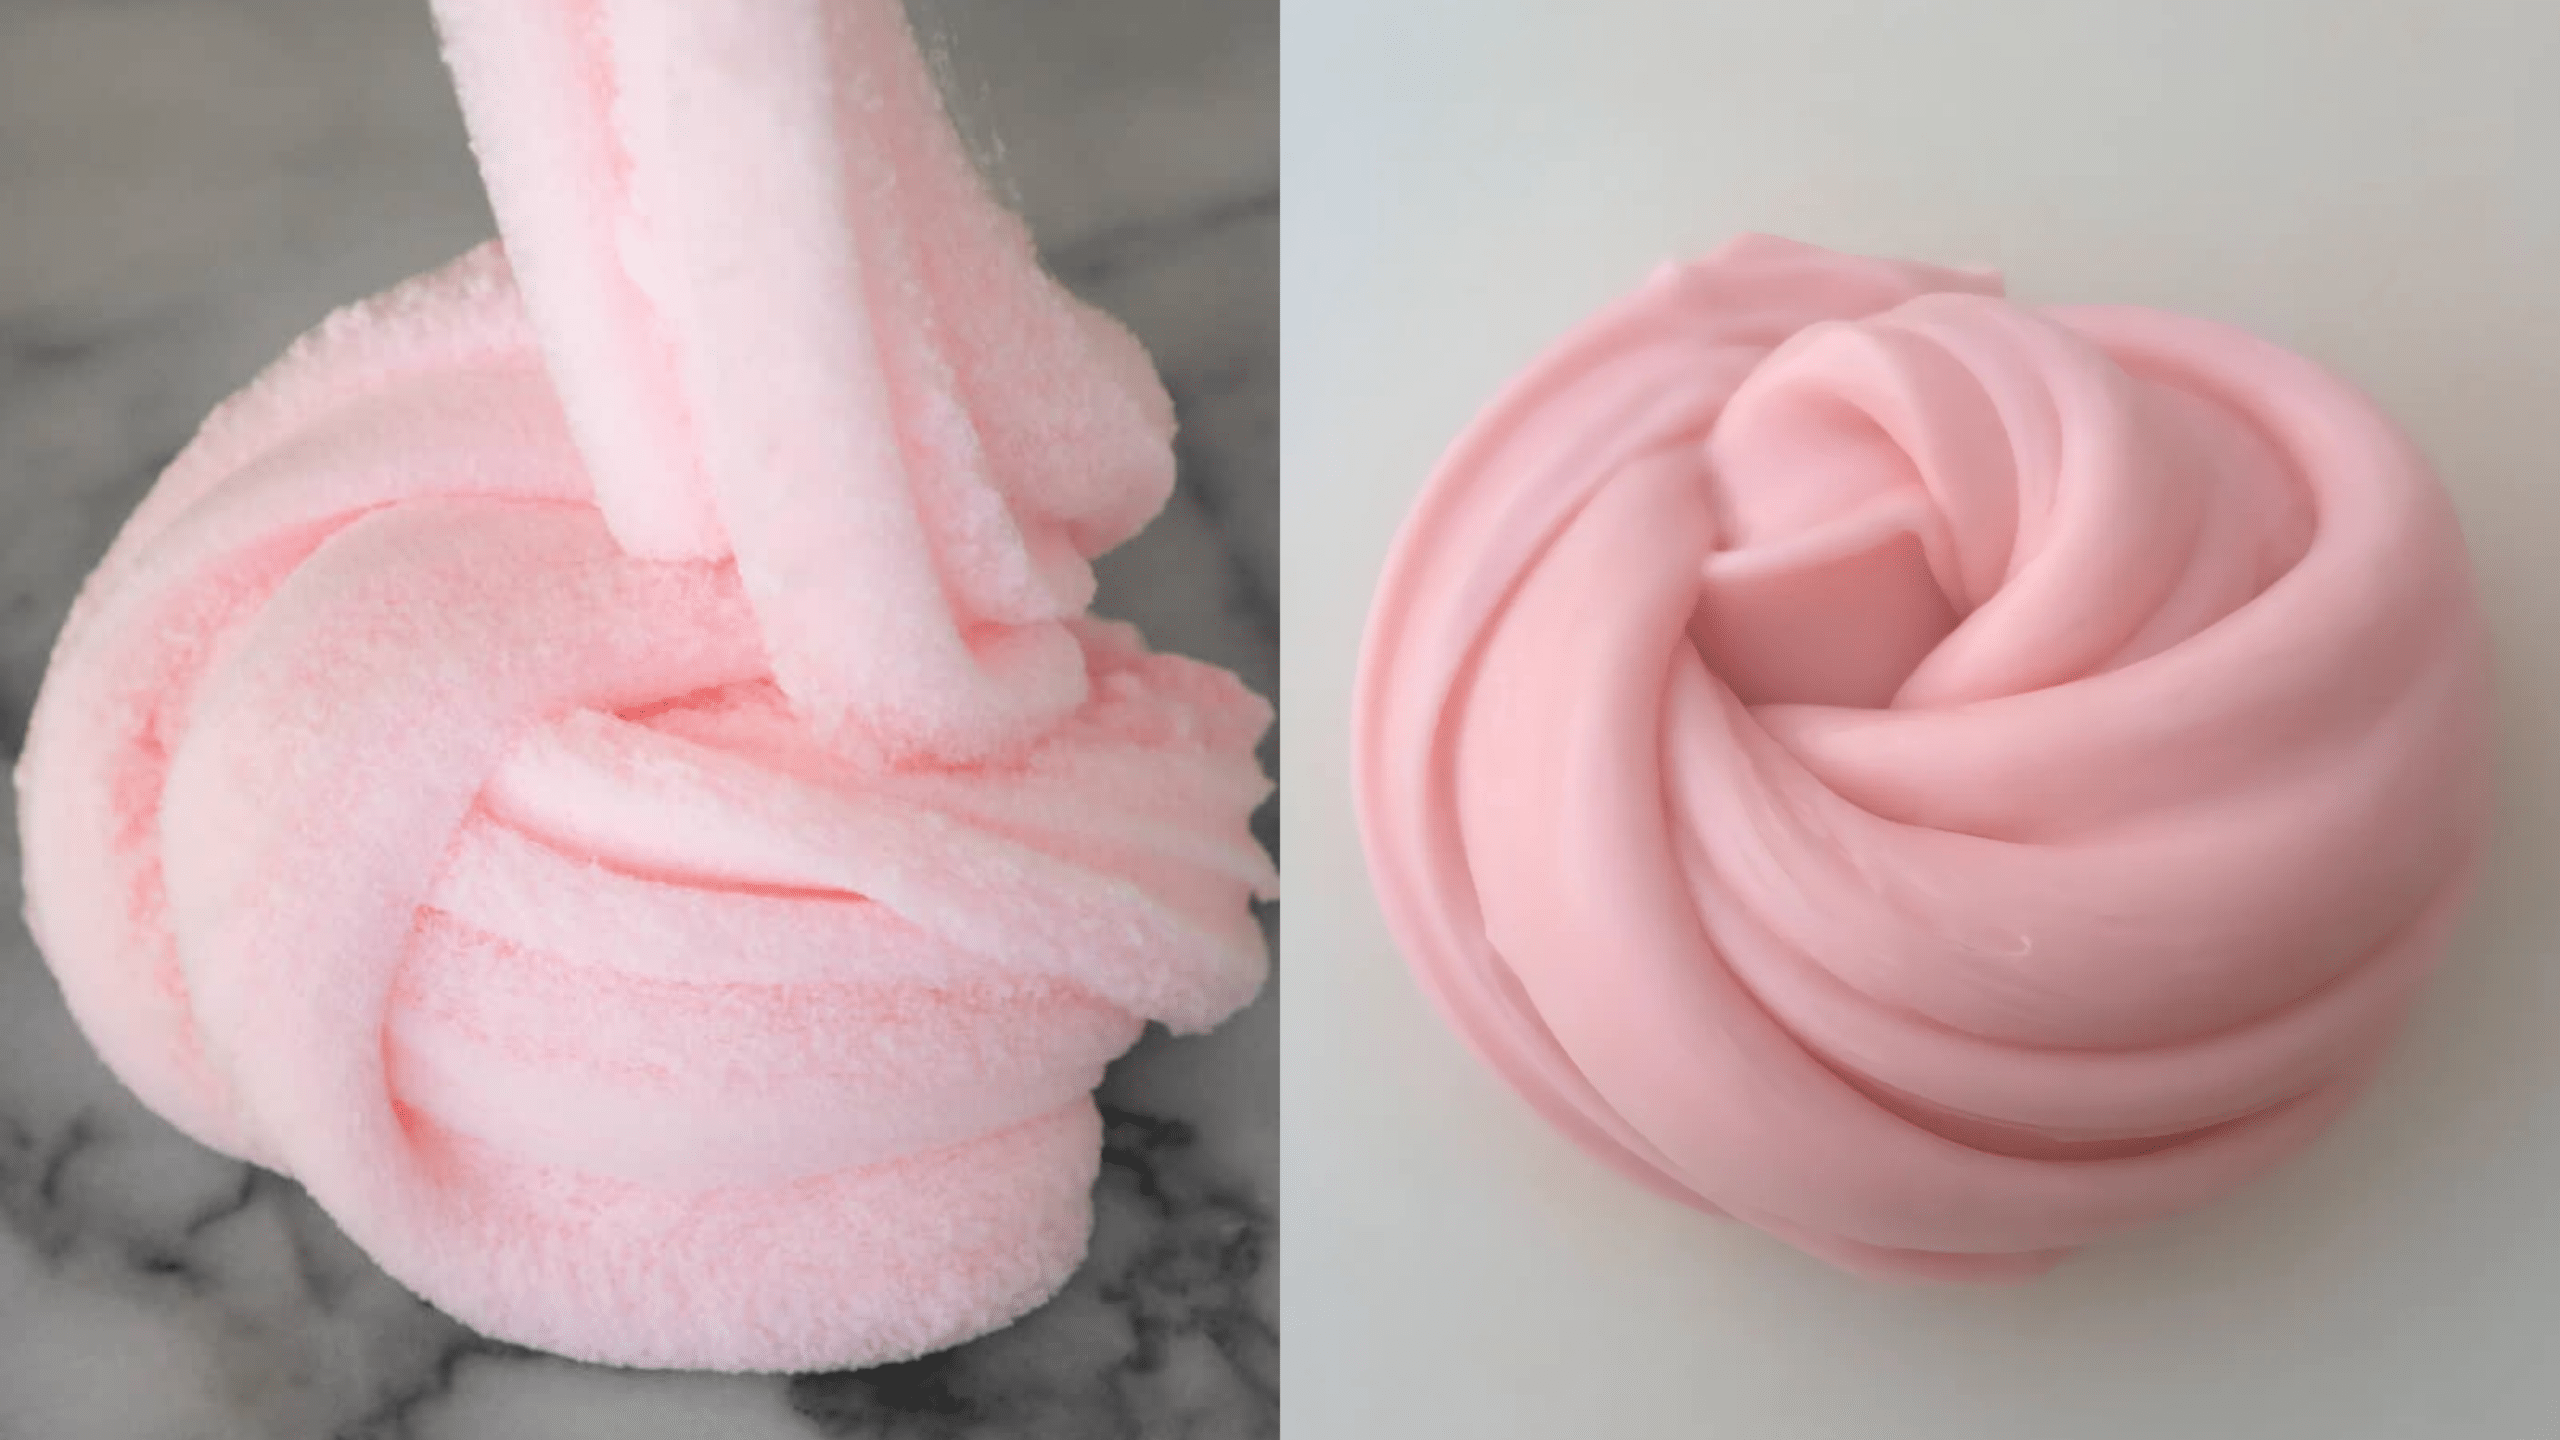
Cloud slime and fluffy slime can easily be mistaken for one another, especially since both have soft, squishy textures that are incredibly satisfying to play with.
Many people get confused when trying to tell them apart, as they share a similar appearance and consistency.
However, despite their likeness, there are several noticeable differences in how they feel, stretch, and behave due to the unique ingredients used in each.
The table below provides a clear comparison to help distinguish between the two.
| Feature | Cloud Slime | Fluffy Slime |
|---|---|---|
| Texture | Dense, snow-like | Light, airy, marshmallow-like |
| Main additive | Instant snow powder | Shaving cream |
| How it falls | Falls slowly like snow | Drops quickly like regular slime |
| Feel when stretched | Slightly grainy yet smooth | Soft and puffy |
| Holds shape | More structured | Less structured |
All the Ingredients You Need for Perfect Cloud Slime
Making cloud slime requires a few key items that work together to create that special snow-like texture. Most of these can be found at craft stores, grocery shops, or online.
You might already have some of these items at home, and if not, there are often substitutes that work just as well.
The main components include a base slime mixture plus the special addition of instant snow powder for that cloud-like effect.
| Ingredient | Purpose | Alternatives |
|---|---|---|
| Elmer’s Glue | Base ingredient that creates the slime structure | Clear glue, school glue, or PVA glue |
| Borax Powder | Activator that transforms liquid glue into slime | Contact lens solution with boric acid, liquid starch, or saline solution |
| Warm Water | Helps dissolve activator and thin glue | Room temperature water works, too. |
| Food Coloring | Adds color to your slime | Liquid watercolors, acrylic paint (small amount), or eyeshadow |
| Glitter | Adds sparkle (optional) | Mica powder, eyeshadow, or skip for cleaner play |
| Shaving Foam | Creates fluffy texture | Foaming hand soap (less effective but works) |
| Instant Snow | Creates the cloud-like texture and drizzle effect | Diaper filling (sodium polyacrylate), cornstarch (different texture) |
| Baby Oil | Makes slime smoother and less sticky | Lotion, coconut oil, or mineral oil |
| Baking Soda | Adds structure and makes slime firmer | Cornstarch (will change texture slightly) |
How to Make Cloud Slime: Step-by-Step Tutorial
Creating cloud slime requires following a specific process to achieve that perfect snow-like texture. Each step builds on the previous one, gradually transforming simple ingredients into a unique sensory experience.
Let’s break down the process into manageable steps that anyone can follow.
Step 1: Mixing Glue and Water to Start the Base
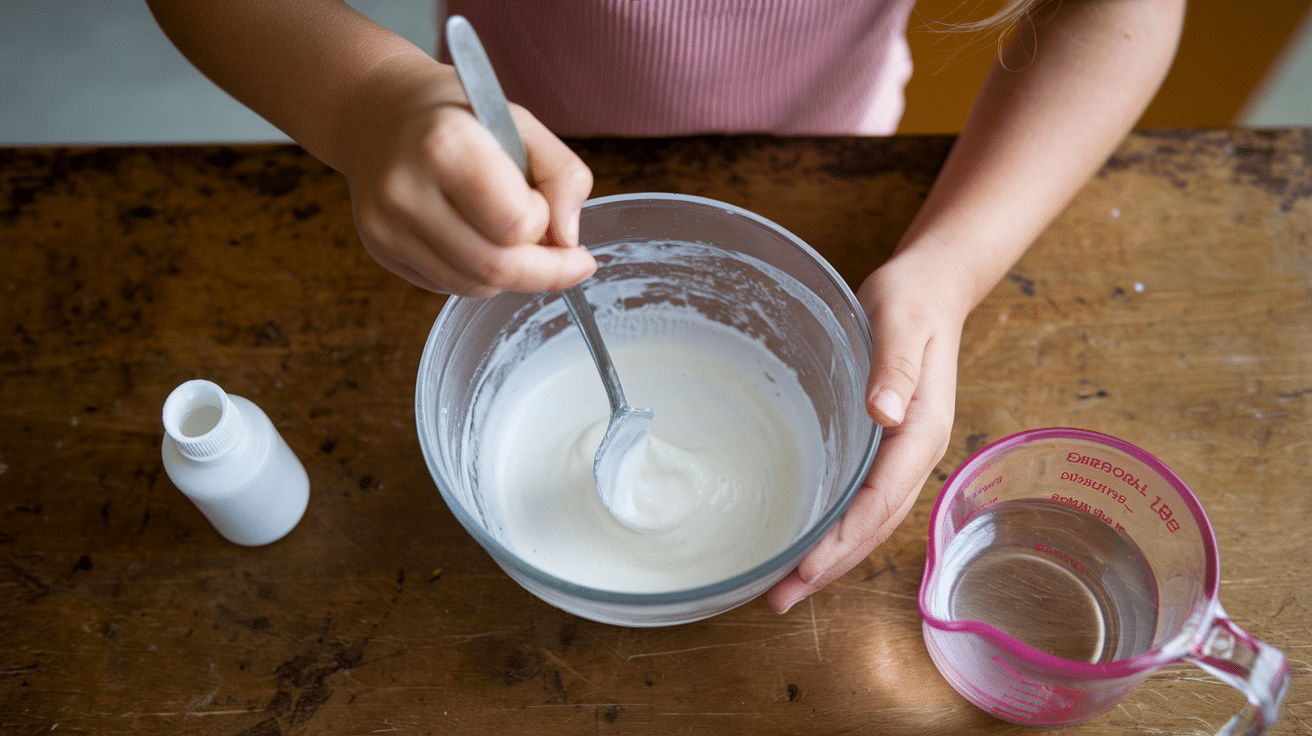
Pour white school glue (PVA glue) into a bowl. Depending on the amount of slime you want to make, you can use half or a full bottle.
Add a quarter cup of water to the glue. This helps dilute the glue, making it easier to mix with other ingredients later. Stir thoroughly until the mixture is smooth and consistent.
Step 2: Preparing the Activator (Borax and Warm Water)

In a separate bowl, mix 1/4 teaspoon of borax powder with 1/2 cup of warm water.
Stir until the borax fully dissolves in the water. This solution will turn your glue into slime, so it’s called the activator.
Step 3: Adding Food Coloring & Shaving Foam for Fluffiness

If you want colored slime, add a few drops of food coloring to your glue mixture. Mix well until the color is evenly distributed.
For fluffy slime, add shaving foam (not gel) to the glue mixture. The more shaving foam you add, the fluffier your slime will be. Stir thoroughly to create a light, airy base.
Step 4: Gradually Adding the Activator to Achieve the Right Consistency

Slowly add the borax solution (activator) to your glue mixture one teaspoon at a time, stirring after each addition.
Keep adding and stirring until the slime starts pulling away from the sides of the bowl and forms a cohesive mass. Stop adding activator when your slime forms but still feels slightly sticky. Overactivating can make slime too stiff.
Step 5: Incorporating Instant Snow for That Cloud Effect

In a separate bowl, mix instant snow with hot water according to package instructions. Once it’s fluffy, add your slime to the snow.
Knead the mixture with your hands until the snow is fully mixed into the slime. This gives it the special cloud-like texture that falls slowly when pulled.
Cool Ways to Customize Your Cloud Slime

One of the most fun parts of making cloud slime is adding your own personal touch. You can change colors, add scents, or try different textures based on what you like.
This makes each batch of slime unique and gives you a chance to get extra creative with your craft.
- Classic Cloud Slime: The basic recipe with white glue, shaving foam, and instant snow for that perfect drizzle effect.
- Fluffy Cloud Slime: Add extra shaving foam to make an even lighter, puffier version that feels super soft.
- Scented Cloud Slime: Mix in a few drops of vanilla, lemon, or mint extract to create a slime that smells as good as it feels.
- Colored Cloud Slime: Use food coloring to make blue sky slimes, sunset pinks, or any shade you can think of.
- Glitter Slime: Sprinkle in some glitter for a sparkly slime that catches the light when it drizzles.
- Multi-Color Slime: Make different colored batches and swirl them together for a rainbow effect.
Best Ways to Store Your Slime
Once you know how to make cloud slime, you’ll want to keep it fresh and fun for as long as possible! The secret is storing it properly to keep it from drying out and losing its special snow-like texture.
After each play session, make sure your hands are clean. Then, place the slime in an airtight container or zip-top bag, pressing out all the air.
Store it at room temperature, away from heat and direct sunlight, as these can change its texture.
When stored well, cloud slime can last about a week. If it starts to dry out, a tiny drop of water can bring it back to life.
To keep your slime soft and clean, follow these simple storage tips:
- Clean your hands before handling the slime to avoid dirt.
- Use a plastic container with a tight lid or a zip-top bag.
- Press out all the air before sealing.
- Keep it away from heat and sunlight.
- Add a drop of water if it becomes too firm after a few days.
- Always wash your hands after playing with slime, especially before eating.
The Bottom Line
Now you know how to make cloud slime! This unique craft combines the best parts of regular slime with a special snow-like texture that’s oddly satisfying to play with.
The simple ingredients make it an easy project for weekends or rainy days. Remember that the key to perfect cloud slime is getting the right balance of activator and ensuring your instant snow is thoroughly mixed in.
Don’t be afraid to experiment with colors, scents, and add-ins to create your own custom version. With proper storage, you can enjoy your creation for days to come.
Cloud slime offers a sensory experience that’s both fun and relaxing for people of all ages.
Have you tried making cloud slime before? We’d love to hear how your slime turned out!
Share your tips or questions in the comments below. Let us know what worked best for you and if you have any other slime recipes you’d like to see featured next.