Turning cherished memories into artwork is a powerful way to personalize your home and celebrate moments that hold meaning. Every photo captures a piece of your life, and by transforming it into art, you give it a new purpose—as a daily reminder of joy, beauty, or adventure.
From selecting the right photo to choosing the best style and displaying it with care, this guide will walk you through transforming your favorite photos into stunning pieces that bring warmth and personality to your space.
Choosing the Right Photo for Your Artwork
Choosing the right photo is the cornerstone of translating your memories into striking artwork.
To make the most of your transformation from photo to artwork, select images with strong composition and captivating subjects. Consider photos with vivid colors, unique perspectives, or emotional significance. Such features can elevate the artistic value, creating a more powerful impact.
Images with clear contrast and depth often translate better into artwork, bringing out nuances that tell a story. Trust your instincts—your emotional connection to a photo can guide you.
Steps to Transform Your Photo into Art

To transform your cherished photo into a stunning piece of art, following a few structured steps can make the process enjoyable and rewarding. Starting with your chosen art medium, the journey allows you to craft something unique and reflective of your style and space.
And finally, whether you decide to create it yourself, enlist a professional, or collaborate with a local artist, each approach offers its own benefits for bringing your vision to life.
Step 1 – Select Your Preferred Art Medium
When transforming your photo to artwork, a crucial first step is selecting the ideal art medium. This choice significantly influences the overall mood and appeal of your final piece.
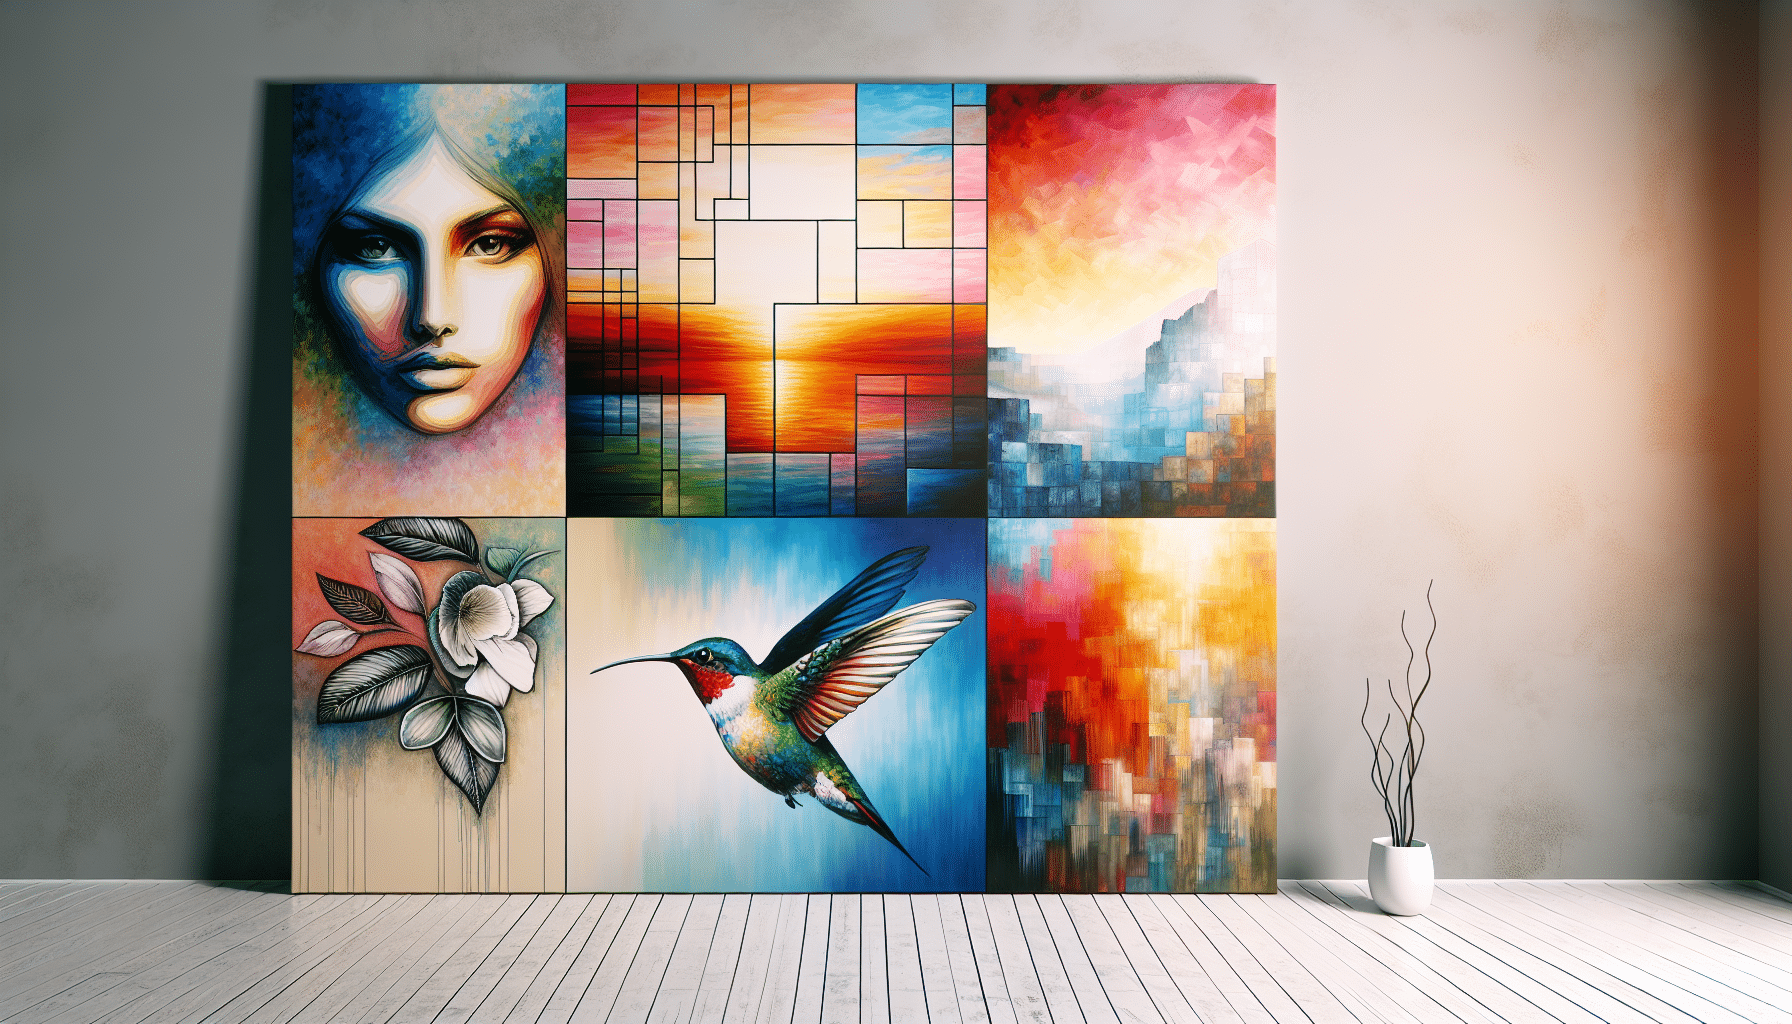
Consider various mediums such as “oil painting”, “watercolor”, or “pencil sketch”. Each has its own character, infusing your image with unique textures and emotional undertones.
Dive deep into the features of each medium: envision how the brushstrokes of an oil painting might add warmth or how intricate pencil lines could emphasize detail. Let every choice reflect your personal taste and the emotional impact you wish to convey.
Step 2 – Customize the Size and Style
Once you’ve chosen the medium, it’s time to determine the dimensions of your art piece. Do you envision a grand statement or an intimate tribute?
A few years back, researchers identified, a well-chosen artwork size significantly influences how audiences perceive and interact with your masterpiece. Consider whether your artwork will be a focal point in a living room, or perhaps an accent piece in a hallway.
Also, it’s not only about size—style plays a crucial role. Whether it’s opting for a contemporary edge or vintage vibe, these elements must harmoniously blend with the space and mood of your home environment.
Step 3 – Create or Order Your Artwork
Now that you’ve tailored the size and style, it’s time to bring your vision to life.
Here’s a range of options to help you turn your favorite photos into beautiful artwork, whether you’re looking for a hands-on approach or a professional finish:
- DIY Approach: Utilize digital software to transform your photo into artwork, adding personal touches.
- Professional Service: Choose reputable companies that specialize in converting photos to artwork for a polished finish.
- Local Artists: Collaborate with a local artist to add unique flair and support community creatives.
- Online Platforms: Explore platforms that offer innovative technology to recreate your images as distinguished pieces.
Displaying Your Artwork in Your Home

Selecting the ideal place to display your artwork can make all the difference in how it enhances your home. From lighting to layout, each detail contributes to creating an inviting and visually appealing atmosphere.
Here’s how to showcase your artwork effectively:
- Choose the Right Spot: Look for areas where your artwork will be noticed and complement the room’s decor, balancing aesthetics and functionality.
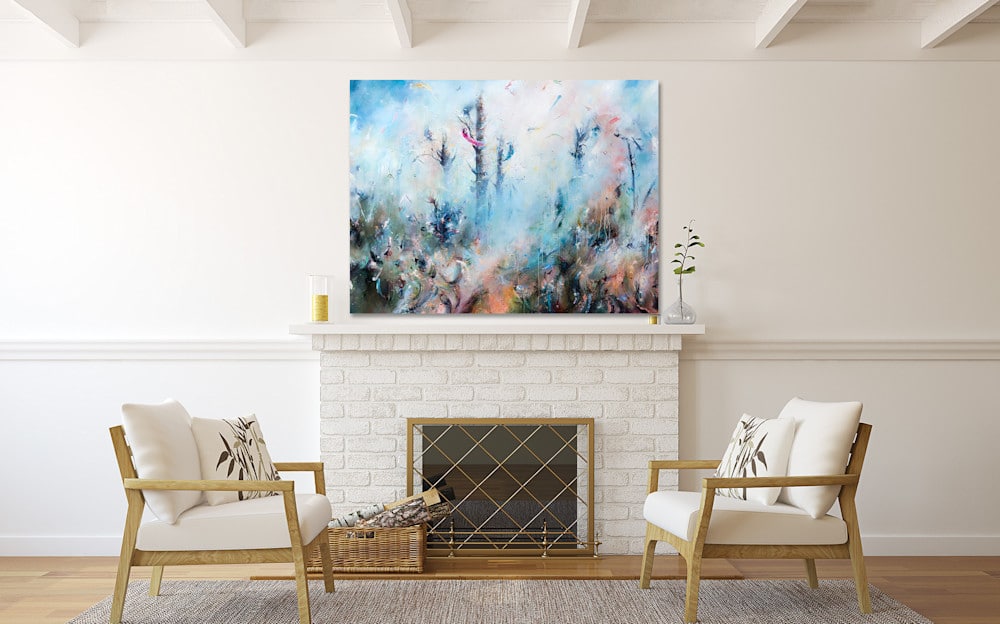
- Consider Lighting: Good lighting can bring out the details and colors of your piece. Experiment with placement to find the best light, avoiding harsh sunlight to prevent fading.
- Experiment with Placement: Try moving your artwork around to reimagine its effect in different parts of your home. Even professionally created pieces can benefit from a change of scenery.
- Select Frames and Matting: Choose frames and matting that enhance and accentuate certain elements, adding depth and style to your artwork.
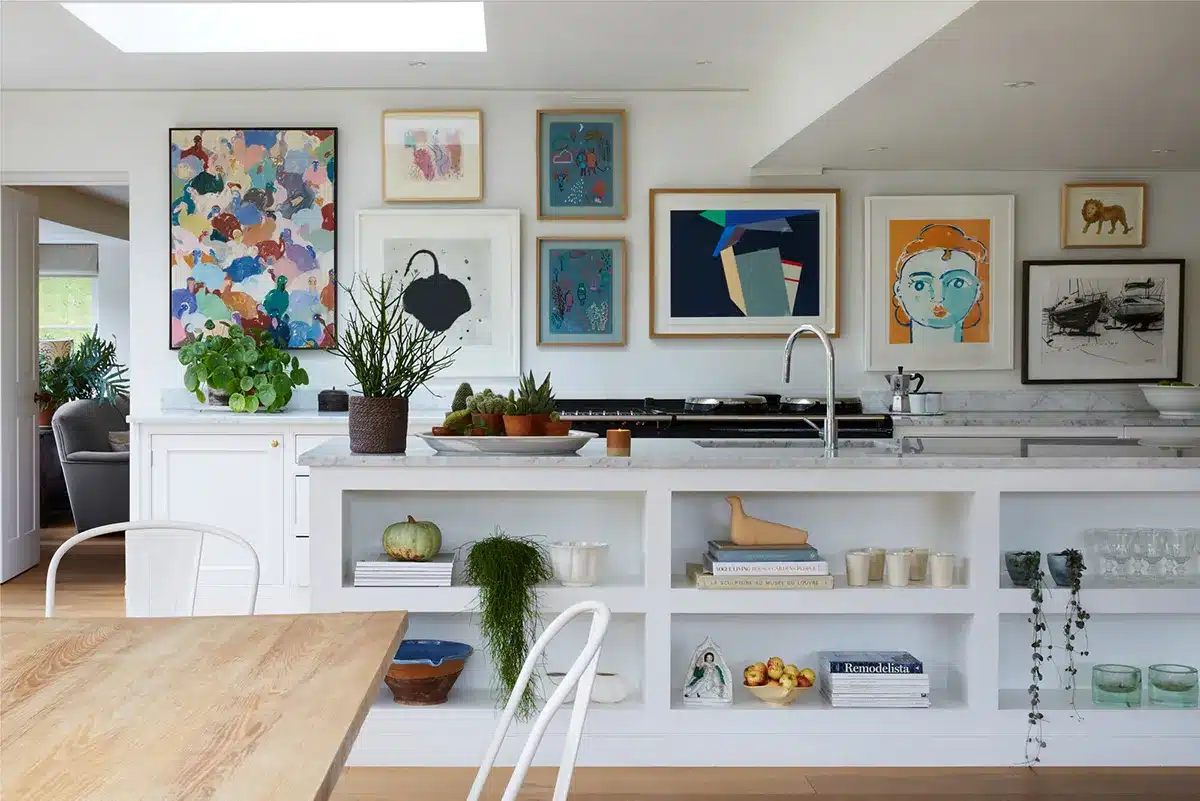
- Create a Gallery Wall: Mix your new piece with existing art to form a gallery wall. Whether eclectic or themed, a well-curated wall invites viewers to explore and adds a dynamic touch to your space.
- Utilize Natural Light Thoughtfully: Position your artwork in areas where natural light enhances textures without exposing it to direct, harsh sunlight. This will add depth and dimension without risking damage.
Exploring Different Artwork Styles
Exploring different styles of artwork allows you to tailor each piece to your taste and the ambiance of your space. Whether you’re drawn to the elegance of traditional canvases, the vibrancy of modern digital prints, or the hands-on experience of creating something personal, there’s an approach that fits every preference.
Each style offers its own unique way to celebrate your memories, infusing your home with art that speaks to both your story and aesthetic.
Creating Stunning Canvas Art from Photos
Start by selecting a photo that holds significance, ensuring it’s high-resolution with strong composition and lighting to achieve the best results. Think about the style you envision—whether it’s a realistic representation, an abstract interpretation, or something in between.
Next, consider enhancing the image through editing software, adjusting colors, contrast, and saturation to align with your vision. Once you’ve refined the image, think about the size. For a bold statement, go large; for a subtler touch, choose a more compact option.
Choosing the right printing service is essential, especially for projects like rolled canvas wall art, as high-quality materials will make a significant difference in the final look. A reliable provider will produce a durable, vibrant piece that maintains its beauty over time.
Finally, enjoy the process of turning your cherished memories into a canvas masterpiece, a personal creation that adds beauty and character to your home.
Digital Art Prints for a Modern Touch
Elevating your space with digital art prints brings a modern and vibrant aesthetic to any room.
Here’s how to get started with creating digital art prints that bring a modern and personalized touch to your home:
- Choose Your Favorite Photos: Select images with emotional significance or visual appeal.
- Decide on a Theme: Whether minimalist or bold, establish a cohesive style.
- Utilize Editing Tools: Enhance your images with digital filters and effects.
- Opt for High-Quality Printing Services: Ensure long-lasting and vivid results.
- Experiment with Framing Options: Traditional or floating frames can dramatically change the look.
Painting by Numbers from Your Own Photo
Imagine translating your cherished memories into breathtaking artworks with the timeless charm and simplicity of paint-by-numbers. This method not only enhances your artistic potential but also provides a therapeutic and rewarding experience that relaxes your mind.
With a custom paint by number from photo kit, you can paint like a pro without needing prior skills. By converting your photo into a paint-by-number template, you can effortlessly apply colors with precision, creating a visually stunning representation of your original image.
Ultimately, these custom kits are wonderfully accommodating for individuals seeking unique, handcrafted art. They guide you step-by-step, enabling you to witness the seamless blending of colors and the transformation of your beloved photograph into a magnificent artwork.
Tips for Maintaining and Caring for Your Custom Art

Preserving the beauty of your custom artwork requires a few mindful practices that can make all the difference in its longevity and vibrancy.
Here’s how to care for your art to keep it looking stunning for years to come:
- Avoid Direct Sunlight: Hang your artwork away from direct sunlight to prevent UV rays from causing colors to fade, preserving the vibrancy of your masterpiece over time.
- Monitor Humidity Levels: High humidity can warp canvases and damage artwork. Aim to keep the room’s humidity at a moderate level to maintain the integrity of your piece.
- Dust Regularly: Routine dusting keeps your artwork looking fresh. Use a soft, lint-free cloth to gently clean the surface, preventing dust buildup and keeping colors vivid.
- Commit to Care: Remember that taking time to maintain your art is an investment in its longevity. Your efforts not only protect its beauty but also honor the joy and creativity you experienced in creating it.
Concluding Thoughts
Transforming your photos into artwork is a journey of creative self-expression, bridging the gap between cherished memories and stunning decor. With each step—from selecting the perfect photo and choosing a unique style, to crafting a custom canvas or digital print—you breathe new life into your favorite images.
Embrace the satisfaction of turning meaningful moments into lasting art, knowing each creation is a testament to both your personal story and artistic vision. Let your walls tell the story of your life, one beautiful piece at a time.


