Beginner painters often find watercolor landscapes intimidating. The paint flows in unexpected ways, colors mix differently than expected, and creating depth seems like magic.
Many newcomers feel stuck with flat, lifeless paintings that don’t match their vision.
Watercolor landscapes can be simple and fun to create with the right approach. Anyone can learn to paint gorgeous scenes with just a few basic techniques and materials. No special talent required just some guidance and practice.
This blog shows five easy watercolor landscape techniques perfect for beginners. Readers will learn about essential supplies, basic washes for skies, simple tree techniques, and how to create water reflections.
By the end, they’ll have everything needed to start creating their own peaceful landscape paintings without frustration.
Beginner Drawing Tips with Easy Landscape Watercolor Painting
Starting with watercolors can feel tricky, but it doesn’t have to be. Many new artists find that easy landscape watercolor painting for beginners offers a perfect starting point for learning this medium.
Here are some simple tips to help you begin:
- Start with quality paper (140lb/300gsm) that won’t buckle when wet
- Use just 3-4 colors at first to avoid muddy mixtures
- Practice wet-on-wet technique for soft, blended skies
- Allow layers to dry completely before adding details
- Keep a paper towel handy to lift color or fix mistakes
When working on easy landscape watercolor painting for beginners, try simple scenes first. Mountains, fields, and beaches with clear horizon lines help you practice basic techniques without complex details.
How to Create an Easy Landscape Watercolor Painting
Looking to start your watercolor experience with landscapes? These 7 inspiring ideas are designed to spark creativity while keeping things simple and enjoyable.
Each one highlights a fresh theme, a focused color palette, a helpful technique tip, and a key detail to bring your scene to life making them perfect for anyone finding easy landscape watercolor painting for beginners.
1. Prepare Your Workspace and Paper
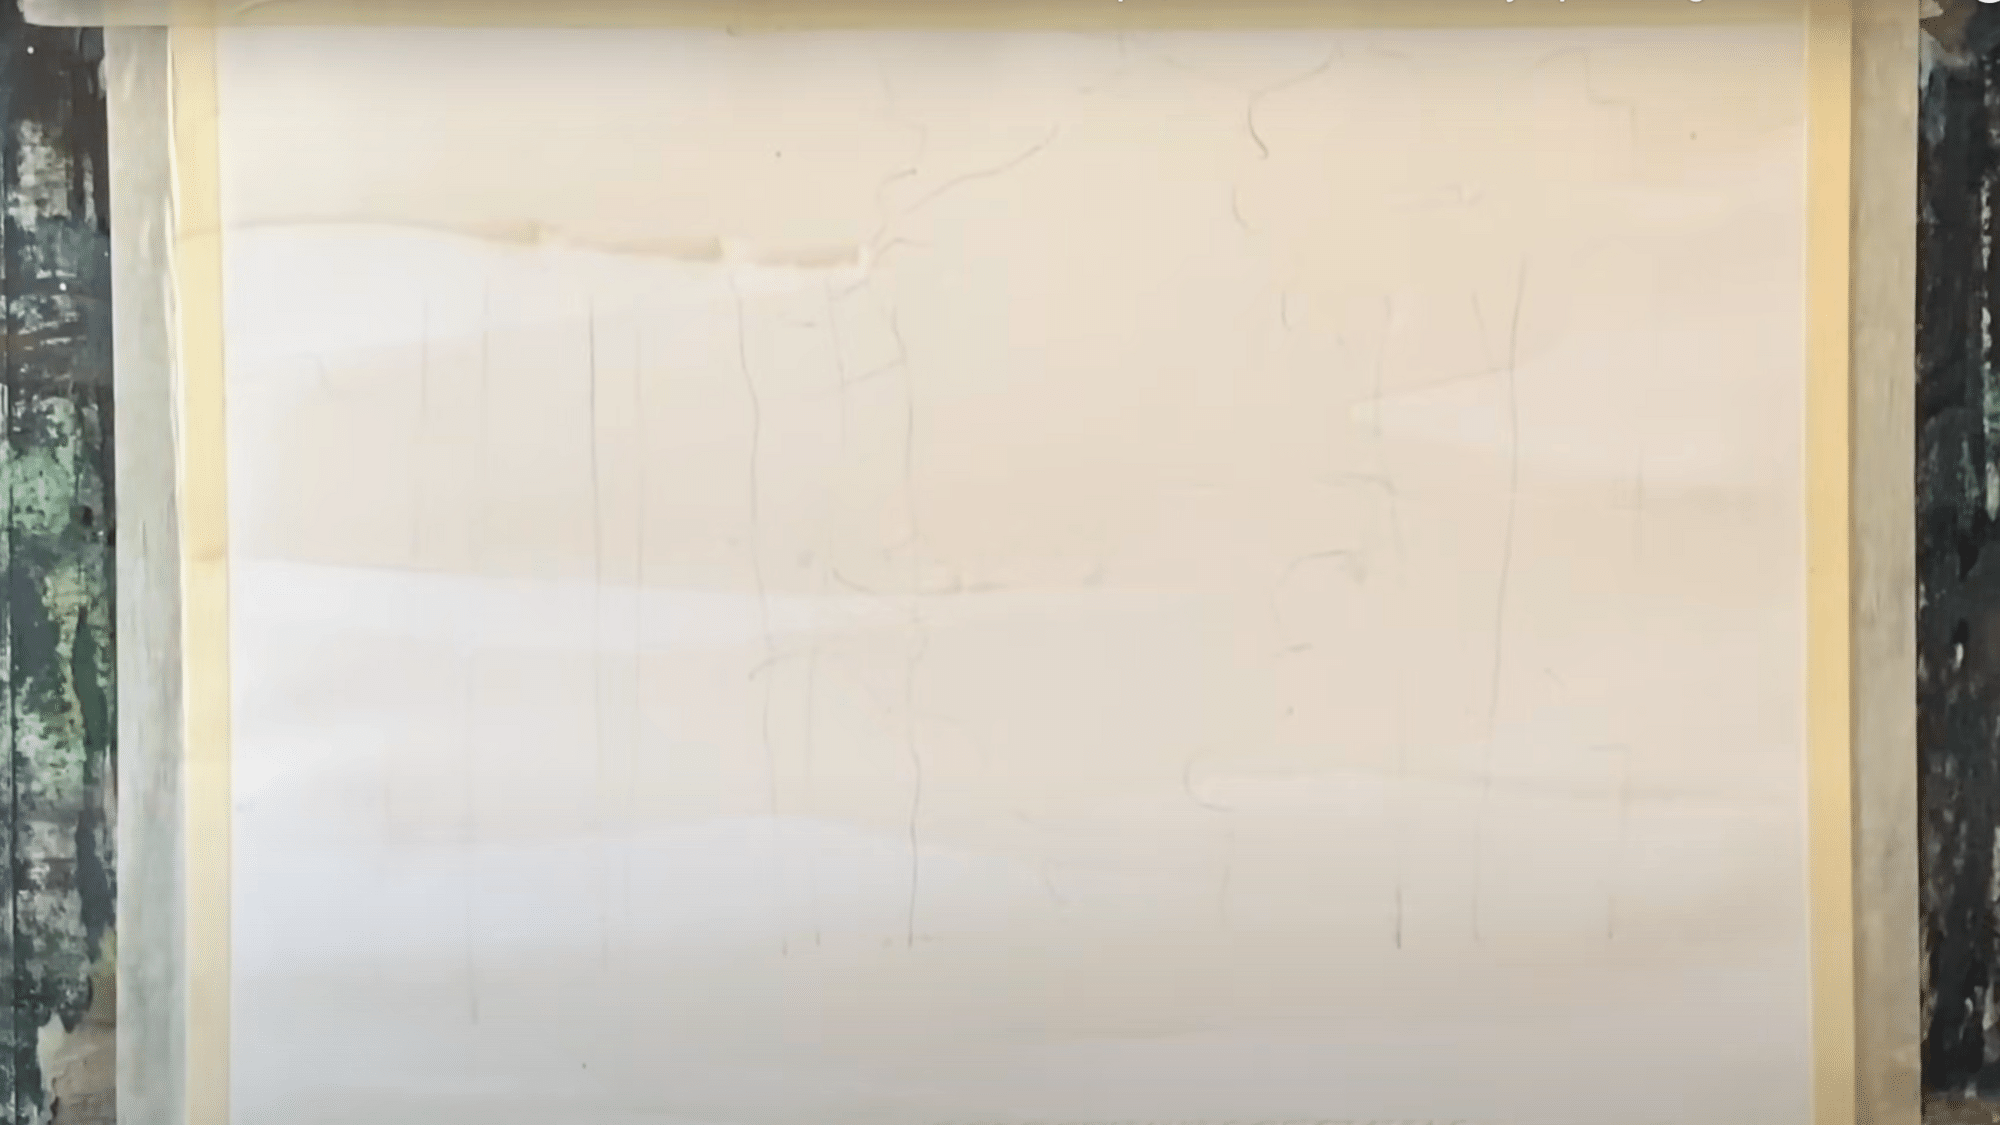
Secure a piece of watercolor paper (preferably Saunders Waterford Hot Pressed) to your board using masking tape. Tilt your board at a 45-degree angle to help your paint flow naturally an ideal setup for an easy landscape watercolor painting for beginners.
This creates soft transitions in your washes. Wet the entire sheet with a large, soft brush, leaving some dry patches to preserve textural variety in your background.
2. Apply a Gentle Underpainting
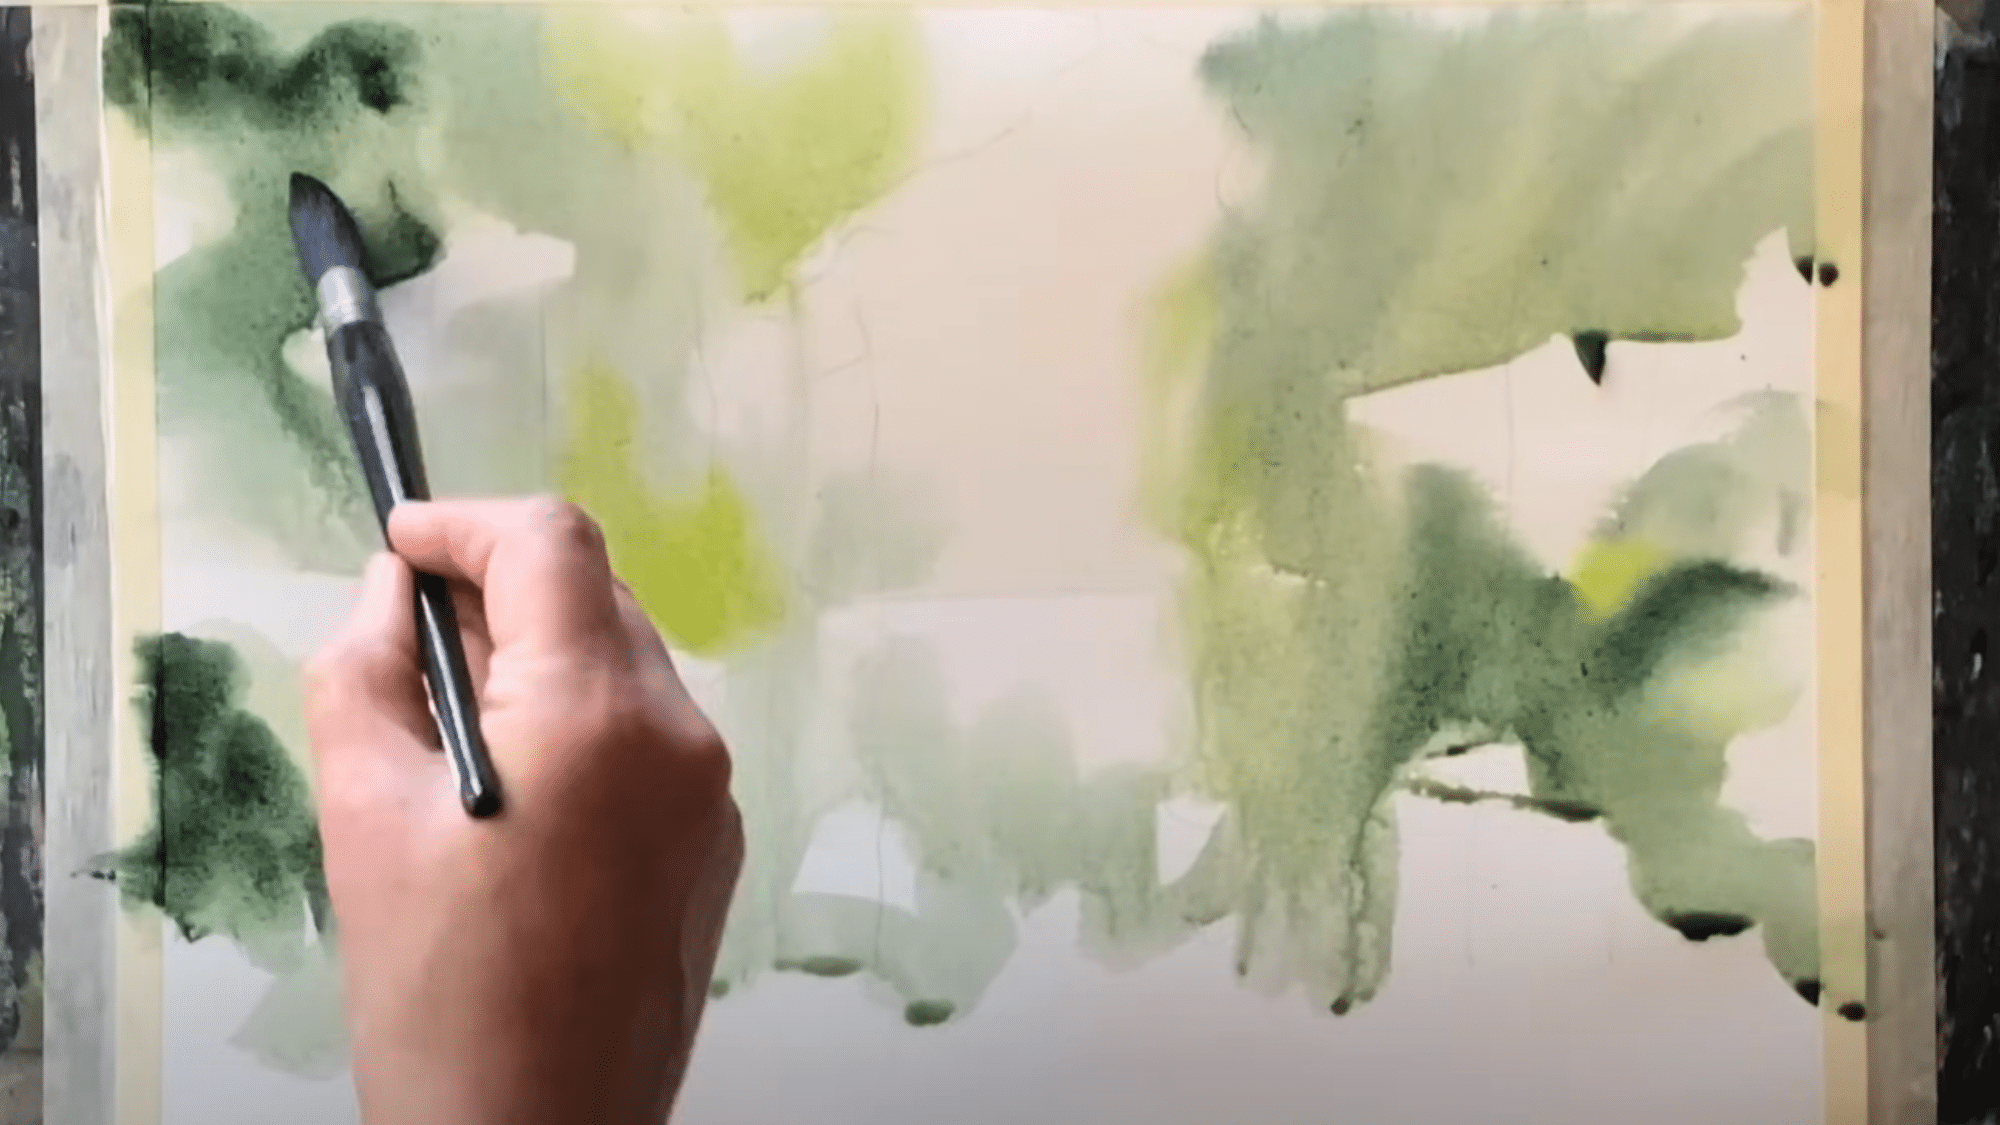
Start by gently applying color while the paper is still damp to achieve that soft, atmospheric glow. Focus on the outer edges, keeping the center bright and light.
- Use sap green, perylene green, and cadmium yellow in varying mixes.
- Dab paint with a light hand to avoid overpowering the scene.
- Leave dry patches for texture and interest.
- Keep the center area mostly untouched it’ll be your source of light.
Once satisfied, lay the board flat to prevent further flow.
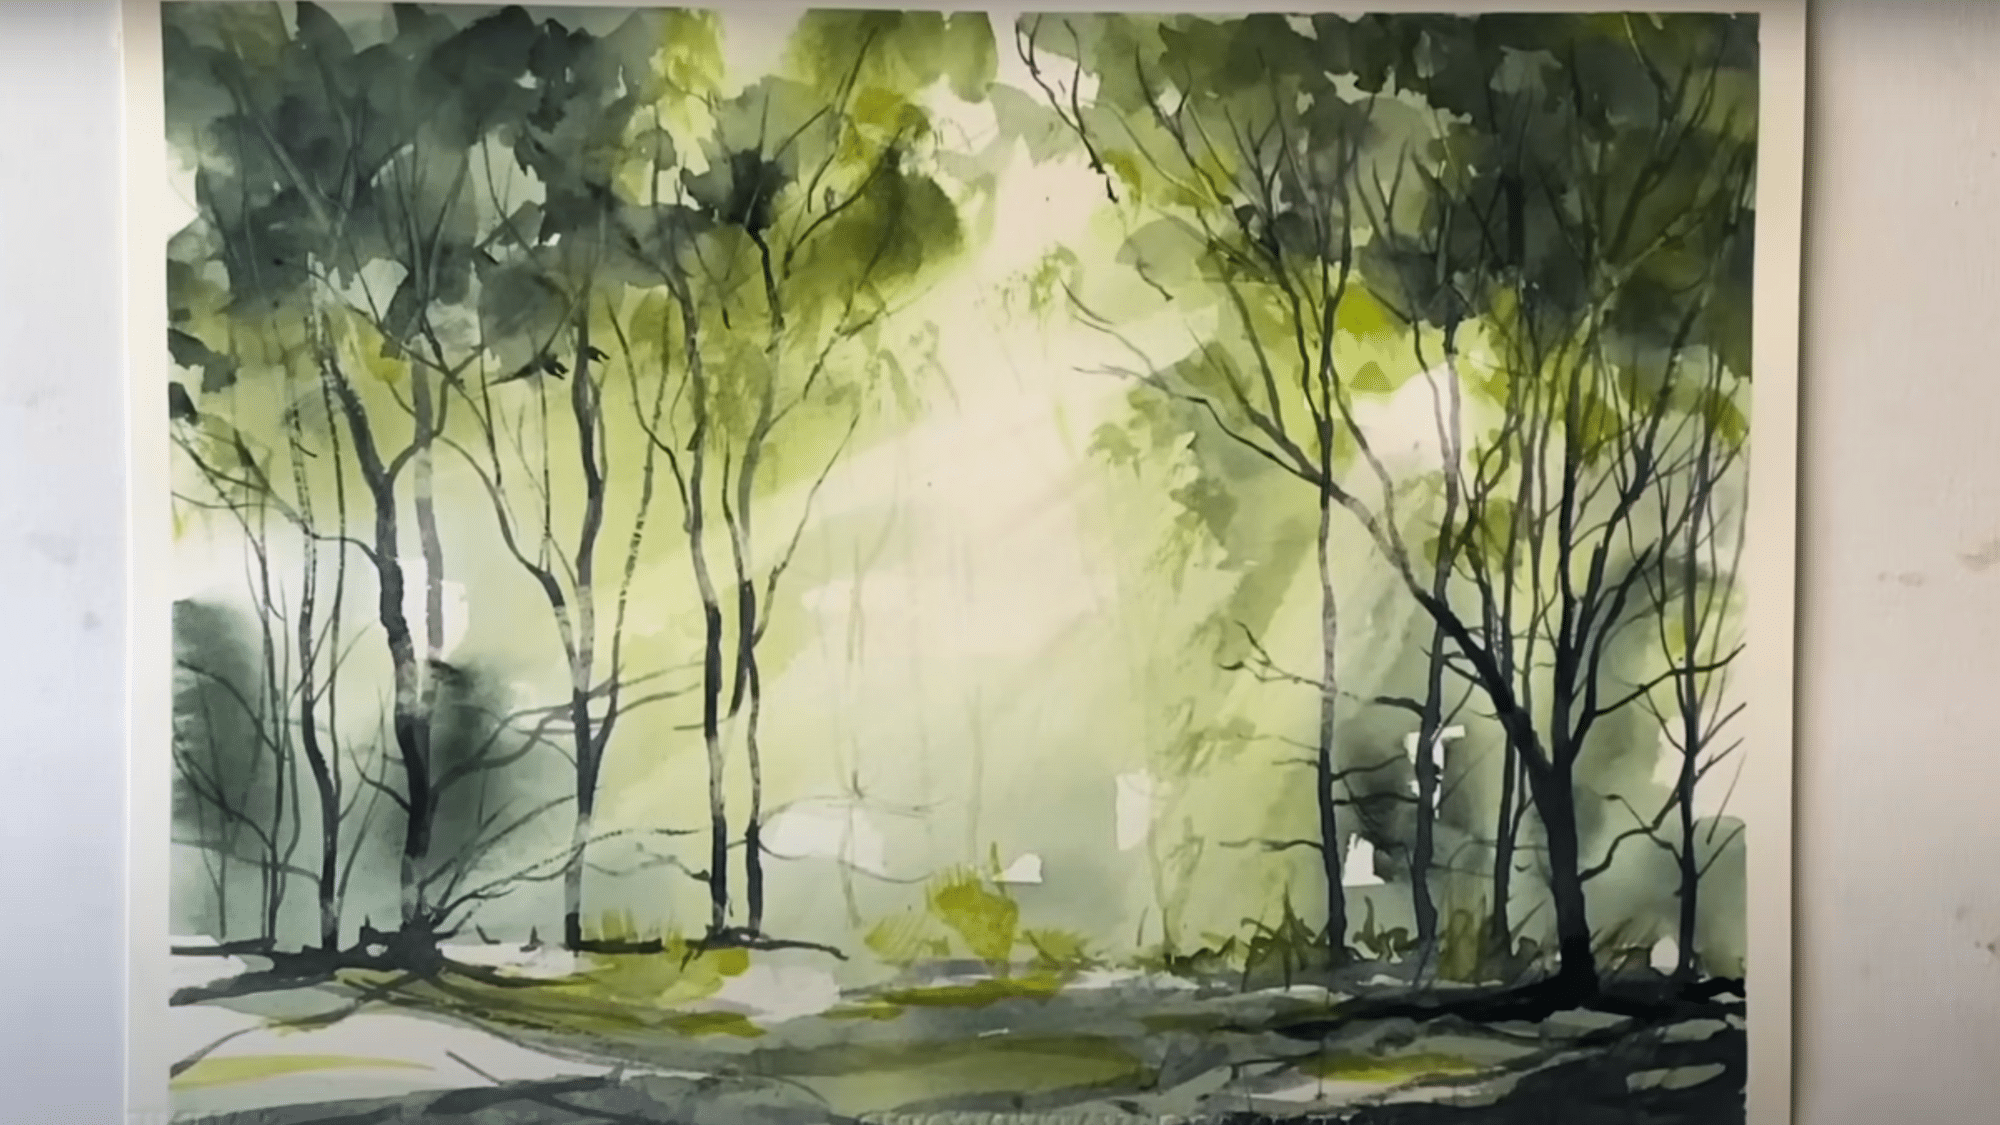
3. Create Sunbeams with Tissue Blotting

While your underpainting is still damp but not soaking take a fresh tissue or paper towel and gently blot diagonal streaks across the page. Use a clean section of tissue for each pass to avoid muddying the paper.
These lifted streaks will form soft, natural-looking beams of sunlight piercing through the trees perfect for adding atmosphere to an easy landscape watercolor painting for beginners. Work quickly and confidently timing is everything here.
The key is to lift just enough pigment while the paint is still moist, preserving that luminous, glowing light effect in your forest scene.
4. Add Tree Trunks and Branches
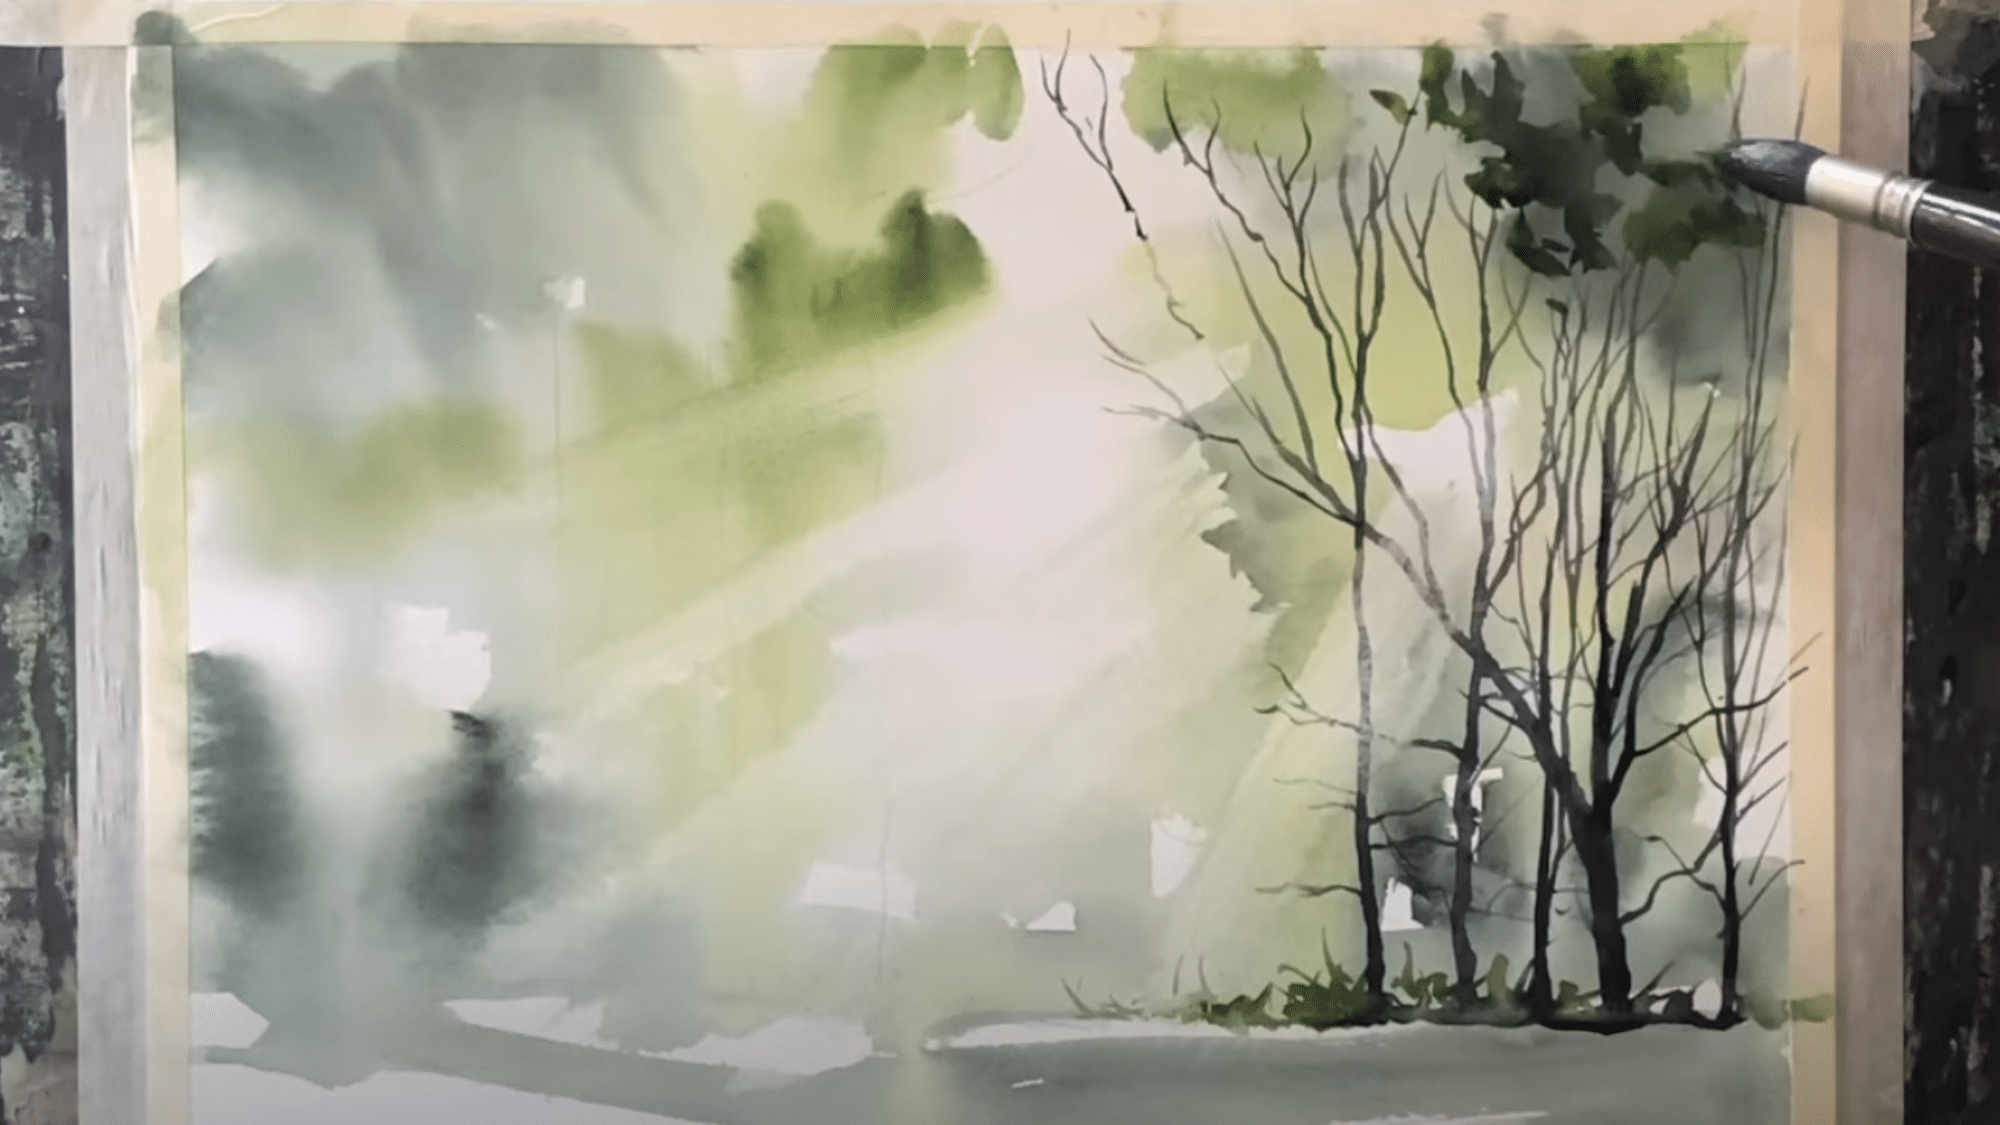
Now that your background is completely dry, re-angle your board to 45 degrees and prepare to add structure with fine trees and branches.
- Use a small calligraphy brush and Payne’s Gray paint.
- Paint trunks and branches vertically, working from the base upward.
- Whenever a tree crosses a sunbeam, quickly blot that section with clean tissue. This softens the tone and keeps the illusion of light shining through.
Layer carefully to keep the trees looking natural yet defined.
5. Balance Light and Shadow
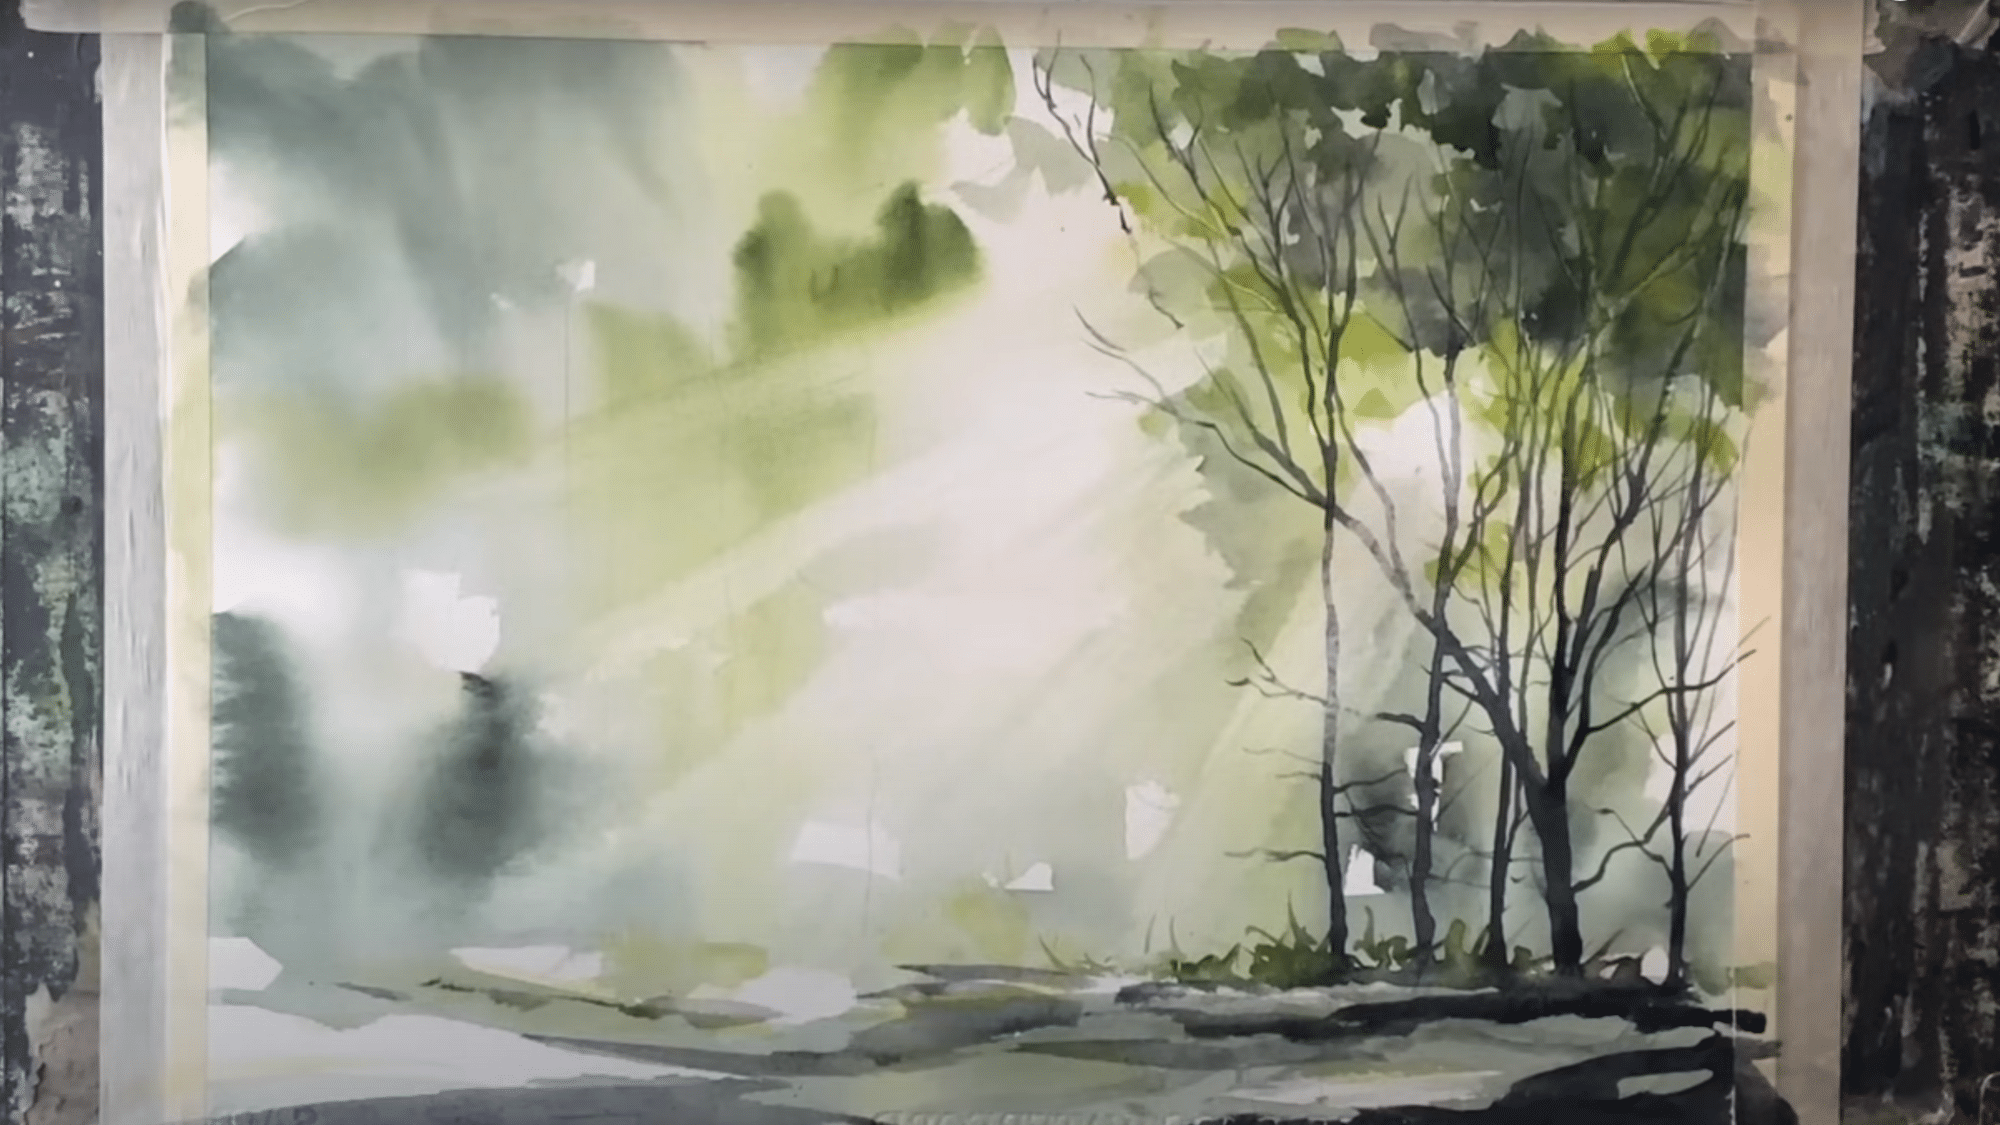
Continue adding trees and dabbing out intersections with sunbeams. Keep trees on the right side darker to suggest shade, and go lighter on the left where light penetrates this simple contrast works gorgeously in an easy landscape watercolor painting for beginners.
Add soft grassy textures near the bottom using a loose touch and dab lightly where sunbeams hit the ground for added depth and realism.
6. Finish the Tree Canopy
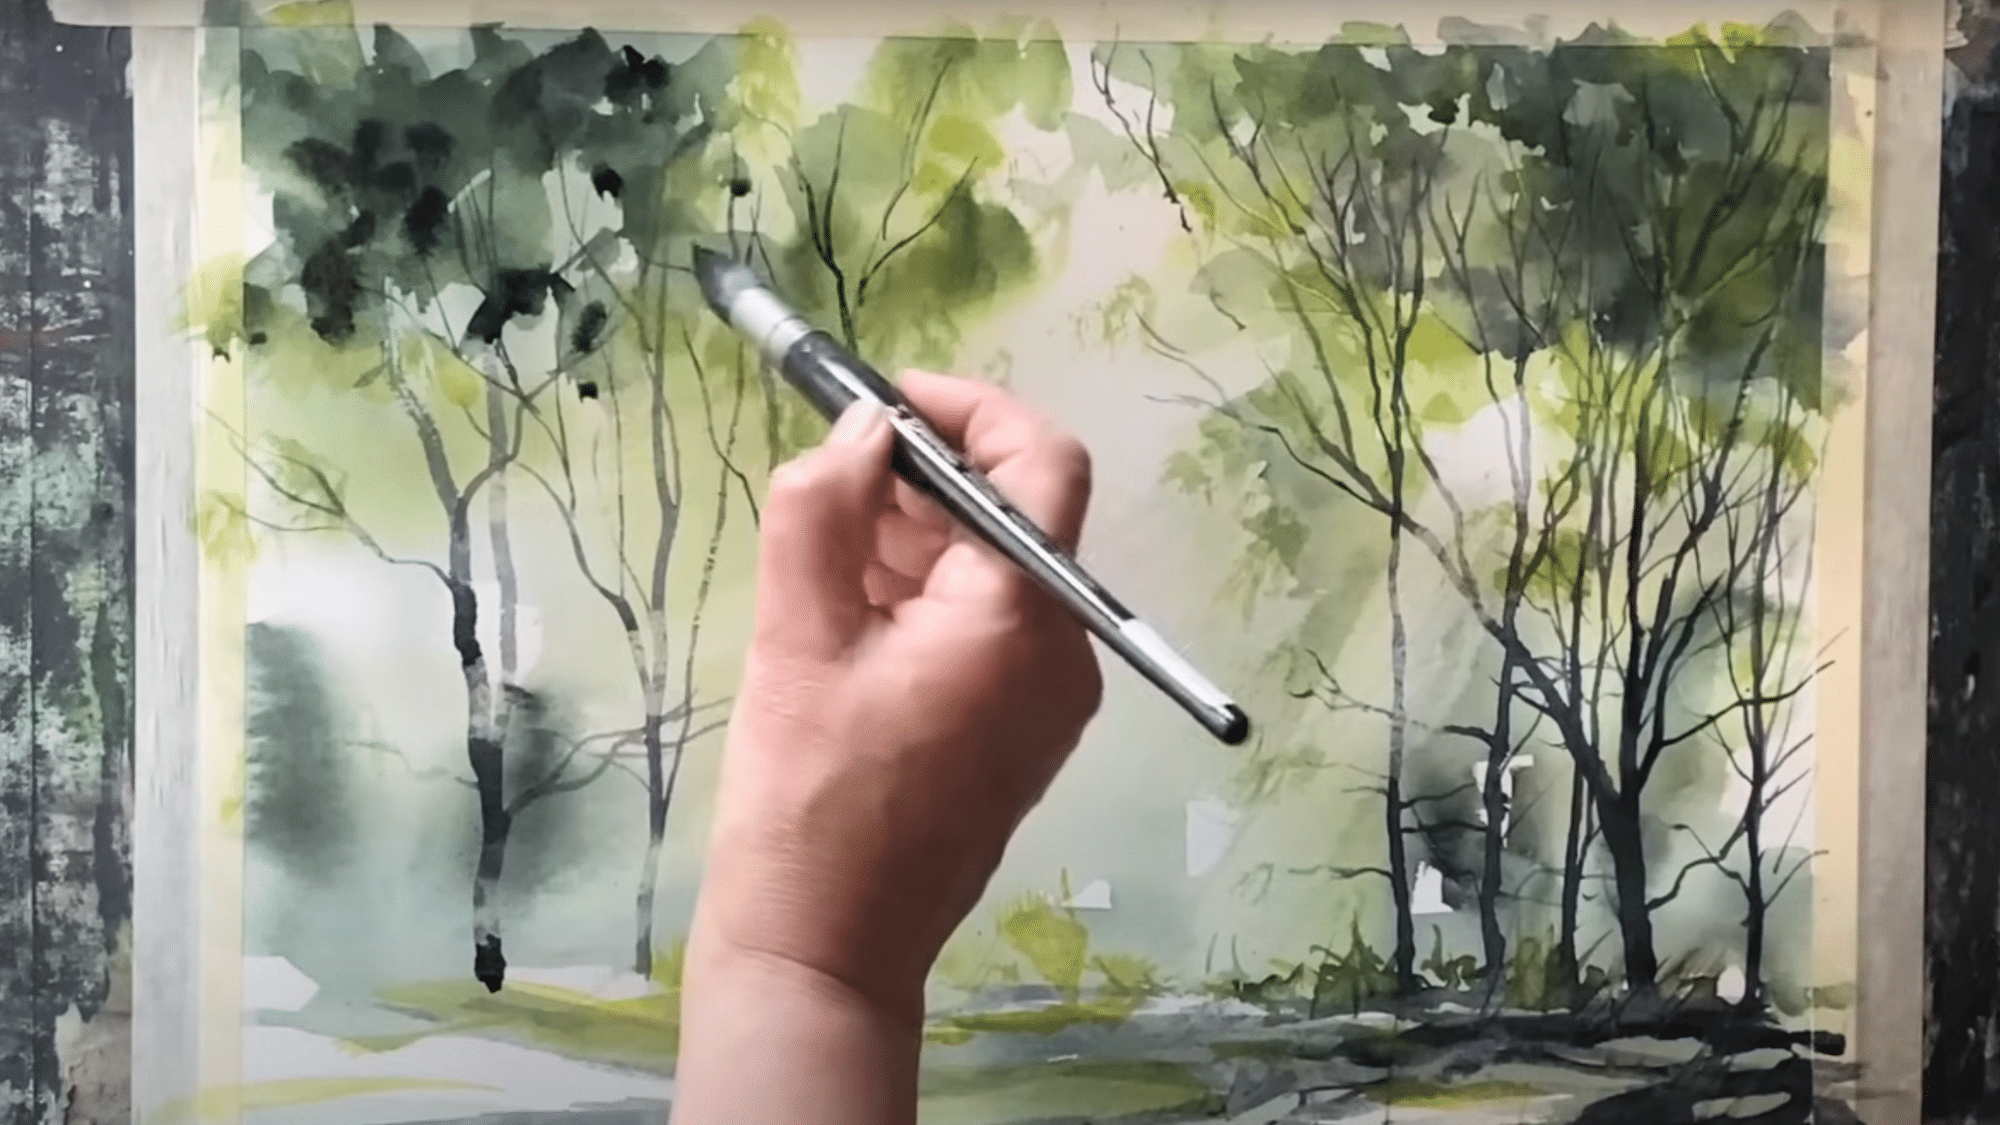
To give your woodland painting its final lush touch, deepen the tree canopy using rich layers of your base colors.
- Mix sap green, perylene green, and cadmium yellow in varying intensities.
- Use a mop brush to lightly sweep across the upper section of the painting.
- Apply darker hues in shadowy areas to add depth.
- Brush brighter yellows where light filters through.
Keep the strokes soft and blended. The contrast will help those gentle sunbeams glow even brighter.
7. Final Details and Background Enhancements
Once your scene is mostly dry, it’s time for those subtle finishing touches. Use the edge of a plastic card to finely scratch through the canopy area, suggesting fine branches or light catching on twigs.
Then, with a highly diluted yellow-green mix, paint a few faint trees in the distant background. Dab them out gently to soften the edges and create a misty, divine effect an especially gorgeous technique in an easy landscape watercolor painting for beginners.
Finally, take a step back, assess the composition’s flow, and make any small tweaks to balance light, shadow, and depth just right.
Pro-Level Shading Tips for Easy Landscape Watercolor Paintings
When creating depth in your paintings, shading makes all the difference. Easy landscape watercolor painting for beginners becomes more impressive with these pro-level shading techniques:
-
Value Control – Mix different tones of the same color to show distance. Darker in front, lighter toward the horizon creates natural depth.
-
Layering – Build up colors gradually with thin, transparent washes. Let each layer dry before adding the next for clean, glowing shadows.
-
Color Temperature – Use cool colors (blues, purples) for shadows and warm colors (yellows, oranges) for highlights to create realistic lighting.
-
Wet-on-Dry – Apply paint to dry paper for crisp, defined shadow edges in foreground elements.
-
Wet-on-Wet – Drop paint onto damp paper for soft, diffused shadows perfect for distant hills or clouds.
-
Edge Control – Vary your shadow edges – hard edges pull forward, soft edges recede into distance.
Many students who try easy landscape watercolor painting for beginners struggle with flat-looking scenes. These shading methods immediately add three-dimensional quality to your work. Practice each technique separately before combining them in your landscapes for truly professional results.
Inspiring Ideas for Easy Landscape Watercolor Paintings – Perfect for Beginners
Ready to dip your brush into the world of landscapes? These inspiring ideas are designed to spark your creativity while keeping things simple.
Each one includes a unique theme, a beginner-friendly color palette, and a fun detail to bring your scene to life. Let’s look into the beauty of easy landscape watercolor painting for beginners!
1. Misty Mountains at Dawn
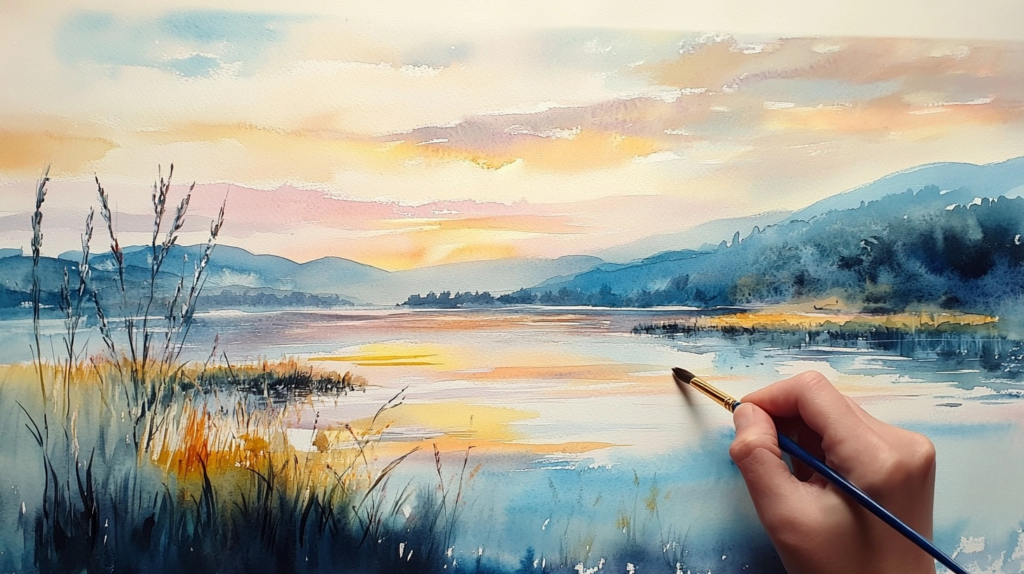
2. Peaceful Lakeside View
3. Golden Wheat Field
4. Cozy Winter Forest
5. Sunlit Woodland Path
6. Serene Beach at Sunset
7. Rolling Hills with Wildflowers
Final Thoughts
Shading techniques change simple scenes into appealing art pieces. They add life, depth, and emotion to your work. Remember that watercolor painting isn’t about perfection but about capturing feelings and moments with color and light.
As you practice these methods, your confidence will grow with each painting. Mistakes become learning opportunities, and experiments lead to personal style. Easy landscape watercolor painting for beginners opens doors to creative expression that continues to evolve with practice.
The most important takeaway? Enjoy the process. The joy of creation matters more than the final result. Happy painting!