Many beginners feel lost when they pick up oil pastels for the first time.
The sticks feel waxy and are hard to control. Colors mix in ways you didn’t plan, and what looked good in your mind turns into a messy blob on paper.
Anyone can learn to create beautiful landscape art with oil pastels. This guide breaks down simple techniques that make sense from day one. No fancy art school needed – just clear steps that work for real people.
By the end of this post, you’ll know how to blend colors, create depth, and make your landscapes come alive.
Ready to change those challenging pastels into your favorite art tool?
Tips to Make an Oil Pastel Landscape Drawing Like a Pro
To create an oil pastel landscape drawing like a professional, it’s essential to master techniques that bring depth and color to your artwork.
By understanding how to layer colors, blend textures, and capture light, you can change a simple sketch into a stunning landscape. Here are six key tips to help you achieve this:
-
Layer Colors: Build up layers of oil pastel to achieve rich, dimensional colors.
-
Blend with Solvents: Use solvents like turpentine to blend and soften edges.
-
Capture Light: Highlight areas with lighter shades to mimic natural light.
-
Texture Variety: Mix smooth and rough textures for visual interest.
-
Reference Nature: Study real landscapes for inspiration and accuracy.
-
Experiment with Tools: Use different tools to scrape, smudge, and blend oil pastels.
Learning to Draw an Oil Pastel Landscape Drawing Stepwise
Creating an oil pastel landscape drawing can be a rewarding experience for artists of all levels. This versatile medium allows for lively colors, expressive textures, and blending techniques.
Whether you’re a beginner or looking to refine your skills, following a step-by-step approach can help you achieve stunning results.
Below are the steps to guide you through the process:
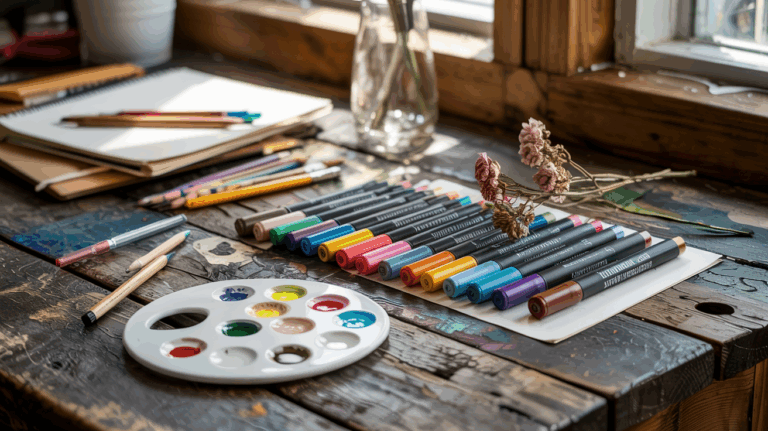
Stationery Required
-
Oil Pastels
-
Soft Pastels (optional for blending)
-
Drawing Paper (Textured preferred)
-
Palette Knife (for smoothing or scraping)
-
Colorless Blender
-
Paper Towels (for cleaning)
-
Fixative (optional, for preserving artwork)
Step-By-Step Detailed Instructions for Oil Pastel Landscape Drawing
1. Prepare Your Surface and Materials
Begin by choosing a textured drawing paper, as it will help hold the pastel layers. Set up your oil pastels and colorless blender within easy reach. Make sure you have a palette knife for smoothing any rough pastel applications.
2. Sketch the Basic Composition
Lightly sketch the outlines of the landscape elements (such as mountains, trees, or rivers) using a pastel color that contrasts with the paper. Avoid focusing on details; just get the shapes and major features laid out.
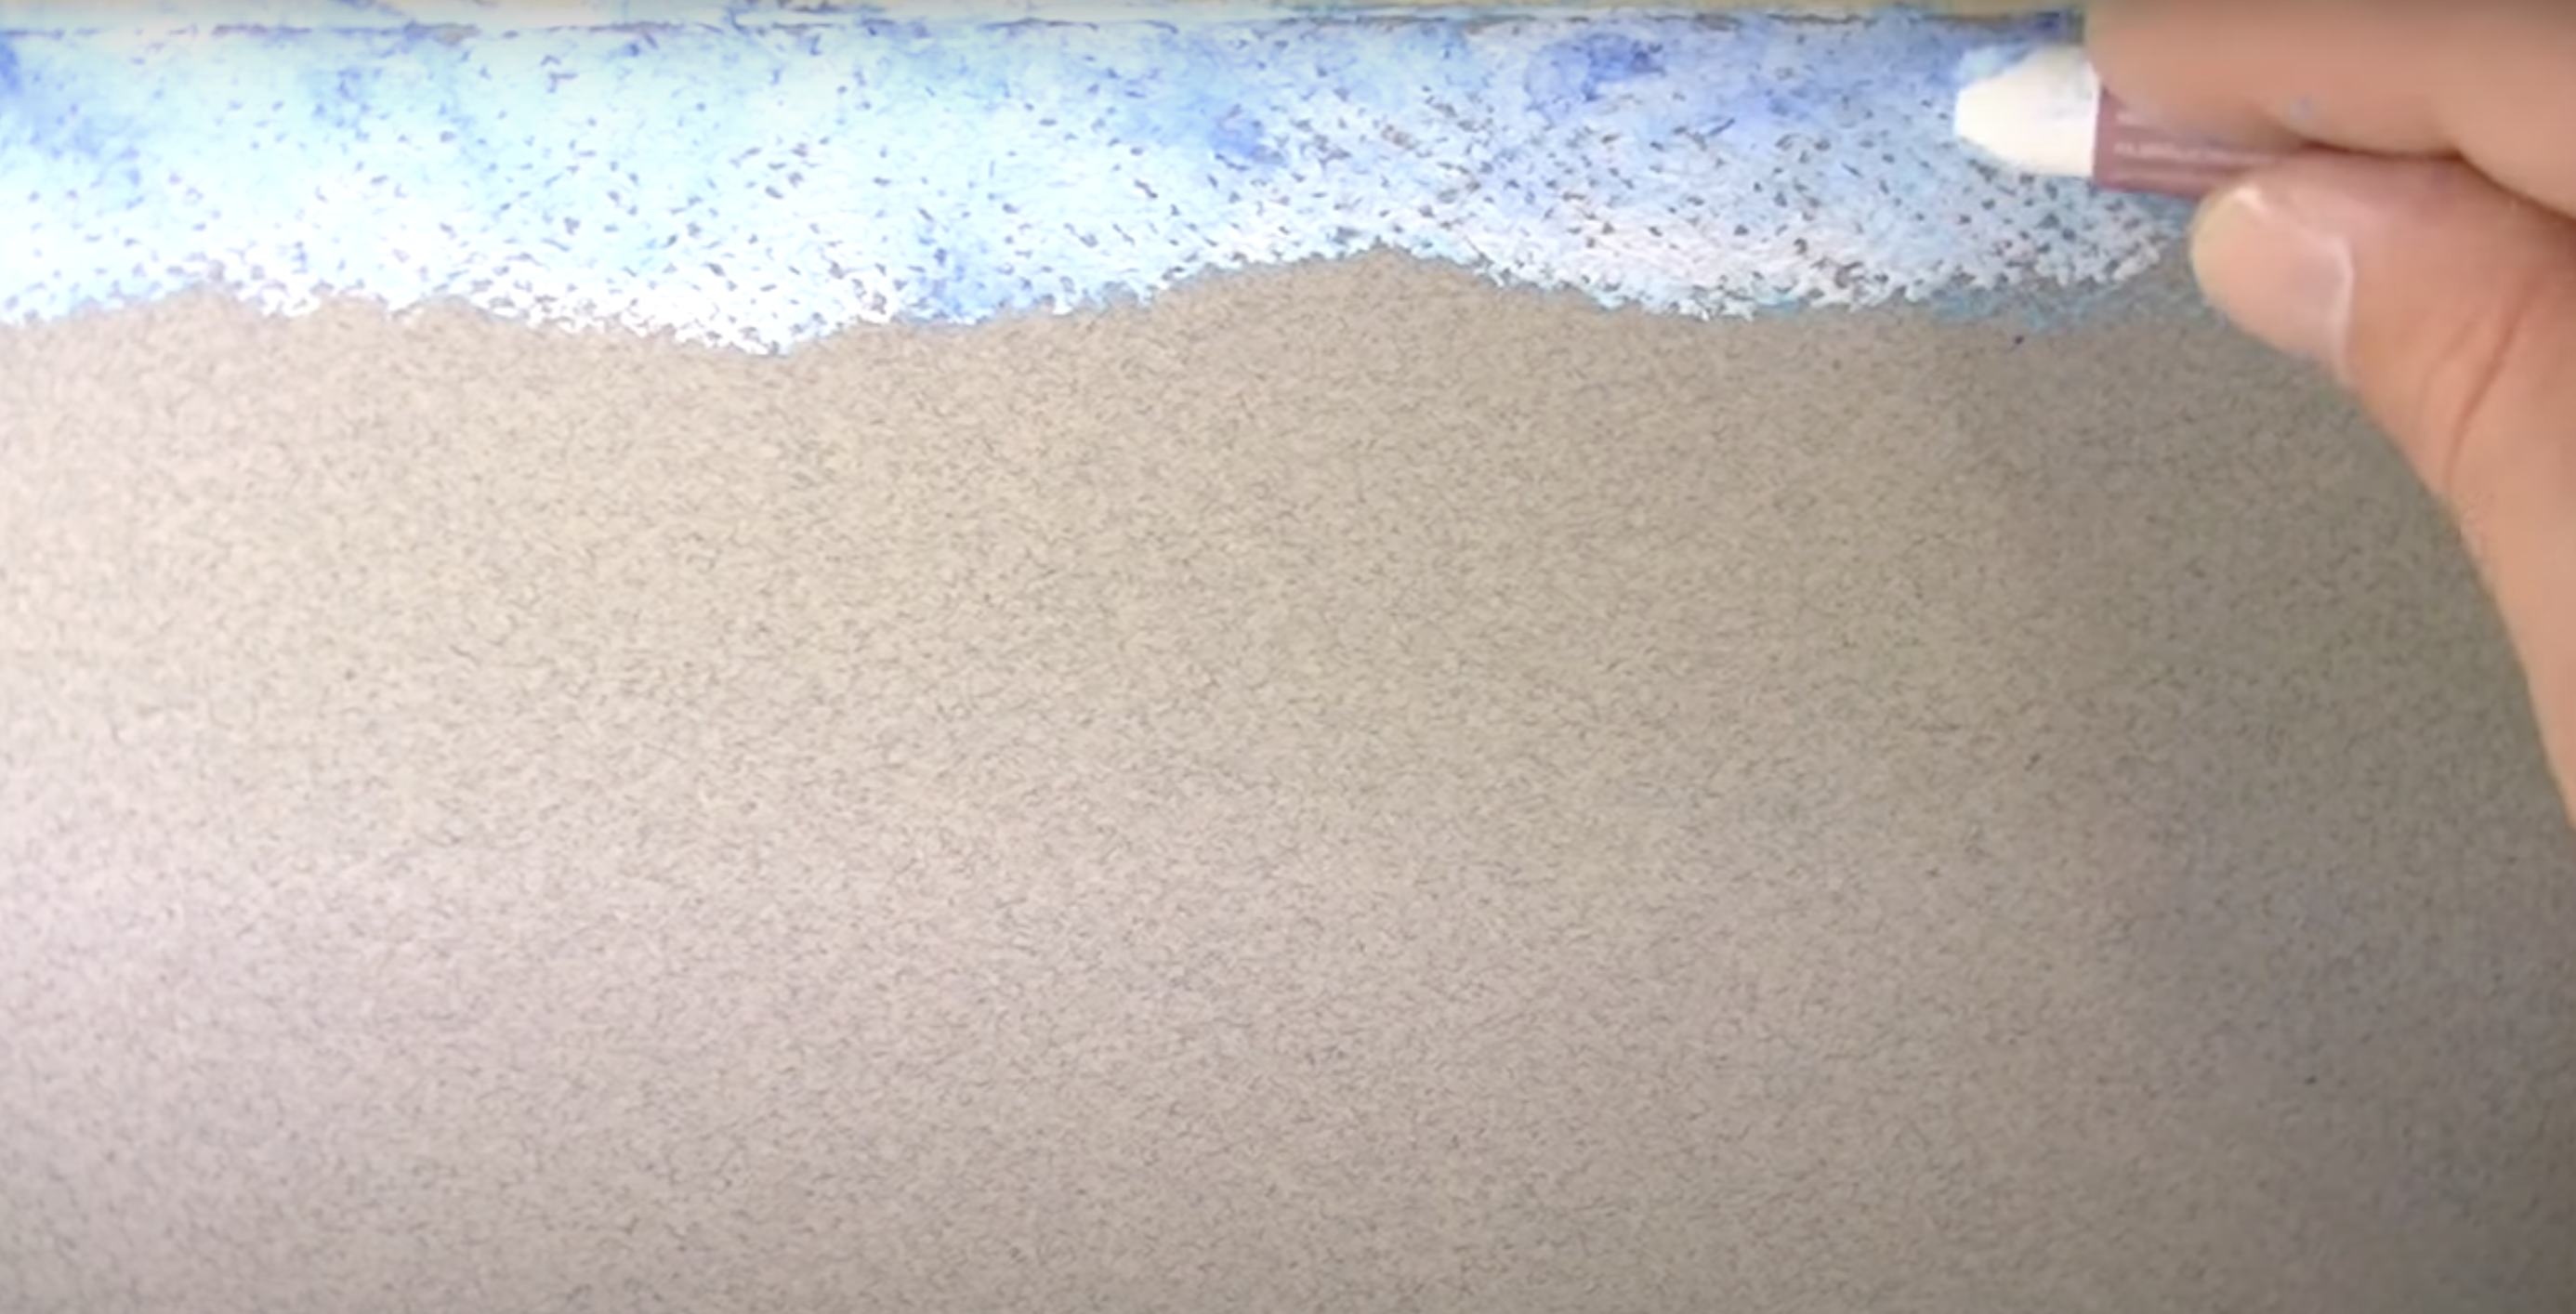
3. Layer the Sky and Background
Start with the sky. Use soft, circular strokes to apply a light layer of blue or any other chosen color. Remember, the pressure should be medium; don’t press too hard initially to allow for easy blending.
For contrast, gently add a few purple or yellow undertones. The goal is to build up layers gradually for depth.
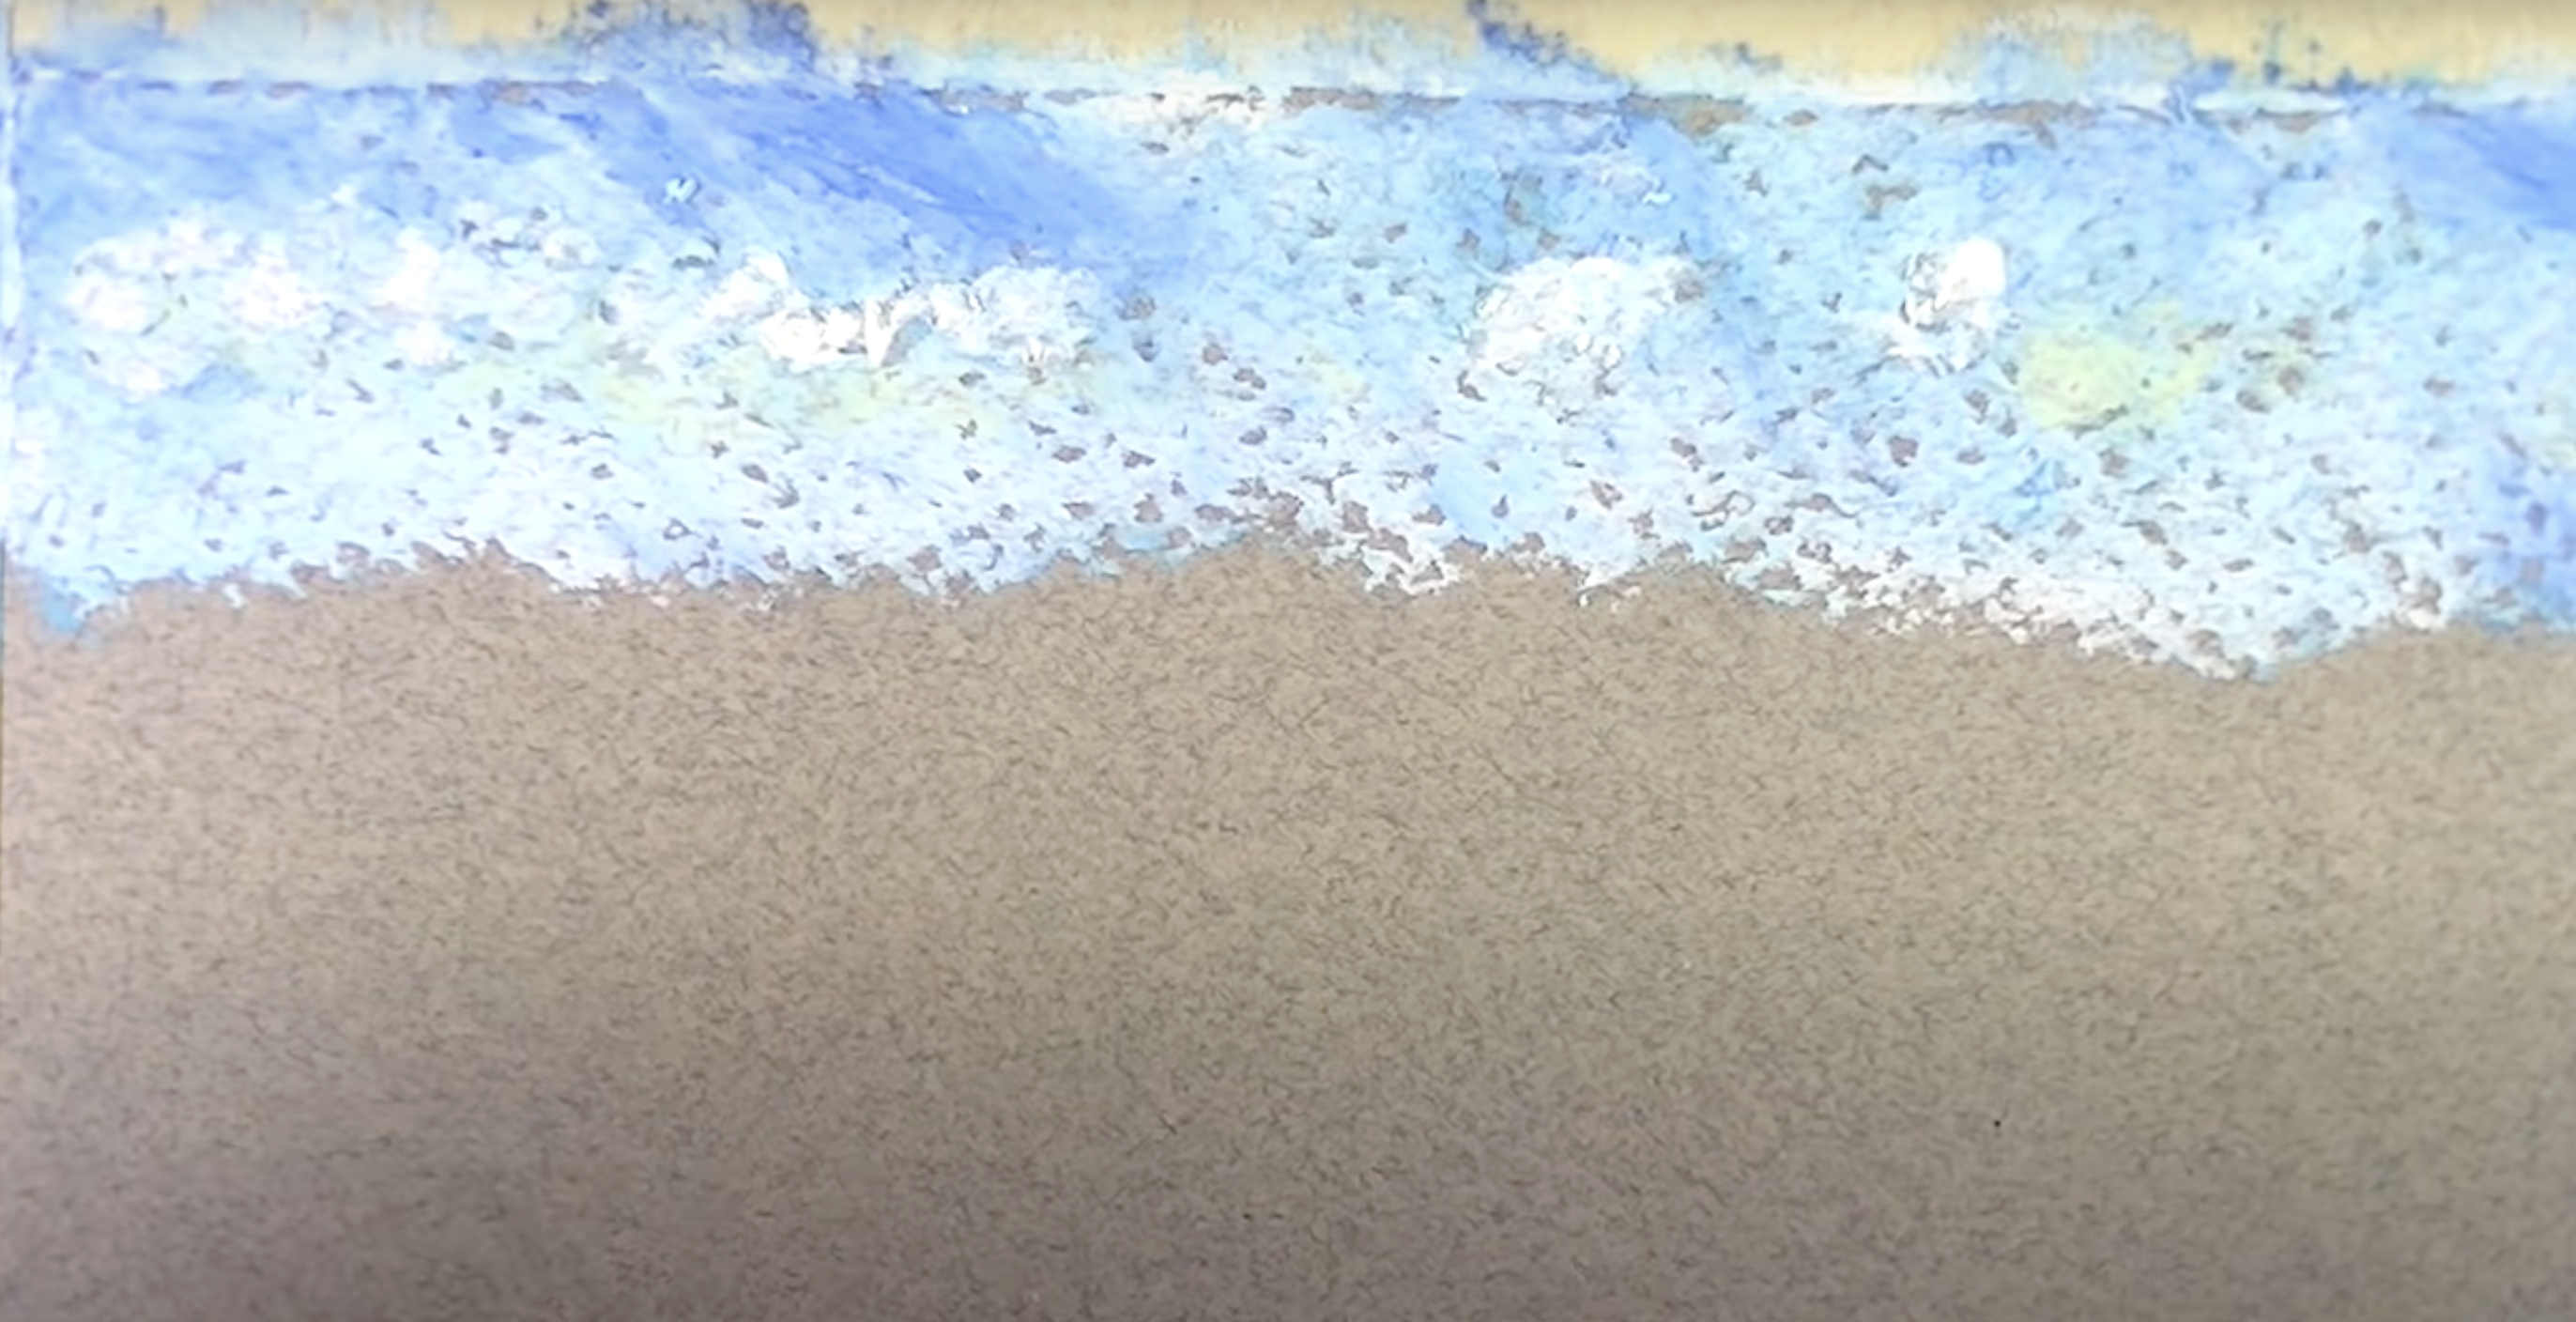
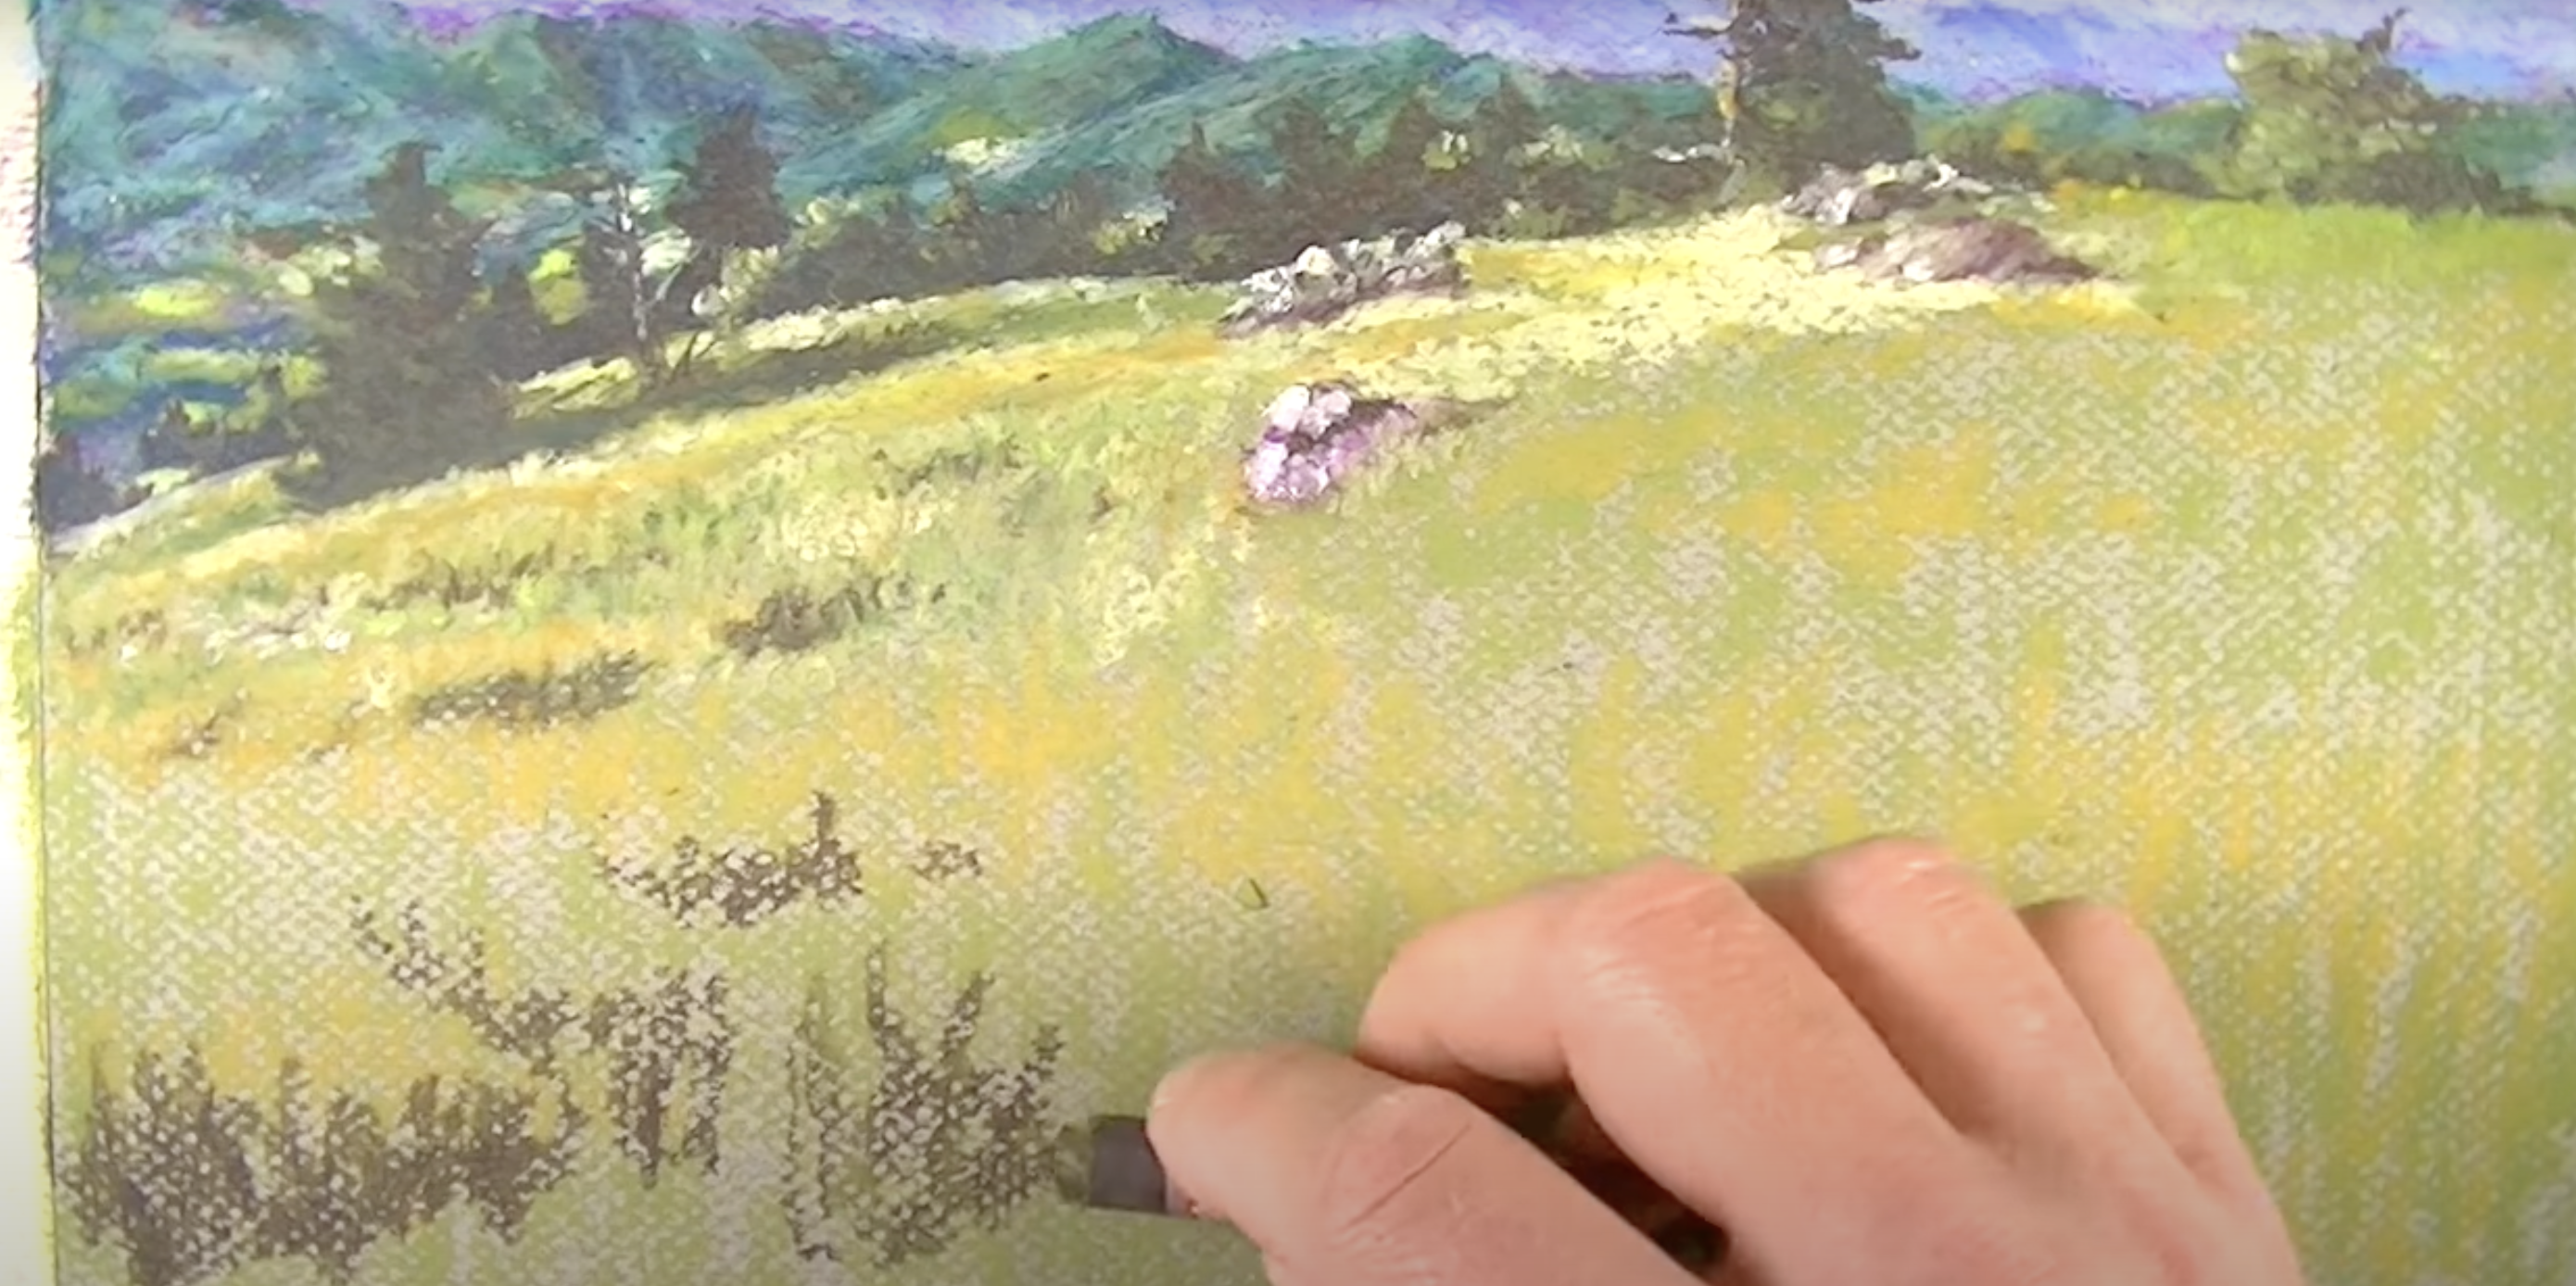
4. Add the Foreground and Textures
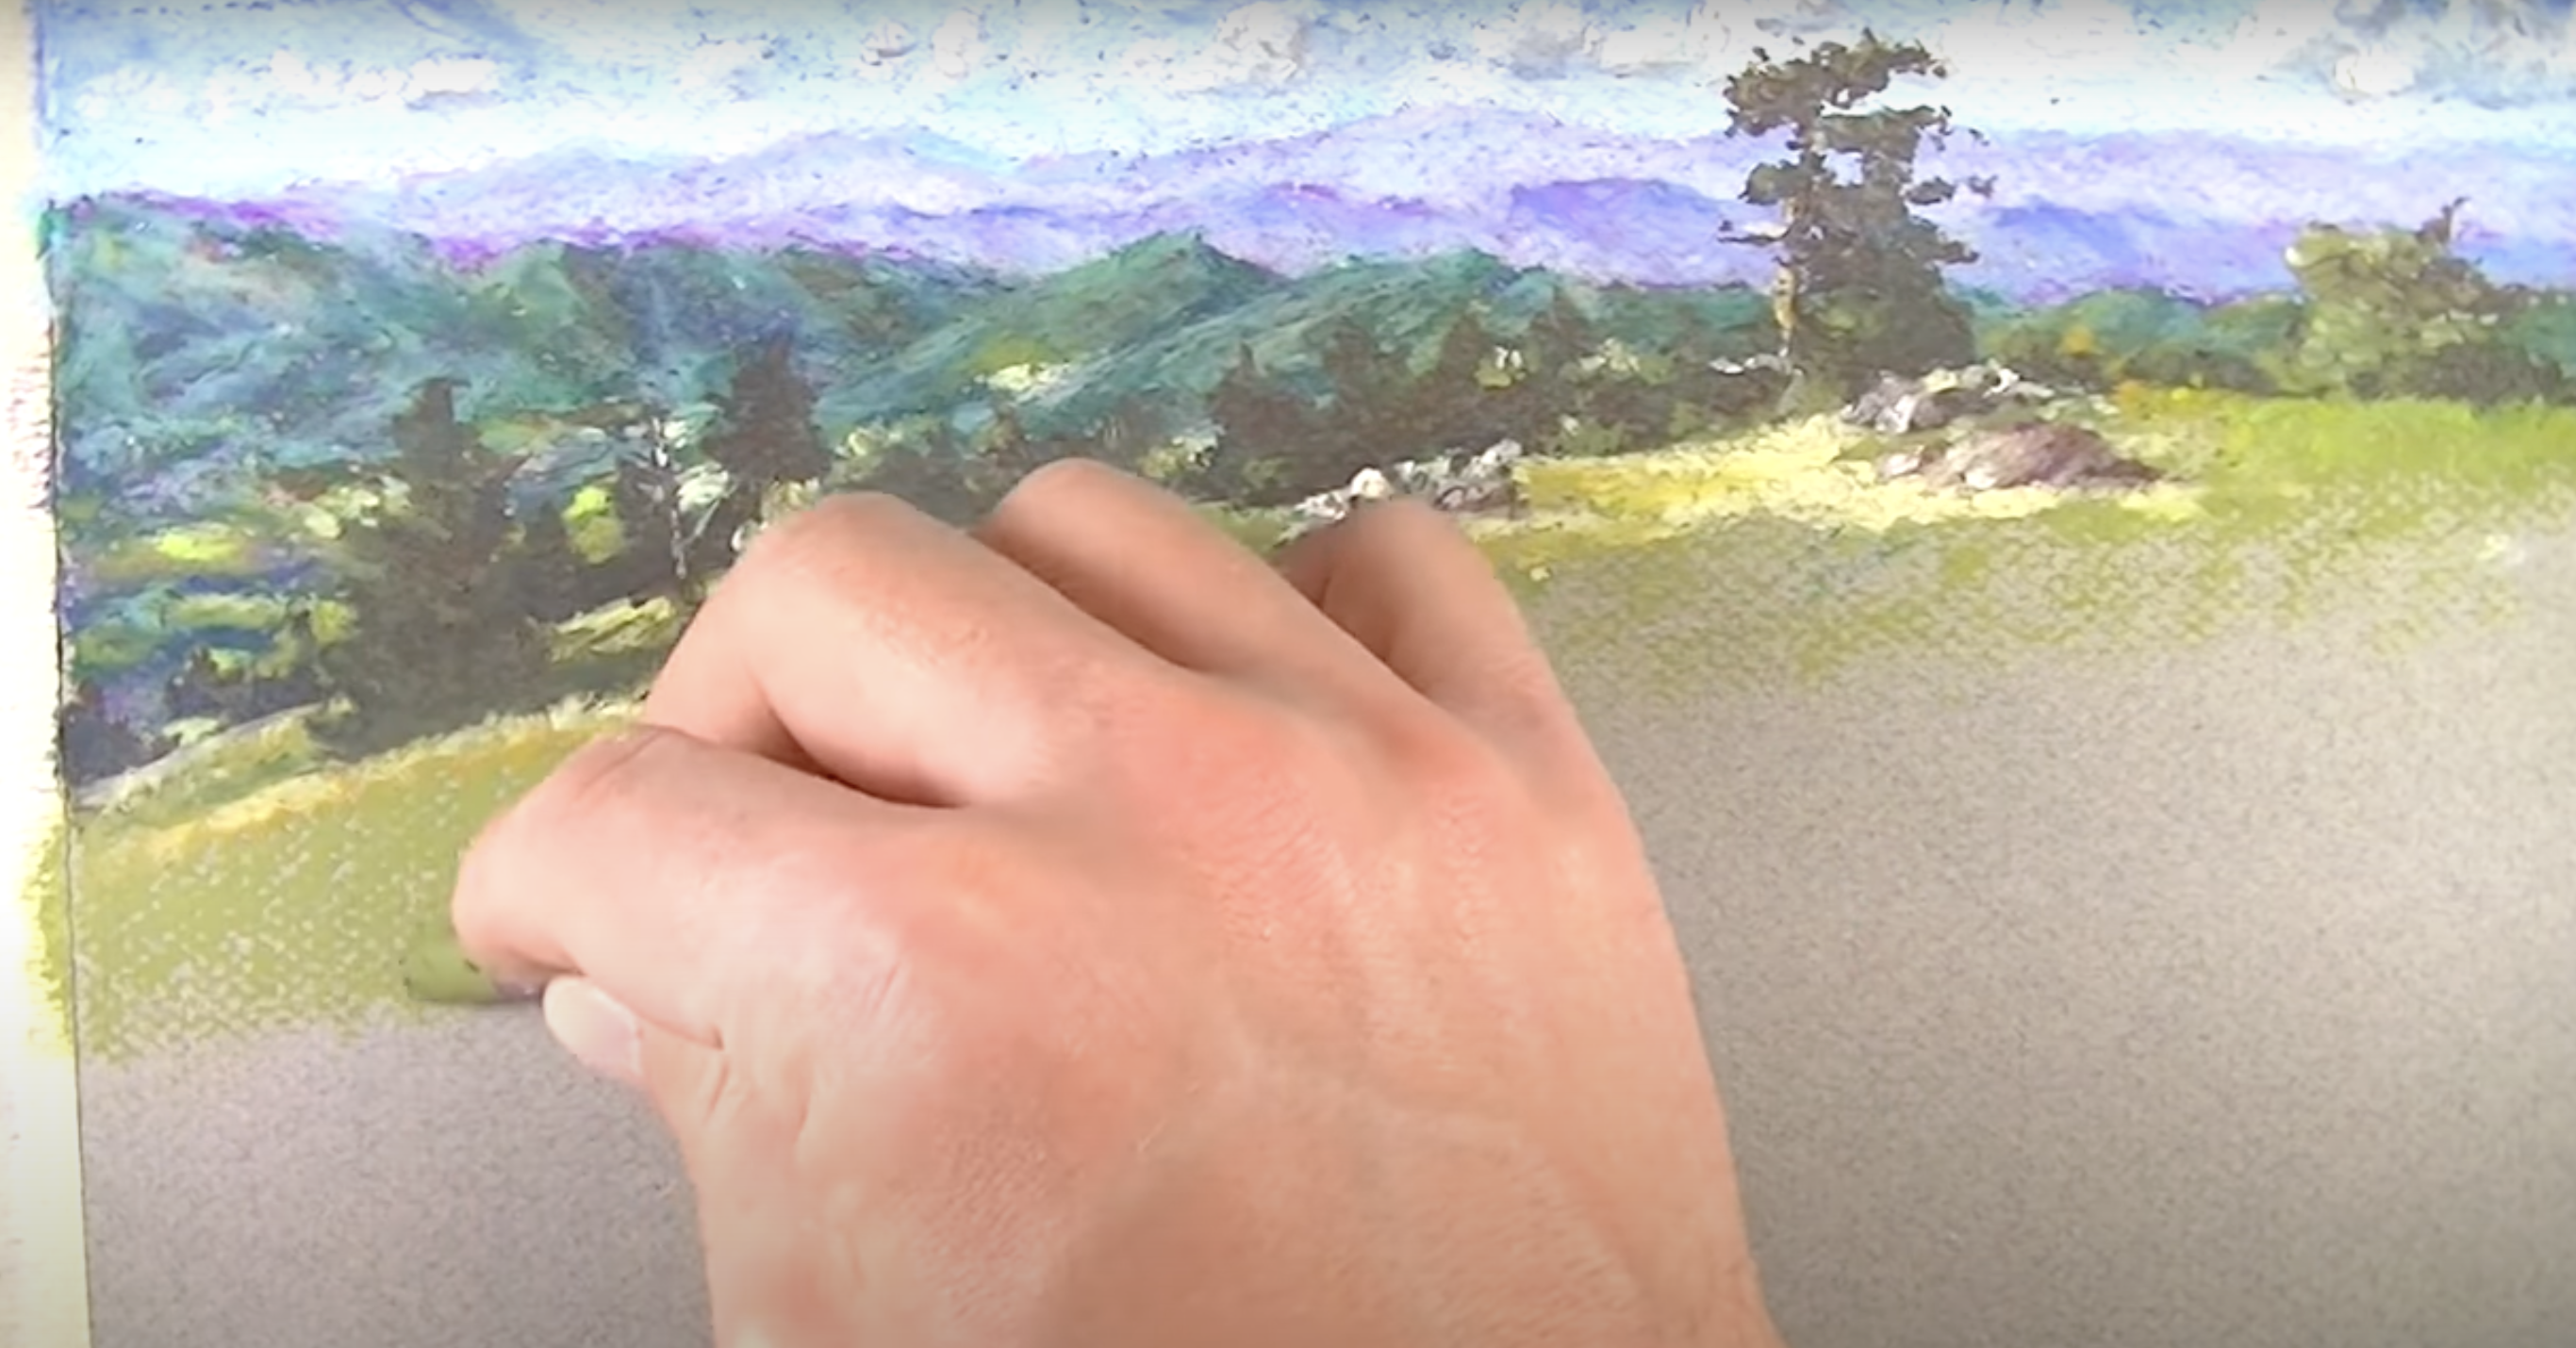
Now, turn to the foreground, such as grassy areas or rocky paths. Work in small strokes that follow the direction of the elements (e.g., grass growing upward). Don’t be afraid to let the texture of the paper show through for added interest.
Layer the colors thoughtfully without obsessing over perfection; each stroke contributes to the overall effect.
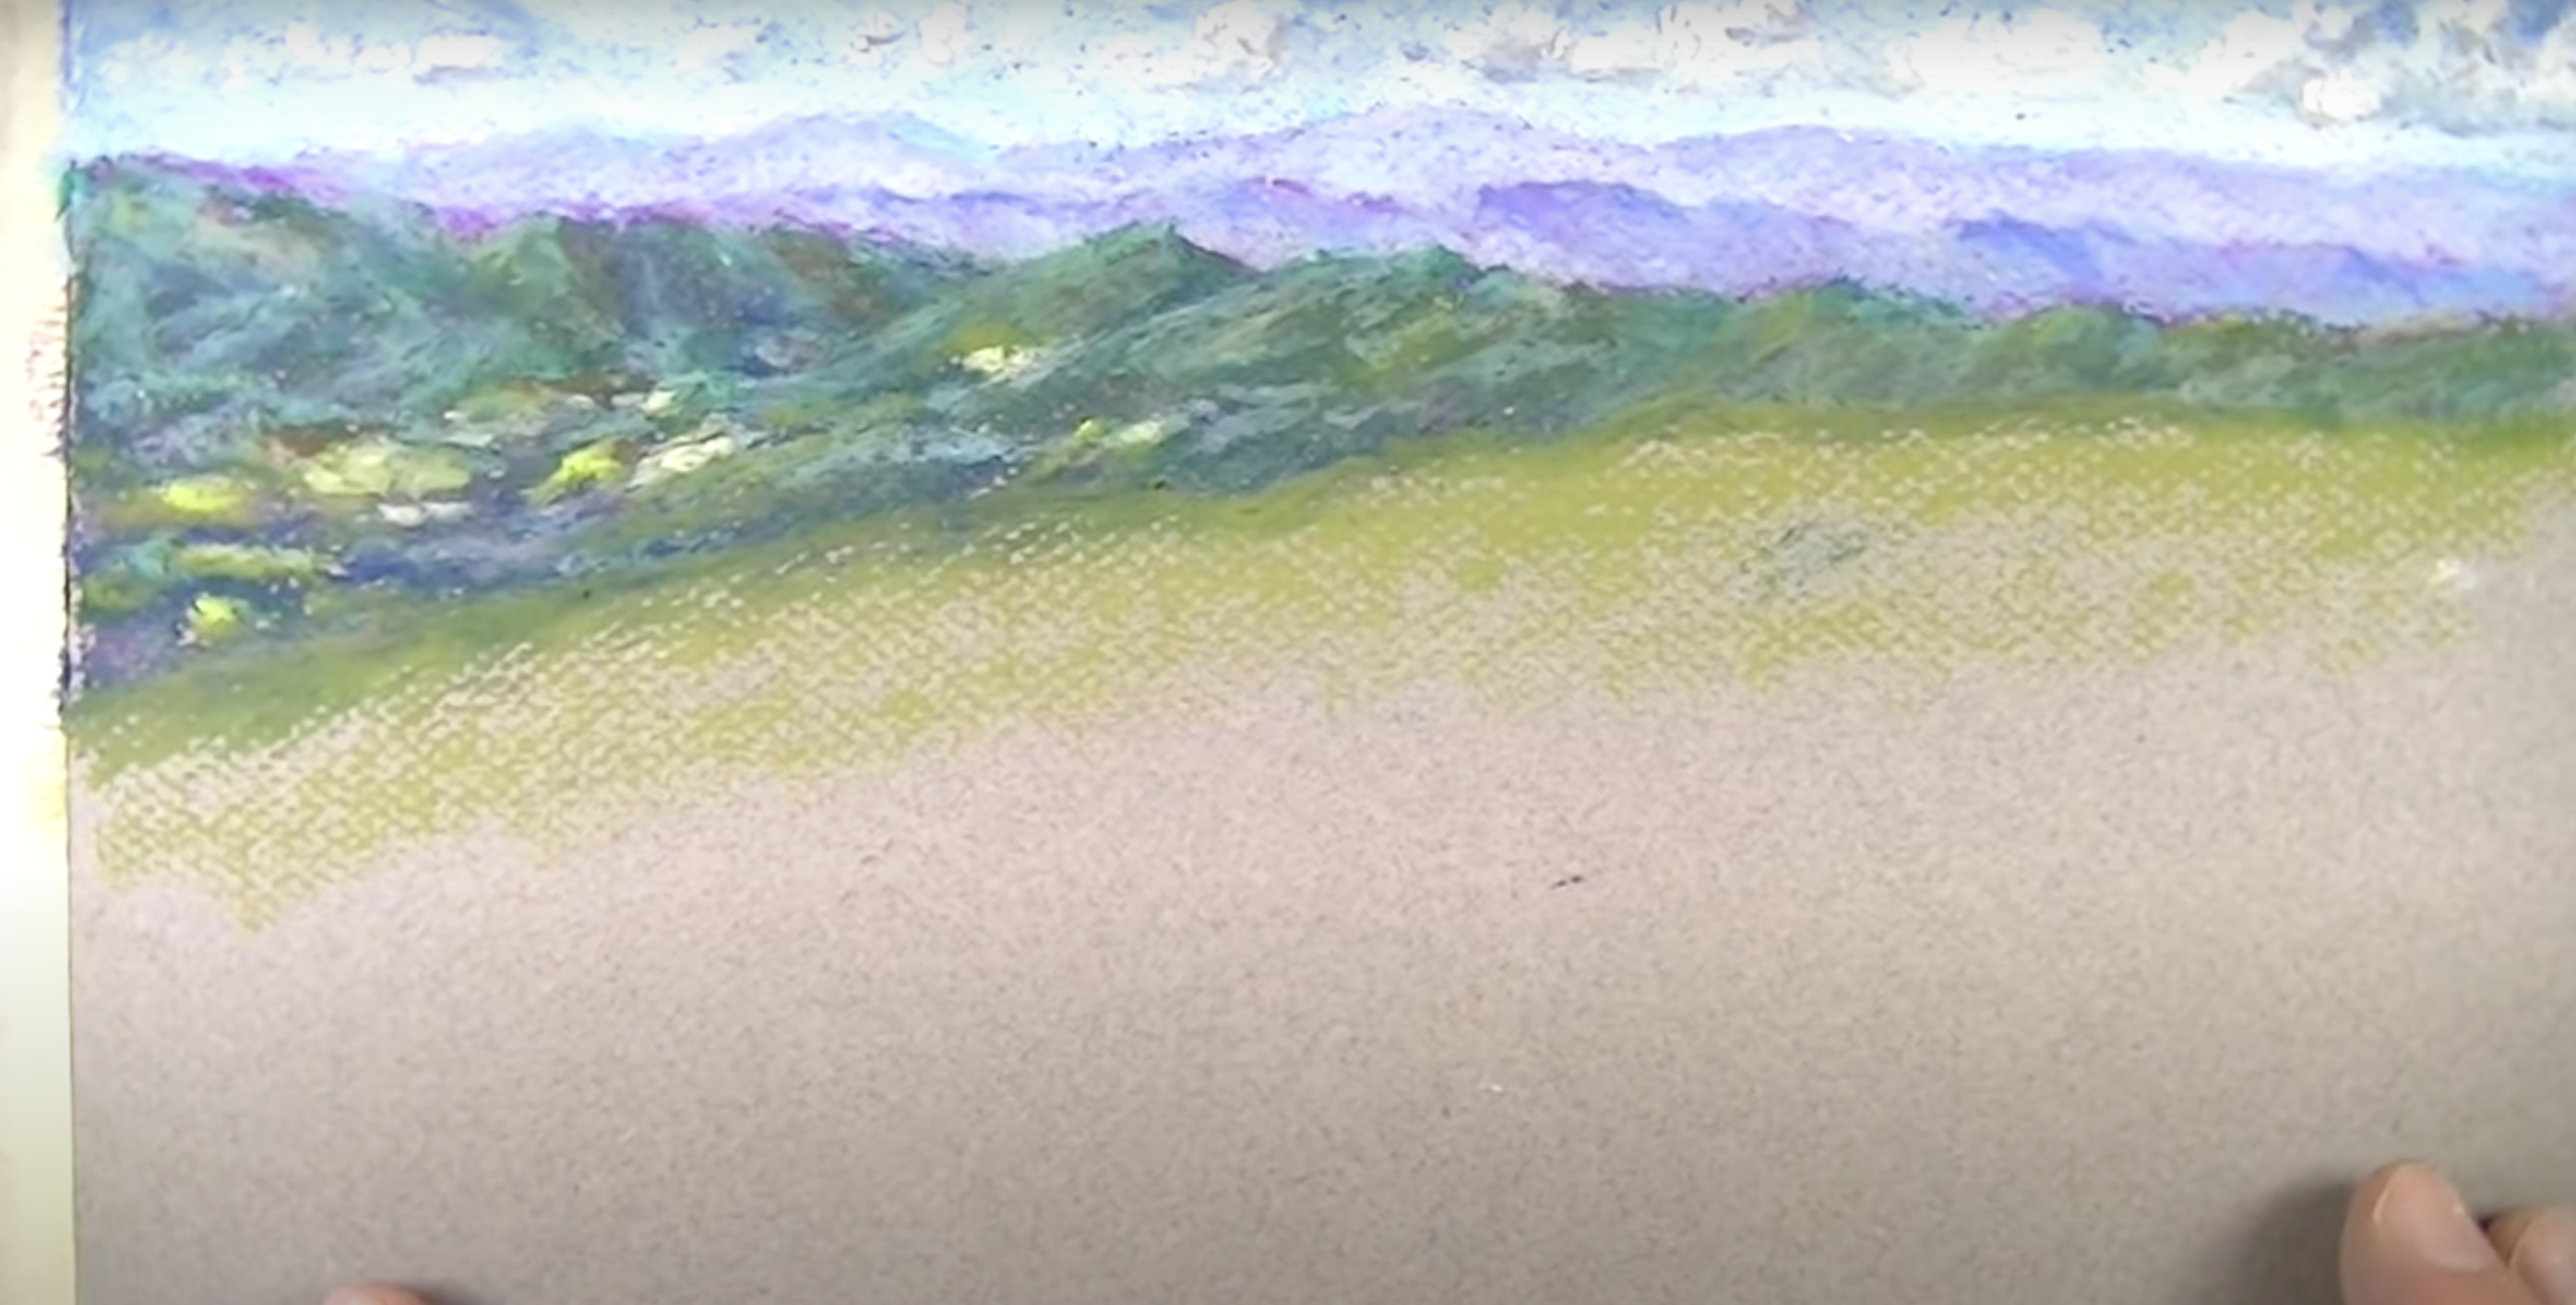
5. Blend and Refine Your Drawing
Use the colorless blender to soften harsh lines and blend the pastels together. This tool helps to smooth the colors into one another, creating a more cohesive look. Be mindful not to overwork the piece.
Allow the natural texture and tone of your pastels to guide the flow, leaving some areas more defined and others blurred.
6. Final Touches and Details

Once the main areas are filled, add smaller details like trees, flowers, or distant objects. Use the palette knife to scrape in finer details or highlights where necessary. For extra contrast, consider adding a few strokes of white or a bright color to emphasize certain elements.
Finally, apply a light coat of fixative, if desired, to preserve the drawing.
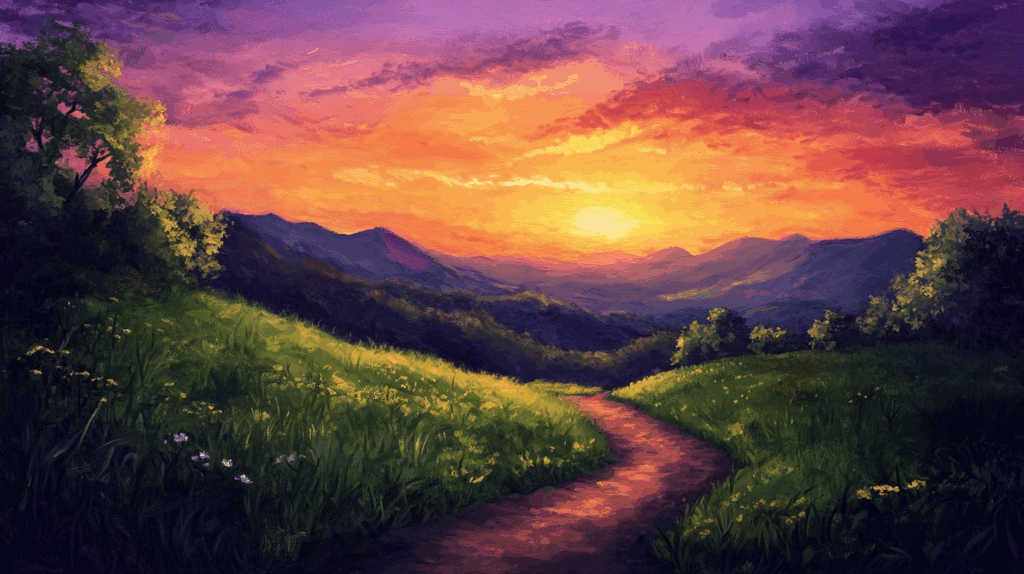
Inspirations for Your Next Oil Pastel Landscape Drawing
1. Sunset River Landscape
2. Bewitching Sunset Reflection
3. Mighty Sunset Over River
4. Floral Paradise at Dusk
5. Golden Horizon Blooming Meadows
All About Blending Oil Pastels While Drawing
Blending oil pastels is what changes basic coloring into rich, textured artwork. Unlike soft pastels that blend easily with light touches, oil pastels need specific techniques to mix colors well.
The basic finger-blending method works well for small areas. Simply apply colors side by side, then use your fingertip to push them together in small, circular motions. The heat from your fingers helps soften the waxy binders, making colors mix more easily.
For more control, try these tools:
- Paper stumps or tortillons work for detailed areas.
- Cotton swabs offer clean blending for small spots.
- Blending shields (flat plastic tools) create smooth transitions without fingers.
- Paper towels can blend larger areas with a unique texture.
Color layering creates interesting blends, too. First, apply a light color, then add darker shades over it with varying pressure. The bottom color shows through, creating depth. Some artists use heat to make blending easier.
Warming oil pastels slightly with a hair dryer on low heat (from a distance) can make them creamier and more mixable. Cold blending works well for certain effects. Keep your pastels cool and use firm pressure to create more defined color transitions that don’t fully mix.
Unlike paints, oil pastels remain workable for days or even months, allowing you to come back and blend more later.
The Bottom Line
Oil pastels give landscape artists a special way to capture nature with rich, lasting colors. They let you build texture for mountains, blend colors for smooth skies, and layer details for trees and water.
Creating landscapes with oil pastels means working with their strengths – their ability to stay workable, their bold color mixing, and their forgiving nature when you want to make changes.
The next time you see a scene that moves you, grab your oil pastels and try putting it on paper. Start with the sky, build your landforms, and finish with details that bring your landscape to life.
Want to improve your landscape technique? Try different papers, experiment with blending tools, and practice, practice, practice!
What landscapes will you create with your oil pastels?