Anyone who has tried to start sketching knows the frustration of staring at a blank page. The mind goes blank too. Many beginners feel stuck when they want to practice but can’t think of what to draw. They often put their pencils down before they even start.
Good news – this problem has simple solutions. With a few basic ideas and approaches, beginners can build their skills while having fun with quick sketches.
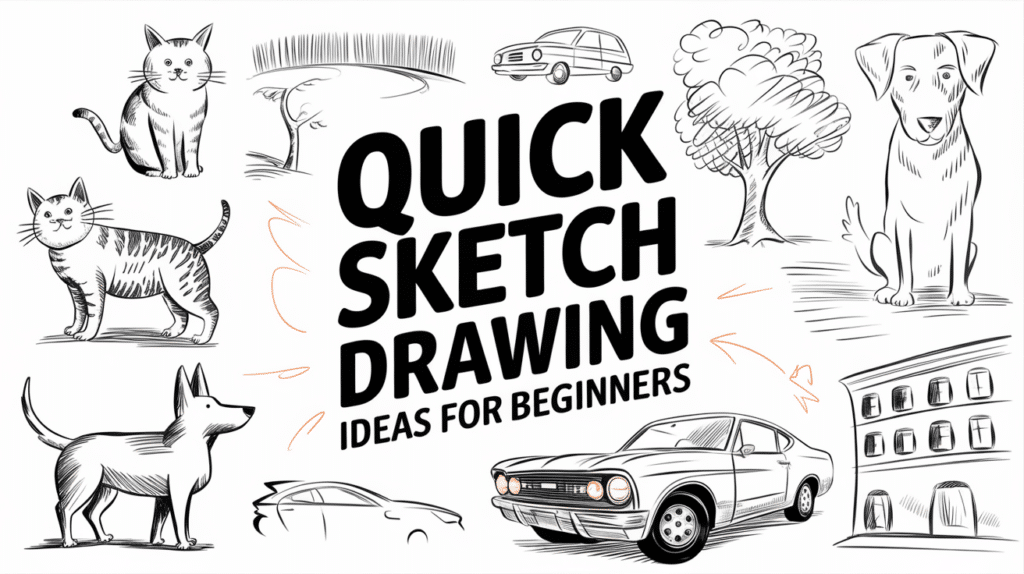
This blog offers ten easy sketch ideas perfect for newcomers to drawing. These suggestions will help build confidence, improve technique, and provide plenty of practice material. From simple household items to nature subjects, these starting points will turn blank pages into opportunities for growth
Easy Sketch Drawing Ideas to Spark Your Creativity
Finding something to draw can be tough for new artists. The good news is that sketch ideas are all around us. Here are ten simple subjects that will help you build skills and gain confidence with your pencil.
1. Household items: Start with objects around you. Cups, spoons, books, and lamps make perfect subjects. You can see them from all angles and they stay still as long as you need.
2. Plants and flowers: Try sketching a small plant or a single flower. Plants offer good practice for light, shadow, and organic forms without moving too much.
3. Food items: Draw fruits, vegetables, or your morning breakfast. Food has interesting shapes and textures that help build basic skills.
4. Hand studies: Look at your non-drawing hand and try to capture its form. Hands are always available to you and offer an interesting challenge.
5. Simple landscapes: Create quick views of what you see from a window. Focus on basic shapes of buildings, trees, or hills without too much detail.
6. Self-portrait: Use a mirror and sketch what you see. Start with just the outline or focus on one feature like eyes or lips.
7. Animals: Try pets or birds you spot outside. They have simple forms that can be broken down into basic shapes.
8. Copy from photos: Use photos as reference points. This helps you practice without worrying about subjects moving or changing.
9. Cartoon faces: Practice drawing basic faces with different expressions. Faces need only a few lines to show feelings.
10. Everyday tools: Sketch scissors, brushes, or phone chargers. These items have clear lines that help build confidence in your strokes.
Fun Sketch Designs for New Artists
If you’re just starting out with sketching or looking for easy and fun ideas to get the creative juices flowing, you’re in the right place!
These drawing ideas are simple, approachable, and perfect for beginners. Grab your tools and dive into these enjoyable sketching exercises to boost your confidence and creativity. Let’s get started!
Tools and Materials Required:
| Tool/Material | Purpose |
|---|---|
| Pencils | For sketching basic outlines |
| Erasers | To clean up or adjust the sketch |
| Colored Pencils | To add dimension, shading, and details |
| Markers (Acrylic or Permanent) | For bold coloring and defining shapes |
| Fine Liner Pen | For outlining and creating sharp details |
| Paper (preferably thick) | To handle markers and colored pencils without bleeding |
| Ruler | For precise lines in certain sketches |
| Reference Images | For inspiration or accurate proportions |
Draw a Mushroom Character
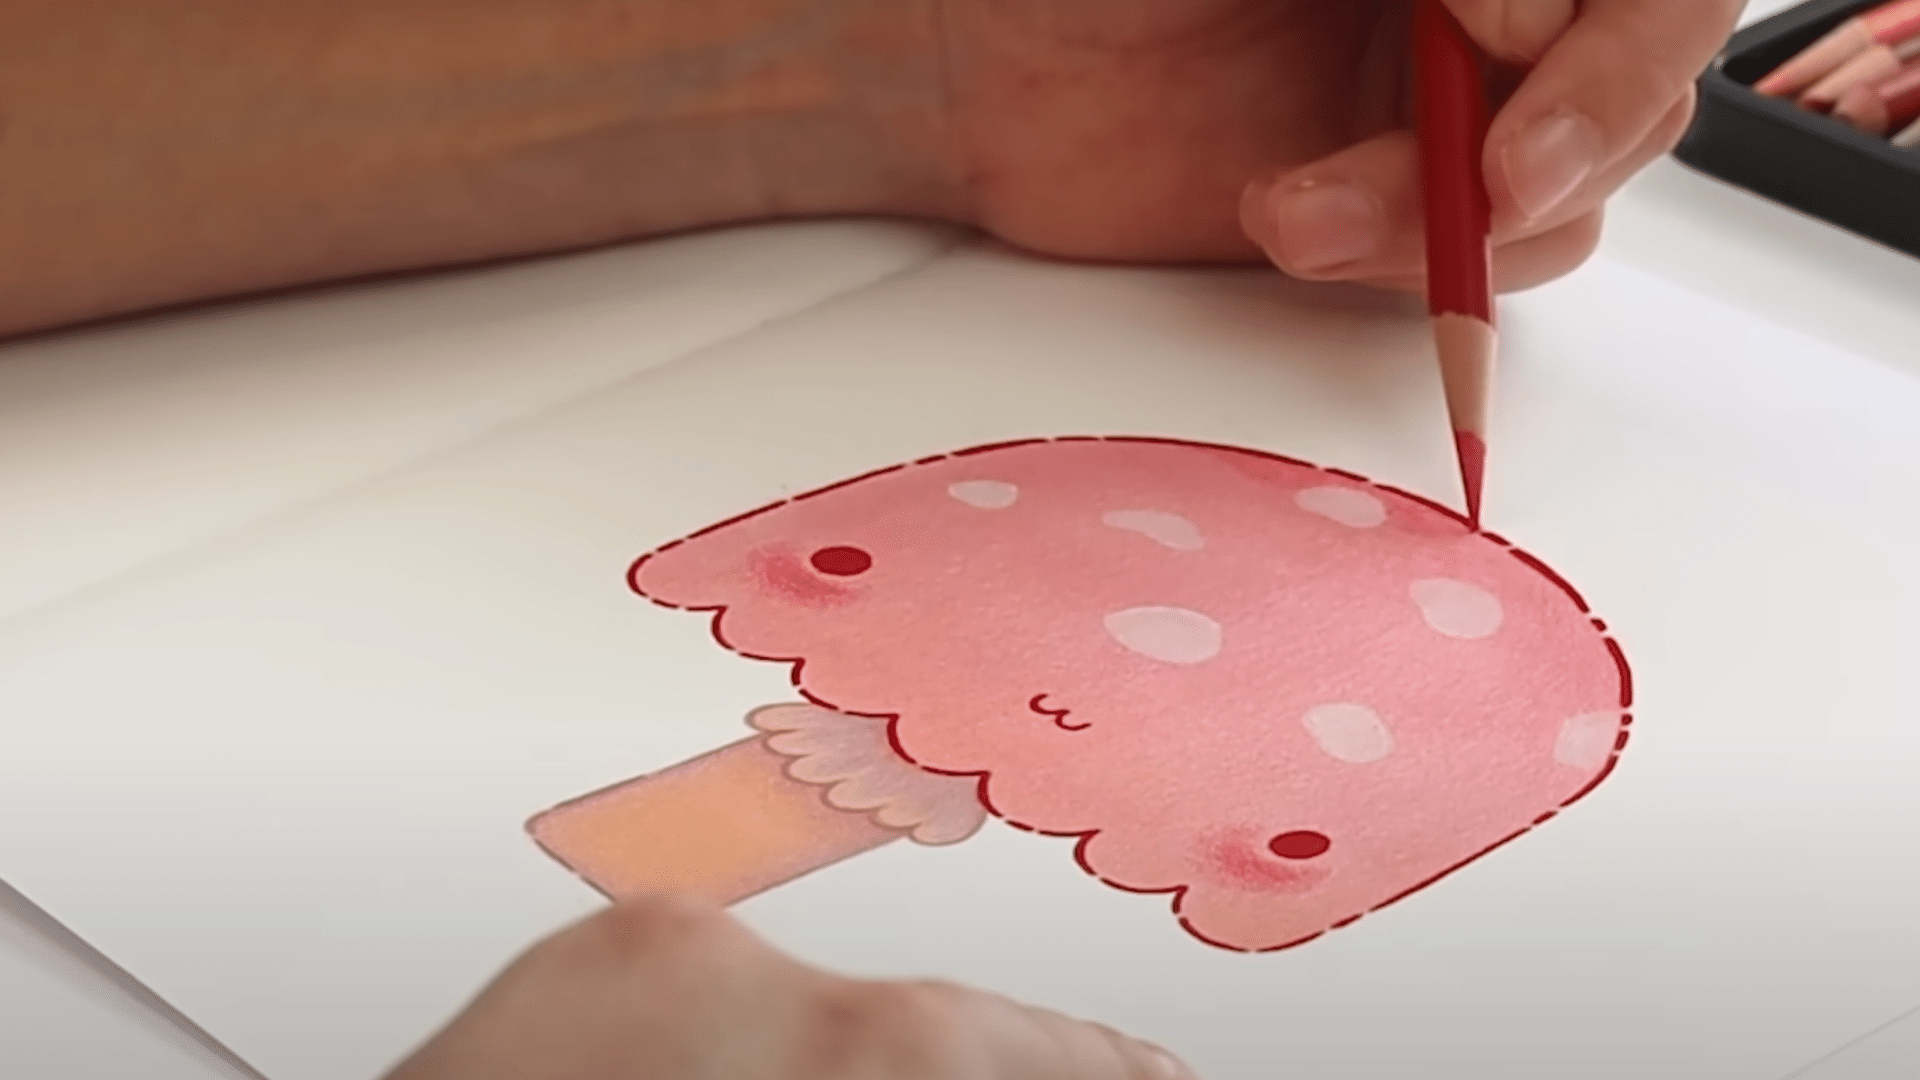
Start by sketching the top half of a mushroom at the upper part of your page. Add scallops (half circles) along the bottom to form the shape of the mushroom cap.
Color the cap in a tan or neutral shade. Draw a rounded rectangle beneath the cap to create the stem, and color it with a pink hue. Add details like small eyes, a cute mouth, and blush spots.
Enhance the dimension with colored pencils, creating shadows and highlights. For a final touch, add white spots on the cap for a playful effect.
Strawberry Patch Layering
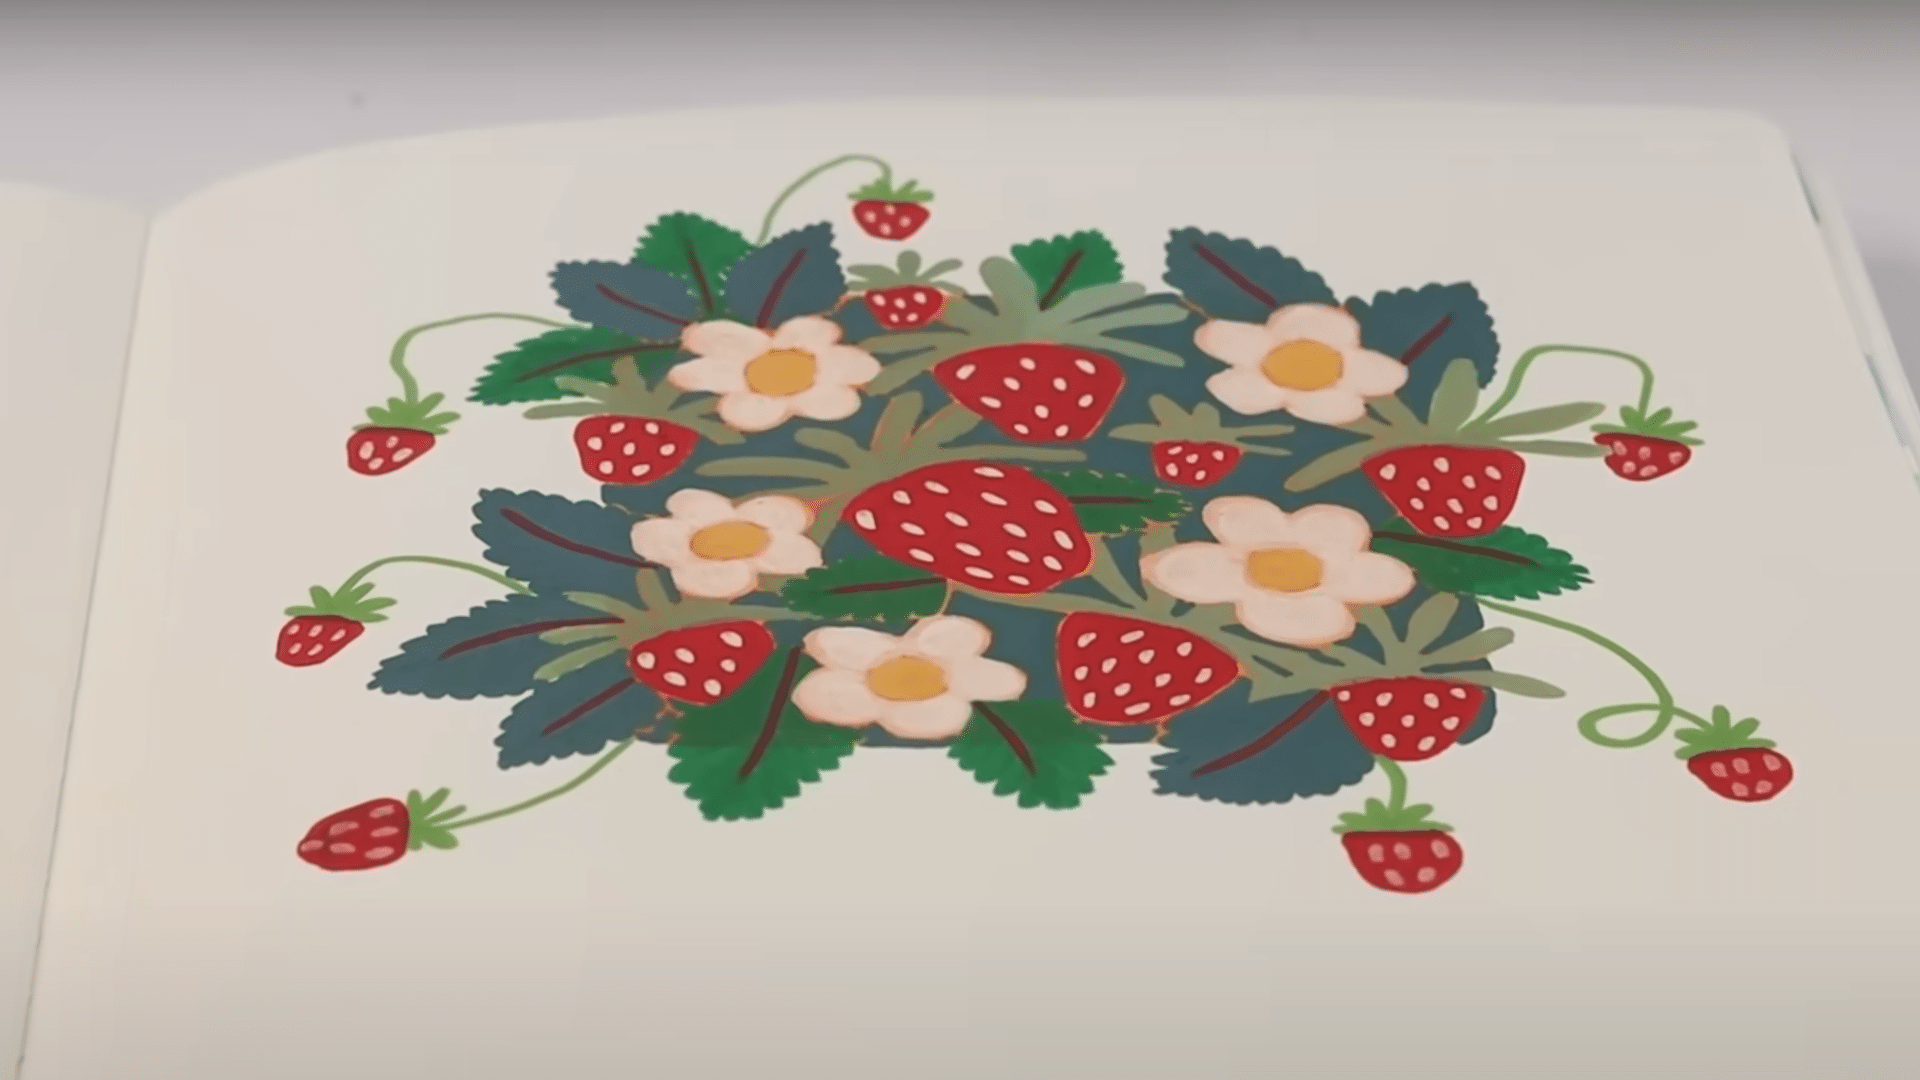
Start by drawing a small orange square in the center of your page and color it in. This will serve as the base for your patch.
Then, surround the square with yellow circles and draw white flower petals around each one. To create the strawberries, follow these steps:
- Add red, lumpy triangles over the square to form strawberries.
- Draw long, pointy leaves for each strawberry.
- Add seeds inside the strawberries for more detail.
- Layer green tones on the leaves, starting with darker shades and finishing with lighter ones for dimension.
By breaking the drawing into layers, you create a fun and playful strawberry patch with depth.
Colorful Clouds
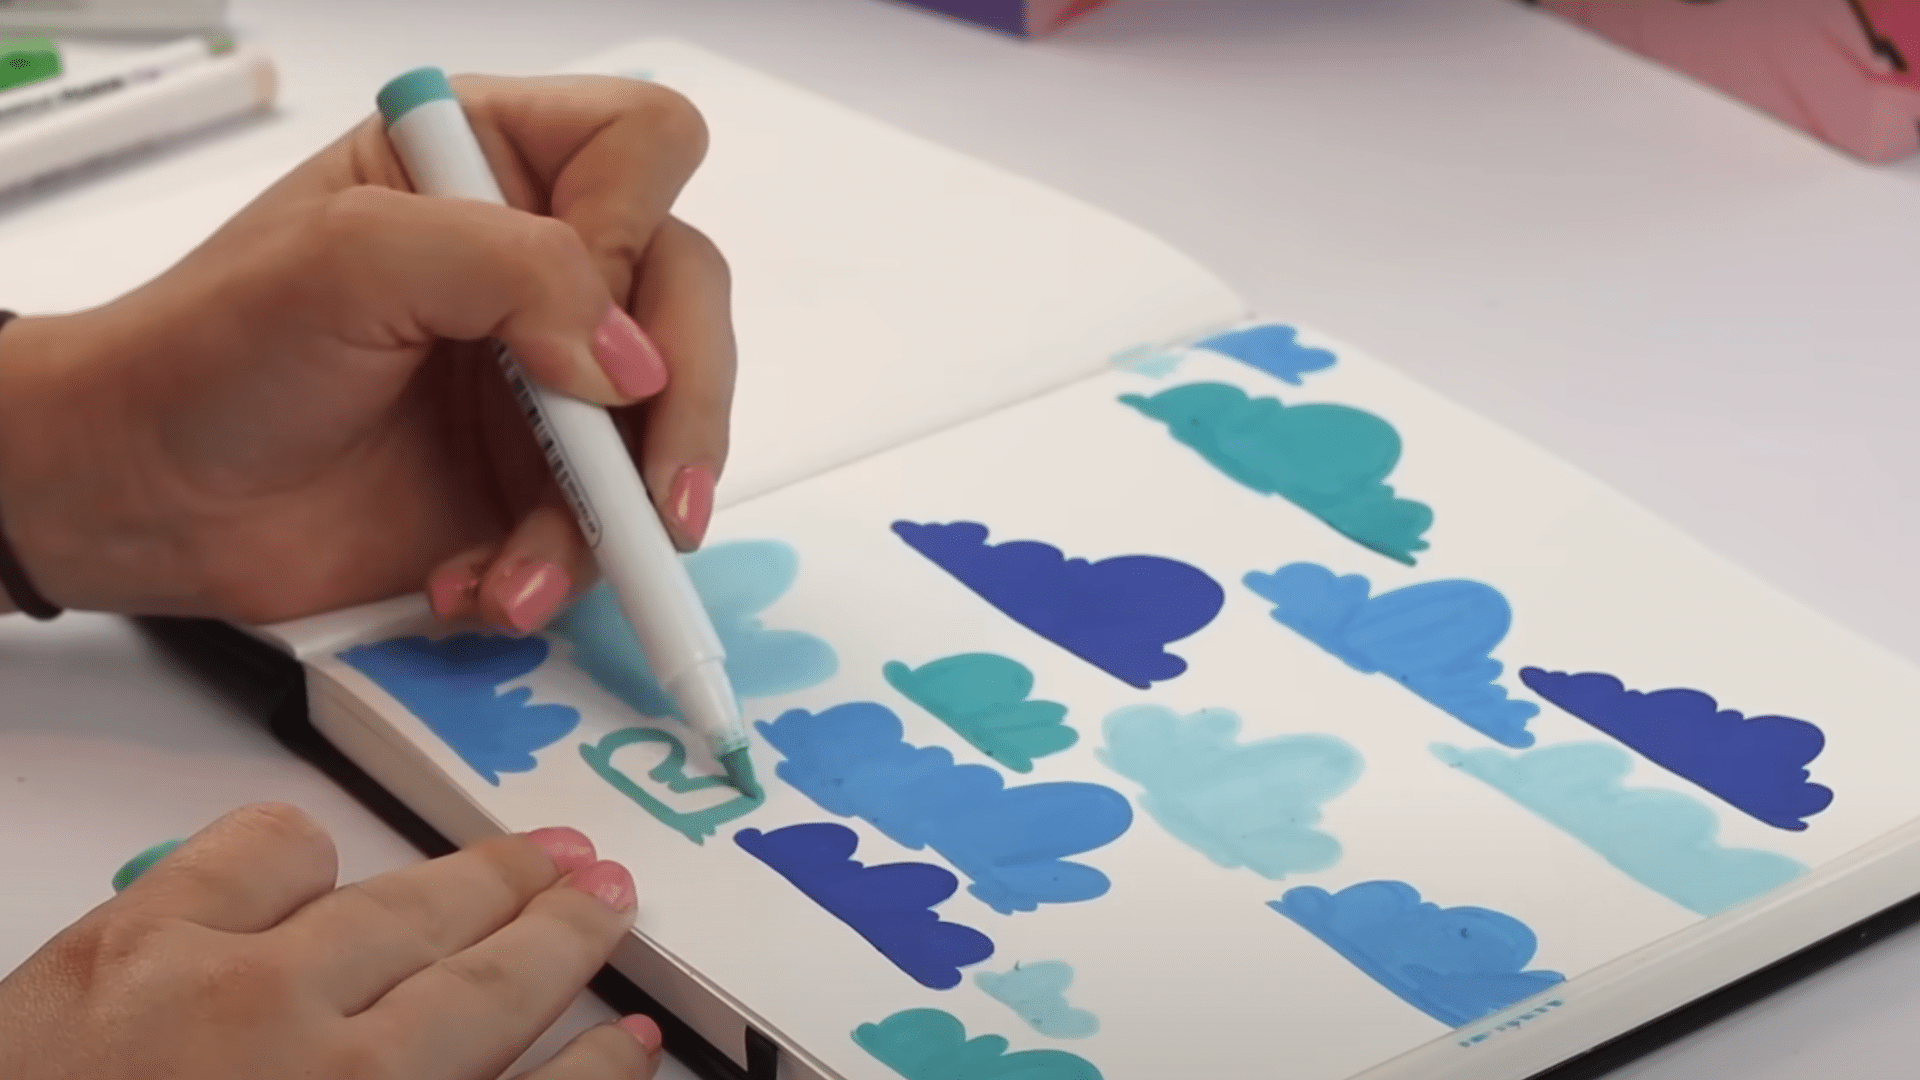
Fill the page with a variety of colored clouds. For a unique touch, make the bottoms of the clouds flat and the tops fluffy. This playful style works well to fill a page without needing to be perfect.
Use different shades of blue and green to fill in the clouds, or any color combination that you prefer. Consider adding fun details like faces or shapes inside the clouds for a whimsical touch.
Bird Sketching
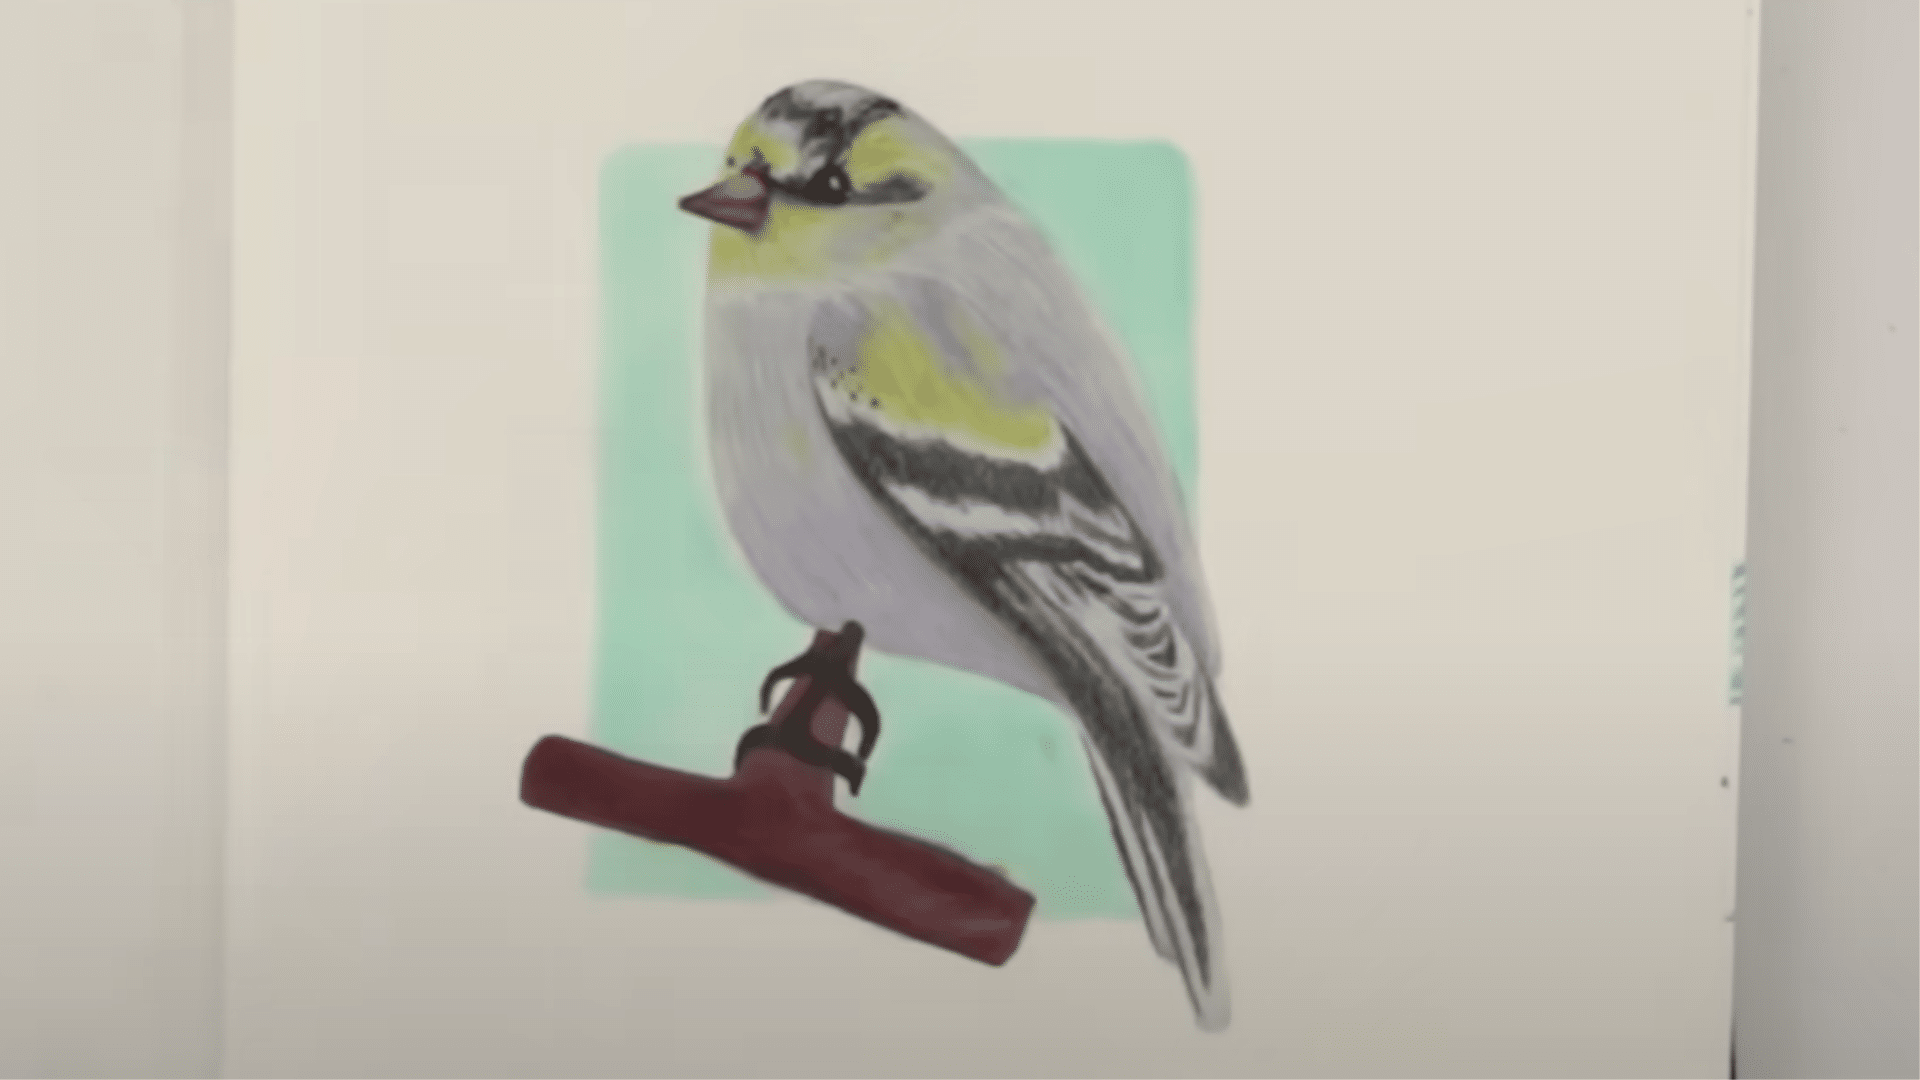
If you’re feeling more ambitious, start by drawing a bird using a reference photo. Focus on the color patterns of the bird, by use markers as the base layer and build on it with colored pencils to add details.
Work on the bird’s wings and body, layering to create texture and depth. Keep the background simple, or skip it entirely if it feels intimidating. This sketch is great for learning how to layer and create depth in your artwork.
Stick Figure Fun

Sometimes, simplicity is key. Fill a page with different poses of stick figures, keeping the drawings playful and light-hearted. This is a warm-up exercise for beginners who feel that even stick figures are a challenge.
The goal is to enjoy the process and create art without feeling pressured. You can add accessories or small details to each stick figure for extra fun!
Tea Pot Doodle
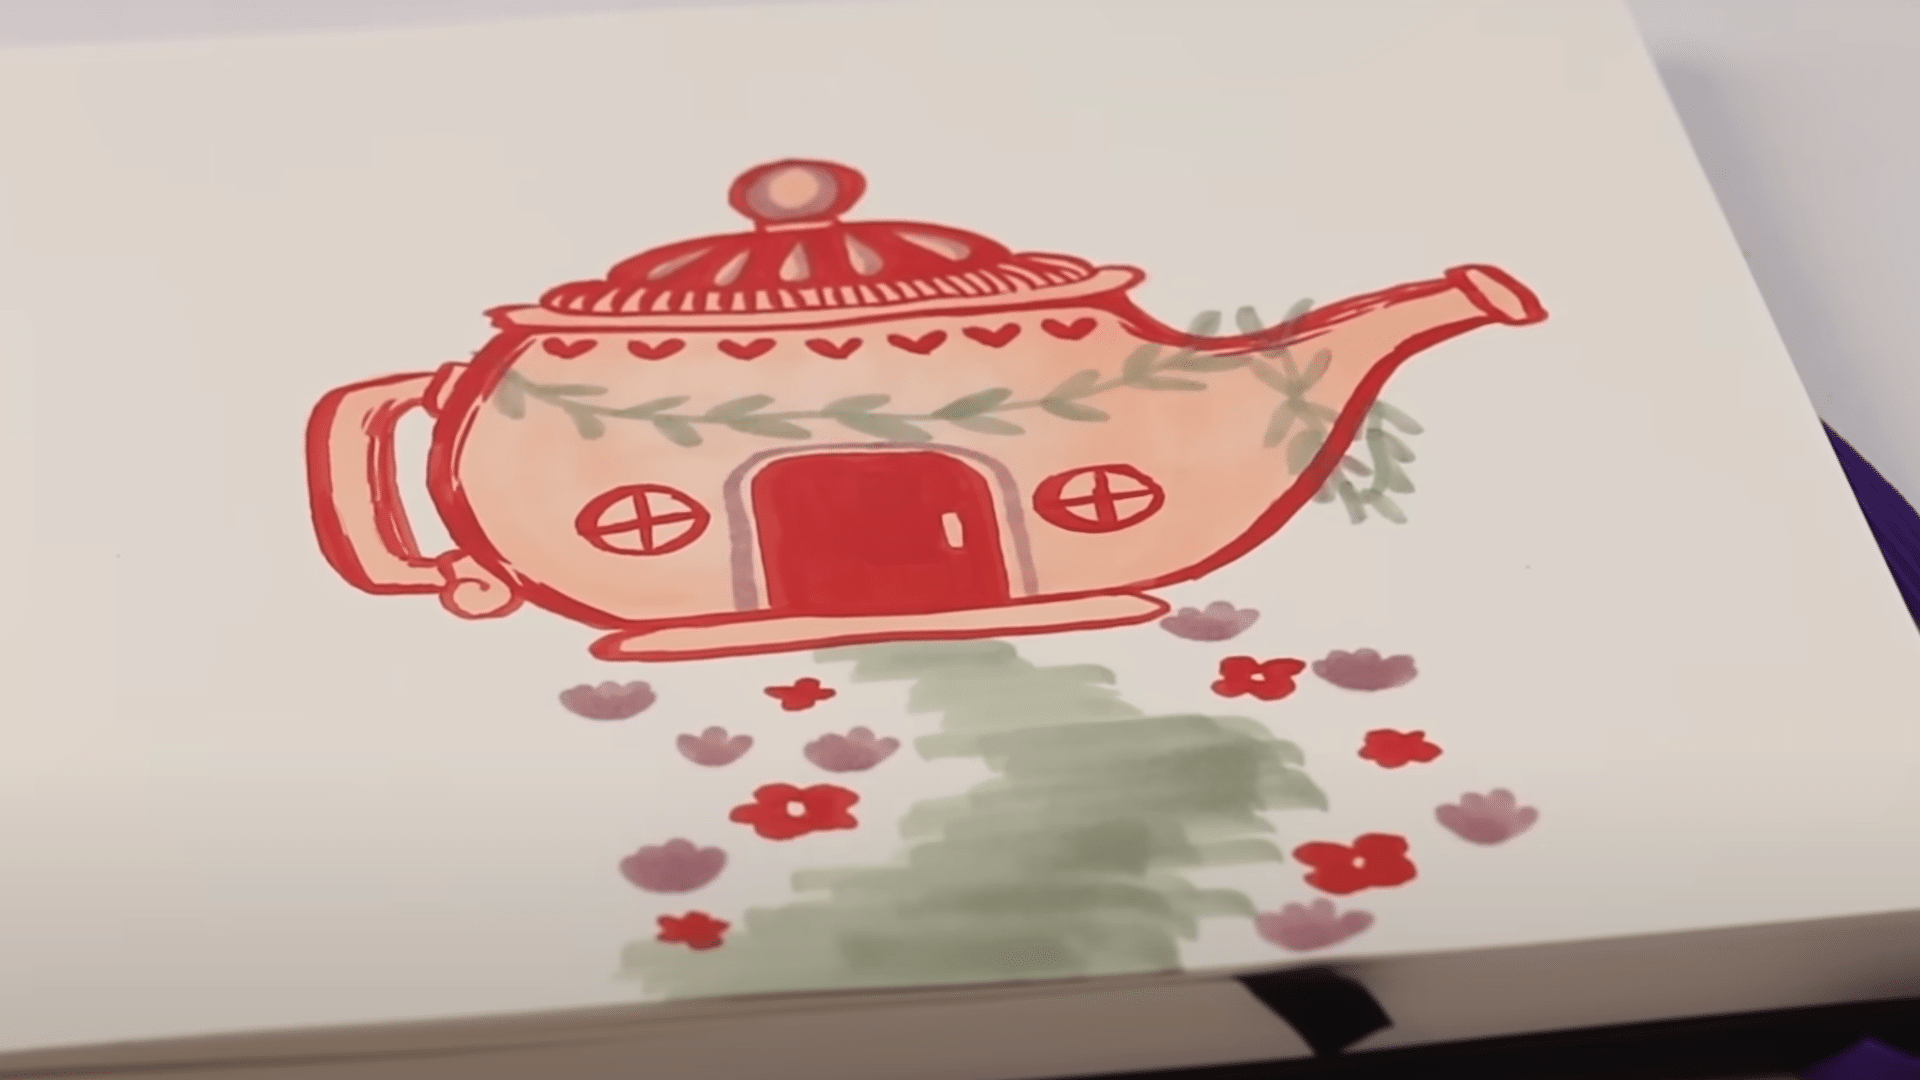
Begin by drawing two parentheses and connecting them with a rounded oval at the bottom to form the base of a teapot. Add a spout on one side and a handle on the other. Next, draw:
- A heart-shaped door in the center
- Window designs and vine accents on the pot
- Simple details like little patterns for decoration
- Color your teapot with a simple, limited palette and outline it in red for a cheerful touch.
This quick doodle is perfect for when you want a light, fun project that doesn’t require too much energy.
Tips to Achieve Professional Shading in Your Artwork
Shading brings life and depth to sketches. It turns flat drawings into works that pop off the page. While many new artists find shading scary, a few basic ideas can help anyone create shadows that look real.
- Light source direction: Pick where your light comes from before you start. This choice affects all shadows in your drawing. For beginners, placing the light from the upper left or right works well.
- Value scale practice: Make a small box with five boxes inside. Fill each with different pressure levels from light to dark. Use this as a guide when shading your actual drawing.
- Smooth transitions: Move from light to dark areas slowly. Gentle pressure changes create a soft, lifelike effect that looks more natural than harsh lines.
- Cross-hatching method: Draw thin lines that cross each other. More lines in an area make it appear darker. This method works great for both simple and complex drawings.
- Blending tools: Try using tissue, cotton swabs, or blending stumps to smooth your shading. These tools help remove pencil marks and create even tones.
- Practice spheres: Draw a circle and shade it to look round. This basic exercise teaches you how light wraps around objects and creates form.
Creative Sketch Drawing Ideas to Try Today
When artists feel stuck in a rut with their work, trying something new can spark fresh ideas. These sketch projects push a bit beyond the basics while still being fun and doable. Anyone can enjoy these creative drawing exercises without special tools or years of practice.
Shadow Drawings
Shadow drawings focus on light and dark areas rather than lines when creating ear shapes. Artists look at how shadows fall across the ear’s curves and use shading to build form.
Pro tip: When creating emotional impact in visual content, use simplicity and suggestion rather than explicit detail to evoke stronger feelings from your audience.
Blind Contour Drawings
Blind contour drawing involves looking only at the ear while drawing, never at the paper. This method builds hand-eye coordination and helps artists see true shapes instead of what they think ears look like.
Pro tip: Continuous line drawing lets you capture emotion and essence with minimal strokes while training your eye to see form without lifting the pencil.
Upside-Down Copying
This technique involves turning reference photos upside-down before drawing them. When the ear image is flipped, the brain processes shapes more accurately without preconceptions about how ears “should” look.
Pro tip: When drawing figures in unusual poses like underwater or falling, sketch the basic form upside-down first to better capture the natural flow of motion and gravity’s effects.
One-Line Drawings
One-line drawings challenge artists to create an ear without lifting the pencil from the paper. This method teaches continuous flow and forces focus on essential ear features.
Pro tip: Minimalist line art can convey the essence of an object with a single, flowing line while creating more visual impact than detailed illustrations.
Negative Space Focus
This approach directs attention to the spaces around and within the ear rather than the ear itself. By drawing what isn’t there, artists often capture more accurate proportions.
Pro tip: Creating strong value contrast between your subject and background makes everyday objects stand out dramatically in charcoal drawings.
Five-Minute Sketches
Quick five-minute sketches train artists to capture the essential elements of ears quickly. This time limit helps focus on the most important parts first and builds speed.
Pro tip: Quick thumbnail sketches help you capture the essential shapes and values of a landscape before committing to a detailed drawing.
Mood sketches
Mood sketches express feelings through ear drawing styles. By changing pressure, line quality, and shading, artists show emotions from calm to tense through ear representations.
Pro tip: Use chaotic, scribbled lines to visually represent abstract concepts like noise, anxiety, or overwhelming thoughts in your character illustrations.
Memory Drawing
Memory drawing involves studying an ear image, then putting it away and drawing from memory. This method strengthens visual recall and helps internalize ear structures.
Pro tip: Simple line drawings with minimal details can effectively communicate movement and humor through exaggerated postures and clever use of white space.
Conclusion
Sketching offers a path to better drawing skills for beginners and experienced artists alike. The ideas shared in this post provide starting points for anyone facing a blank page. From household items to creative exercises like blind contour drawing, these suggestions build fundamental skills.
Shading techniques evolve flat drawings into works with depth and dimension. By understanding light sources and practicing with simple forms, artists can add life to their work.
Regular practice matters more than perfection. Even five minutes daily builds skills faster than occasional long sessions. The goal isn’t to create masterpieces right away but to grow comfortable with the process.
Sketching isn’t just about skill building. It’s also about finding joy in creating. When artists remove pressure and simply put pencil to paper, they often surprise themselves with what emerges.