Artists often struggle when trying to capture the rich colors of a peacock with oil pastels. The bright blues, greens, and purples can be hard to mix correctly, leaving artwork looking flat and lifeless.
But what if artists could learn simple blending methods that make those peacock feathers pop with color and shine? Oil pastel peacock designs can come alive with the right skills.
This blog will show readers step-by-step how to blend colors smoothly, create those eye-catching feather patterns, and finish with a stunning peacock artwork they’ll be proud to display.
The blog walks through the whole process so anyone can create beautiful peacock art that catches everyone’s eye.
Essential Techniques for Oil Pastel Peacock Art
Artists need several key methods to create stunning peacock designs with oil pastels. These techniques help capture the vivid colors and intricate patterns found in peacock feathers.
With practice and patience, anyone can learn to blend and layer oil pastels effectively. The following approaches will help artists create realistic and eye-catching peacock art that showcases the natural beauty of these magnificent birds.
1. Color layering: Start with light colors as the base and gradually add darker shades on top. This method creates depth in the peacock feathers and helps achieve the iridescent quality that makes peacock plumage so striking.
2. Circular blending: Use small circular motions with light pressure to blend colors together where they meet. This technique works particularly well for creating the “eye” patterns in peacock feathers that transition from blue to green to purple.
3. Finger blending: Gently use fingertips to smooth and blend colors after applying them to the paper. The natural oils and warmth from fingers help the pastels mix more effectively than tools alone can achieve.
4. Cross-hatching: Create texture by applying short, intersecting strokes in different colors. This technique adds dimension to the peacock feathers and helps capture their complex structure.
5. Burnishing: Apply firm pressure with a light-colored pastel over existing layers to smooth the surface and bring out color intensity. This method helps create the glossy finish that makes peacock feathers look realistic.
6. Stippling: Use small dots of color placed close together to create texture and subtle color transitions. This works well for areas where peacock feathers show speckled patterns or fine details.
Materials Required
| Item | Details |
|---|---|
| Canvas Panel | Preferably toned with firm backing to resist denting |
| General’s Charcoal Pencil | For sketching the initial outline |
| Artist Quality Oil Pastels | Recommended brands include Mungyo and Sennelier |
| Paintbrush | Soft-bristled brush suitable for blending |
| Odorless Mineral Spirits | Used as a solvent to blend oil pastels |
| Reference Image | Royalty-free photo, such as one from Pixabay |
| Paper Towel or Rag | For cleaning brush tips between color changes |
Steps for Drawing a Peacock with Oil Pastels
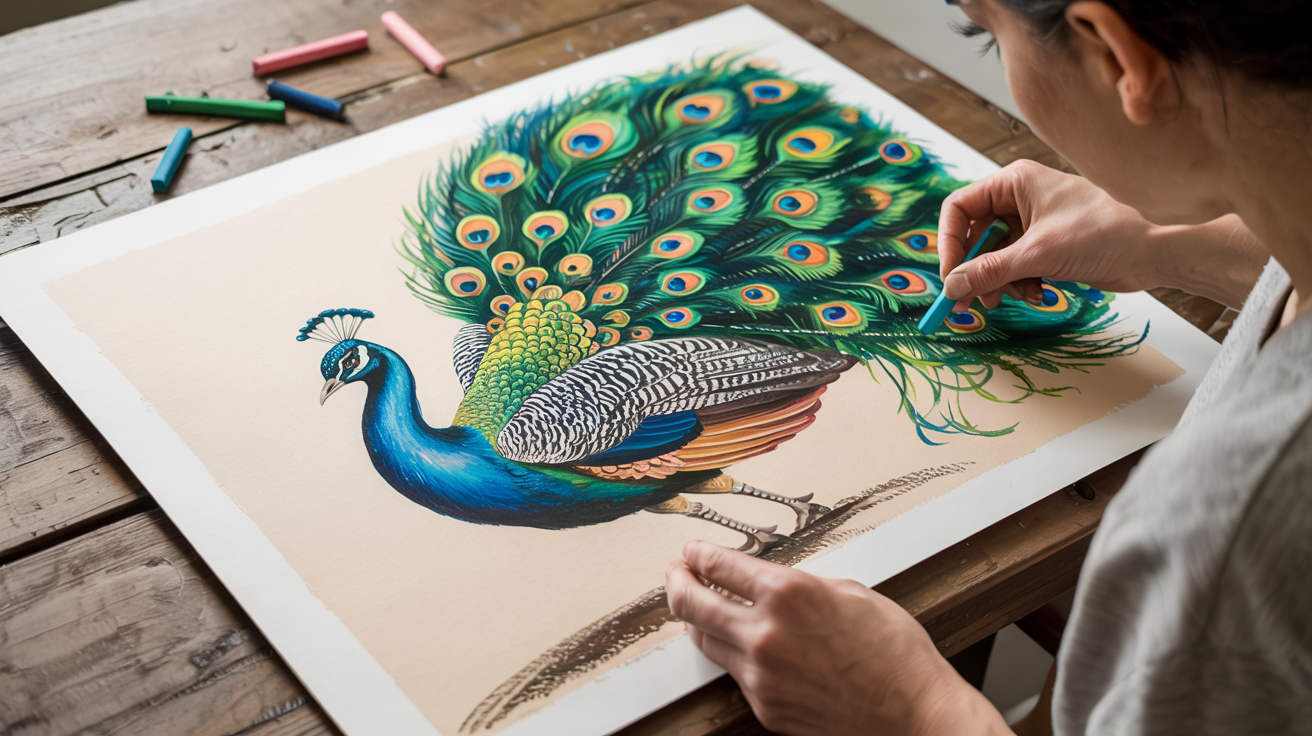
Creating art with oil pastels is a beautiful blend of color, technique, and patience. This step-by-step process walks readers through painting a stunning peacock head on canvas using oil pastels.
The tutorial builds on foundational art practices and incorporates thoughtful blending techniques for a richly textured finish. Perfect for both beginners and hobbyists, the instructions ensure an enjoyable experience while delivering professional-looking results.
This creative process invites artists to express themselves through lively hues and soft transitions.
Step 1: Prepare the Canvas and Sketch the Outline
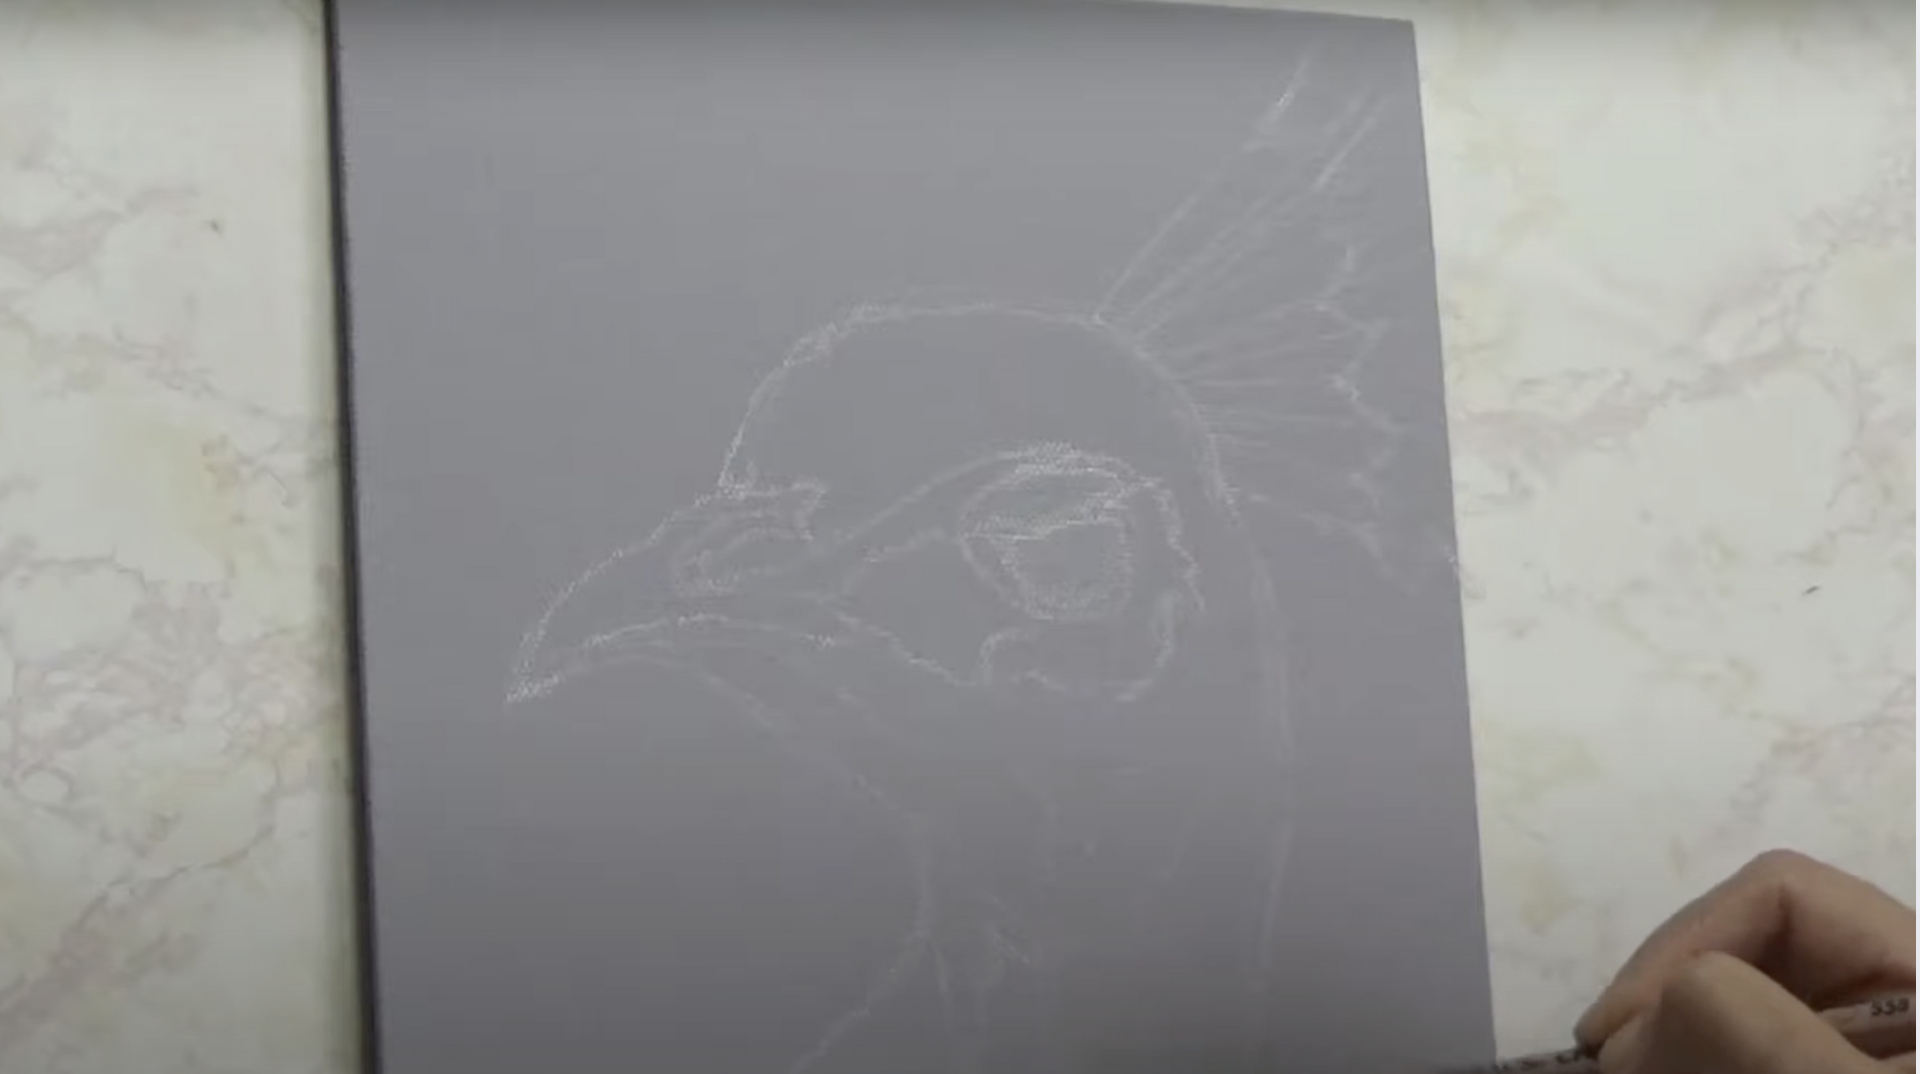
A toned canvas panel provides the ideal foundation with its textured surface and firm backing. Using a charcoal pencil, draw the outline of the peacock’s head.
Charcoal allows for better blending later and does not interfere with the color application.
Step 2: Create a Background with Soft Color Variations

Start by selecting rich and muted tones such as navy blue, forest green, earthy brown, and slate gray. These shades help set a rich backdrop that allows the lively peacock colors to stand out.
Apply the pastels loosely in uneven patches without worrying about precision. The goal is to give a natural, slightly abstract background that supports the composition.
- Use side strokes of the pastel sticks for broader coverage
- Vary the pressure to create soft and intense areas of color
- Leave some lighter gaps for balance
Step 3: Blend the Background with Solvent and Brush
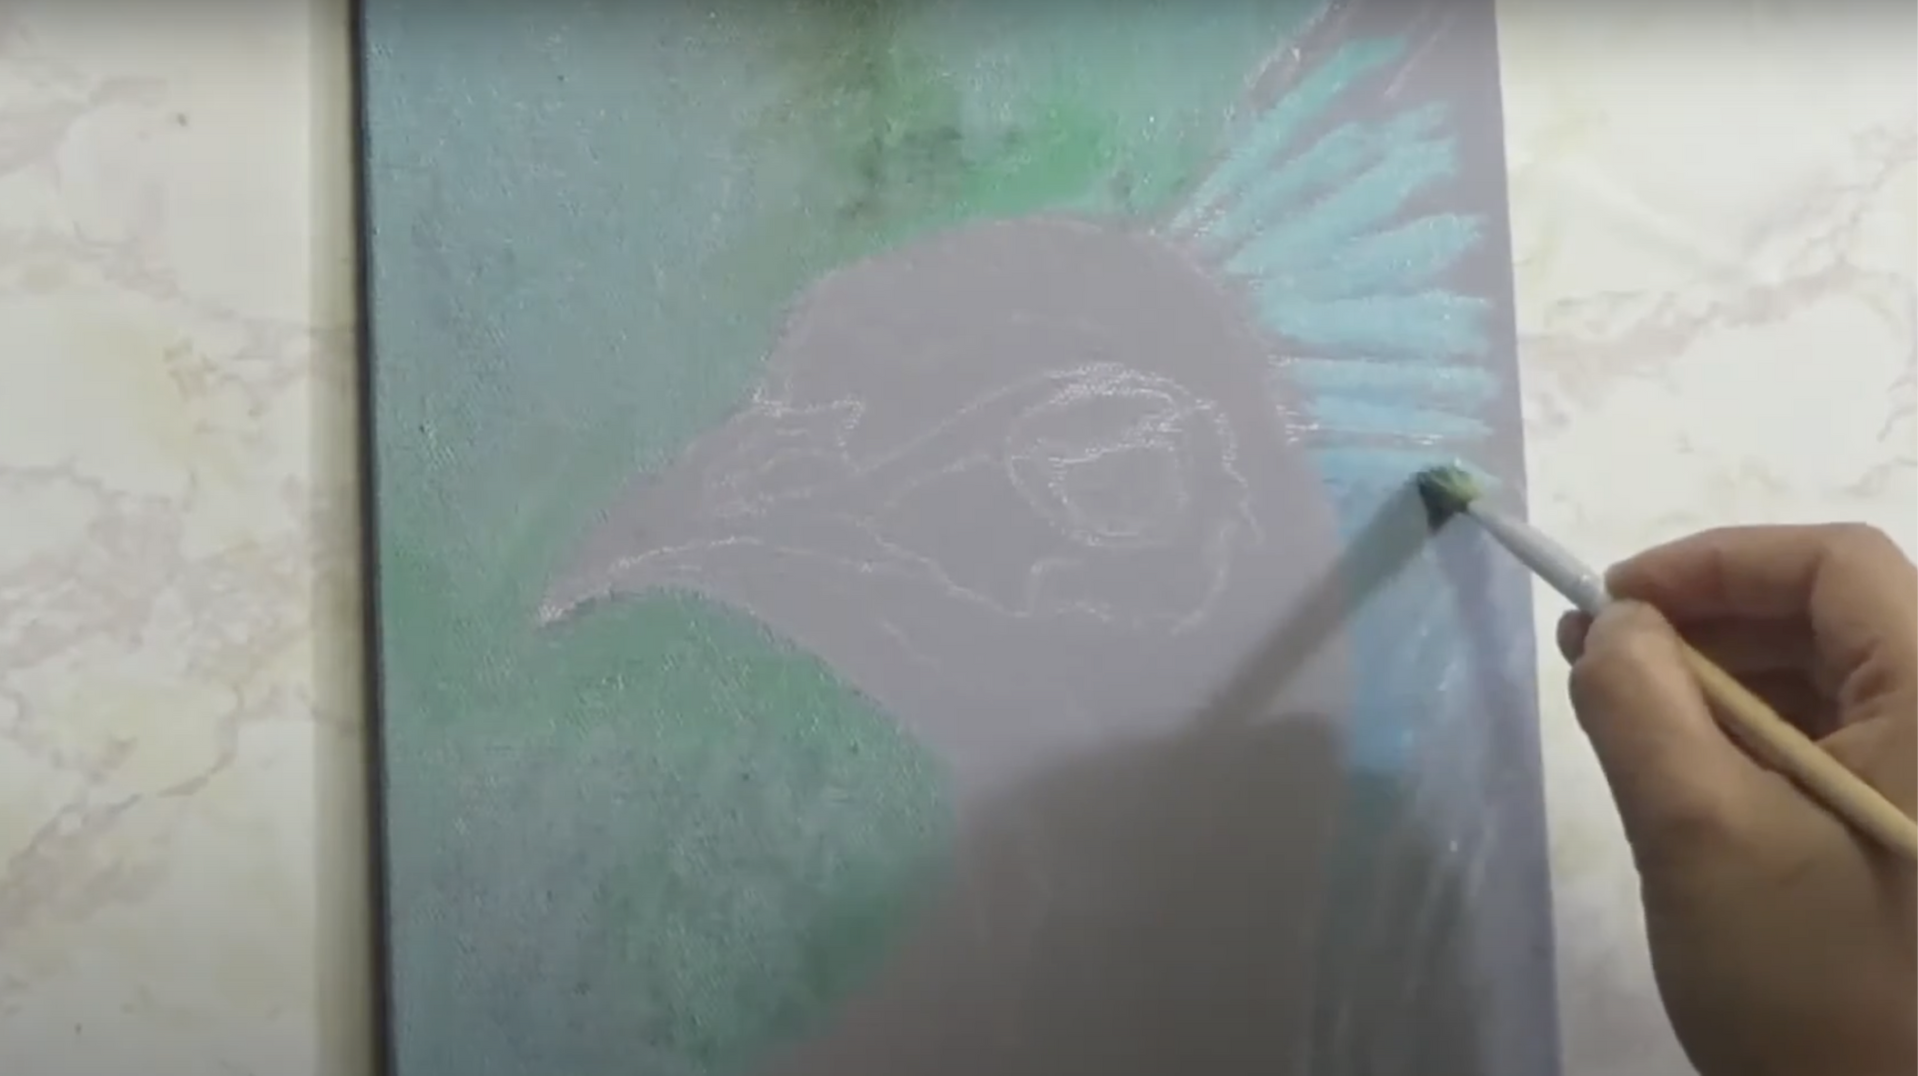
Dip a soft-bristled brush gently into odorless mineral spirits and begin to blend the background. Use a sweeping motion to merge the colors smoothly across the canvas.
Let each layer set for a moment before applying the next to avoid over-blending. Focus on balance, not uniformity.
- Use minimal solvent to prevent overly wet patches
- Clean the brush tip between colors with a paper towel
- Blend edges lightly while preserving some texture in the middle
Step 4: Block in the Peacock’s Primary Colors

Apply different shades to define the beak, face, and neck. Use browns, purples, creams, and bright whites for the face and beak while applying greens and blues for the head and neck.
When specific colors are unavailable, layer and blend alternatives to achieve the desired tone.
Step 5: Layer for Depth and Contrast

Build values gradually by increasing shadows and brightening highlights. This step is more about value than exact color.
Careful layering and blending using the solvent will create a sense of depth and dimension while maintaining clarity in the overall design.
Step 6: Add Details to the Eyes and Feather Tuft
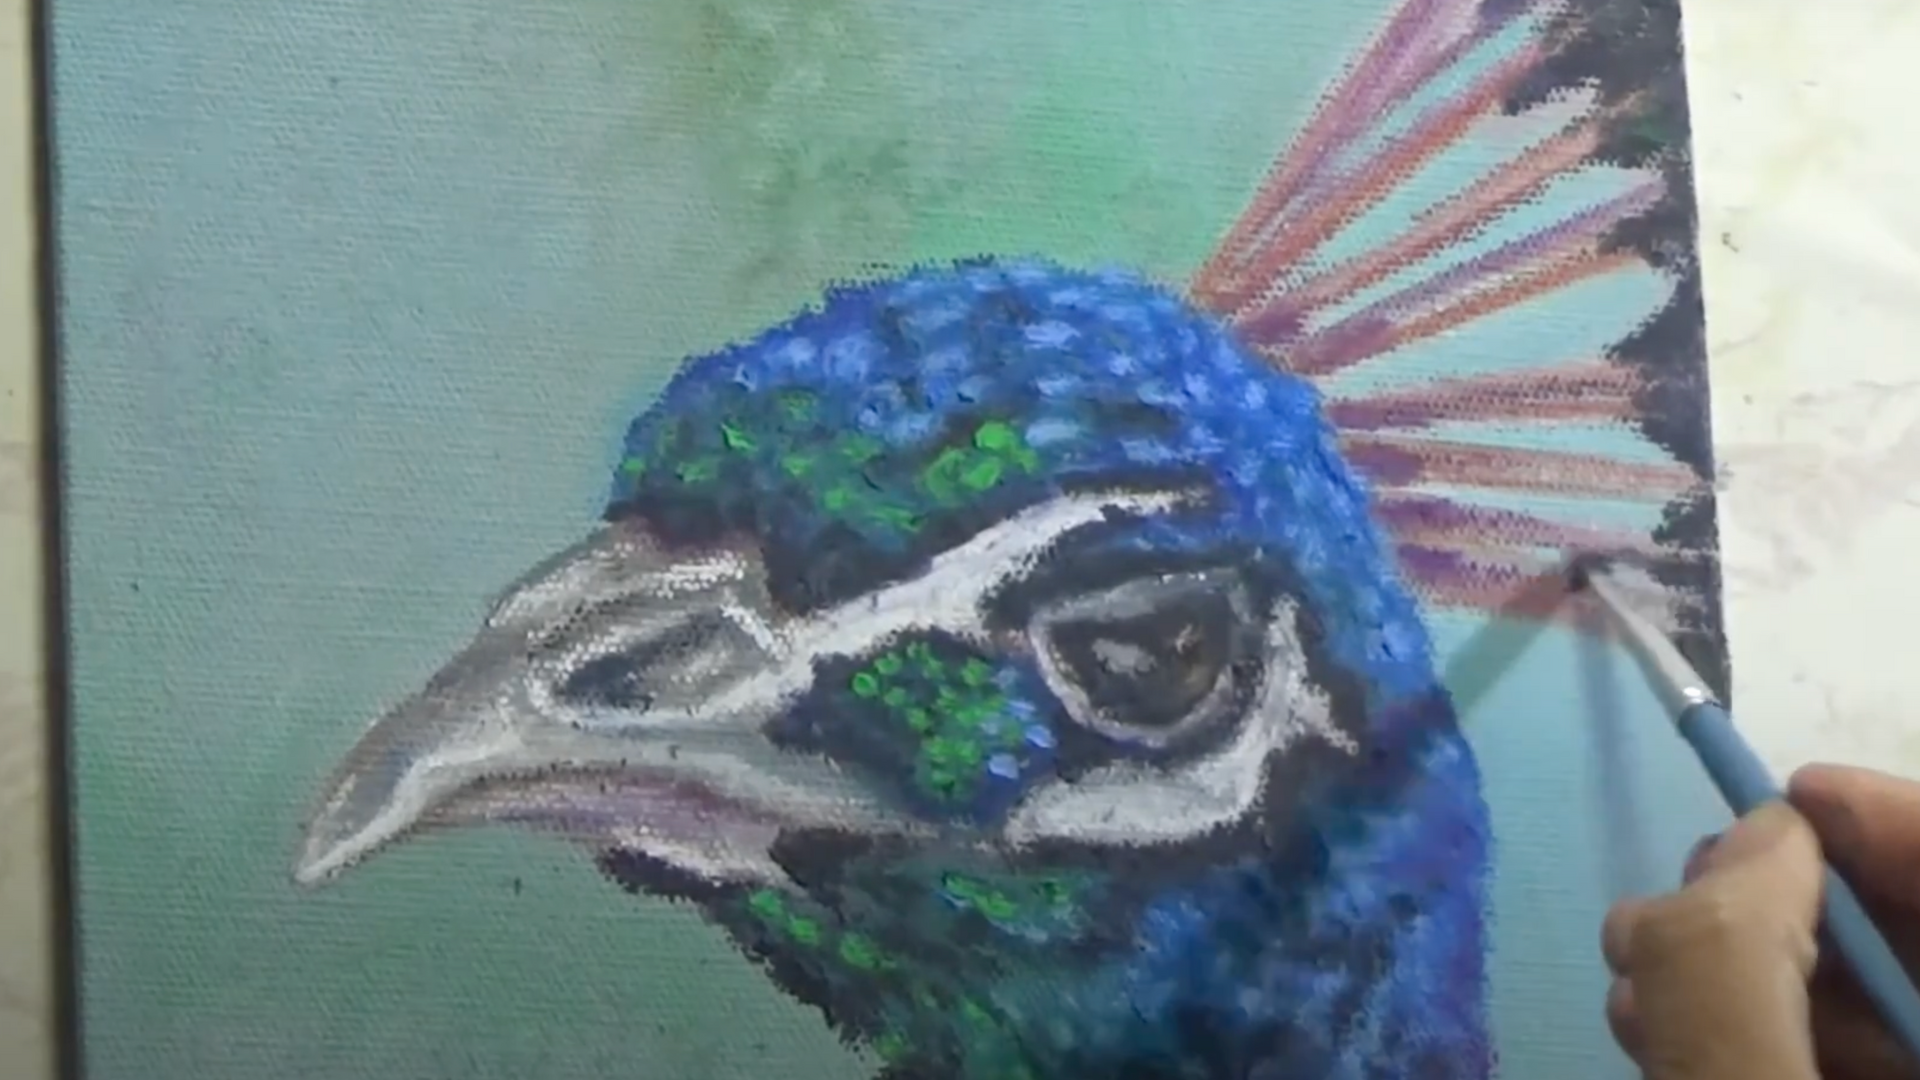
Use controlled strokes and contrast to define the eye area and the distinctive feather tuft. Browns and purples lay the base, while blues and whites are added for highlights.
A blend of light and dark values brings out the texture and form of these delicate features.
Step 7: Final Highlights and Finishing Touches
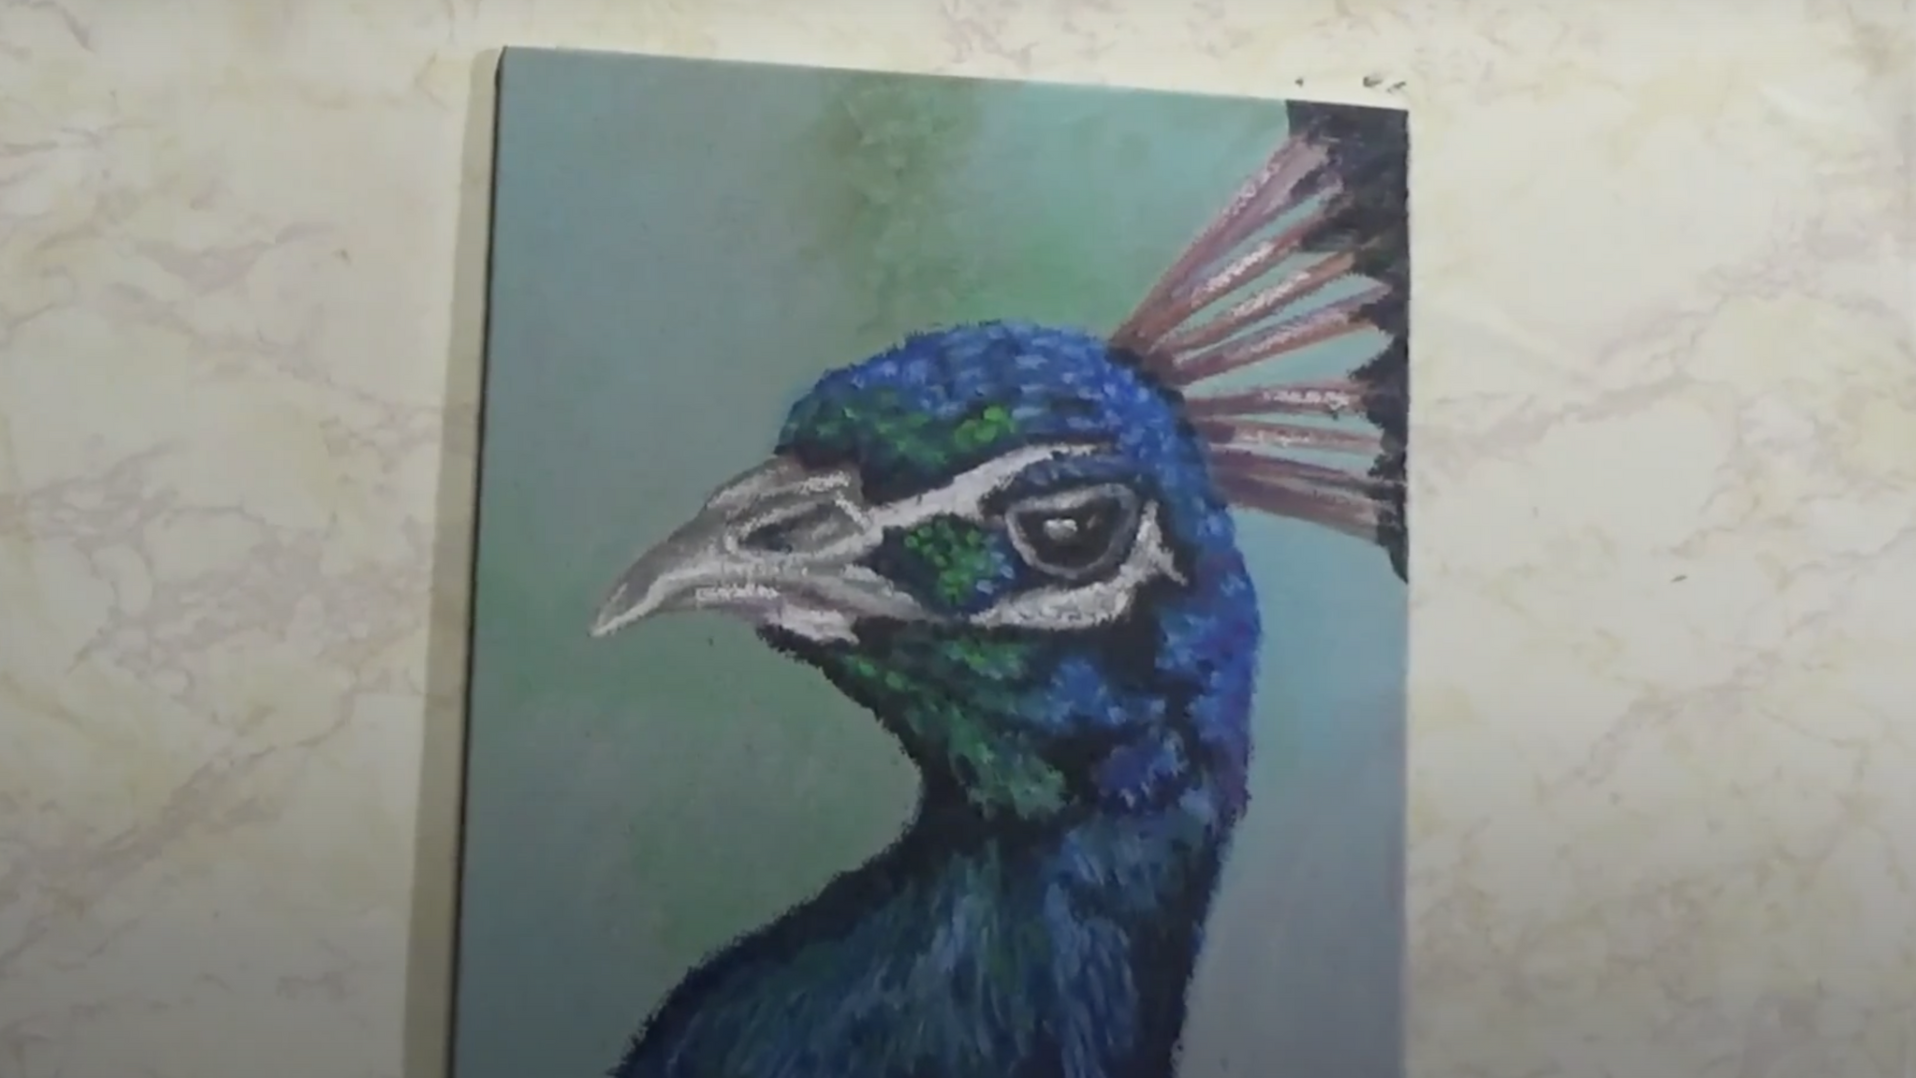
Use the softest oil pastels to apply highlights that will sit clearly on top of darker shades. Whites and light blues bring shimmer and life to the feathers and facial areas.
By carefully balancing light against dark, the final details provide a polished and vibrant finish.
Common Mistakes While Crafting Oil Pastel Peacock
Creating a beautiful oil pastel peacock requires careful attention to color selection and application techniques. Many artists find that achieving the right color balance brings their peacock artwork to life.
Getting the colors right can be tricky, but knowing which combinations work best will help artists create more realistic and appealing peacock designs.
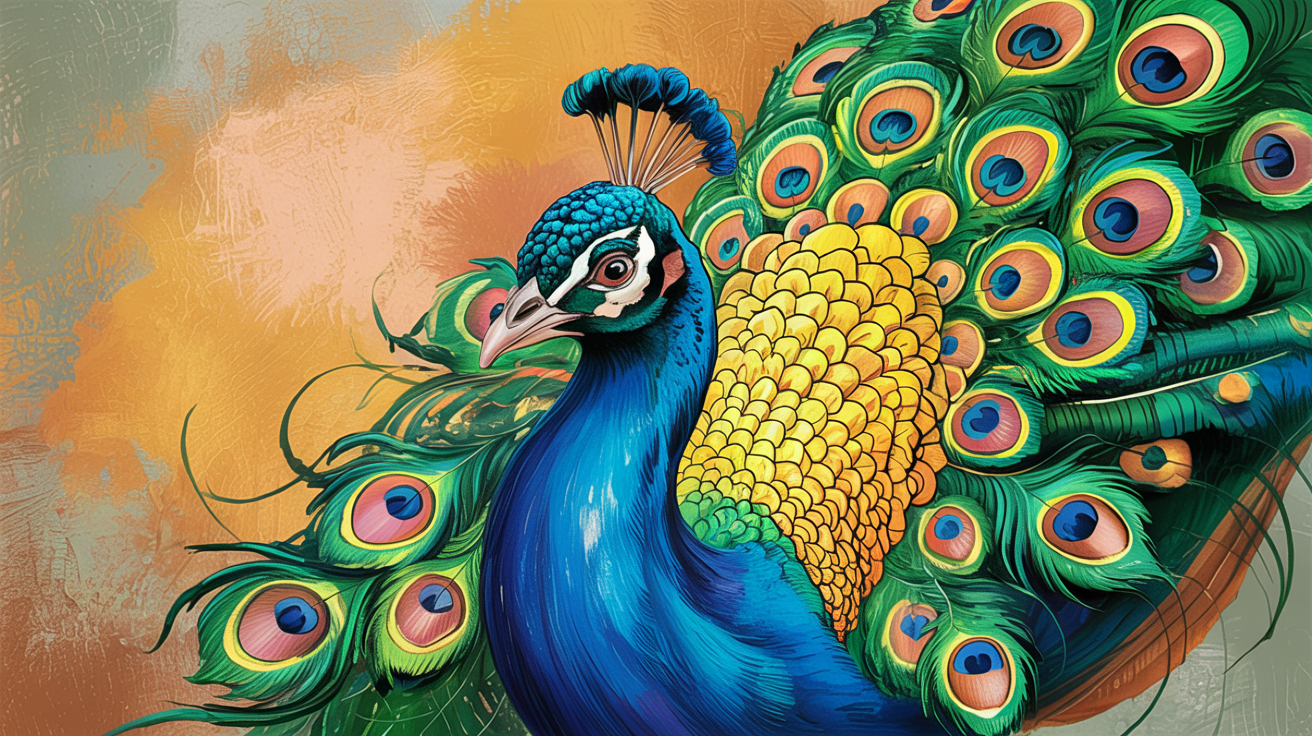
- Primary color base: Begin with a foundation of a rich shade of blue for the main body feathers. Blues form the primary background of most peacock feathers and set the stage for other colors to stand out when layered properly.
- Green transitions: Add green tones to the blue base, working from the center outward. The natural flow from blue to green mimics the way real peacock feathers change color when light hits them from different angles.
- Purple accents: Include touches of purple near the edges of feather patterns. These purple highlights add the royal quality that makes peacock art so attractive without overwhelming the main blue and green colors.
- Gold and yellow details: Use sparingly around the “eye” patterns of the feathers. Too much yellow can make the artwork look artificial, but small amounts add the perfect highlight to complete the peacock effect.
- Brown undertones: Apply light brown or tan colors for the feather stems and structural elements. These neutral tones help ground the bright colors and create a more balanced composition.
- Avoiding flat colors: Many beginners apply each color separately without blending. This creates a flat, cartoon-like effect instead of the rich, layered look of actual peacock feathers.
- Poor paper selection: Using low-quality paper that cannot hold multiple layers of oil pastel. The paper tears or becomes too slick, making it impossible to add the necessary color depth.
- Heavy-handed application: Pressing too hard when first applying the pastels. This fills the tooth of the paper too quickly and leaves no room for additional layers or blending.
- Skipping the base layer: Starting with dark or bright colors instead of building up from lighter tones. This makes the artwork look harsh and unnatural compared to the subtle color variations in real peacock feathers.
- Ignoring color temperature: Mixing warm and cool tones without purpose. Peacock feathers have a specific color temperature flow that artists should study and replicate for the most realistic results.
Conclusion
Oil pastel peacock art brings together technique and color mastery to create something truly special. Artists who follow the tips shared in this blog will find their peacock designs improving with each attempt.
The key lessons remain simple: layer colors thoughtfully, blend with purpose, and pay attention to the natural color patterns found in real peacock feathers. Beginners should remember that mistakes are part of the learning process.
With time and practice, anyone can create stunning oil pastel peacock artwork. The skills learned while working on these colorful birds transfer well to other subjects, too.
Artists might find that once they master the complex colors of peacock feathers, many other artistic challenges become much easier to tackle.