Drawing sunflowers can bring joy to artists at any skill level. These bright, cheerful flowers make perfect subjects for both beginners and pros.
Their simple shape hides just enough detail to keep things interesting. Many people feel nervous when starting a new drawing, but sunflowers are actually quite forgiving.
They don’t demand perfect symmetry or exact proportions to look good on paper.
This blog breaks down the process into small, manageable steps. We’ll start with basic shapes and build up to a finished piece you’ll be proud to show off. Grab your pencils and paper, and let’s create some beautiful sunflower drawing together.
With a bit of practice and patience, everyone can learn this.
How to Achieve Depth in Sunflower Drawing with Shading Tips
Artist often struggle to make their sunflower drawing look three-dimensional. Flat drawings lack the visual impact that comes with proper depth and shading.
This guide offers practical tips for adding realistic depth to sunflower parts and shading tips.
1. The Seed Center
- Use circular shading patterns to follow the natural seed arrangement.
- The center appears darkest at the edges and slightly lighter in the middle.
- Add tiny dots or small marks to show the seed’s texture and pattern.
- Create a subtle transition between the dark center and the lighter petals.
- Use cross-hatching to build up the complex texture of the seed head.
2. Petals With Dimension
- Shade the base of the petals darker where they connect to the center.
- Leave thin strips of white or light areas to show where light hits the petal edges.
- Add shadows where petals overlap each other.
- Show the natural curl of petal tips with appropriate shading.
- Remember that petals nearest the viewer should have more contrast than distant ones.
3. Stems and Leaves
- Shade the side of stems opposite the light source.
- Create a gradual value change across the width of stems rather than a hard line.
- Use directional shading that follows the length of the stem.
- Add darker values where leaves connect to the stem.
- Show leaf veins by leaving them slightly lighter than the surrounding areas.
Step-by-Step Guide to Drawing a Sunflower for Beginners
A well-structured guide teaches core drawing skills that transfer to other subjects. Artists learn about proportion, shading, and texture while creating something beautiful.
These guides remove the fear of the blank page and replace it with clear direction, helping new artists grow their skills in a fun, stress-free way.
1. Set Your Intentions with Positivity
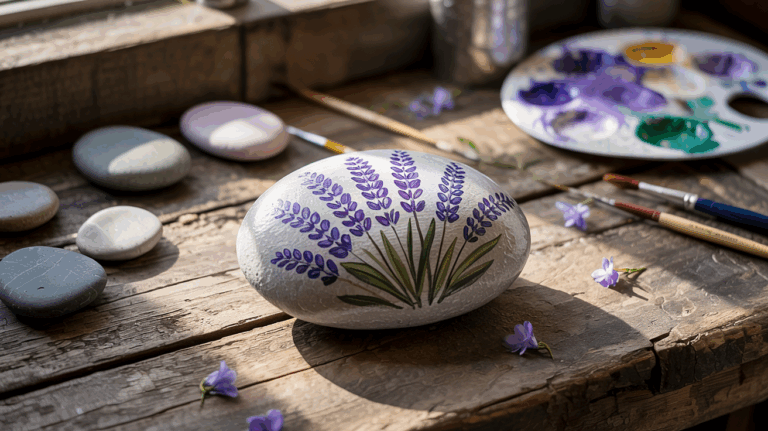
Begin by creating something uplifting. Sunflowers are a symbol of peace and hope, especially meaningful as Ukraine’s national flower. Use your creativity as a tool for kindness.
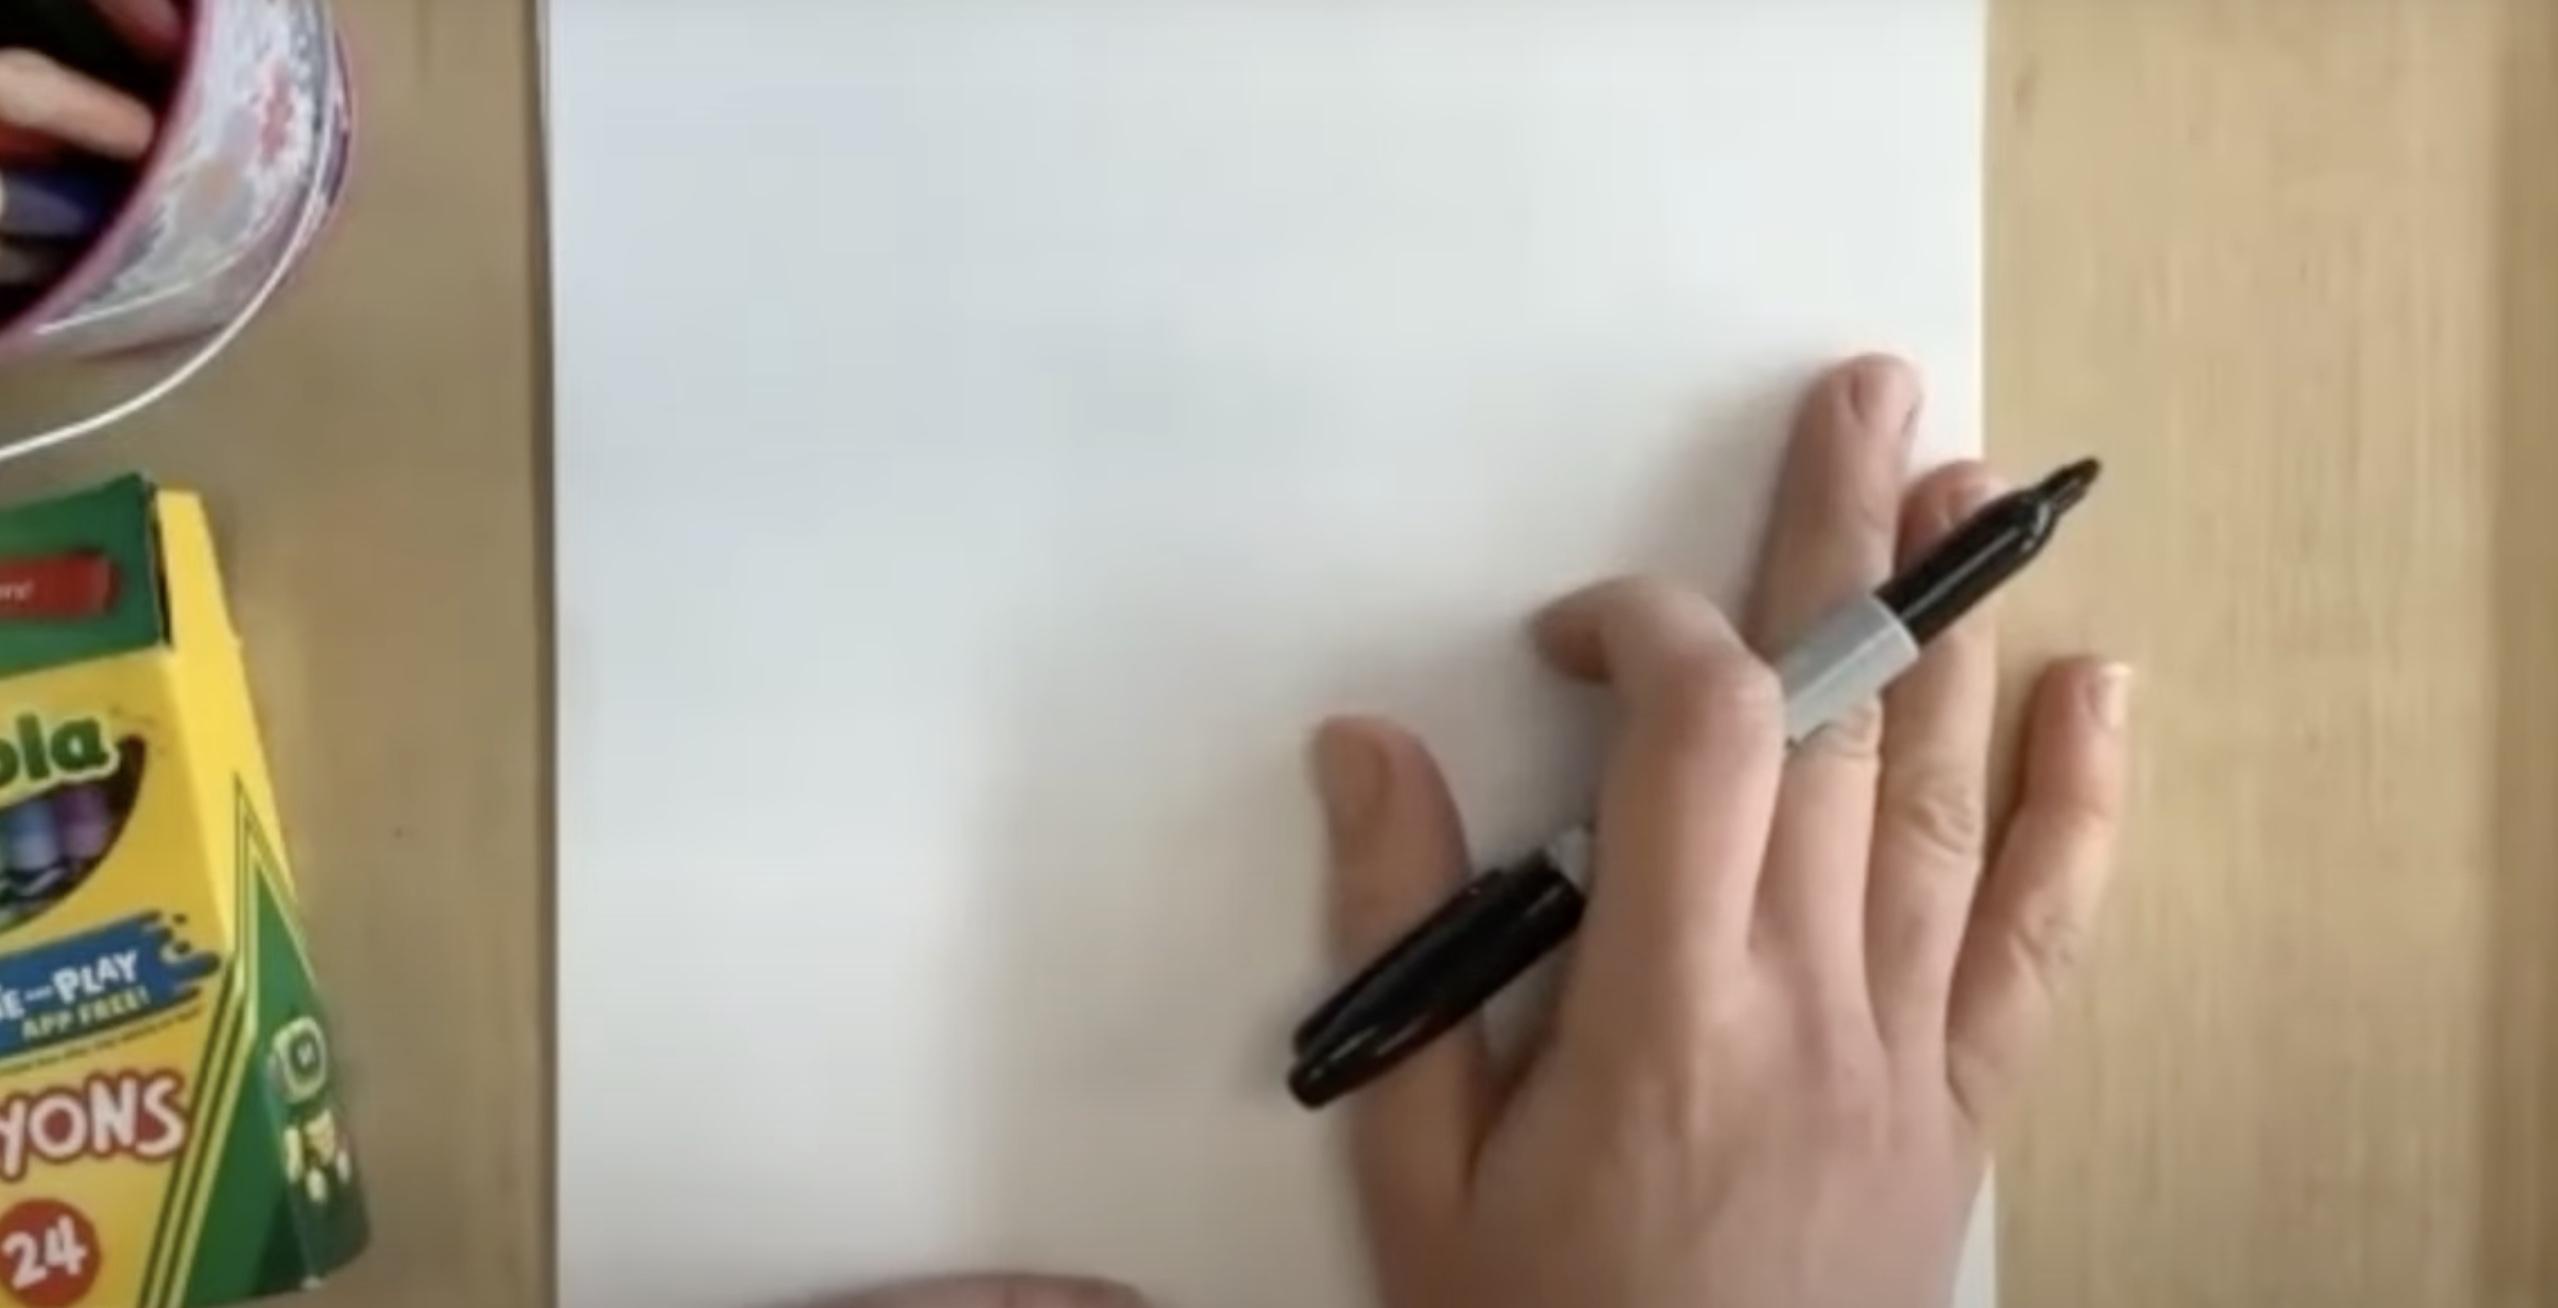
2. Prepare Your Paper and Find the Center
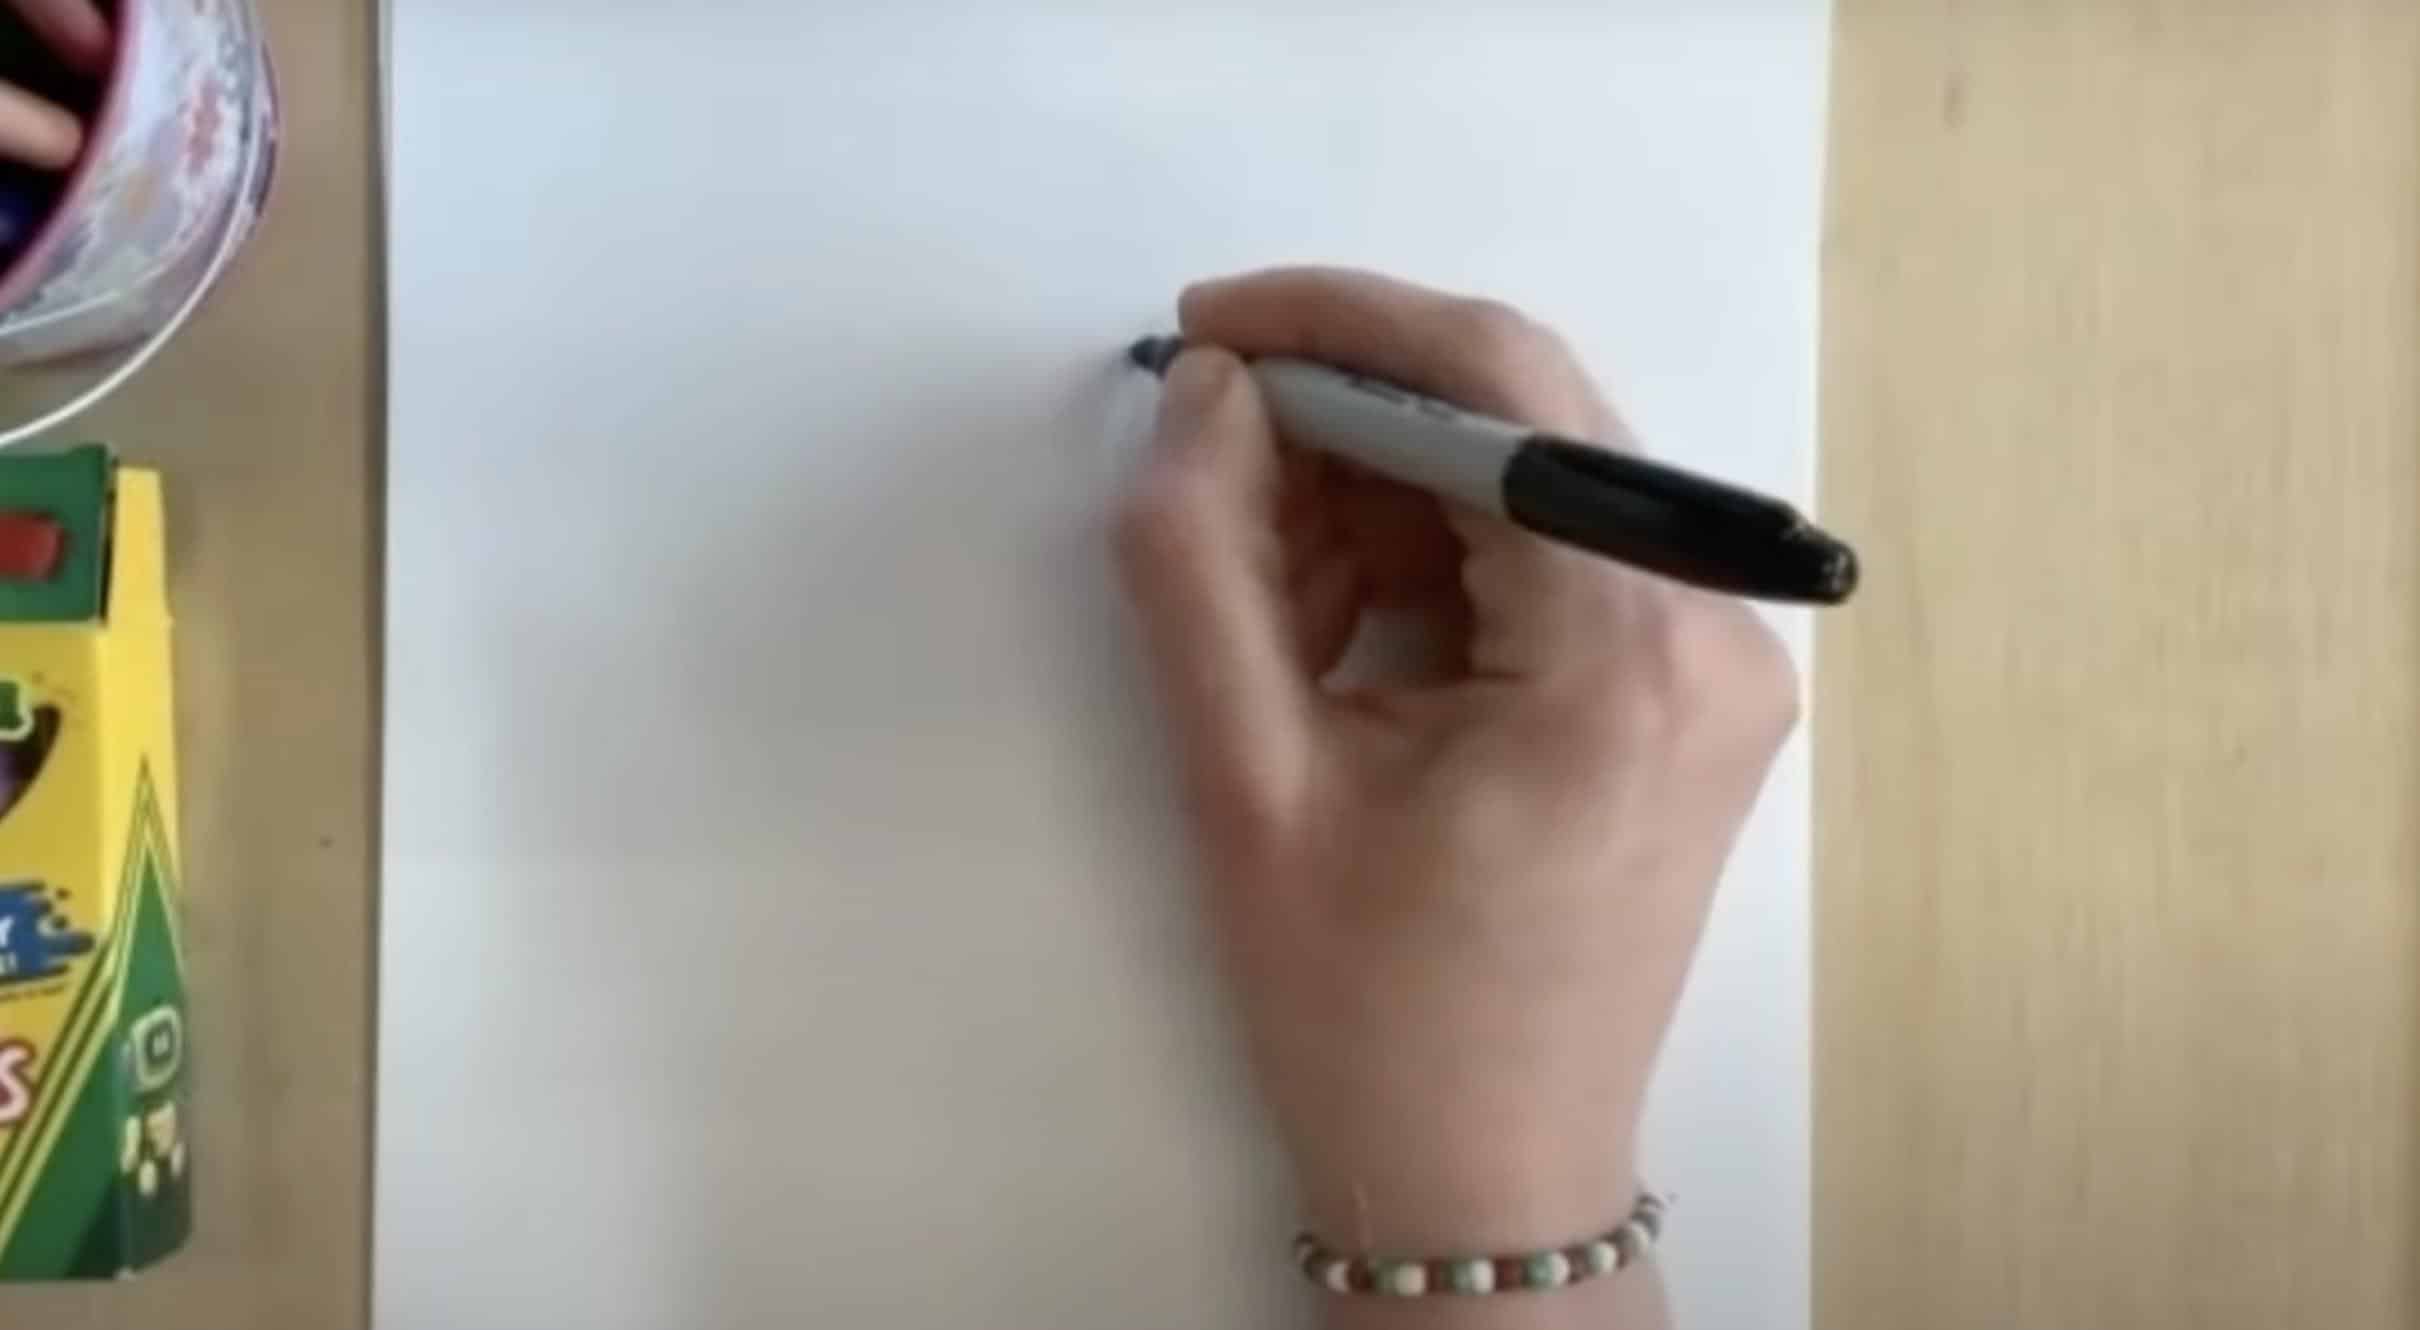
Hold your paper vertically (portrait style). Gently mark a small dot at the center; this will guide your flower’s placement. Keep the dot tiny, almost invisible.
3. Draw the Bumpy-Lumpy Center
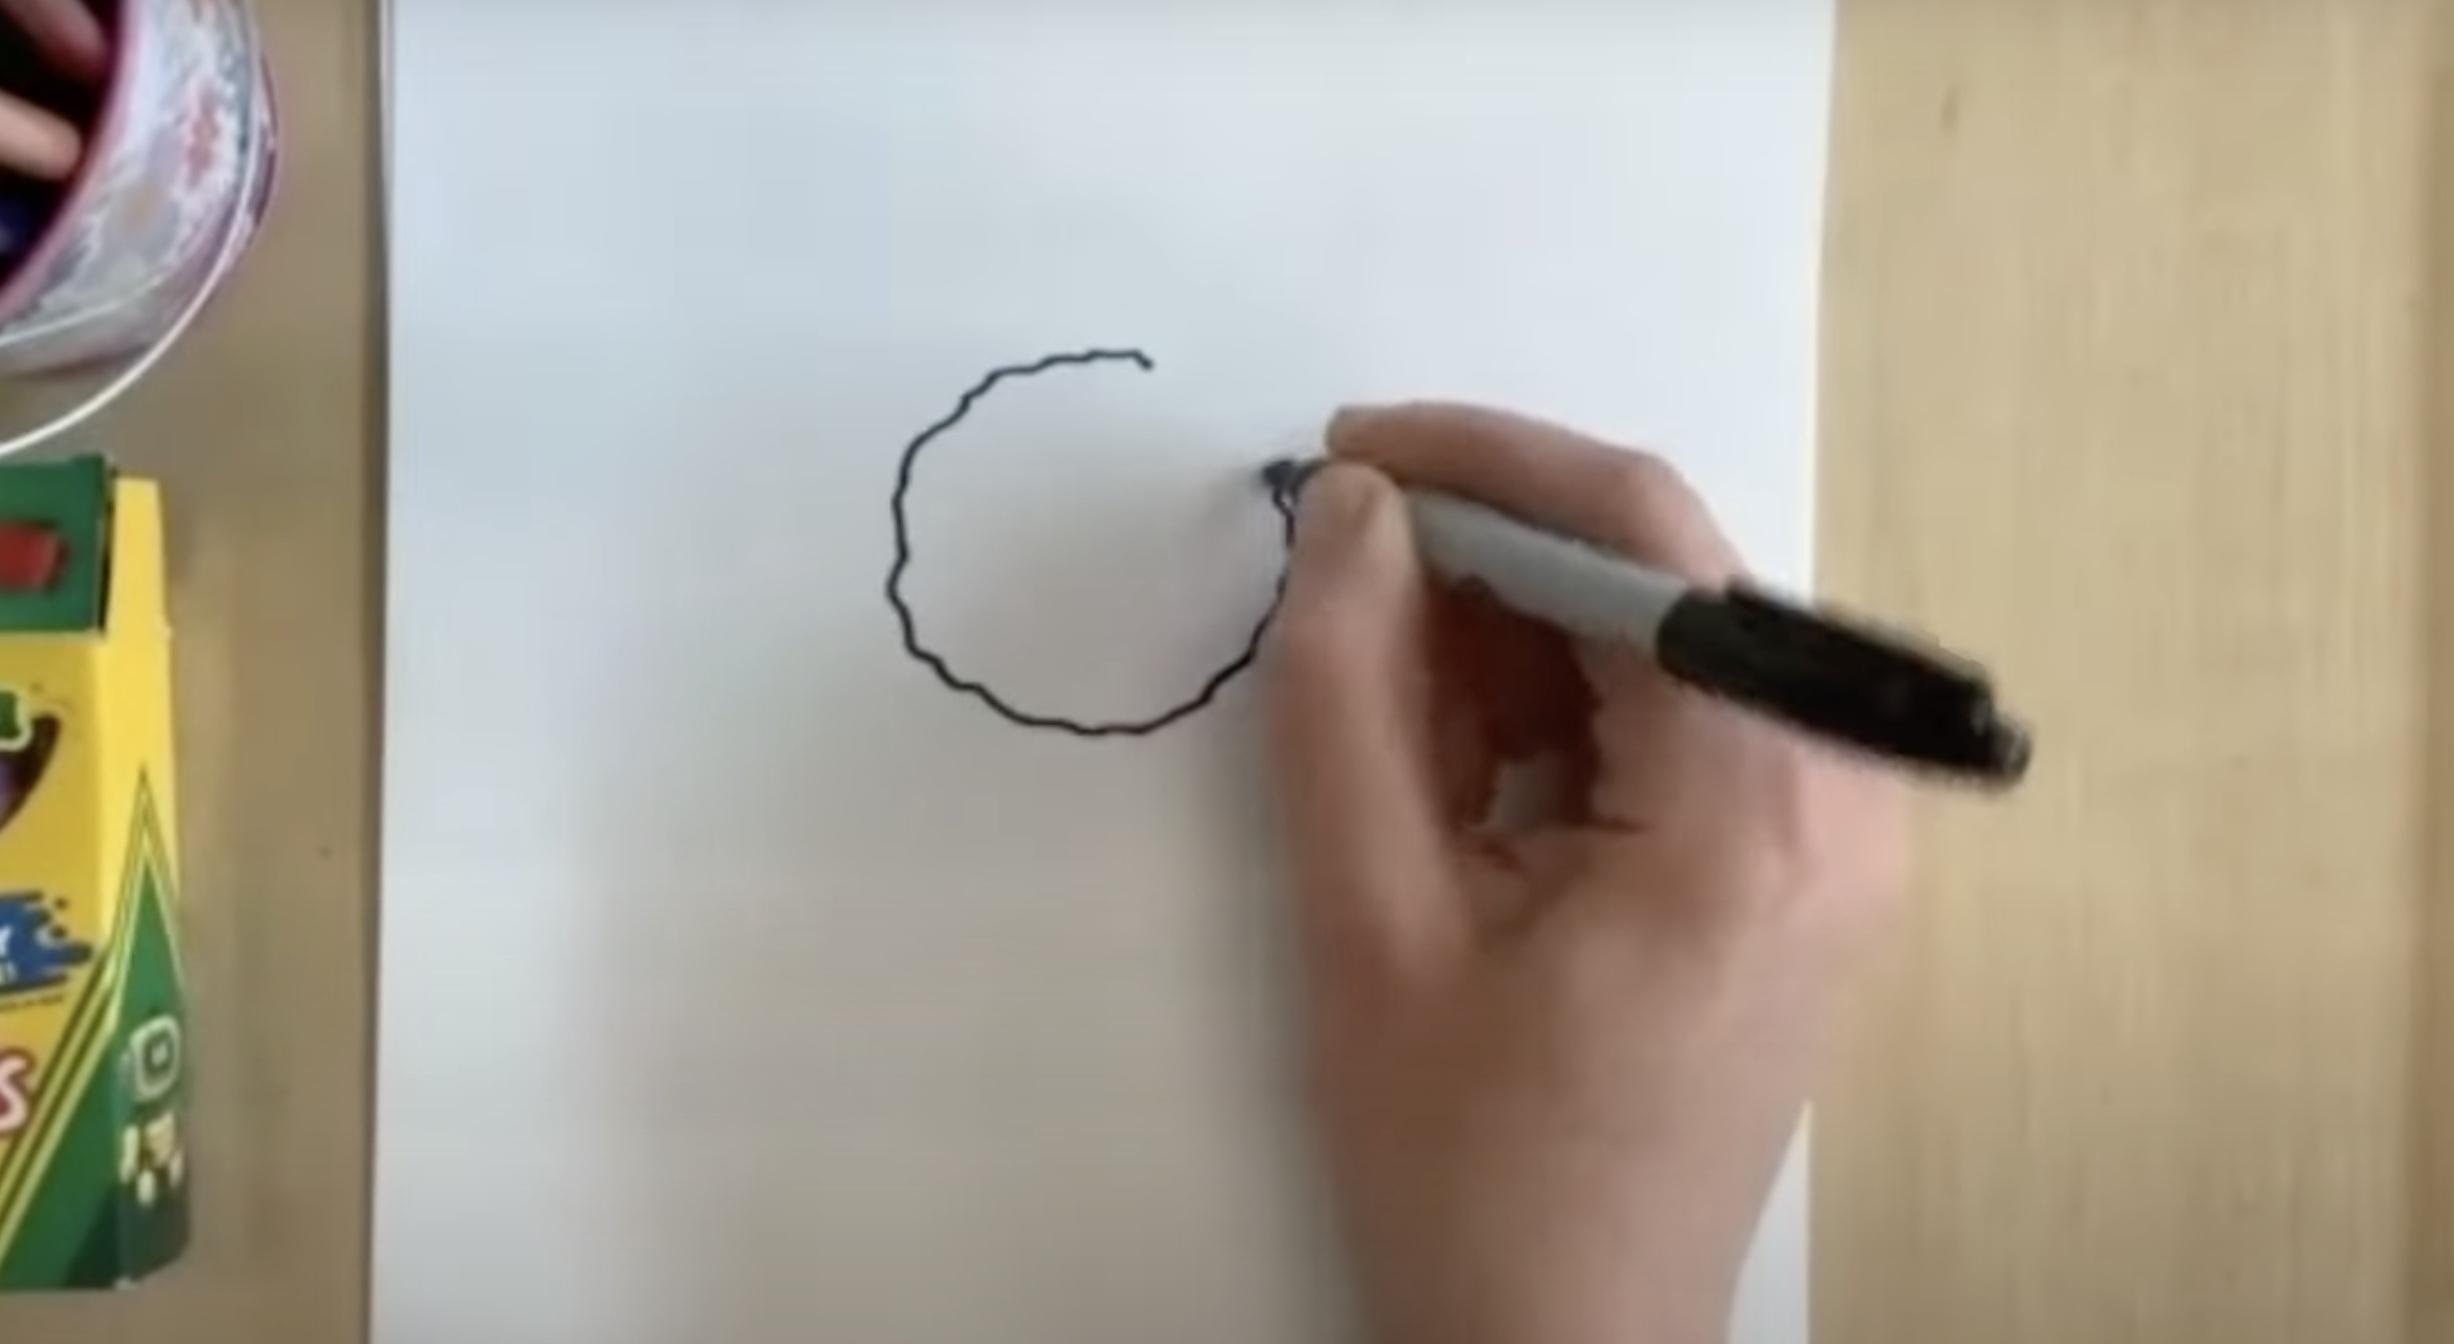
Using your drawing tool, create a large, uneven circle around the center dot. This is where the sunflower’s seeds sit. Don’t aim for perfection; sunflower centers are naturally textured and organic.
4. Add the First Layer of Full Petals
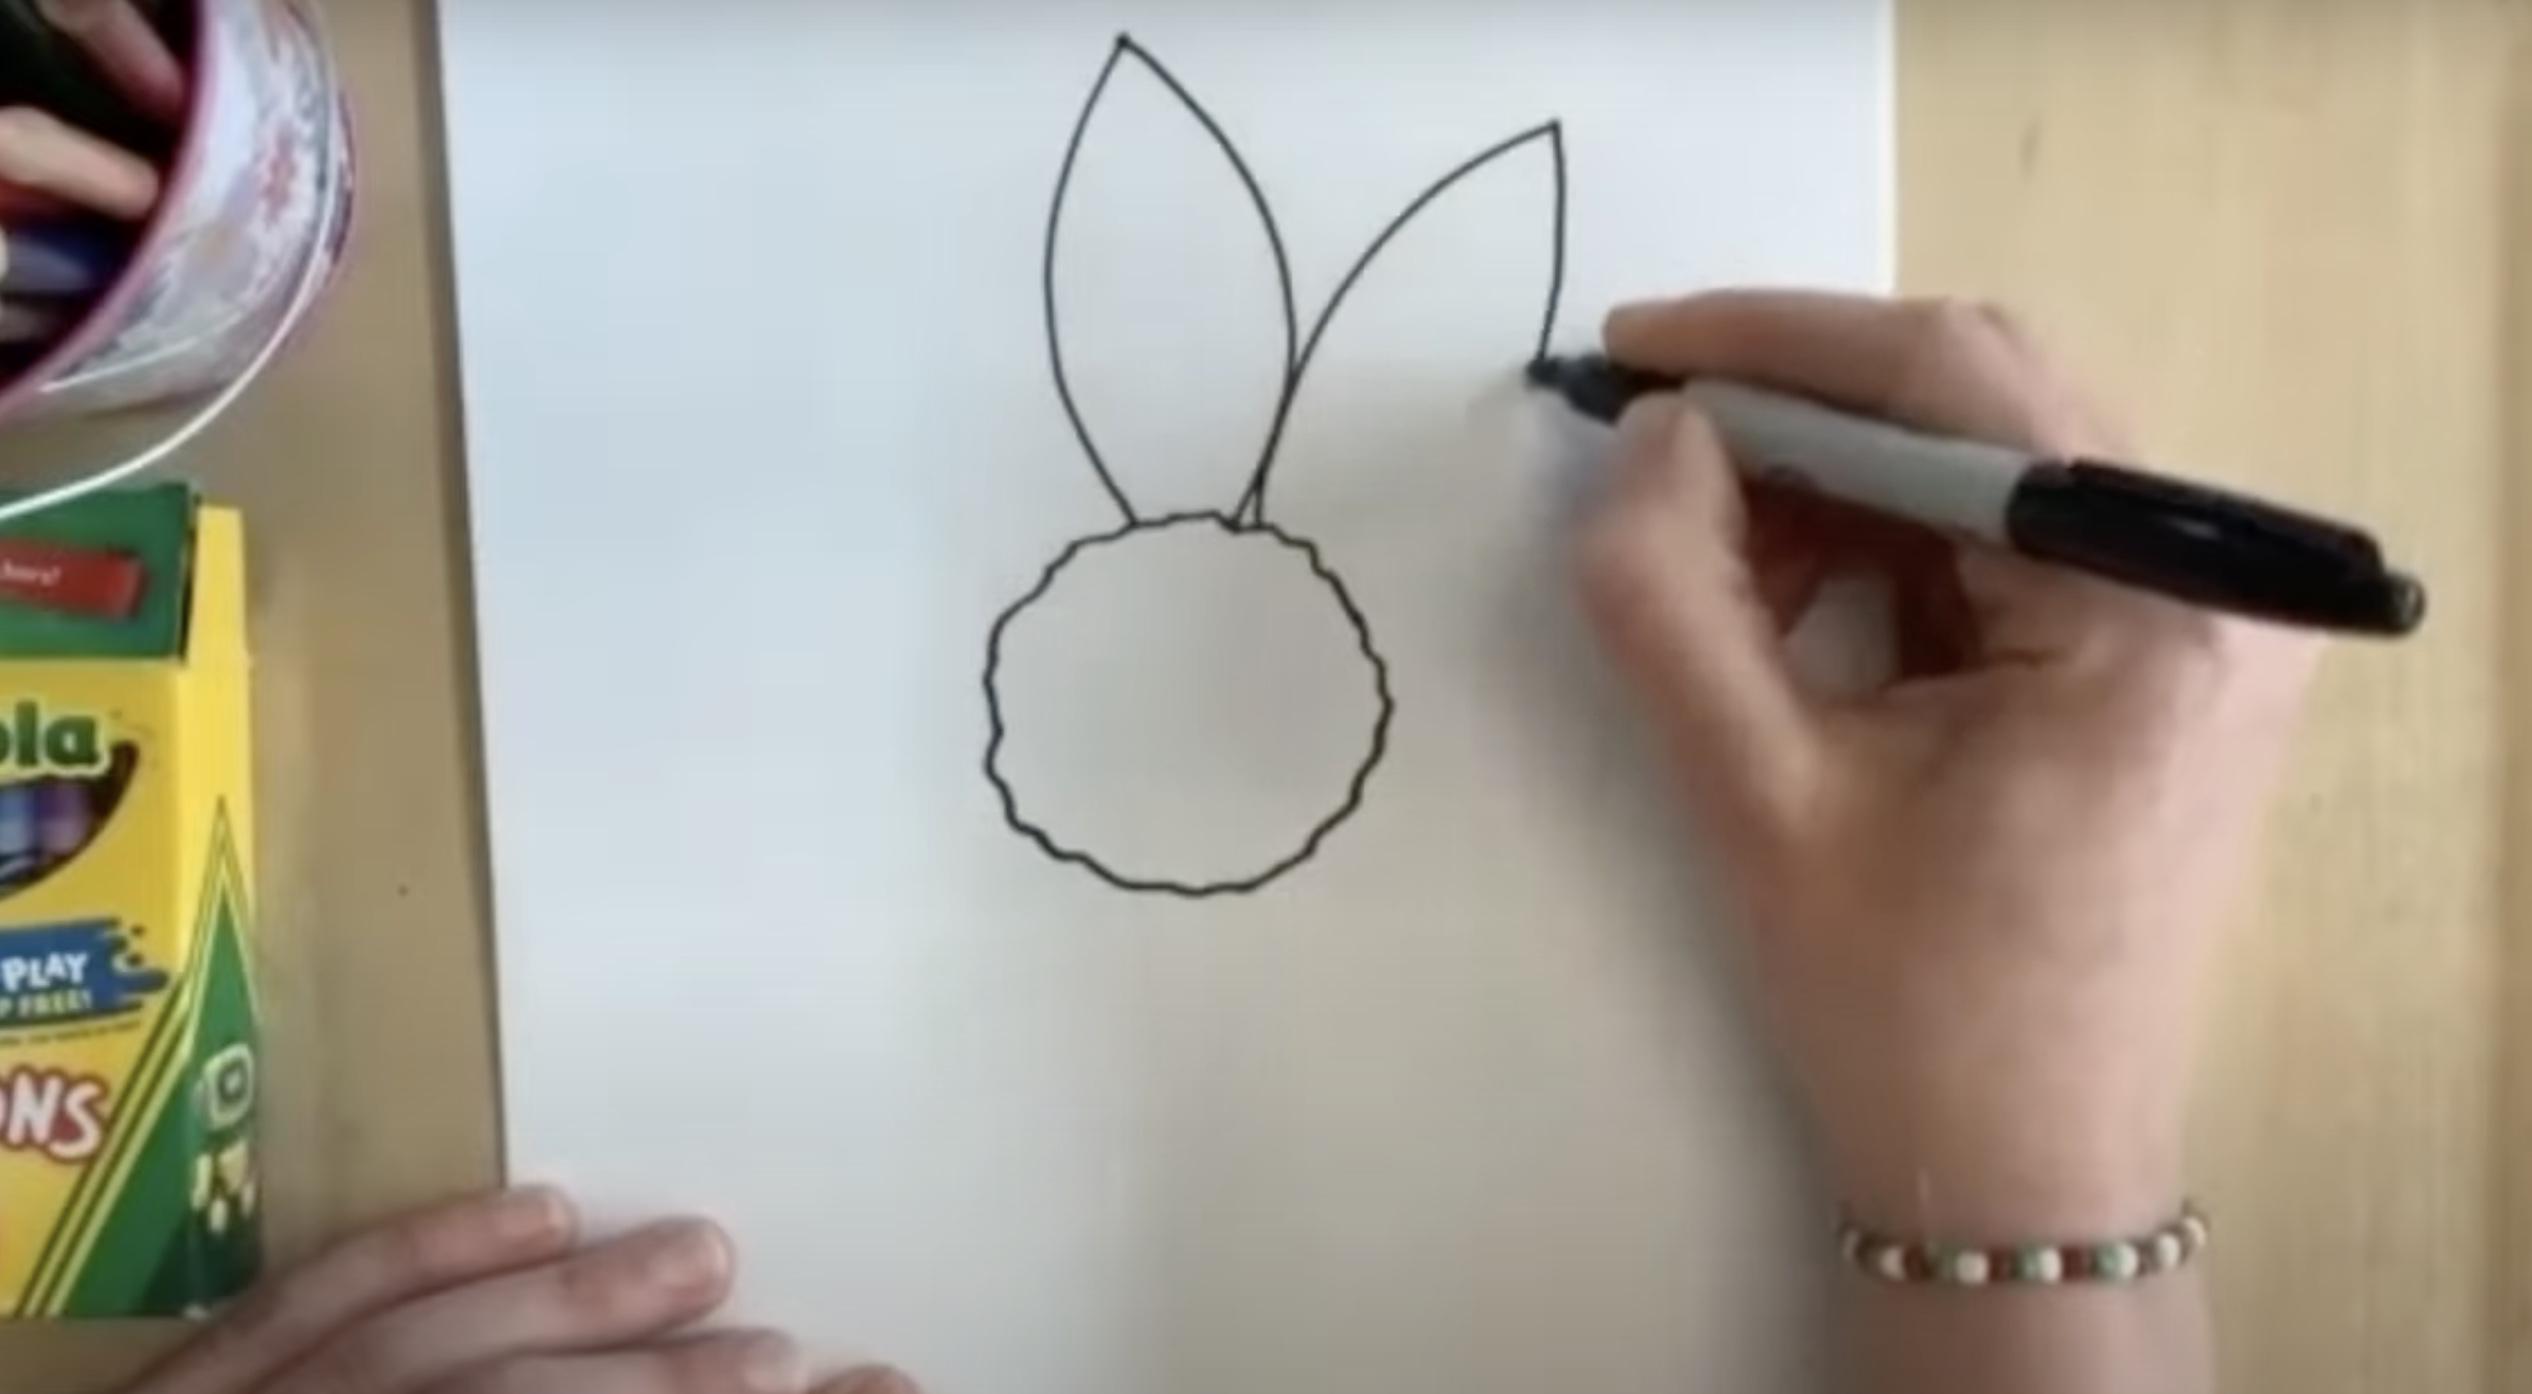
Start drawing long, pointy petals around the circle. Begin from the edge of the center, curve outward to a point, and then curve back in. Continue until they surround the whole center. They can vary in size!
5. Optional Detail: Petal Texture Lines
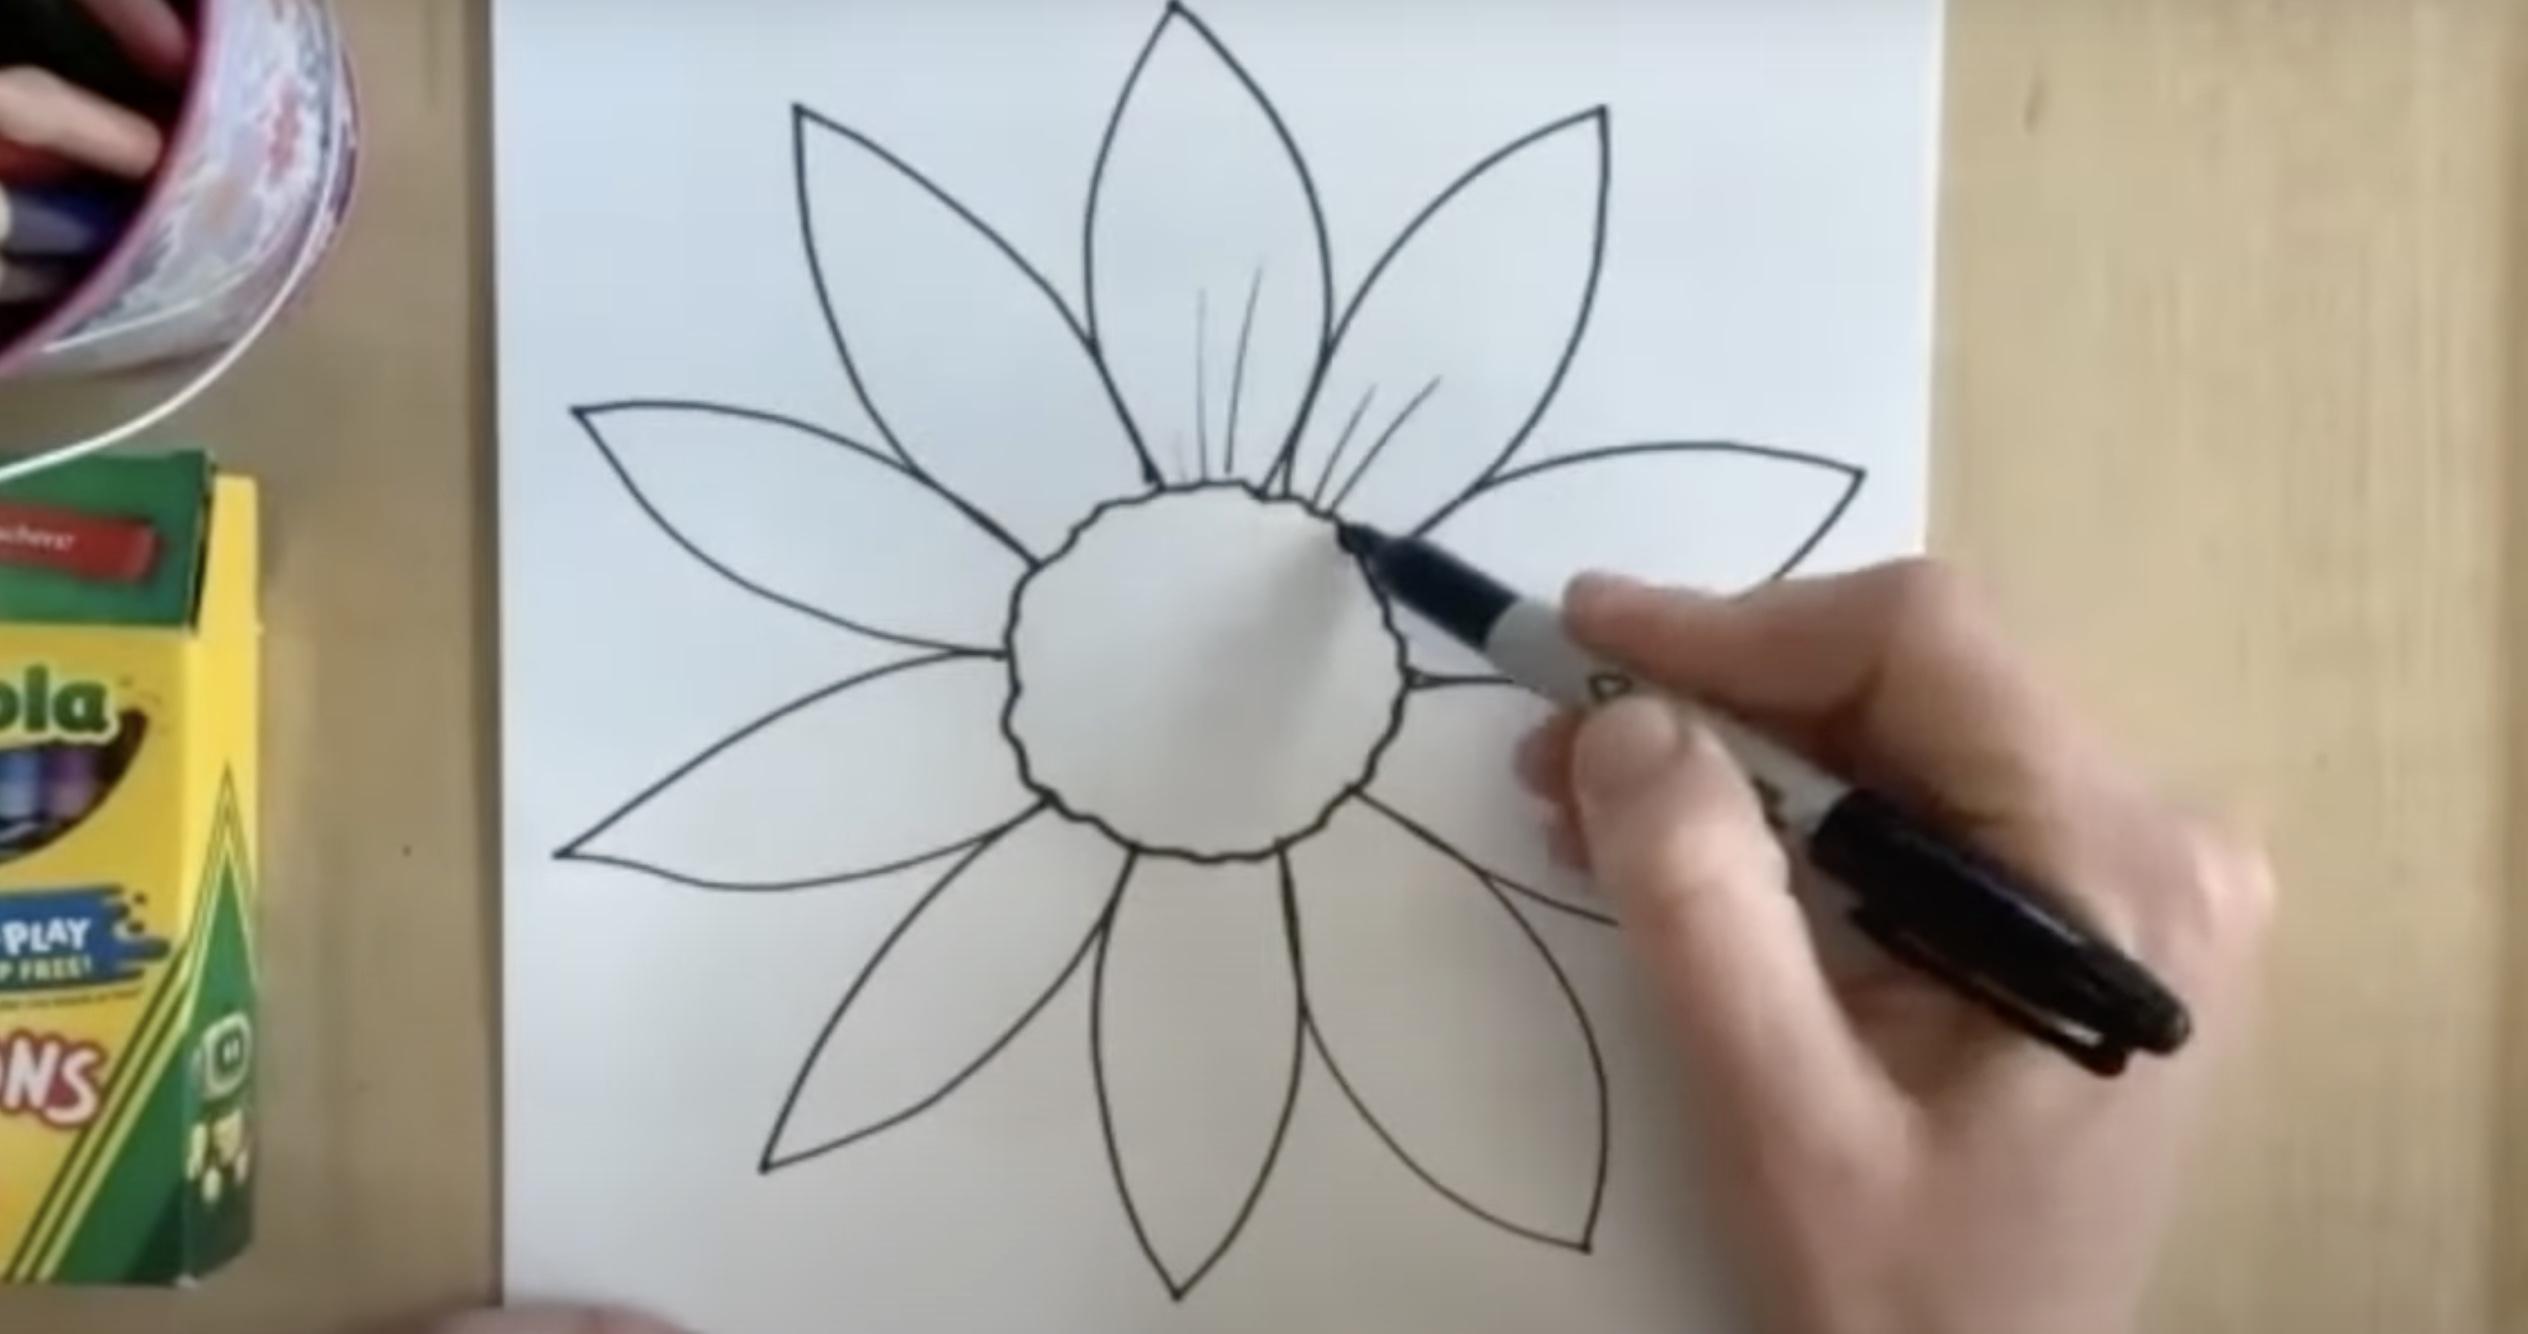
Inside each petal (or every other one), draw 2–3 quick “flick” lines from the base outward. These mimic the veins and add realism. Skip this if you’d like a simpler look.
6. Add the Second Layer of Semi-Petals
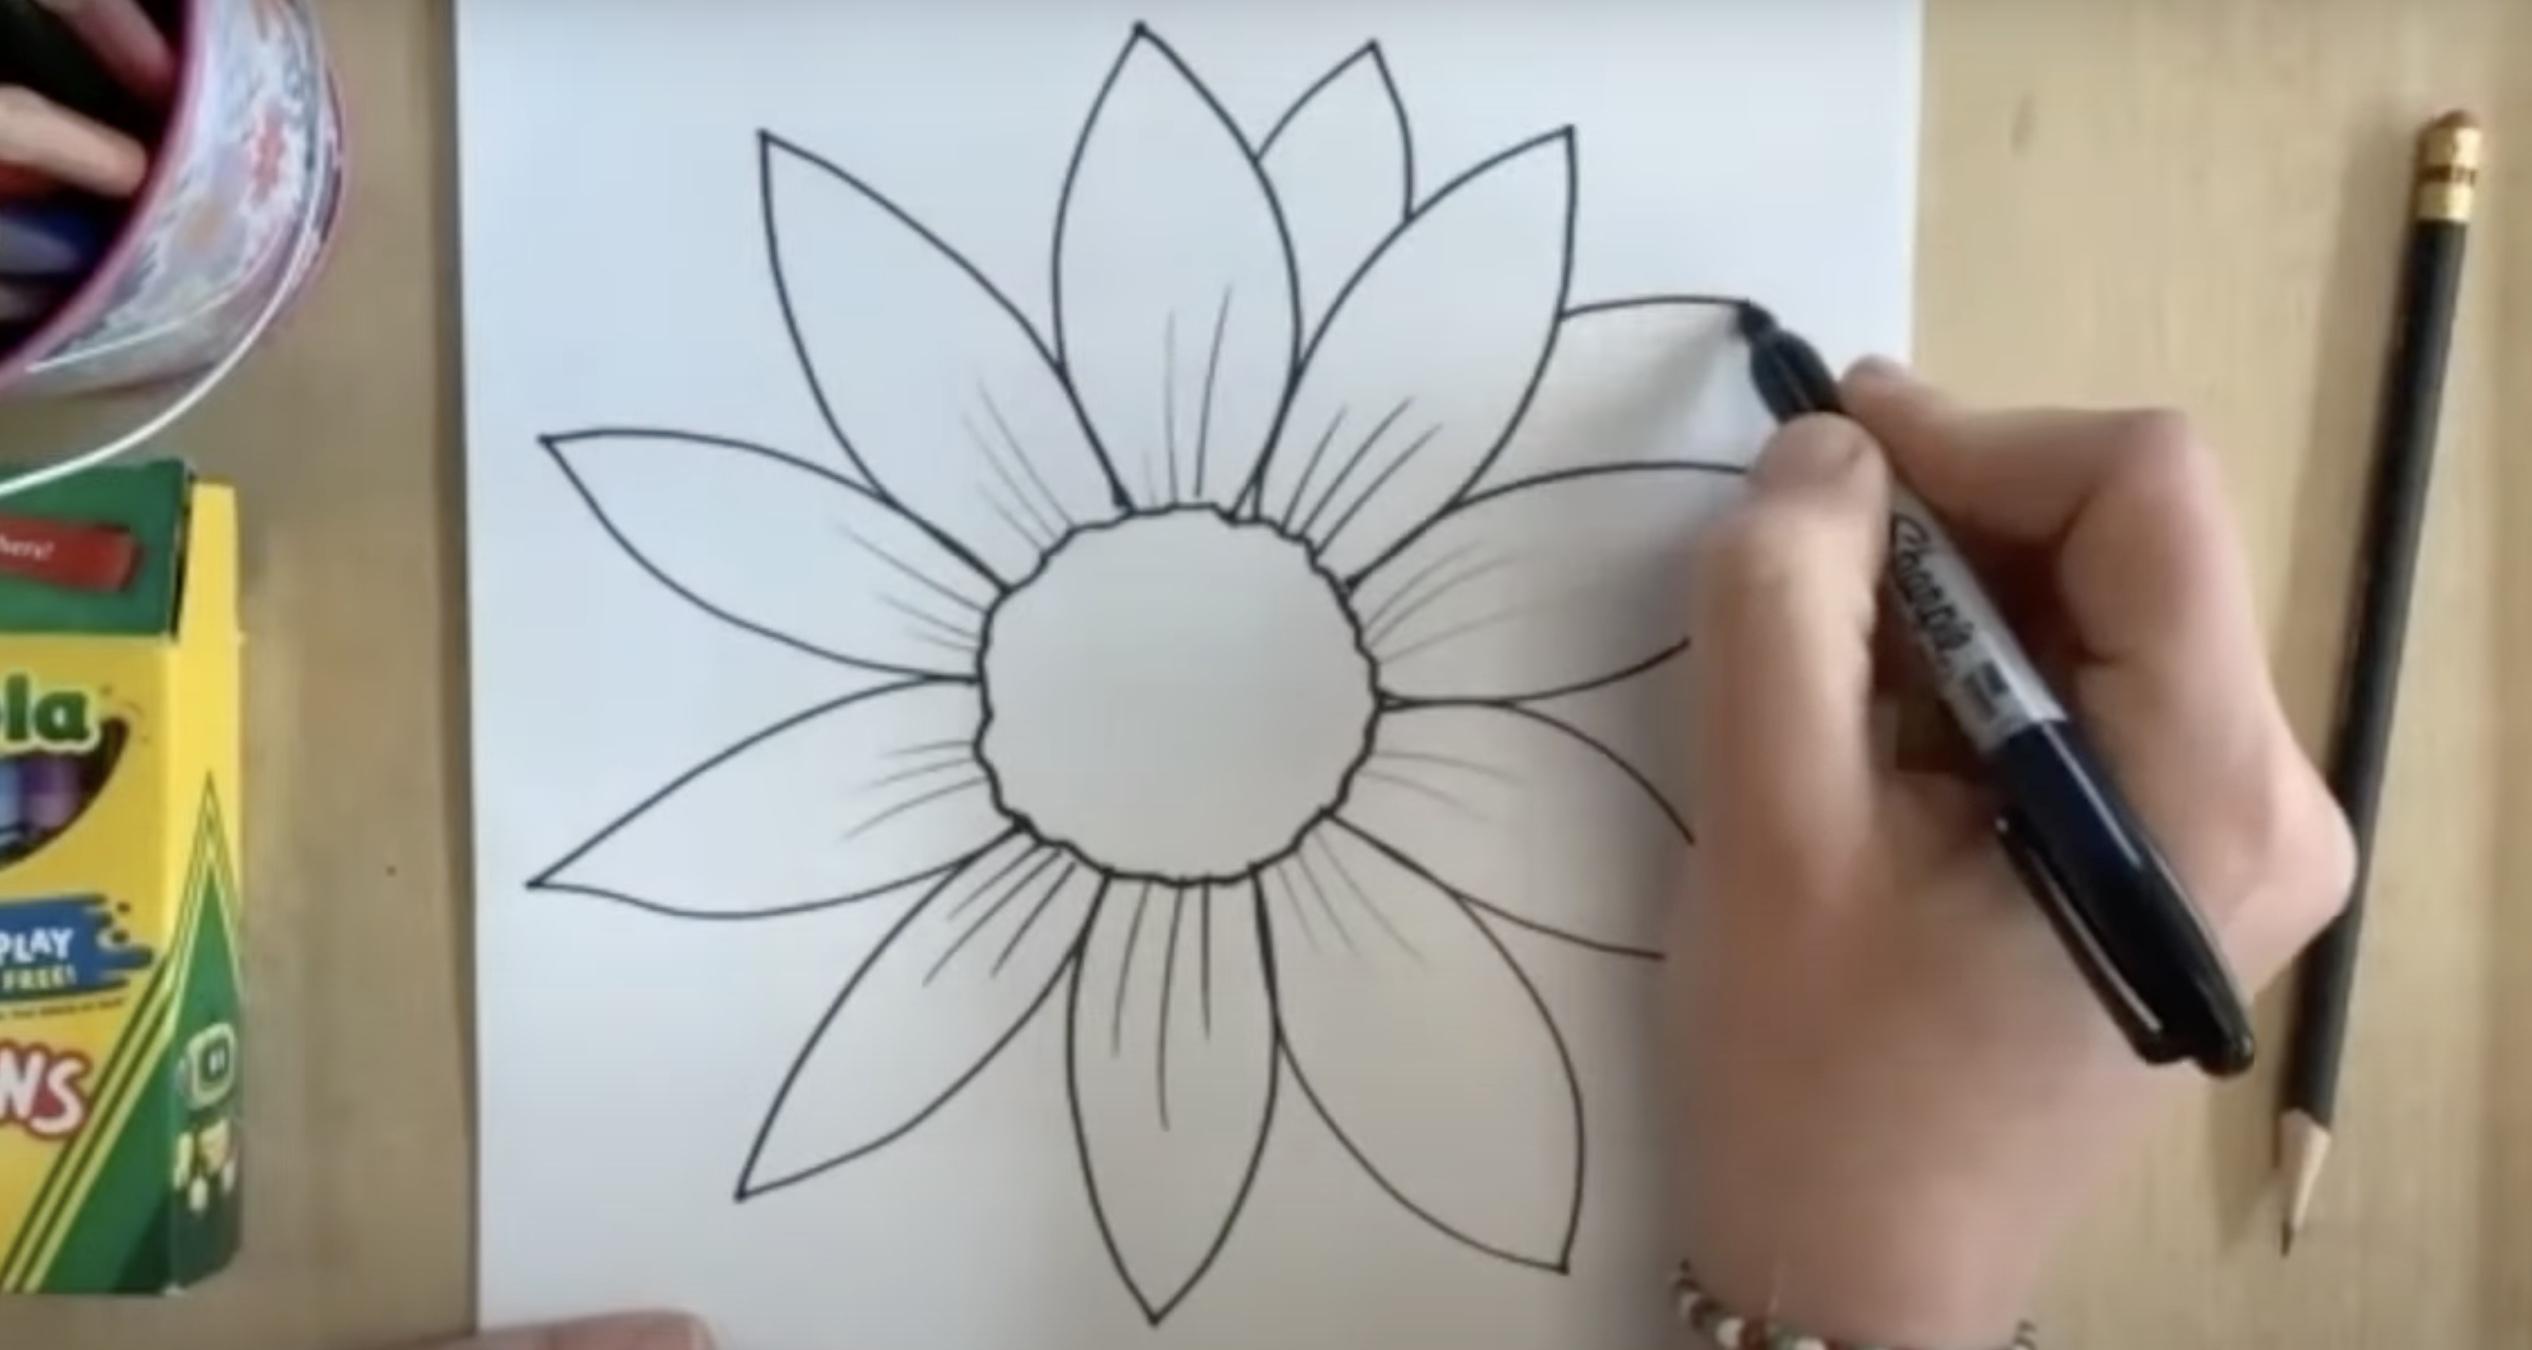
In the spaces between your first petals, add another layer of smaller, half-visible petals. These peek out from behind the front row and help build depth.
7. Add the Third Layer: Tippy-Tip Petals
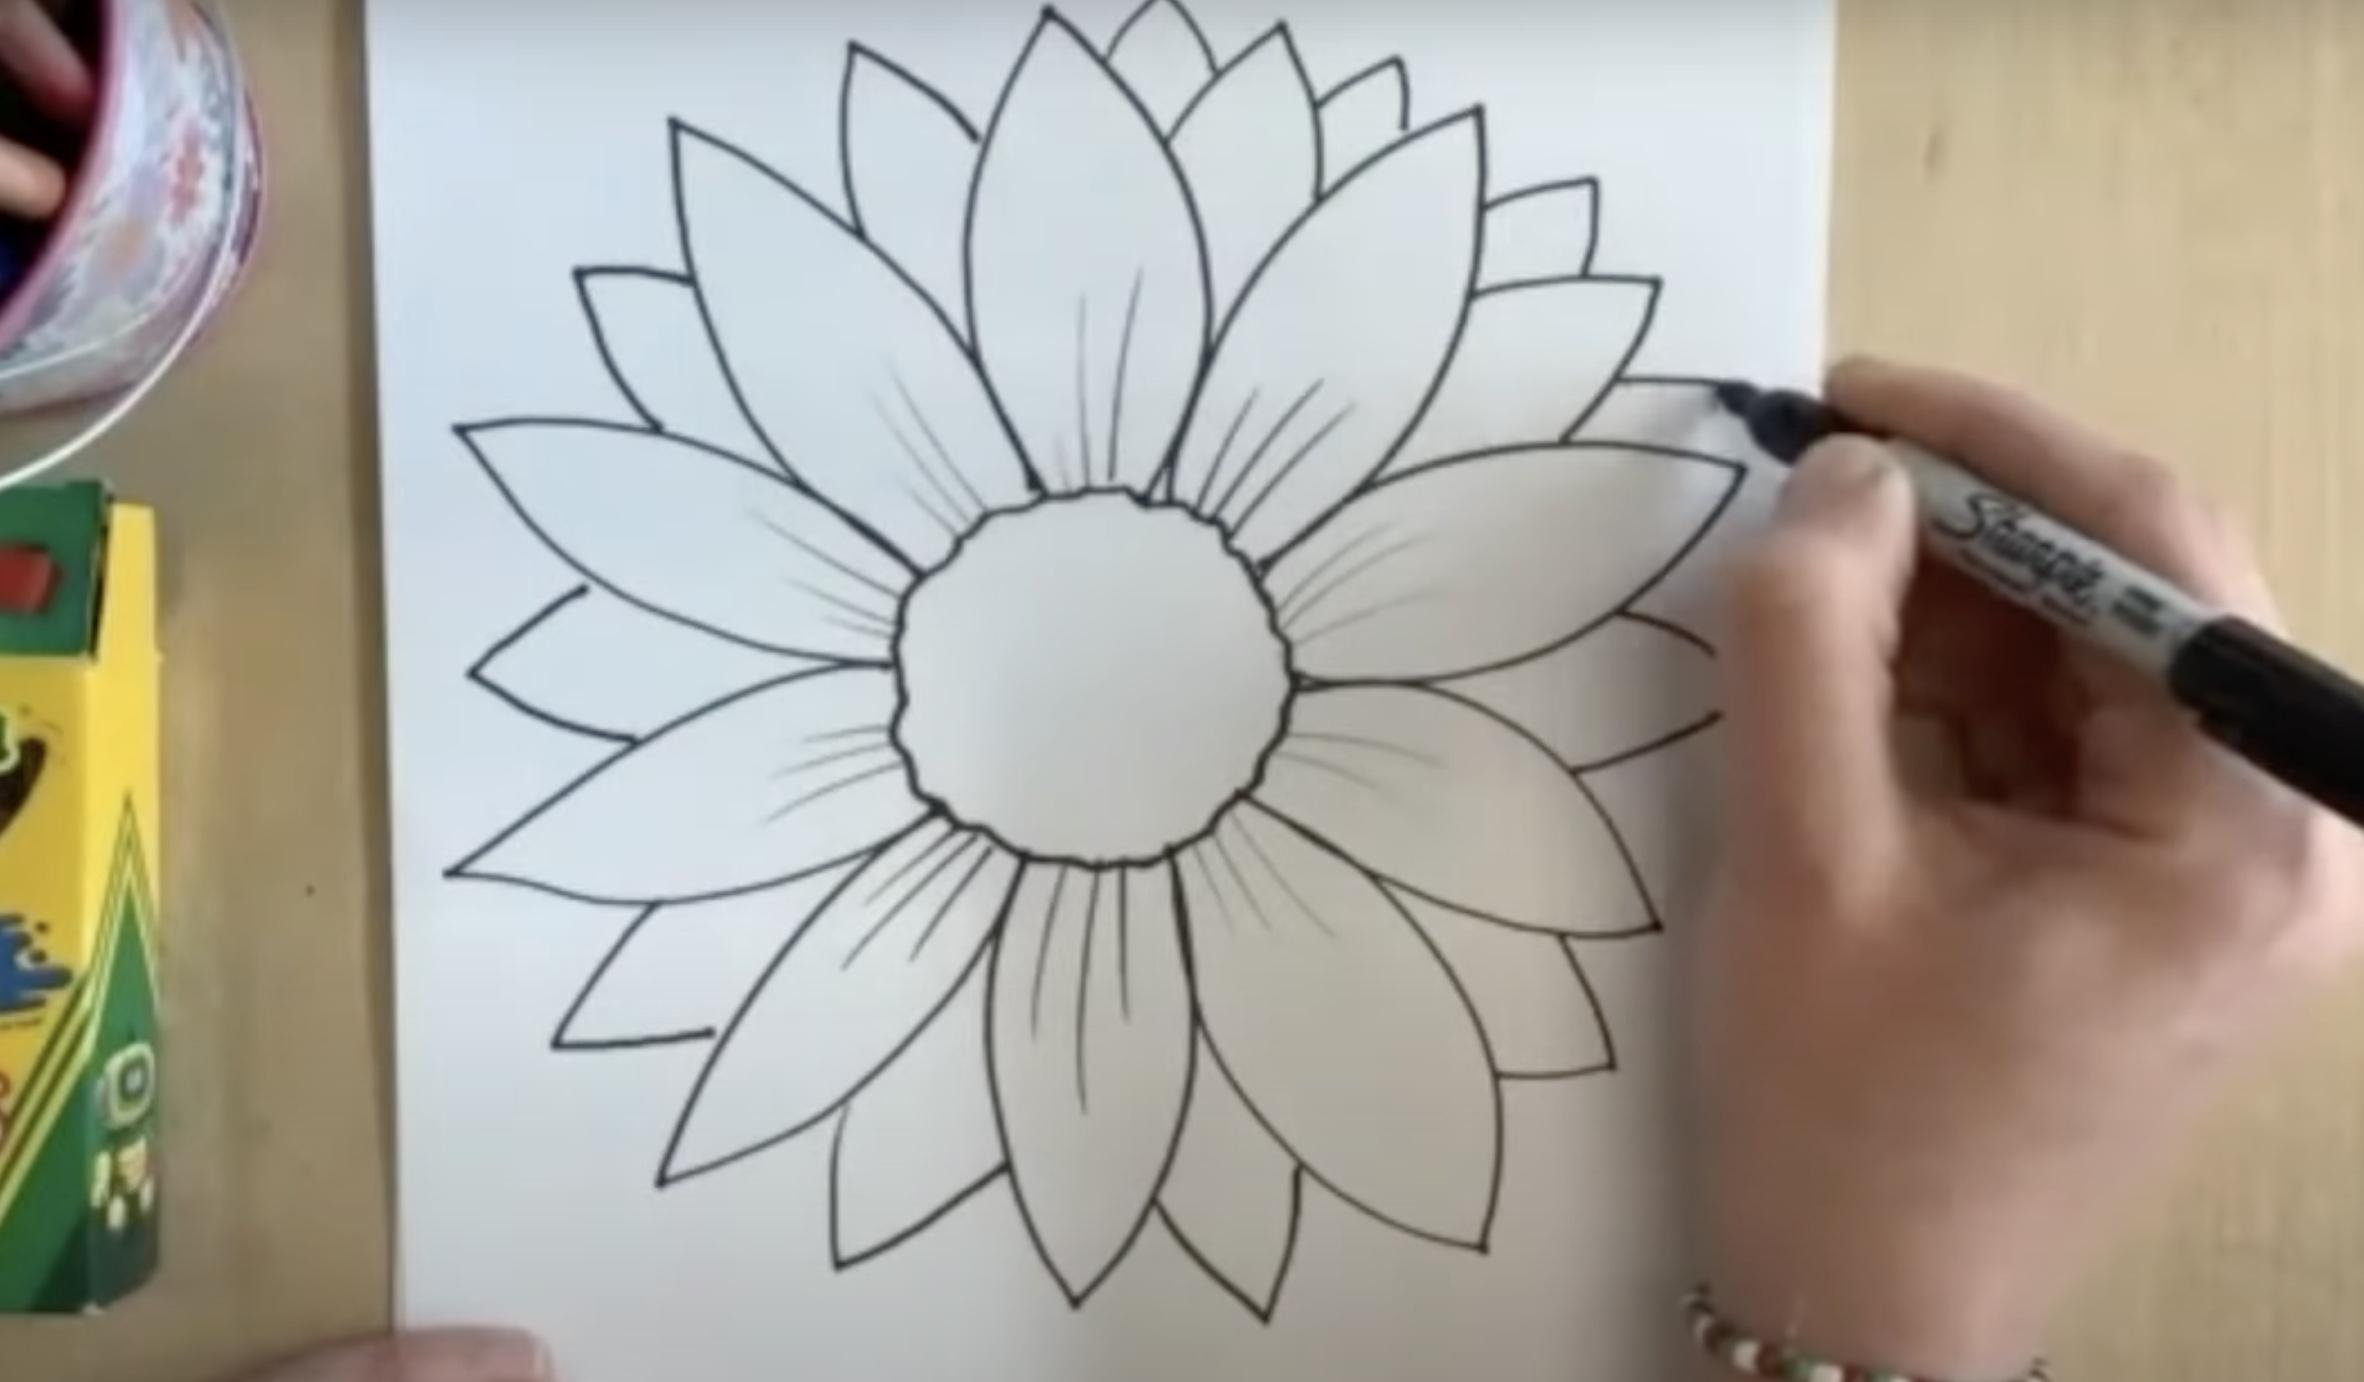
Now, draw tiny “V”-shaped tips peeking out between the second-layer petals. These represent the furthest petals hiding behind the rest. You can skip a few spots for a natural effect.
8. Draw an Inner Circle to Indicate Depth

Add a smaller bumpy circle inside the center circle. This helps divide the seed area into lighter and darker zones for coloring later.
9. Draw the Stem
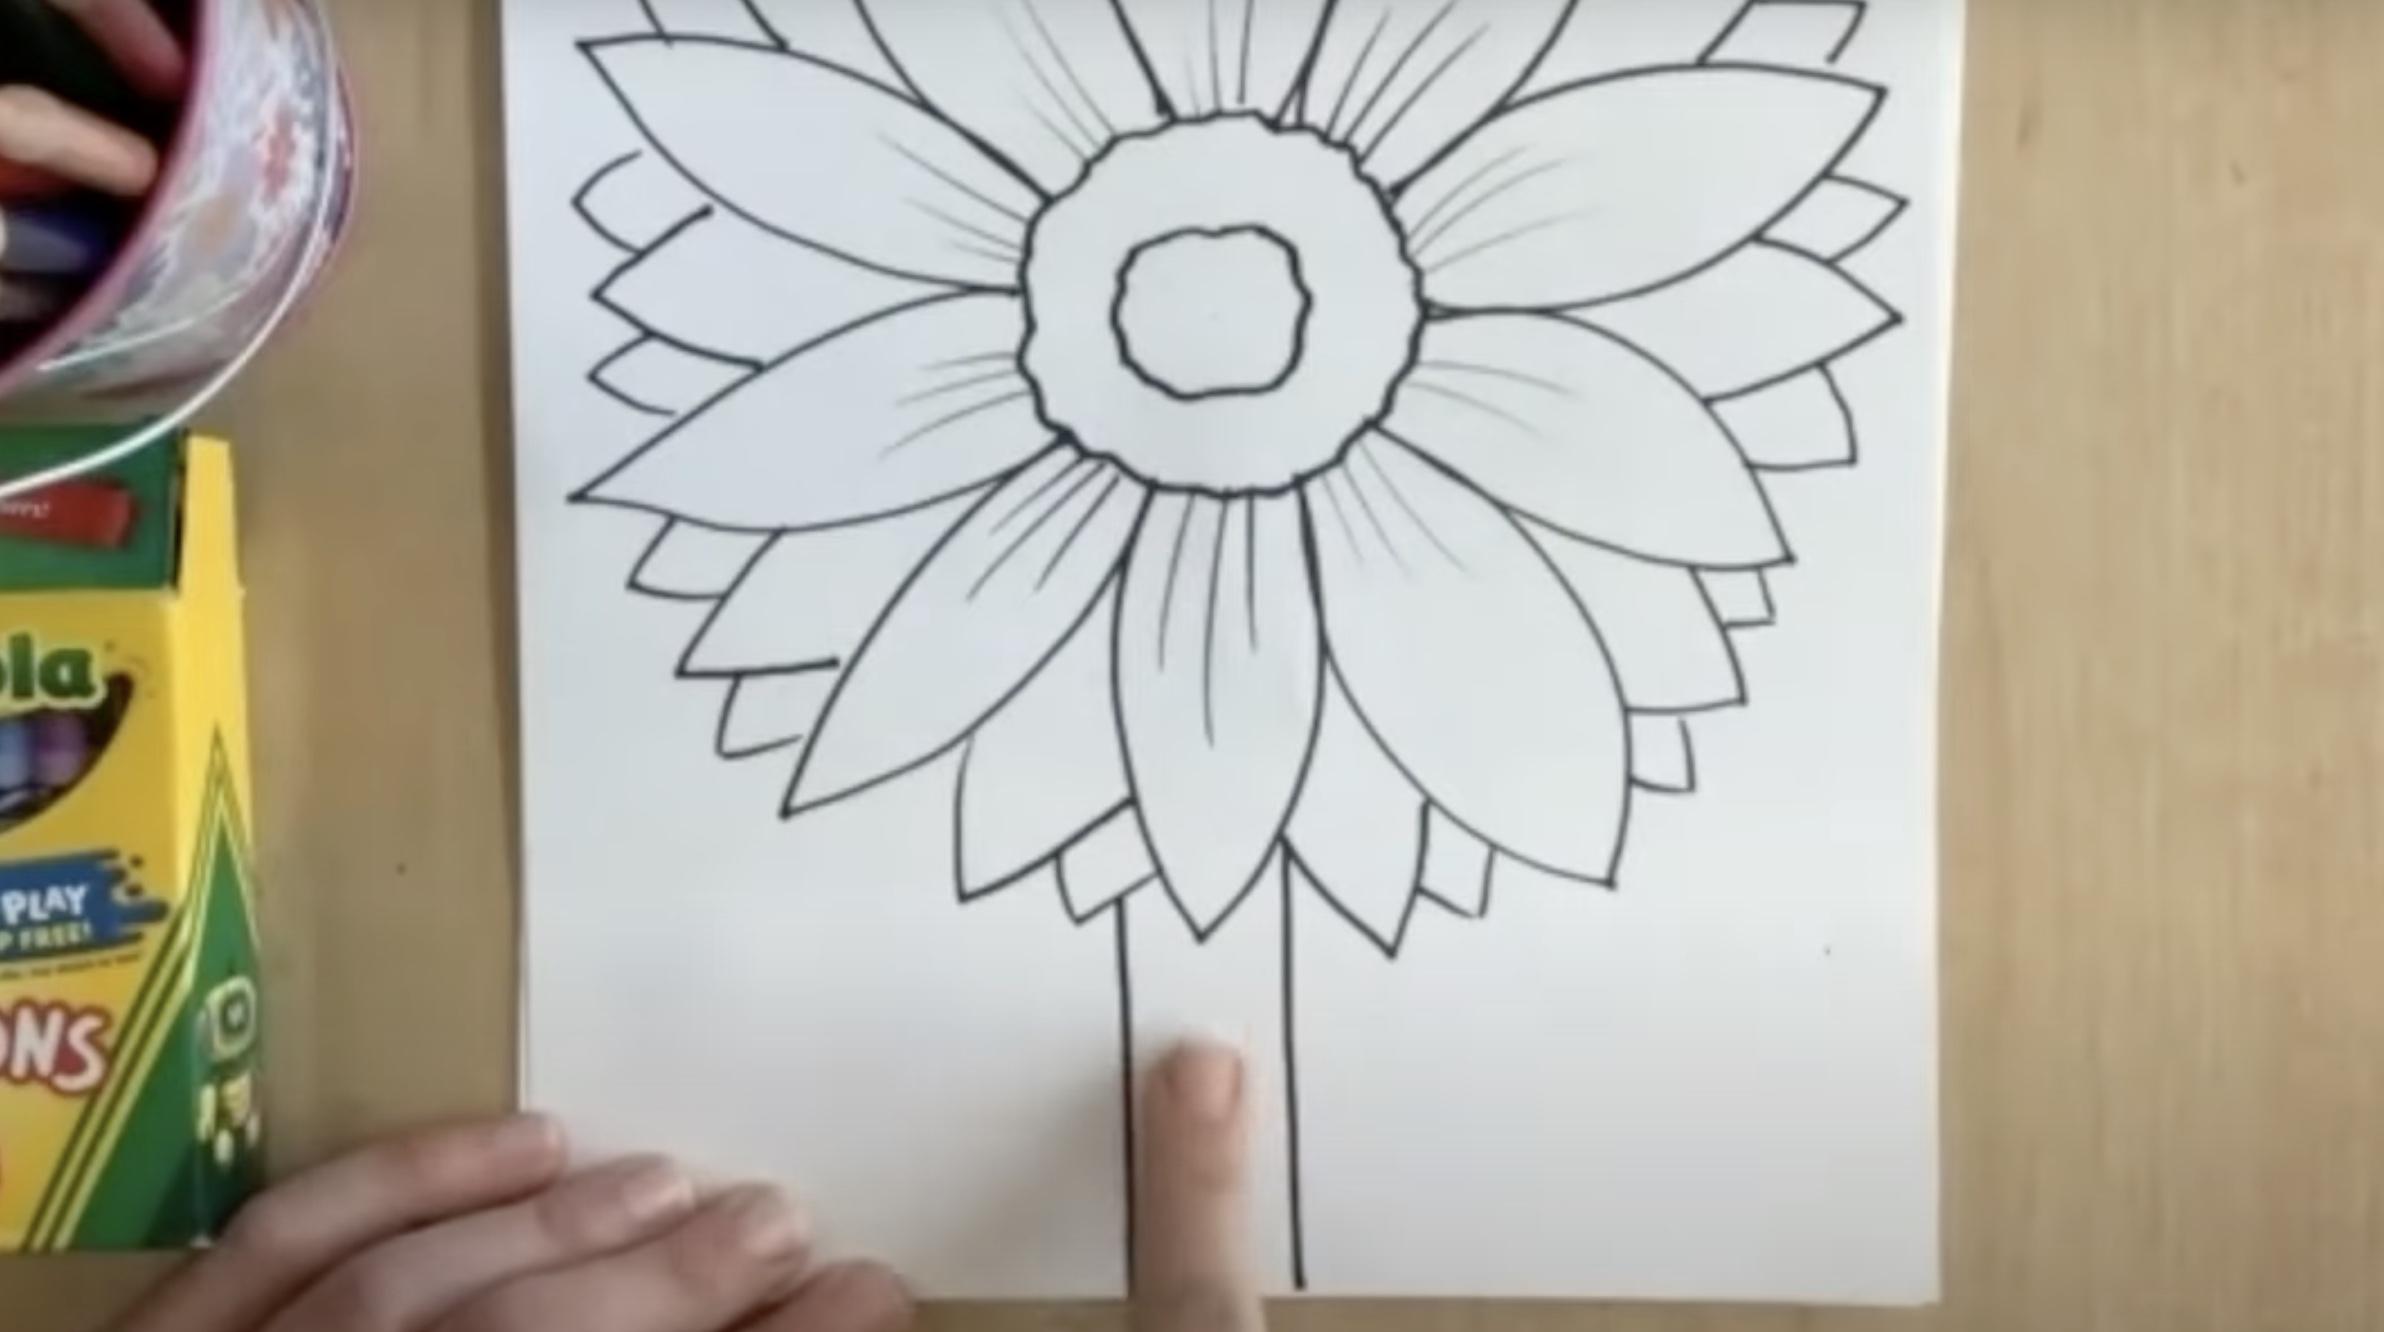
From the base of your sunflower, draw two vertical lines to form a thick stem, about two finger-widths apart. Make it tall and proud, just like real sunflowers!
10. Add Leaves
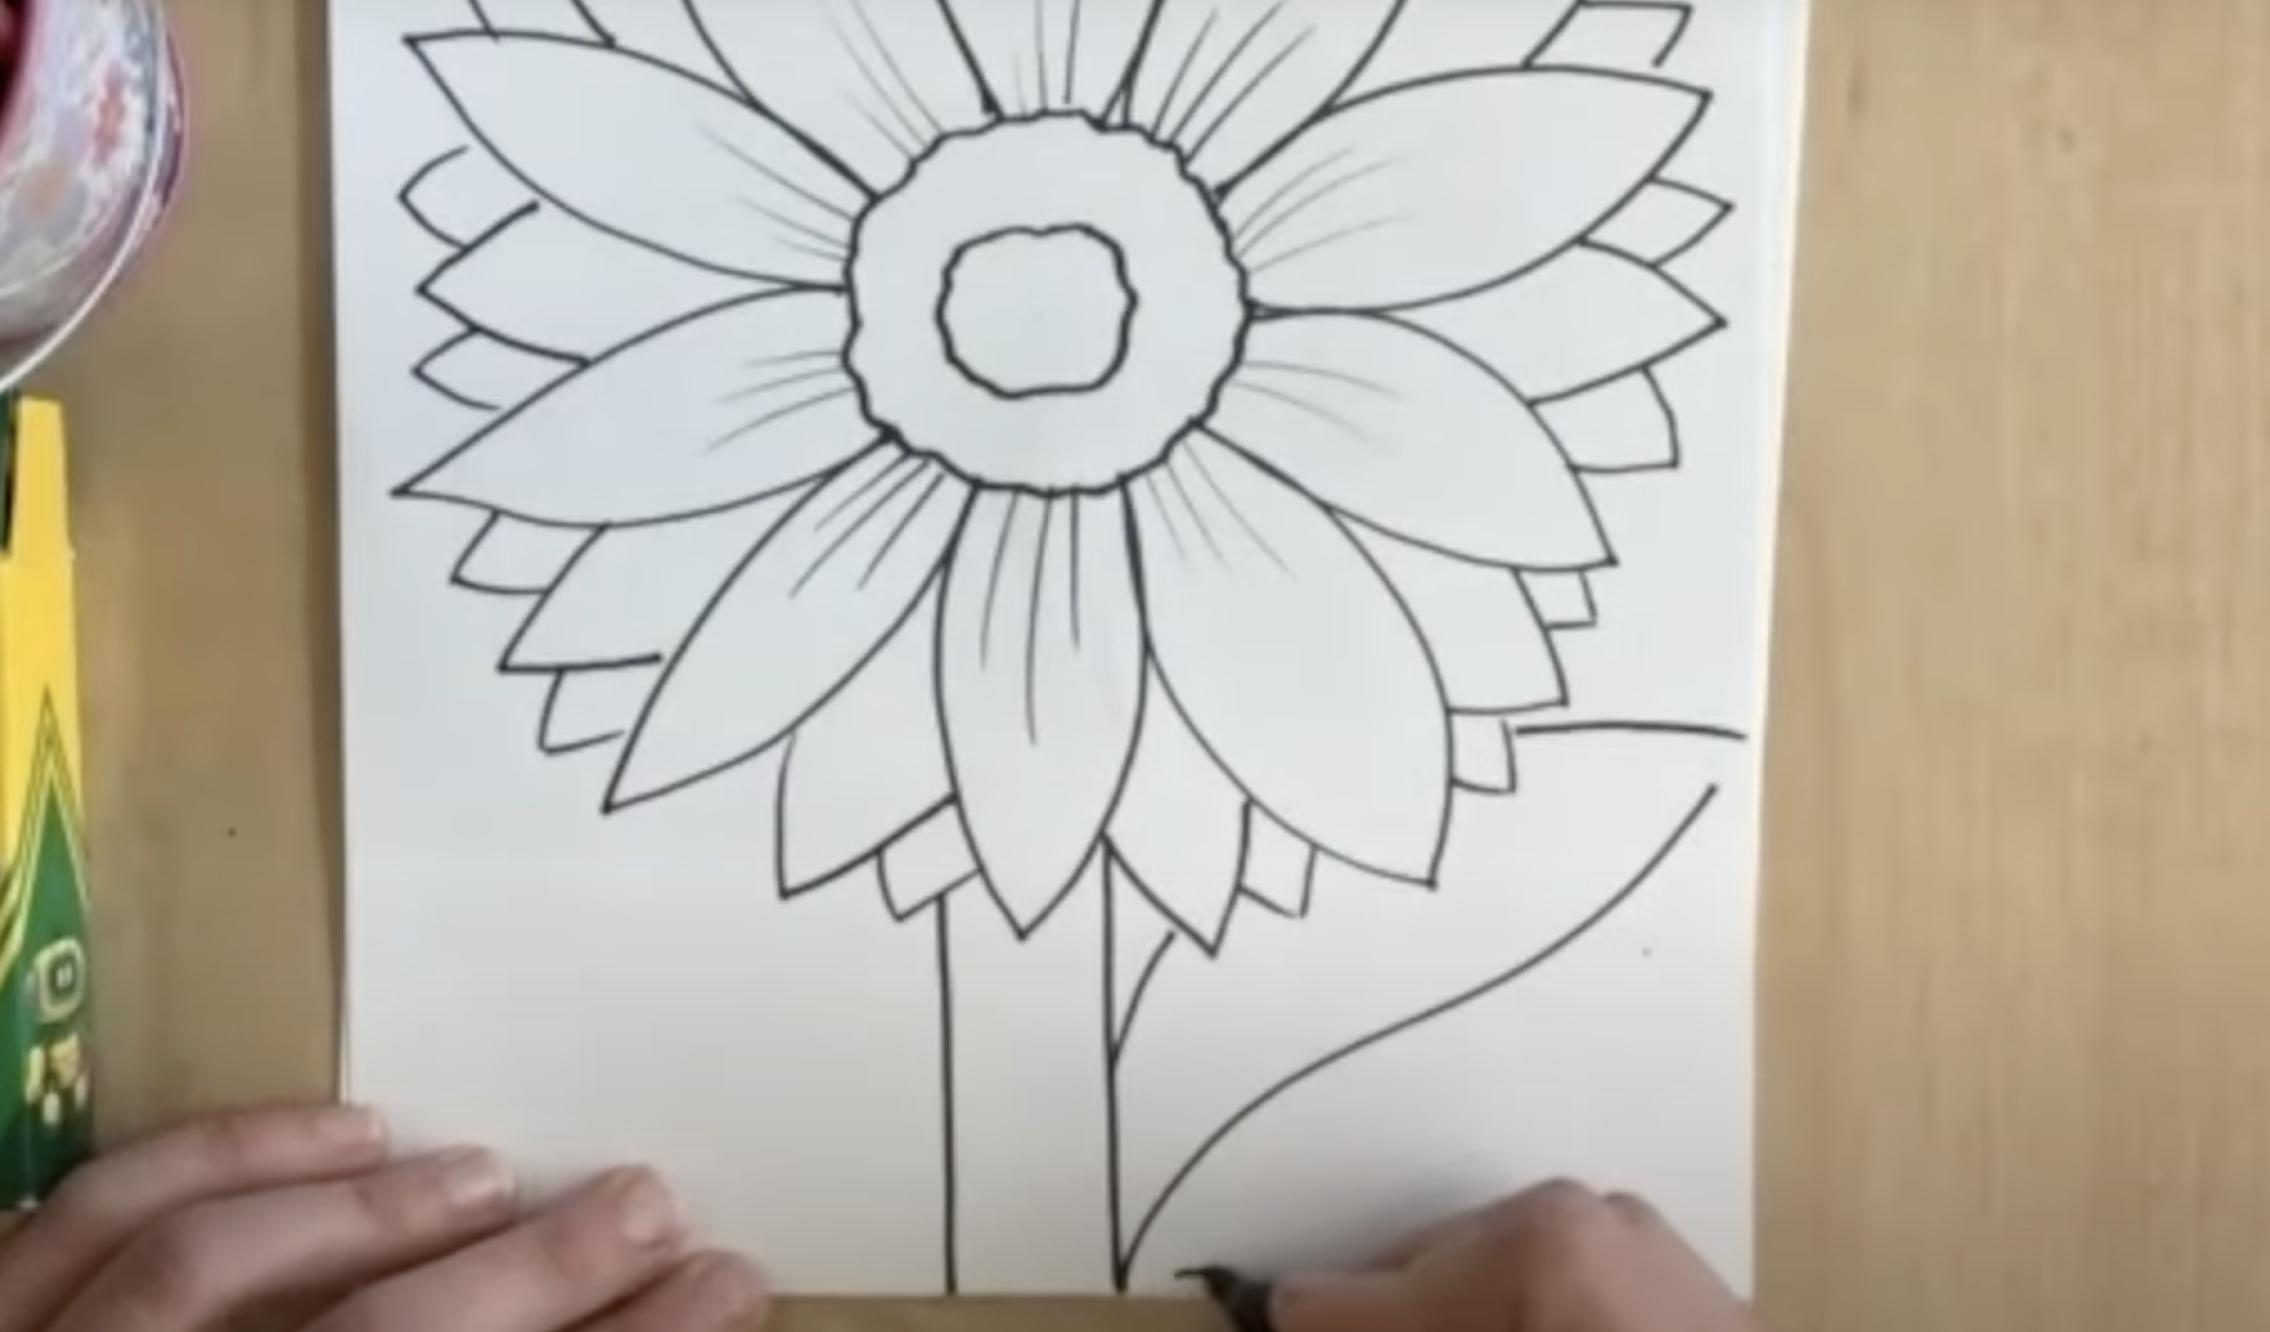
Draw one or two curved leaves coming from the stem. Add diagonal lines inside each leaf to show the veins. Don’t worry if they go off the page; that adds charm!
11. Start Coloring the Center
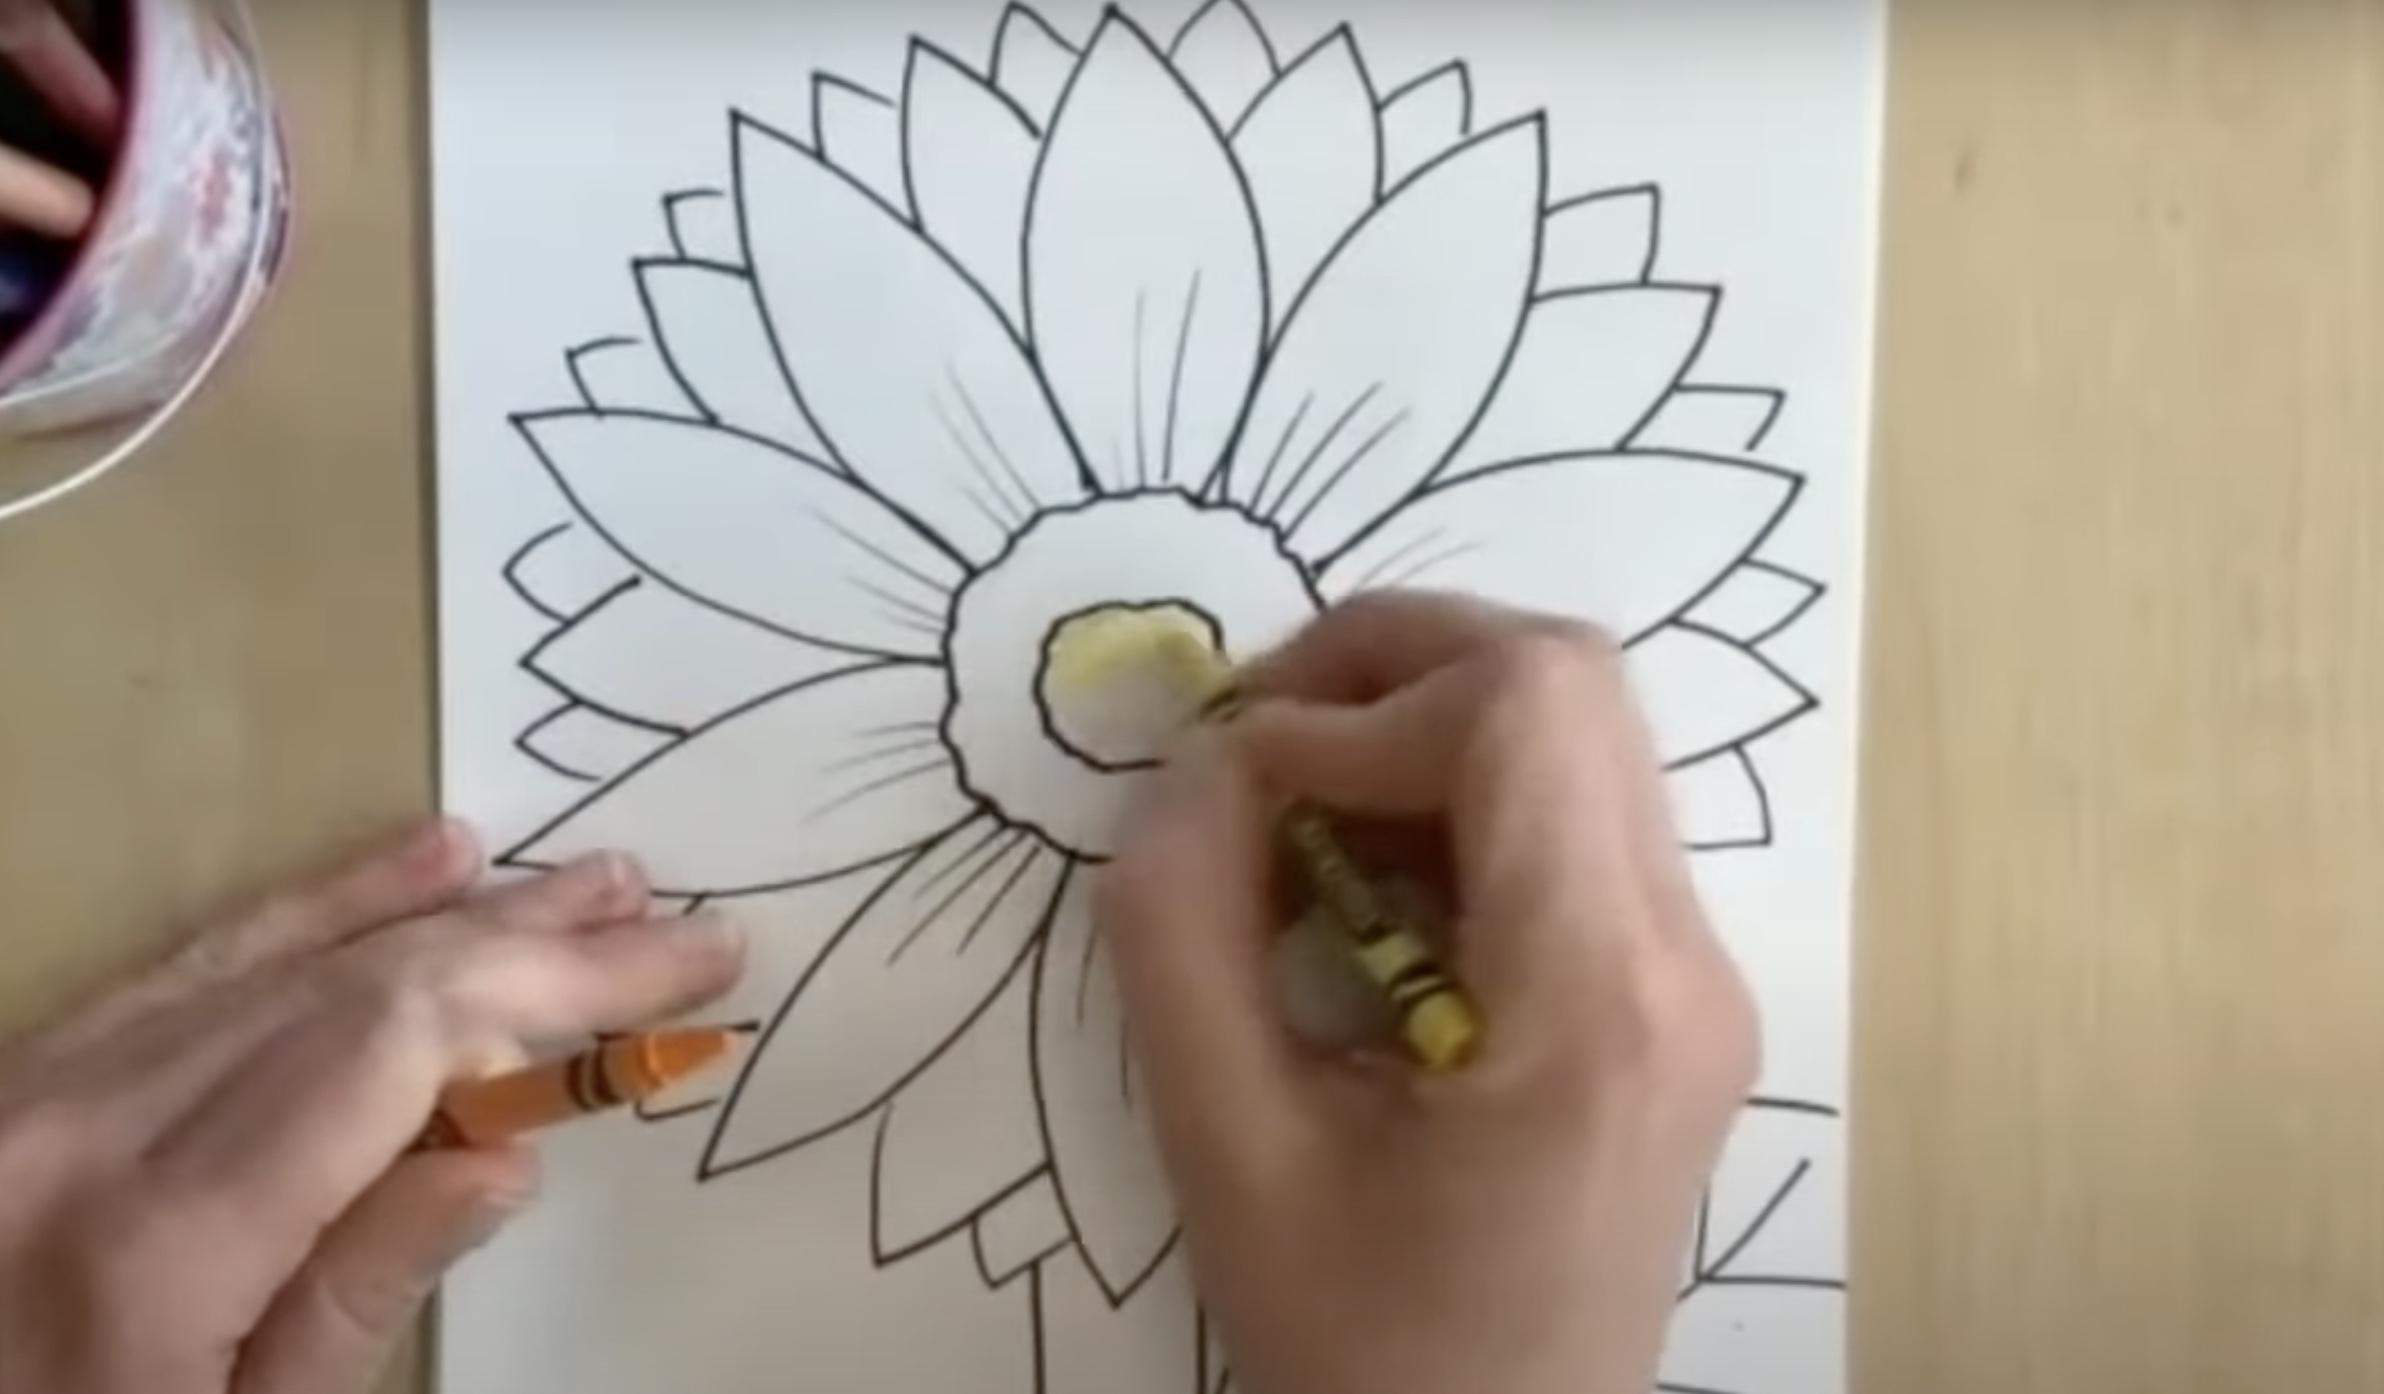
Begin with light brown in the middle. Add darker brown or even black to deepen the color. Blend yellow near the inner edge if you like; sunflower centers often have color variation.
12. Color the Petals with Warm Shades
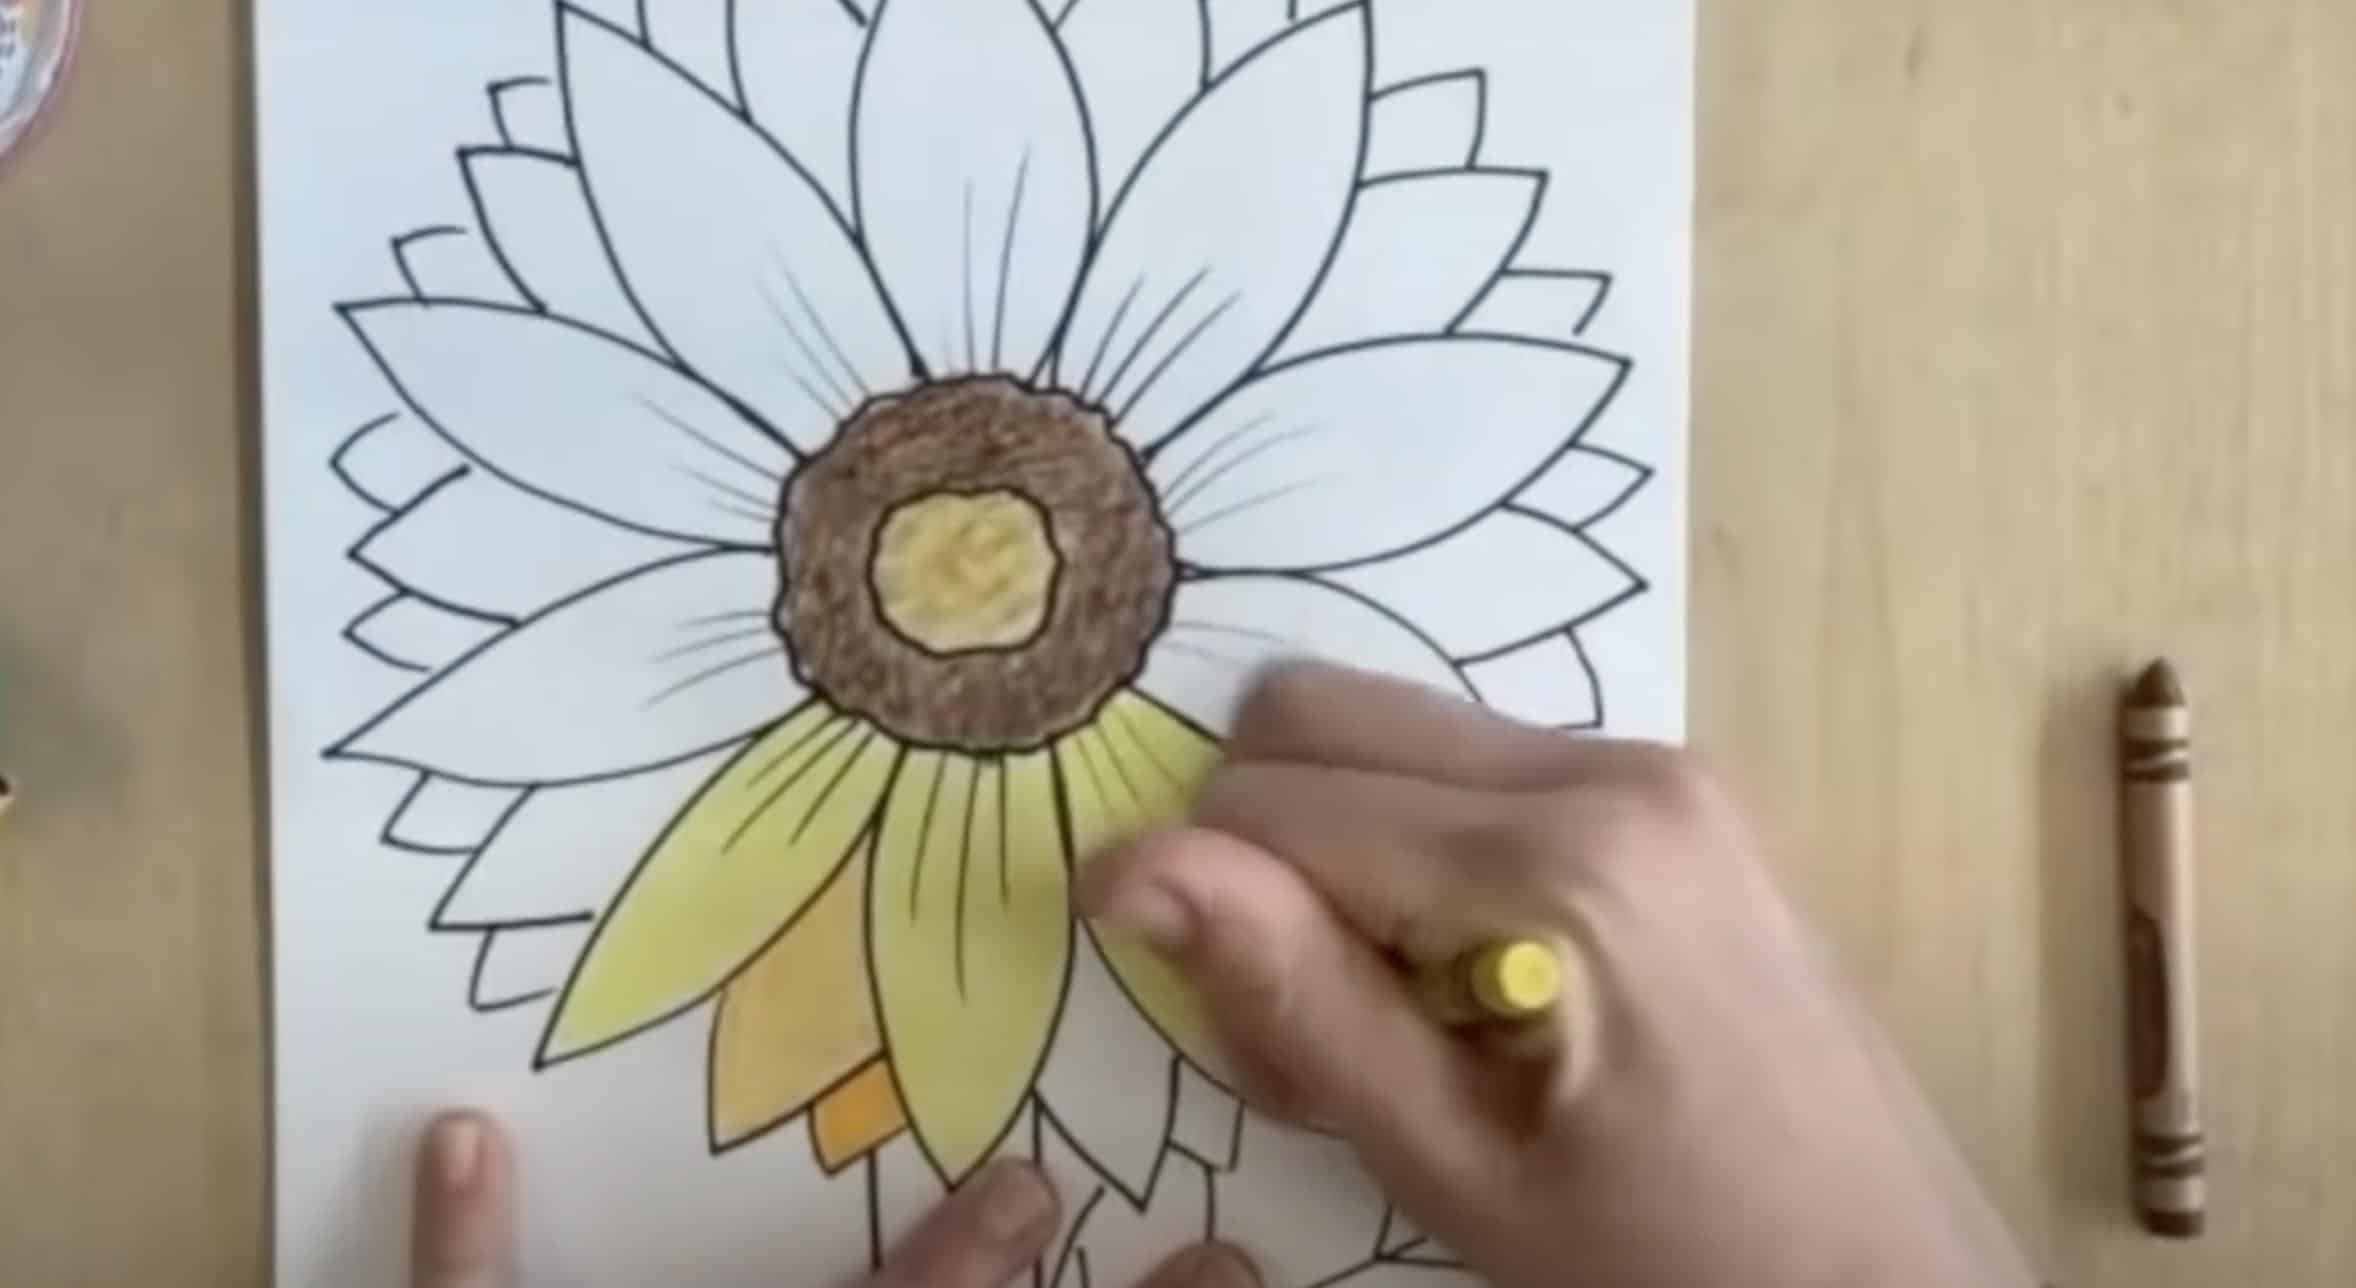
Use bright yellow for the front petals, layered with orange or a deeper yellow on the second layer. For contrast, the tippy-tip petals at the back can be orange or even red-toned.
Fun and Easy Sunflower Drawing Ideas for Beginners
Easy drawing ideas teach basics like shapes, lines, and basic shading without overwhelming students. The cheerful nature of sunflowers keeps the mood light during practice.
1. Sunflower with Intricate Details
This pencil sketch of sunflowers highlights soft shading and fine detailing in the petals and leaves. For a similar result, start with light outlines, then gradually build shading using short strokes.
2. Sunflower Portrait Hybrid
Blend human facial features with sunflower drawing elements to create a surreal portrait. Replace hair with petals, use seeds for facial features, or have sunflowers growing from unexpected places.
3. Geometric Sunflower Deconstruction
Break down the sunflower into its basic geometric components, circles, triangles, and spirals, and arrange these elements in an energetic composition that still suggests the essence of a sunflower without being literal.
4. Seasonal Sunflower Progression
From vibrant summer bloom to winter’s skeletal form, this series finds the beauty in all phases of natural cycles and offers practice in drawing the same subject with different moods.
5. Microscopic Sunflower Exploration
Draw an extreme close-up of sunflower details that aren’t typically observed, such as cell structures, pollen grains, or seed textures. This scientific-meets-artistic approach reveals hidden beauty and challenges perceptual skills.
6. Emotional Sunflowers
Create a series showing joy, sadness, anger, or surprise, using the natural forms of the flower to convey these feelings without being cartoonish.
7. Urban Sunflower Interventions
Draw sunflowers breaking through concrete, growing from unexpected urban environments, or interacting with city elements.
To Conclude
Drawing sunflowers takes practice, but it’s worth every minute. We’ve gone through the basics of shapes, colors, and techniques that make these happy flowers come to life on paper.
Don’t worry if your first few attempts don’t match your vision. Art grows with time and effort.
Try these methods at your own pace, and mix them as you get more comfortable. The joy of creating something beautiful matters more than getting every petal perfect. Keep your early sunflower drawing to see how much you improve!
We hope this guide has given you the ideas and confidence to create your sunflower drawing.
Share your creations with friends or online communities. Your artistic growth has just started, and sunflowers are the perfect first step.